

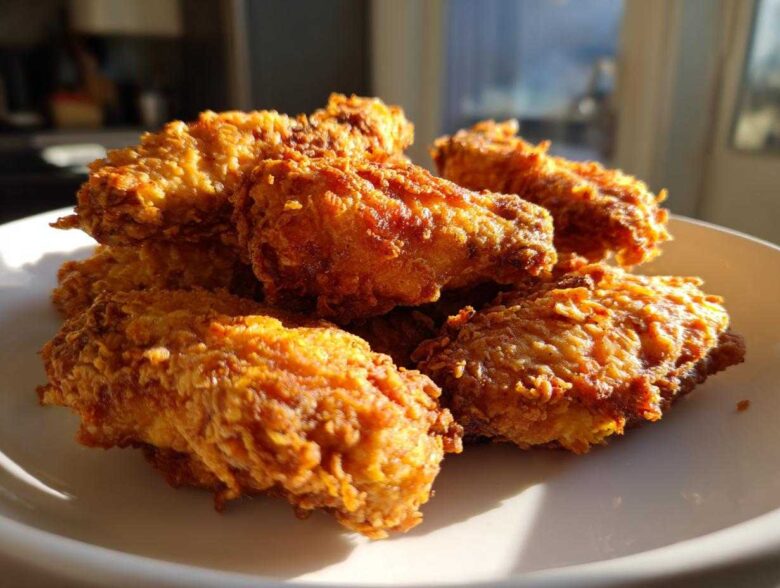
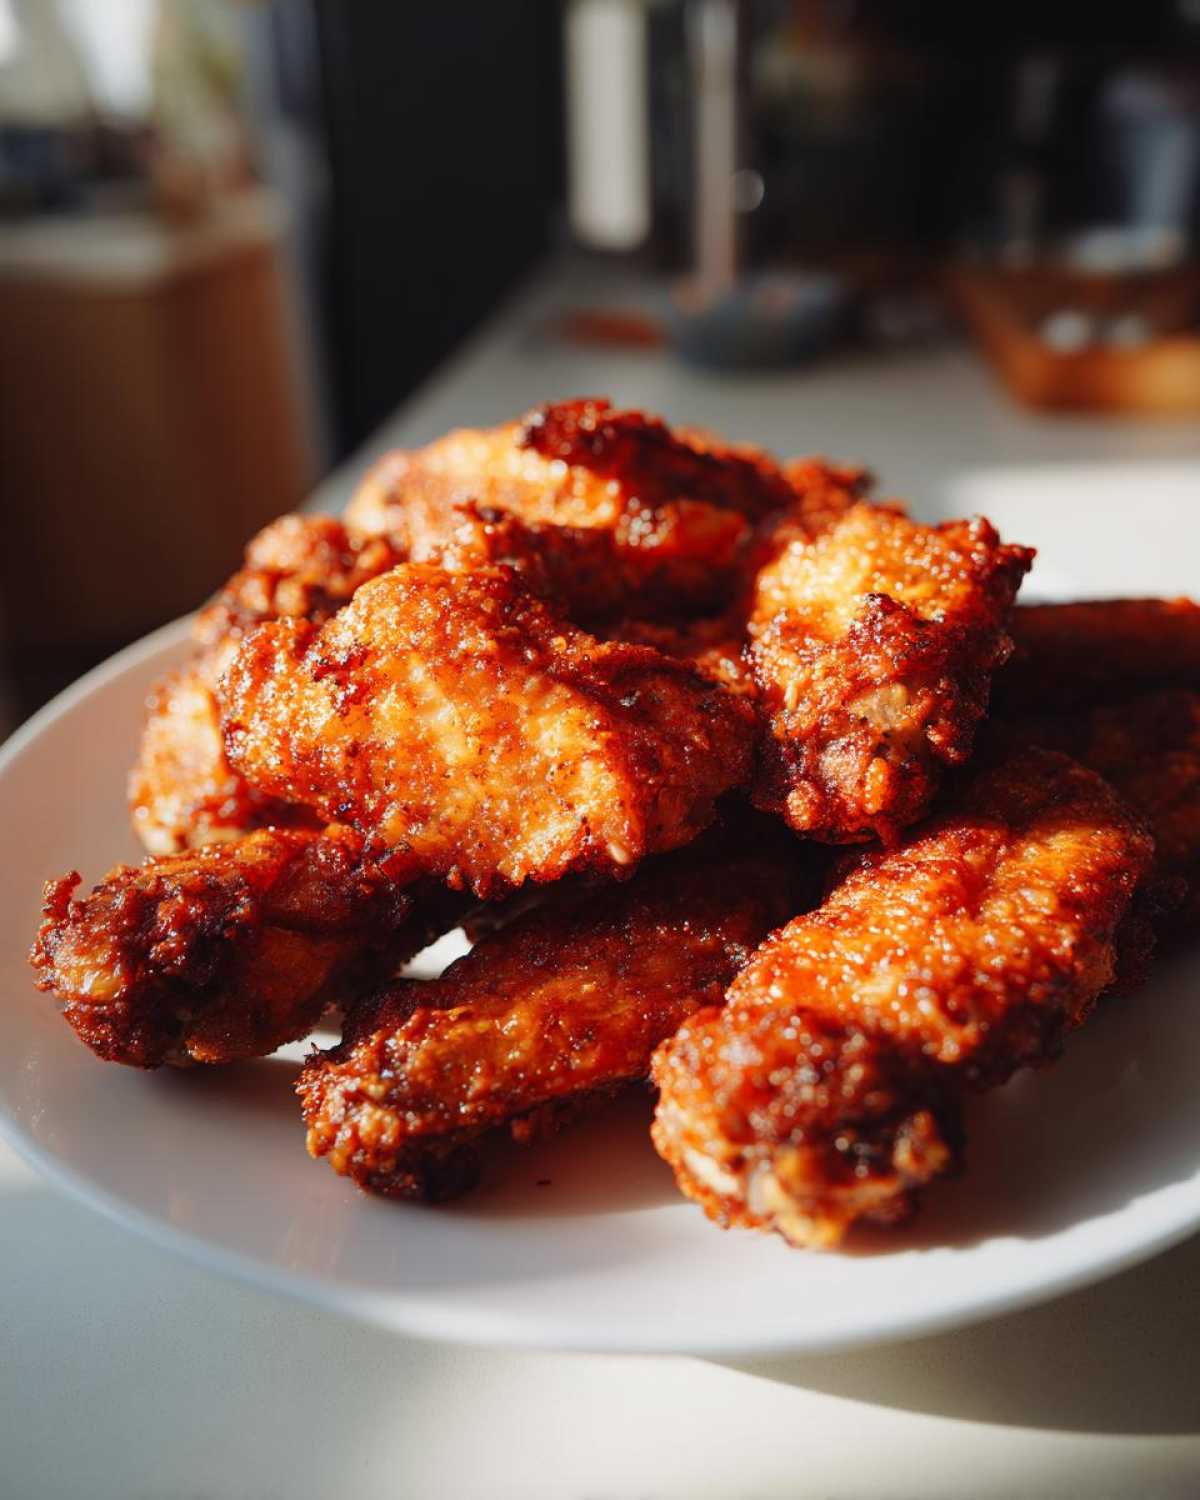
Oh my gosh, do I have a confession to make: I used to think the only way to get that perfect, shatteringly crisp skin on a chicken wing was by deep-frying. Seriously! My kitchen would smell like a fast-food joint for hours, and I’d always end up with soggy bottoms on my glorious, messy game day appetizers. But trust me when I say, that era is OVER. I’ve cracked the code for getting unbelievably crispy, juicy chicken wings—the ultimate kind—right in your regular home oven, and nope, we aren’t even touching the fryer oil! It all comes down to one tiny, magical ingredient. Once you try this baking powder secret, you’ll never go back. This is my go-to for the best baked chicken wings no fry method!
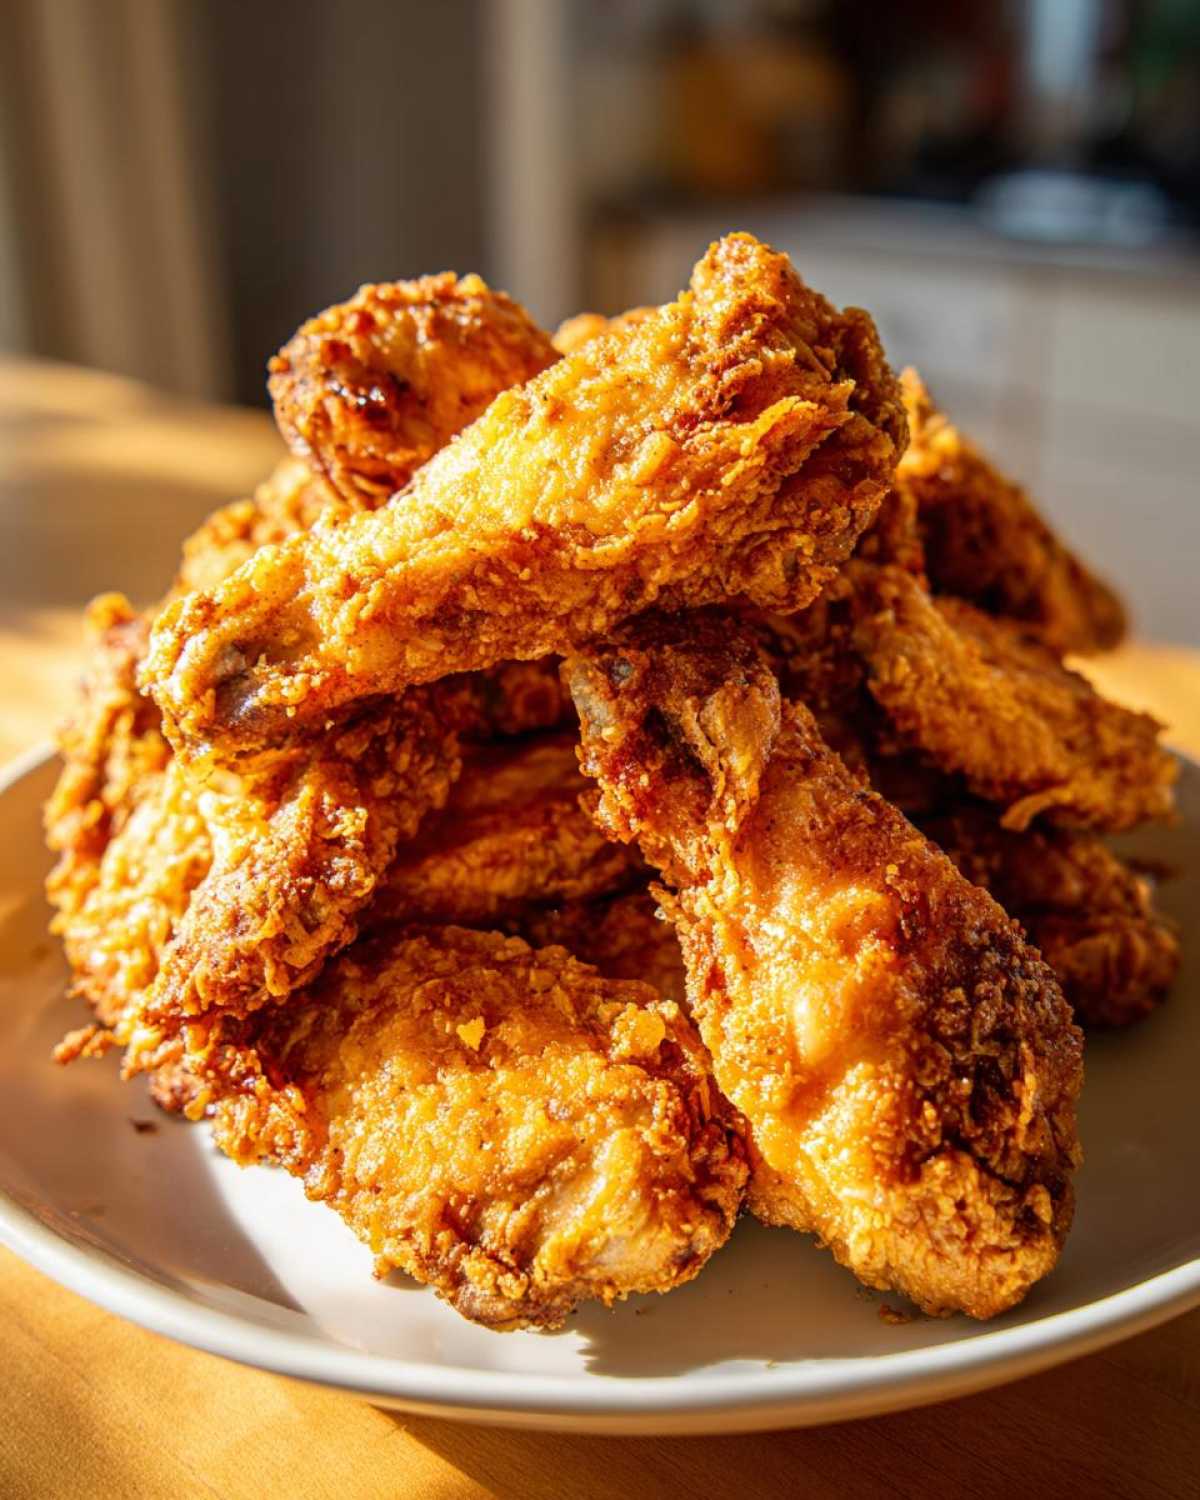
Why This is the Ultimate Crispy Baked Chicken Wing Recipe (No Fry)
Listen, the goal here is restaurant-quality texture without all the hassle and oil splattering. Most oven baked wings turn out pale or rubbery because the moisture trapped under the skin can’t escape. But that’s where the science comes in! We use a little bit of baking powder—not soda, big difference!—which raises the pH level on the skin. If you want to dive deeper into the world of crispy wings, you should check out my guide on crispy baked chicken wings at home.
This simple chemical trick helps wick away surface moisture as the wings bake in that hot oven heat. It basically acts like a drying agent while it works alongside the heat to create that perfectly crackly shell we crave. You end up with unbelievably crispy chicken wings that are still plump and wonderfully juicy chicken wings on the inside. It’s seriously baffling how well this little bump in chemistry works for anyone looking for baked chicken wings no fry options. I’ve tried every trick in the book, and this dry rub coating is the real MVP for the perfect finger food appetizer. When you nail this part, you unlock the secret to my extra crispy baked chicken wings no fry method!
Ingredients for Perfect Crispy Oven Baked Chicken Wings
Okay, this is the fun part, but pay close attention to *what* you’re grabbing off the shelf! If you mess up one thing here, you won’t get the results we talked about—the super crispy, golden results that make these the perfect crispy baked chicken wings no fry wonders. Seriously, the power lies in this super simple coating, and we need to treat the wings right before we even touch the seasoning.
Essential Components for the Dry Rub Chicken Wing Recipe
You only need a few pantry staples to create this magic coating that pulls our wings from soggy to sensational. Remember, the key to success starts with making sure your 2 lbs of chicken wings—flats and drumettes separated please—are bone dry before they even look at this mix. Less water means more crisp!
- 2 lbs chicken wings, separated into flats and drumettes
- 1 tablespoon baking powder (And please, make sure it’s baking powder, NOT baking soda! Baking powder is your friend here.)
- 1 teaspoon salt
- 1/2 teaspoon black pepper
- 1/2 teaspoon garlic powder
Step-by-Step Instructions for Crispy Chicken Wing Success
We’ve assembled our ingredients, and now it’s time to get down to business! I promise this process is so much easier than dealing with hot oil. Remember, the key to having amazing oven baked wings is doing the prep work right. If you follow these steps exactly, you will achieve results worthy of any game day chicken wings party centerpiece.
Preparation: Preheat and Prep the Chicken Wing Surface
First things first: get that oven cranked up! We need serious heat here, so preheat your oven to 425 degrees Fahrenheit. While that’s warming up, let’s tackle moisture control—this is literally the most important part of any chicken wing recipe where you want crispiness!
Grab a large baking sheet and line it with aluminum foil. Yes, foil! It saves you so much scrubbing later. Now, you must place a wire rack right on top of that foil. This setup is crucial because it allows air to circulate completely around the wings, letting the bottom crisp up too. Seriously, don’t skip the rack!
Next, take your wings and use paper towels to pat them down until they feel totally dry. I mean bone dry! If there’s any moisture left, it turns to steam, and steam fights crispiness. I tend to use an entire roll, just being thorough!
Coating and Arranging the Chicken Wing for Maximum Crisp
Now you mix that magic dust! In a big bowl—the bigger the better so you can toss without making a huge mess—combine your baking powder, salt, pepper, and garlic powder. Give that a quick whisk so the baking powder is evenly distributed.
Toss those dry wings right into the bowl. You want to gently fold them around until every single little piece of skin has a faint, even coating. It shouldn’t look clumpy at all; it should almost look like the wings are dusted with a light, white powder. That powder is what turns into your crispy shell!
Once coated, lay them out on that wire rack we set up earlier. And here’s another non-negotiable rule: make sure they aren’t touching! If they are crowded, they steam each other. We want space between every chicken wing so that glorious blast of hot air can hit the skin on all sides.
Baking Times and Flipping for Evenly Cooked Chicken Wing
Time to bake! Slide that tray carefully into your 425°F oven. Set a timer for 20 minutes. When that first alarm goes off, you need to pull them out:
- Flip every single wing over.
- Put them right back in the oven.
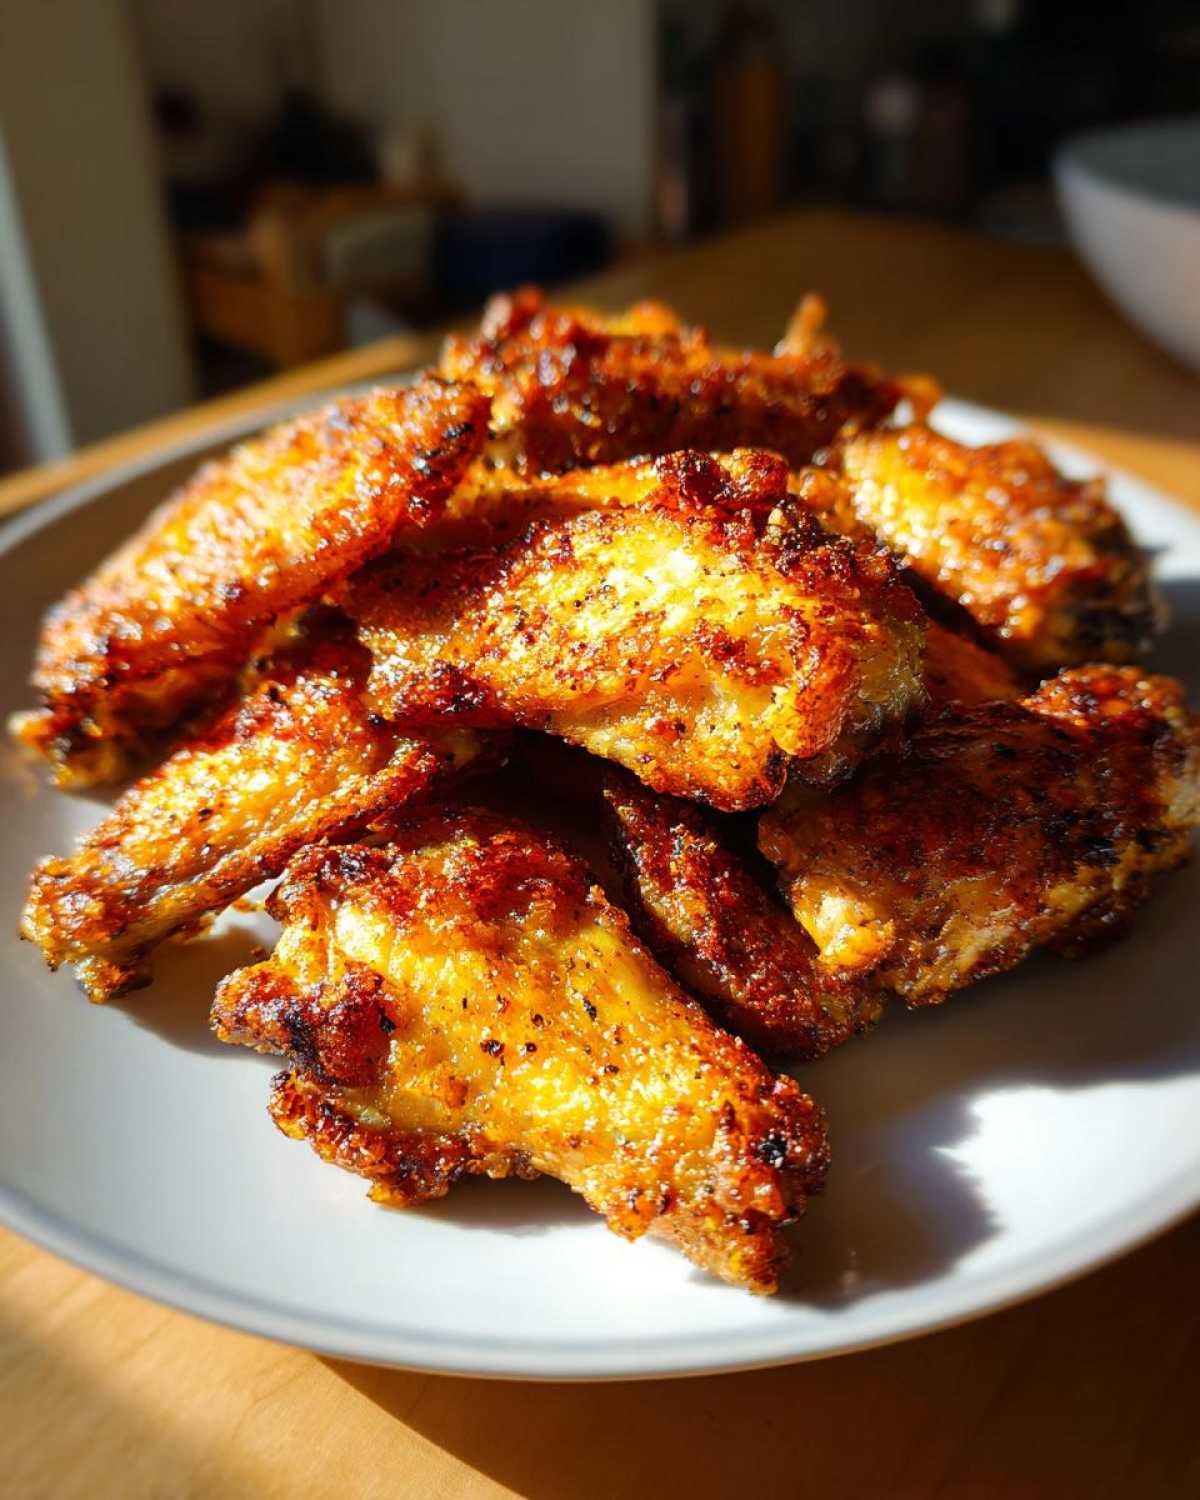
Bake them for another 20 to 25 minutes. You’re looking for a deep, rich, golden-brown color. If they look pale, give them five more minutes. When they look beautiful and feel stiff when you nudge them with tongs, they are done! You’ve mastered the oven roasted wings technique, and they are ready to be drenched in sauce or enjoyed as a stellar dry rub chicken wing recipe! P.S. If you decide you want to try this same magic coating in your air fryer next time, check out my guide on crispy air fryer chicken wings for the timing adjustments!
Flavor Variations for Your Baked Chicken Wing
The base recipe we just used gives you the absolute crispiest canvas possible, but we aren’t stopping there! Honestly, these wings are delicious just coated in that simple salt, pepper, and garlic powder; they make for a fantastic base dry rub chicken wing recipe. But I know we all love that sticky, messy goodness, especially for big events. If you ever need a rich, creamy partner for your wings, you might want to check out my recipe for homemade Alfredo sauce, though maybe keep that one on a separate dipping station!
Here’s my biggest tip—and please listen to me on this one—never toss your wings in sauce *before* the final bake time. If you do that, you’re just baking sugar, and it is guaranteed to burn before the actual chicken skin gets crunchy. We want crunchy, not charcoal! Keep the sauce application for the *very* end.
Applying Honey Garlic Wings or BBQ Glazes
If you are going for a sweet situation, like a glorious sticky chicken wings glaze, you have two options! My favorite route is taking the wings out after they hit that golden brown perfection, tossing them quickly in your homemade honey garlic or BBQ sauce, and then popping them back in for just 3 to 5 minutes maximum. You just want the glaze to set up slightly and get glossy. If your sauce is very thin, definitely wait until they are completely out of the oven before tossing them.
Making Lemon Pepper Wings
For that sharp, zesty flavor that everyone loves—hello, Lemon Pepper wings!—you absolutely must wait until they are done baking and off the heat. I melt about two tablespoons of butter (or olive oil in a pinch) and toss that bowl of hot, crispy wings with the lemon pepper seasoning and melted butter. The fat helps the seasoning stick beautifully to the rough, crispy surface without making it soggy. Sometimes I even grate a little fresh lemon zest over the top right before serving. Perfection!
Tips for Serving Game Day Chicken Wings
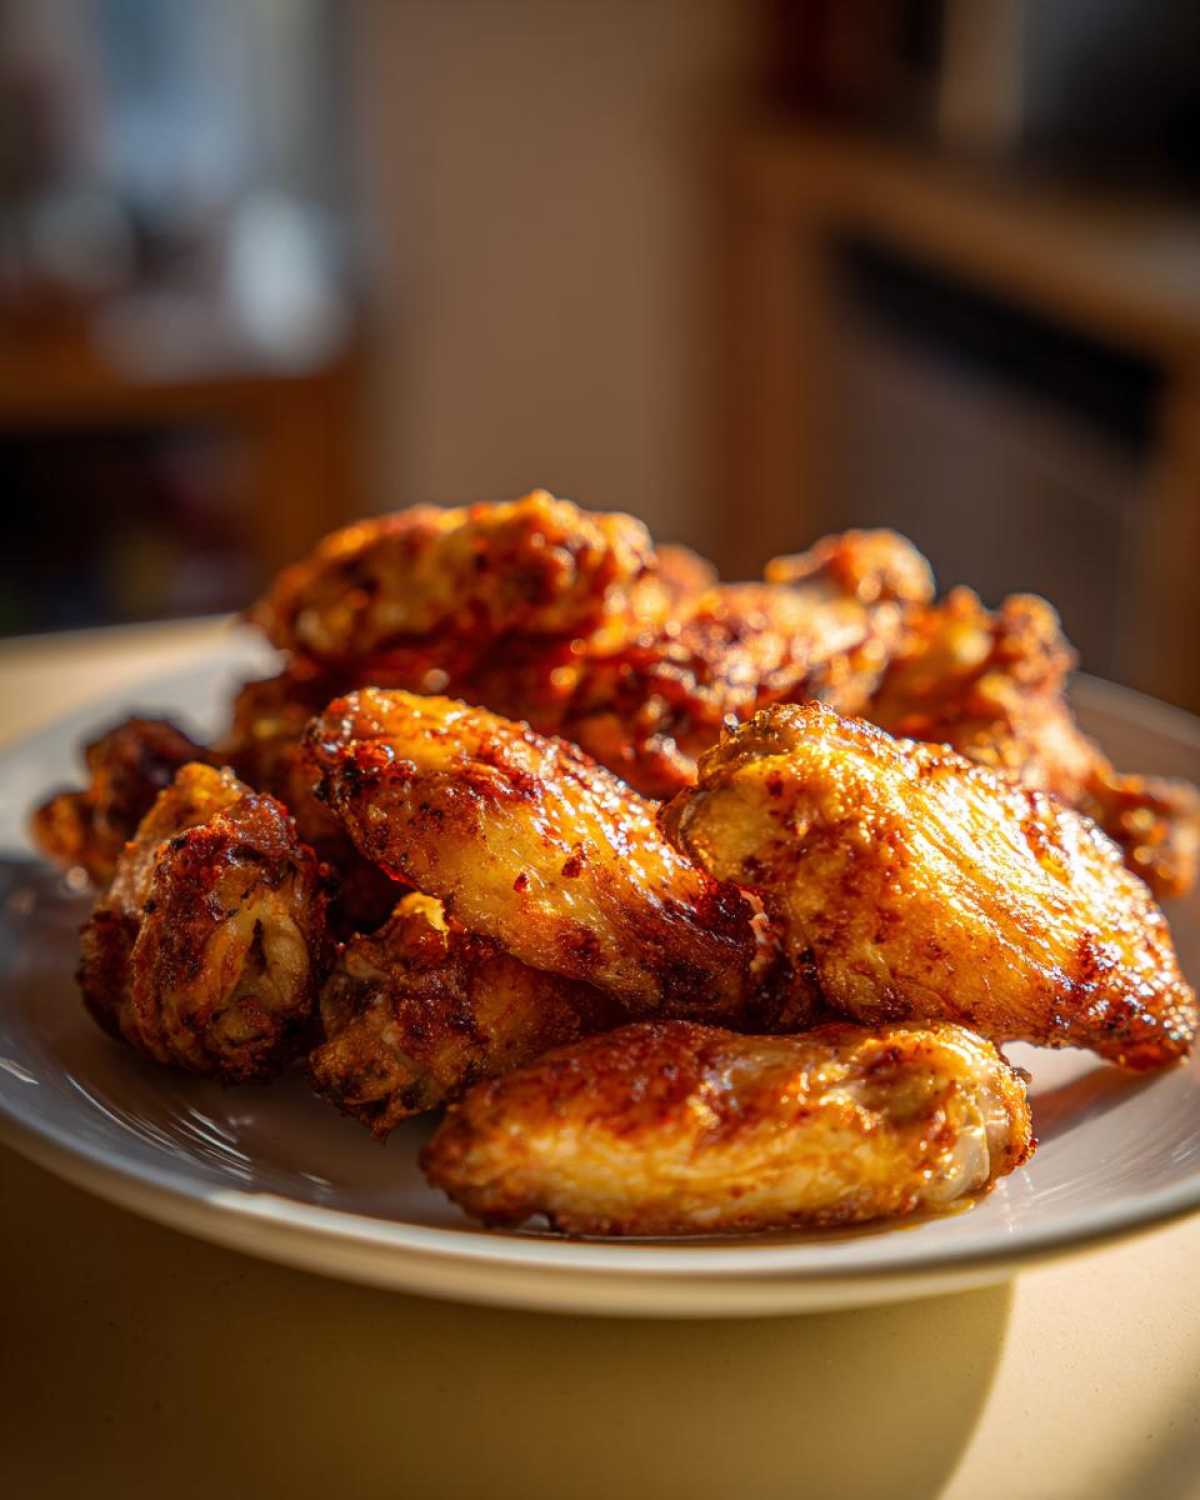
When you’re setting up for a big game or a huge party, these game day chicken wings need to look great and stay accessible! Since our wings are so incredibly crispy right out of the oven, they hold up way better than fried ones do under the heat lamp of a buffet table. That baking powder coating is a true hero when you’re dealing with party appetizers chicken wings that need to look appealing for an hour or two.
I always set up a dedicated wing station, which makes everyone feel like they are at a real sports bar, but in the comfort of my living room! Make sure you have plenty of sturdy napkins on hand—trust me, even if you have tongs, everyone ends up picking them up bare-handed.
Don’t forget the supporting cast! Serve them up with simple blue cheese dressing or a great ranch dip. If you’re making other appetizers, these wings pair wonderfully with heavier dips. You could whip up a great Rotel dip or even bake one of my famous buffalo chicken dips right alongside your wings as they cool slightly.
Storage and Reheating Instructions for Leftover Chicken Wing
Let’s face it, sometimes 2 lbs of amazing, crispy chicken wing aren’t finished in one sitting! If you somehow manage to have leftovers, storing them right is key to preserving that hard-earned crispiness. I always let mine cool down just slightly, but never fully to room temperature, before tucking them away. Pop them into a completely airtight container—that’s the secret to keeping them fresh!
Now, about reheating: please, I beg you, do not reach for the microwave! Microwaving leftover wings is the fastest way to turn that glorious baked skin into sad, chewy rubber. Save them by reheating them in a hot oven—about 400 degrees—for about 5 to 7 minutes. Even better? Toss them into your air fryer for about 3 minutes, which brings back that fresh-from-the-oven crackle like magic. You can easily find my tips for reviving crispy things in the air fryer over at air fryer chicken crispy juicy parmesan!
Frequently Asked Questions About Your Chicken Wing Recipe
Every time I share this recipe, I get flooded with the same great questions! That’s totally understandable because getting this texture in the oven feels a little bit like cheating. I tried to keep this whole guide as simple as possible, but sometimes a quick clarification helps someone avoid a kitchen mishap. If you have leftover questions after reading this, feel free to check out my general guide on chicken noodle soup—wait, no, wrong link! Stick to the wings, I promise!
Can I use this technique for Honey Garlic Wings?
Absolutely, yes! In fact, you *should* use this technique first. Remember, the baking powder mix creates that essential crispy exterior. If you try to add a wet sauce like honey garlic before baking, all that sugar will burn to a crisp long before the chicken cooks through, and you’ll end up with a sticky mess instead of a perfect coating. The rule is: bake them naked (just the dry rub) until they are fully done and crunchy. Then, pull them out, toss them immediately in your hot honey garlic sauce, and serve right away!
Why aren’t my baked chicken wings crispy?
This is almost always down to one of two things: you didn’t dry the wings enough, or you overcrowded the pan. If the outside of the chicken wing is wet when it hits the hot oven, it steams itself instead of crisping up. You need paper towels until those wings feel tacky and dry! Also, make absolutely sure you used a wire rack and that there’s space—at least a little bit—between every single wing. Crowding traps the steam, and steam ruins crispiness!
Are these healthy chicken wings?
Well, they are way healthier than their deep-fried cousins, that’s for sure! Since we aren’t submerging them in several cups of oil, you dramatically cut down on the overall fat and calories—which is why I marked this base recipe as surprisingly low-fat. If you toss them in a light seasoning like lemon pepper after they bake, they stay quite light across the board. If you drown them in a thick, butter-heavy BBQ sauce, well, then the health factor goes right back up! But yes, for a fantastic finger food recipe, the base method keeps things relatively clean.
Nutritional Estimates for Oven Baked Wings
Okay, let’s talk digits for a second. I know some of you are counting macros or just curious about what you’re eating, especially when comparing these babies to the oil-soaked versions you usually get. Because we are using a dry rub technique and skipping the deep-fryer bath, this chicken wing recipe stays surprisingly reasonable!
But here is the real-life truth I always preach about cooking: these numbers are just the baseline—the result of eating exactly four plain wings that have only been coated in that baking powder rub. The second you toss them in my favorite creamy lemon chicken glaze or a heavy cup of BBQ sauce, those numbers are going to jump up. So take this as your starting point!
- Serving Size: 4 wings
- Calories: 250
- Fat: 15g
- Protein: 26g
- Carbohydrates: 1g
- Sugar: 0g
See? Pretty great for such an indulgent-tasting party appetizer! The fact that there is zero sugar in the base recipe just proves how phenomenal that baking powder trick is at drying things out without adding empty calories. Go wild with your dressings, but know that the foundation is solid and truly one of the best chicken wing recipes out there for flavor without guilt!
Share Your Crispy Chicken Wing Results
Whew! Now you have everything you need to make the absolute crispiest, juiciest chicken wing you’ve ever made in your own kitchen. I sincerely hope you treat yourself to a batch this weekend, whether it’s for a big game day blowout or just a random Tuesday because you deserve amazing snacks.
I want to know how they turned out! Did the baking powder trick blow your mind? Did you opt for the snappy Lemon Pepper wings or drown them in a sticky glaze? Don’t be shy! Head down to the comments section below and tell me everything. Leave a rating so others know how much you loved these oven baked wings.
If you snapped a picture of your beautiful spread, I’d absolutely love to see it! Tag me on social media if you share a photo. We are a community of home cooks here, and sharing our wins—especially when they involve perfectly crispy skin—is what it’s all about! Keep cooking amazing things, and if you’re looking for more ridiculously easy yet impressive appetizers, you can always browse my full recipe index!
PrintUltimate Crispy Baked Chicken Wings (No-Fry Secret Technique)

Make incredibly crispy, juicy chicken wings in your oven without deep frying. This recipe uses a simple baking powder technique for perfect game day or party appetizers.
- Prep Time: 10 min
- Cook Time: 45 min
- Total Time: 55 min
- Yield: 4 servings
- Category: Appetizer
- Method: Baking
- Cuisine: American
- Diet: Low Fat
Ingredients
- 2 lbs chicken wings, separated into flats and drumettes
- 1 tablespoon baking powder (not baking soda)
- 1 teaspoon salt
- 1/2 teaspoon black pepper
- 1/2 teaspoon garlic powder
Instructions
- Preheat your oven to 425 degrees Fahrenheit (220 degrees Celsius). Line a large baking sheet with aluminum foil for easy cleanup. Place a wire rack on top of the foil-lined sheet.
- Pat the chicken wings completely dry using paper towels. This step is crucial for crispiness.
- In a large bowl, combine the baking powder, salt, pepper, and garlic powder.
- Add the dried chicken wings to the bowl and toss thoroughly until every piece is lightly and evenly coated with the dry rub mixture.
- Arrange the coated wings in a single layer on the wire rack, ensuring there is space between each wing for air circulation.
- Bake for 20 minutes.
- Flip each wing over. Return to the oven and bake for another 20 to 25 minutes, or until the skin is deeply golden brown and very crisp.
- Remove from the oven and immediately toss with your favorite sauce or serve plain with a dry rub.
Notes
- Use aluminum-free baking powder for the best results.
- For extra flavor, toss the cooked wings in a mixture of melted butter and your chosen sauce (like honey garlic or buffalo sauce) right before serving.
- If you prefer a slightly faster cook time, you can use an air fryer set to 380 degrees Fahrenheit for 18-22 minutes, flipping halfway.
Nutrition
- Serving Size: 4 wings
- Calories: 250
- Sugar: 0
- Sodium: 350
- Fat: 15
- Saturated Fat: 4
- Unsaturated Fat: 11
- Trans Fat: 0
- Carbohydrates: 1
- Fiber: 0
- Protein: 26
- Cholesterol: 85