

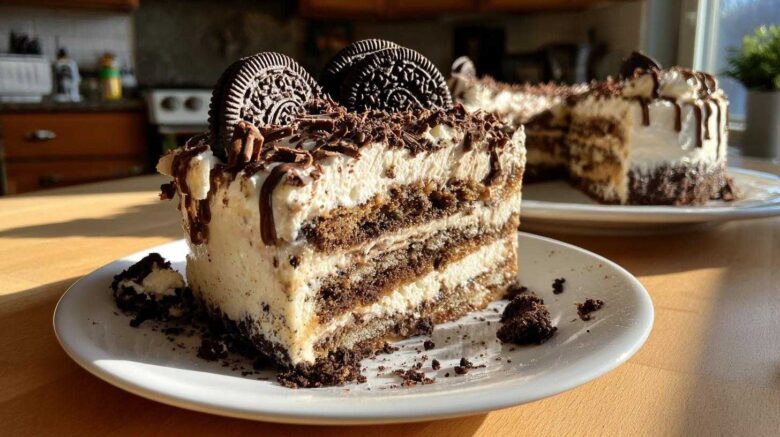
Decadent Mocha Oreo Icebox Cake: A No-Bake Coffee Lover’s Dream
Oh, the sheer joy of a dessert that brings together rich coffee, chocolatey Oreos, and creamy goodness! This Decadent Mocha Oreo Icebox Cake is truly a dream for anyone who loves a good caffeine kick in their sweets. I remember when Amaya and I first tinkered with this idea. We wanted something that felt special, yet was wonderfully simple to pull together after a long day. It reminds me of those quiet evenings in Kyoto, sharing a treat that was both comforting and a little bit indulgent. This no-bake wonder does just that. It’s a little bit magic, a lot delicious.
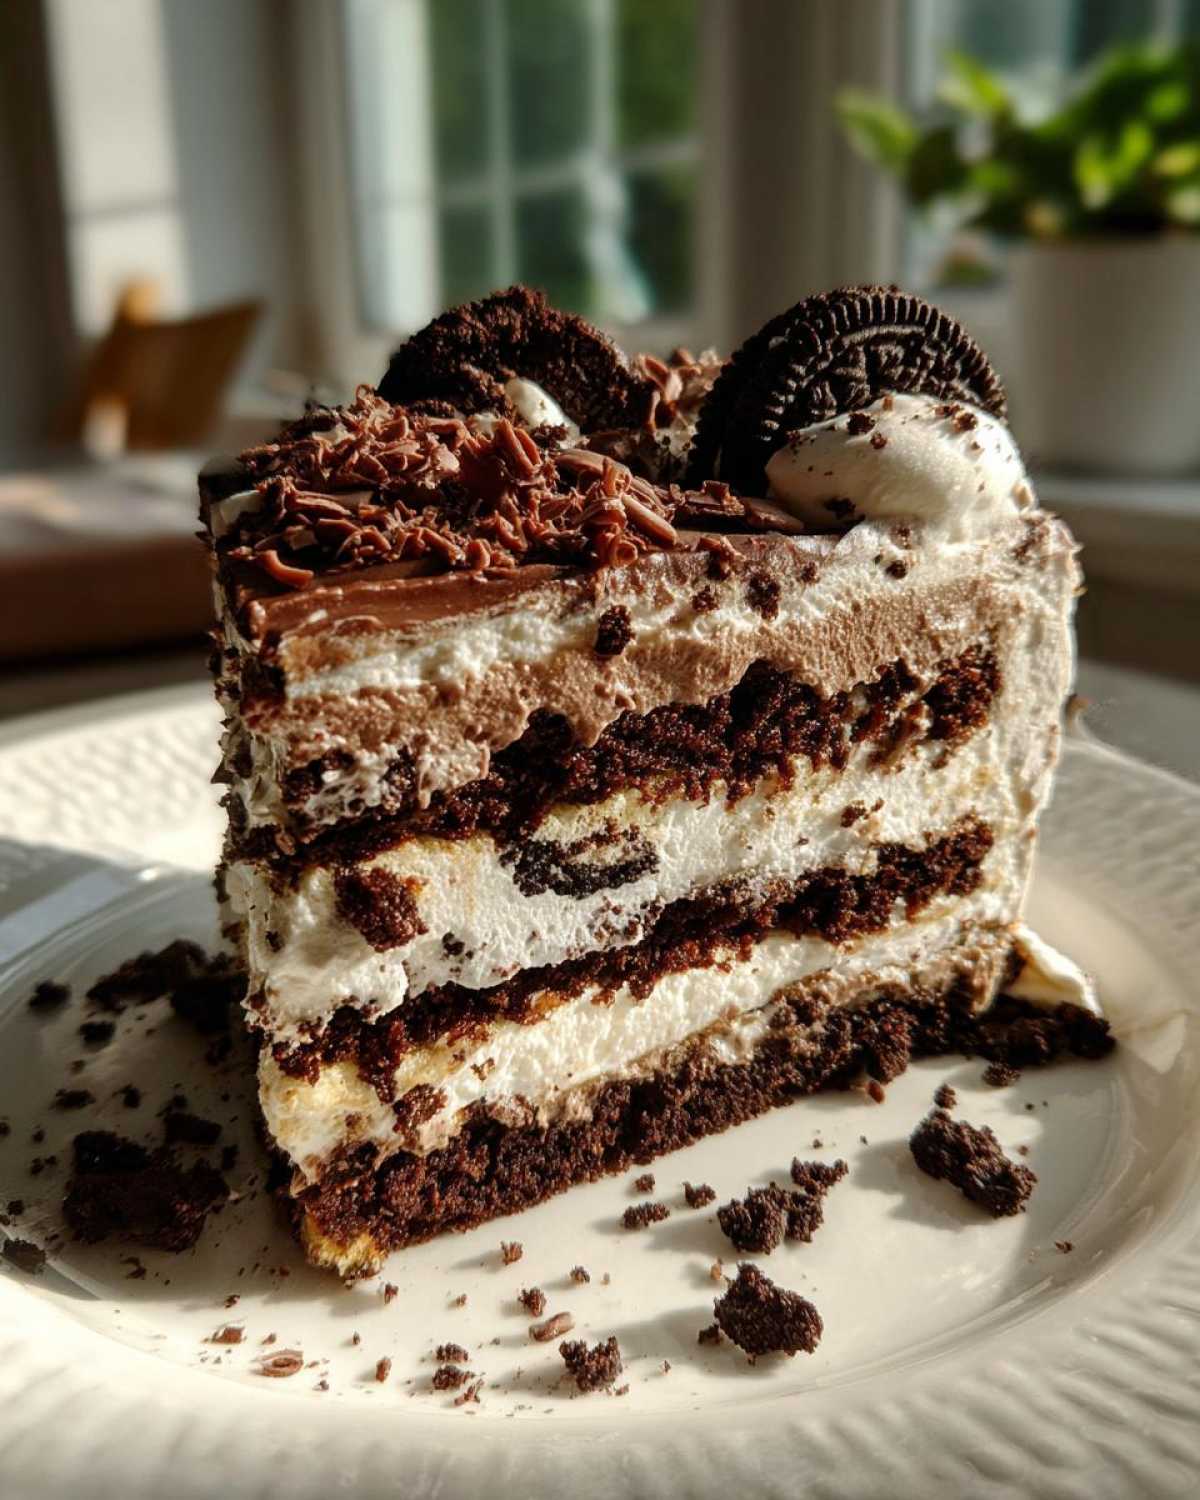
Why You’ll Love This Decadent Mocha Oreo Icebox Cake
- It’s incredibly easy to make.
- No oven required – perfect for any season!
- A guaranteed crowd-pleaser for coffee and chocolate fans.
- The flavor combination is simply divine.
Quick and Easy No-Bake Preparation
The best part? You don’t need to turn on the oven for this beauty. Assembling this cake is so straightforward. It’s the kind of dessert that makes you feel like a baking star, even if you’re just starting out.
Perfect for Coffee and Chocolate Enthusiasts
If you adore the deep, satisfying taste of coffee mingling with sweet chocolate, this cake is made for you. It’s a decadent experience that truly satisfies those cravings.
Gather Your Ingredients for the Decadent Mocha Oreo Icebox Cake
To create this delightful treat, you’ll need a few key players. Make sure your strong brewed coffee is completely cooled before you start. This is super important! And for the Oreos, just grab a standard package; they’re the stars holding everything together.
Essential Components
The foundation of our whipped topping is heavy cream. It whips up beautifully, creating that light and airy texture. The unsweetened cocoa powder adds that essential deep chocolate flavor, and the cooled coffee brings the mocha magic.
Sweeteners and Flavor Enhancers
Powdered sugar gives our cream the perfect sweetness without making it grainy. A splash of vanilla extract rounds out all the flavors, making everything taste even more delicious.
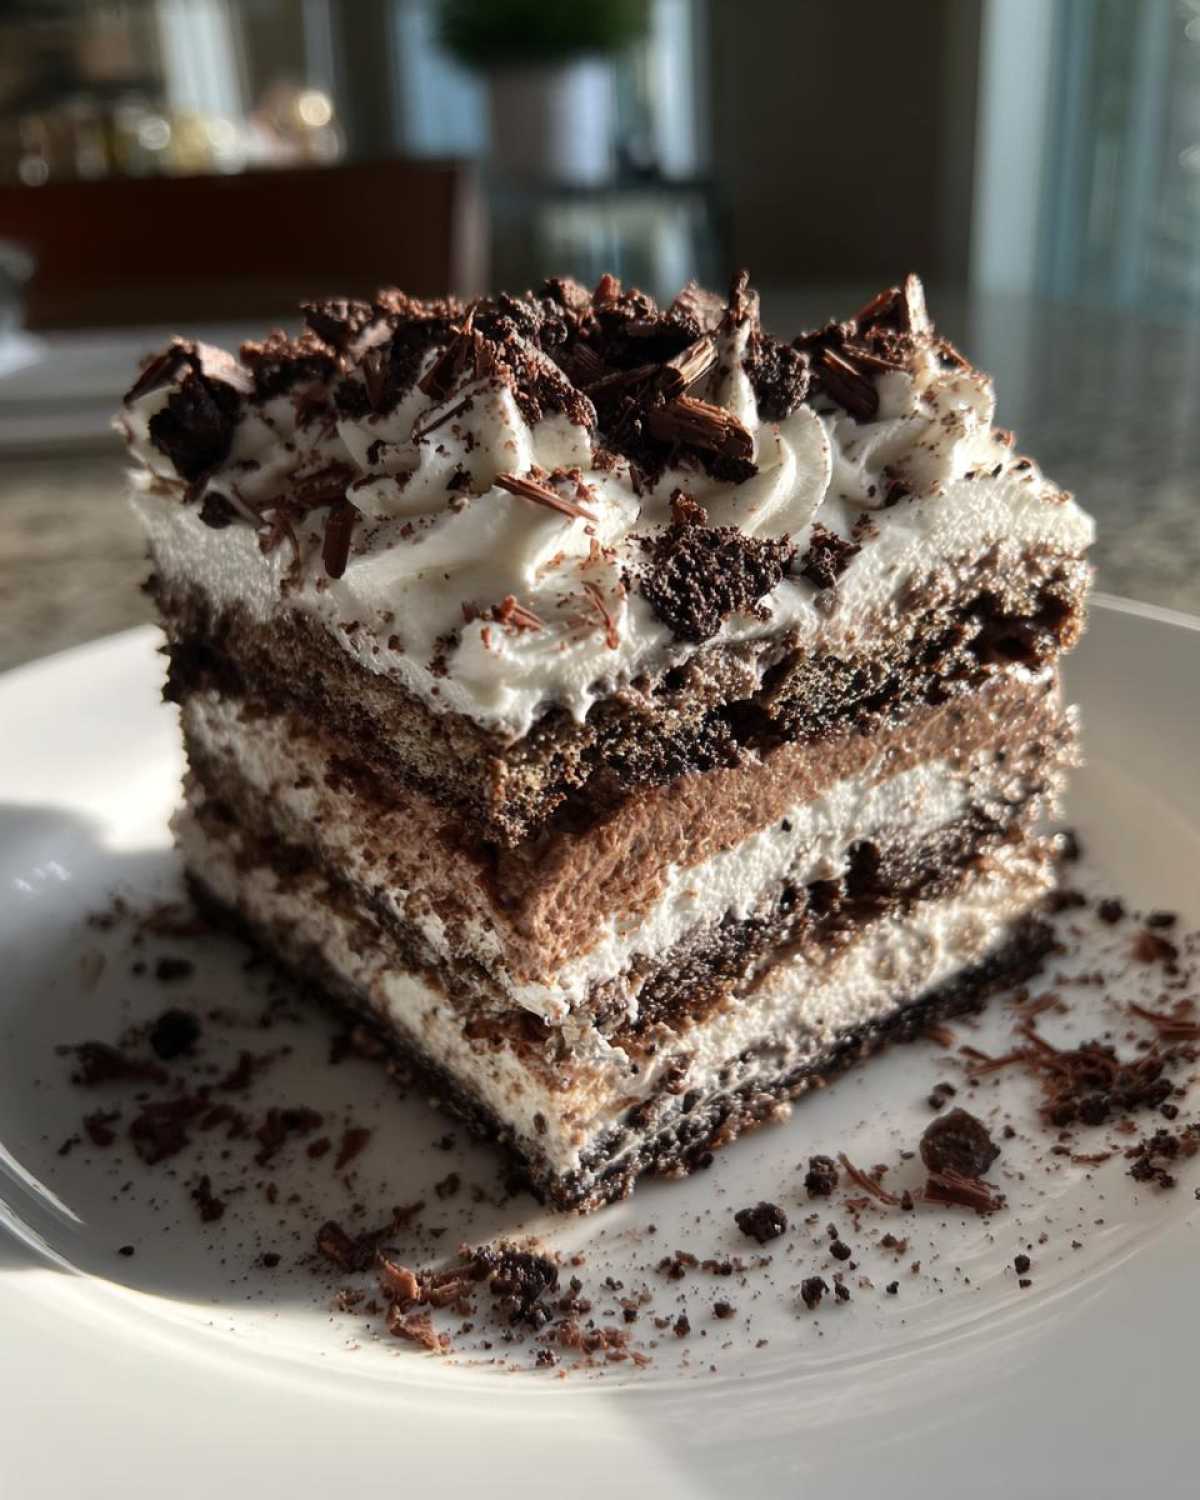
Crafting Your Decadent Mocha Oreo Icebox Cake: Step-by-Step
Let’s get this cake made! It’s a simple layering process that anyone can master.
Preparing the Mocha Whipped Cream
Start by whipping your heavy cream with powdered sugar and vanilla. Aim for stiff peaks – that means when you lift the whisk, the cream stands up on its own. In another bowl, whisk your cooled coffee with cocoa powder until it’s super smooth. Then, gently fold the coffee mixture into the whipped cream. Don’t overmix, or you’ll lose that lovely fluffiness!
Assembling the Layers
Grab a 9×13 inch dish. Arrange a single layer of Oreo cookies snugly on the bottom. Spread half of your luscious mocha whipped cream mixture evenly over the cookies. Then, add another layer of Oreos. Top that with the rest of the mocha cream. Finish with one last layer of Oreos. It’s like building a delicious sandwich!
The Crucial Chilling Period
This is where the magic happens. Cover your dish tightly with plastic wrap. Now, it needs to chill in the refrigerator for at least 8 hours. Honestly, overnight is even better! This gives the cookies time to soften and absorb the flavors. It’s what makes it an “icebox” cake!
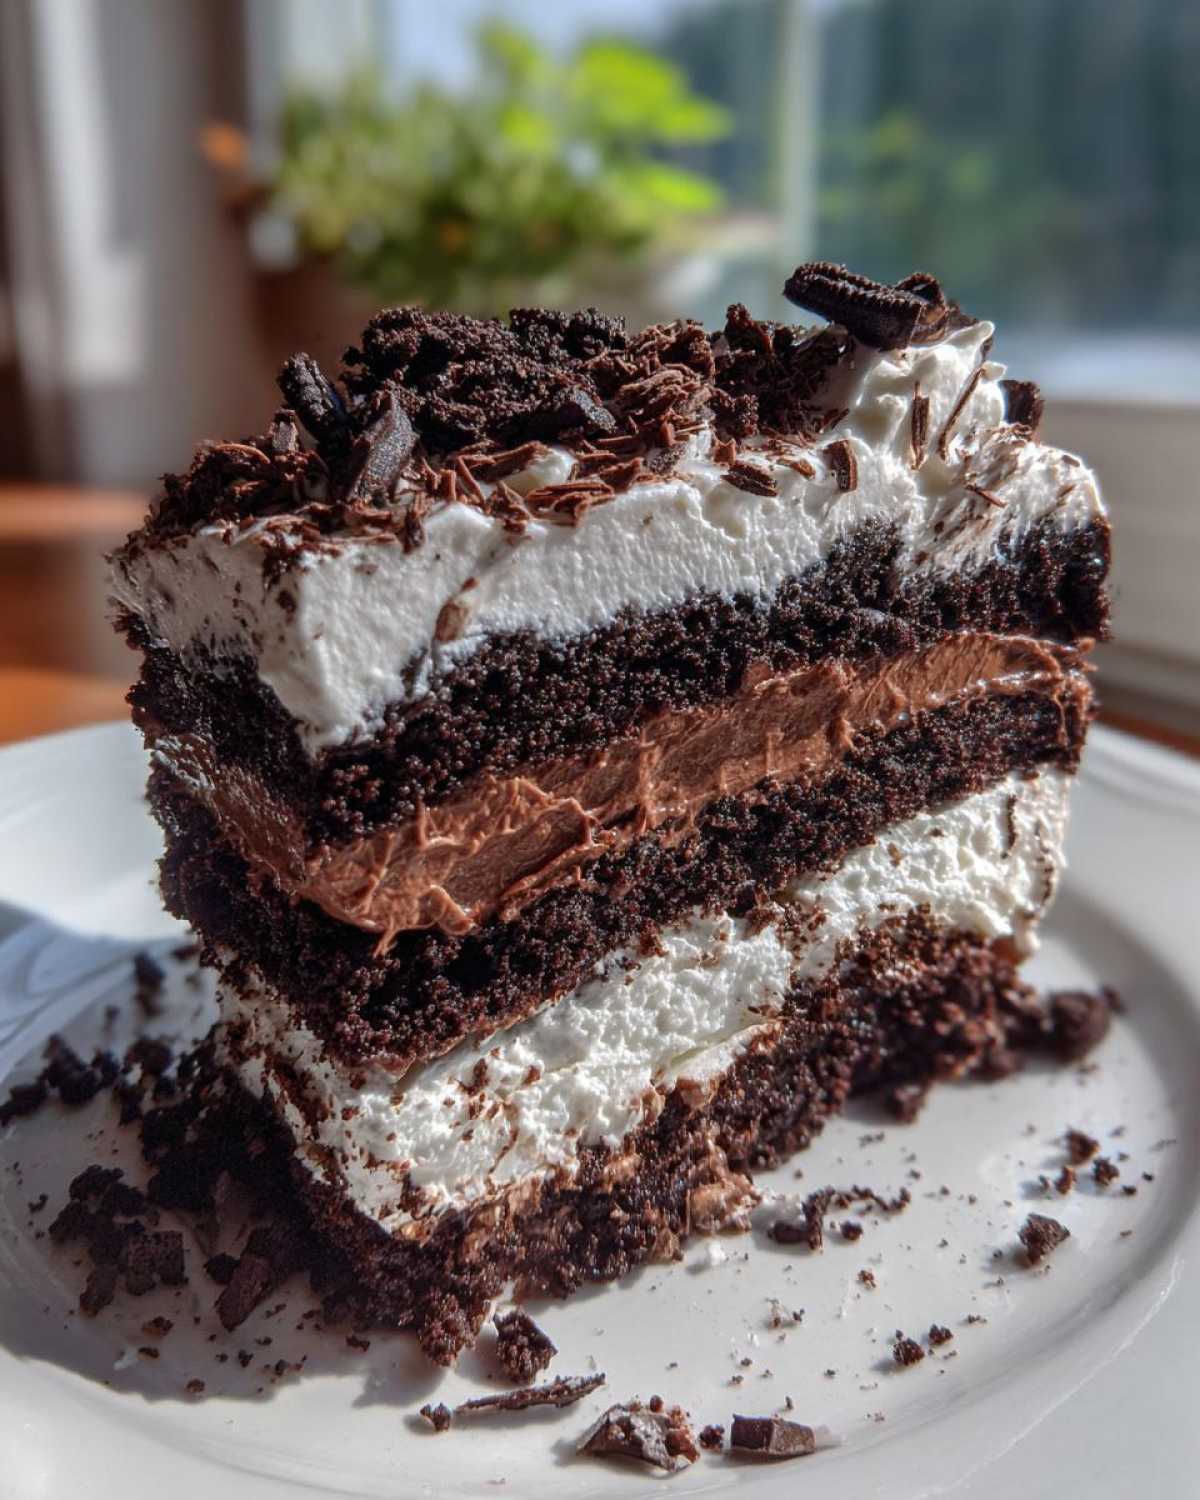
Tips for the Ultimate Decadent Mocha Oreo Icebox Cake Success
Want to make this cake even more amazing? Here are a few little tricks I’ve picked up.
Enhancing the Coffee Flavor
For a really intense coffee punch, try using chilled espresso instead of regular brewed coffee. It amps up that mocha flavor beautifully.
Adding Extra Texture
A fun twist is to crush some of your Oreos. Mix these cookie crumbs right into the whipped cream before layering. It adds a delightful crunch!
Serving and Storing Your Decadent Mocha Oreo Icebox Cake
Presentation is key, even for a simple dessert.
Garnish and Presentation Ideas
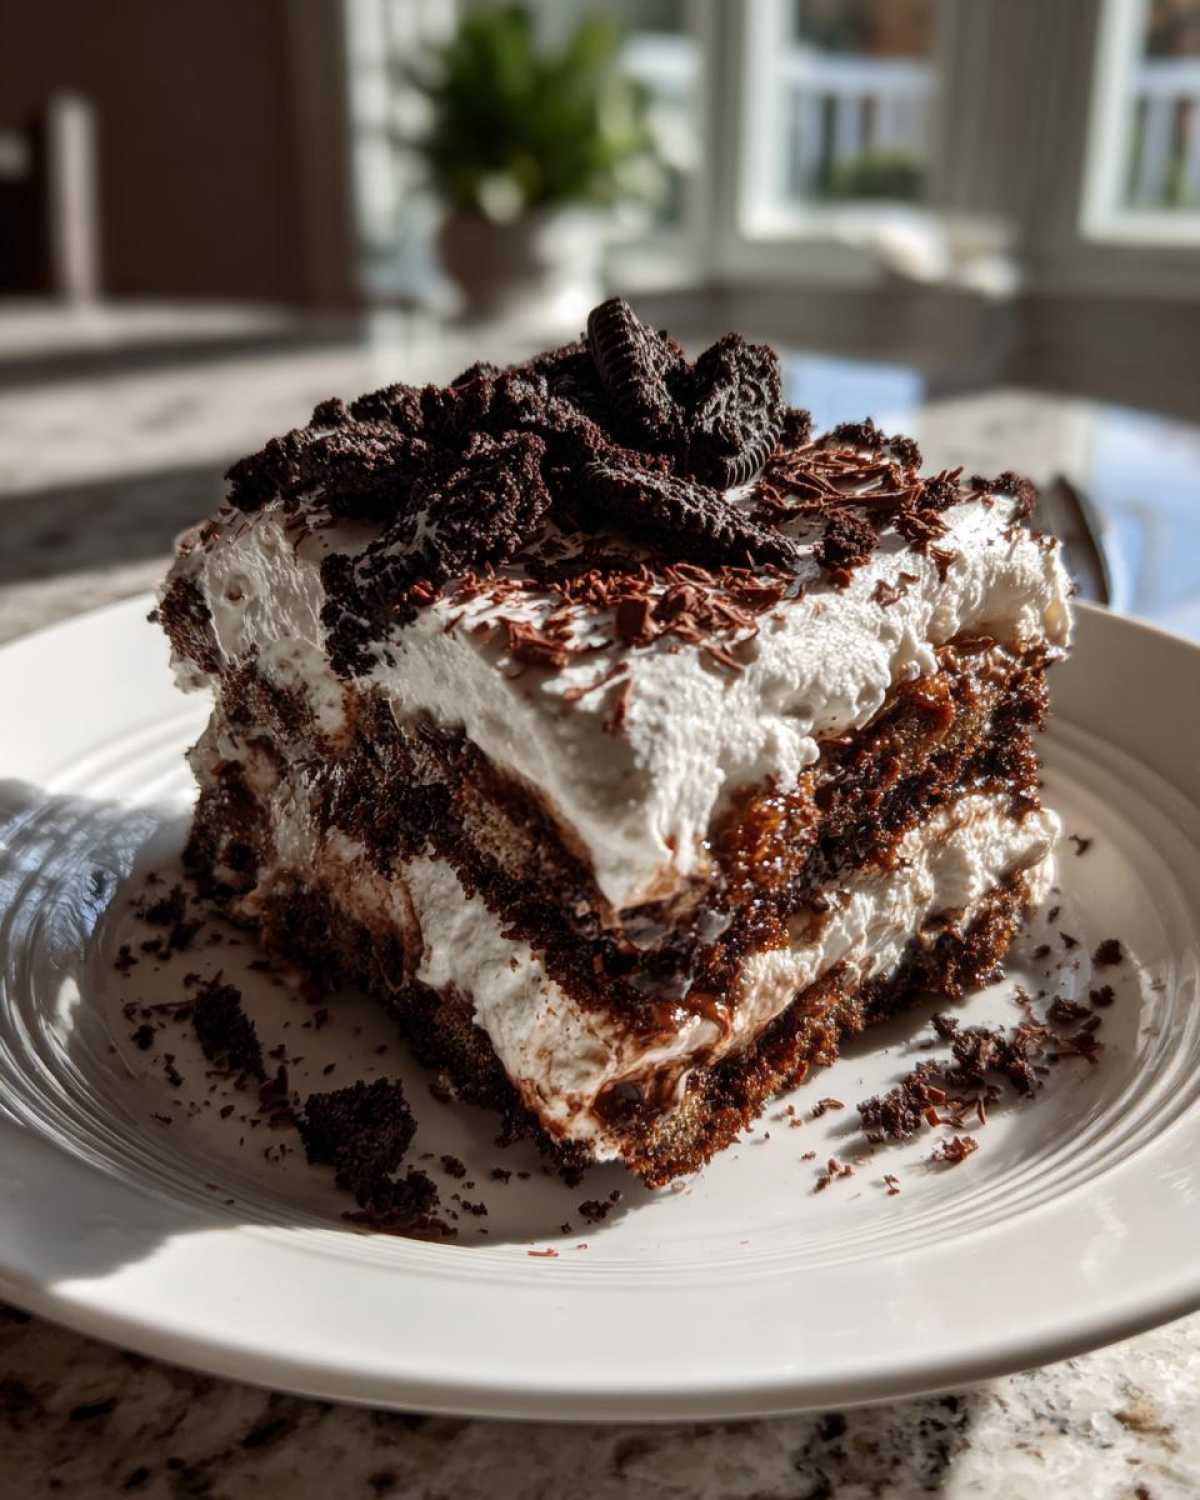
Before serving, sprinkle the top with chocolate shavings or mini chocolate chips. It looks so pretty and adds a little extra chocolatey goodness.
Storing Leftovers Properly
Any leftover cake should be covered tightly with plastic wrap. It will keep well in the refrigerator for up to 3 days. Just make sure it’s sealed to prevent it from drying out.
Frequently Asked Questions About Decadent Mocha Oreo Icebox Cake
Got questions? I’ve got answers!
Can I use a different type of cookie?
While Oreos are fantastic, you could experiment with other chocolate sandwich cookies. Just be aware the flavor and texture might change a bit.
How do I know if my whipped cream is stiff enough?
When you lift your whisk or beaters, the cream should form distinct peaks that stand straight up and don’t flop over. If it’s still soft, keep whipping.
Can I make this cake ahead of time?
Absolutely! In fact, it’s best made ahead. Chilling overnight is recommended for the cookies to soften perfectly.
What if I don’t like coffee?
You can omit the coffee and cocoa powder. Just whip the cream with powdered sugar and vanilla. You’ll have a delicious Oreo Icebox Cake!
Estimated Nutritional Information for Your Decadent Mocha Oreo Icebox Cake
Each slice of this decadent dessert is roughly 350-400 calories. It contains about 30-35g of carbohydrates and 25-30g of fat. This is an estimate, of course, and can vary based on the specific brands and amounts you use.
Why You’ll Love This Decadent Mocha Oreo Icebox Cake
- It’s incredibly easy to make.
- No oven required – perfect for any season!
- A guaranteed crowd-pleaser for coffee and chocolate fans.
- The flavor combination is simply divine.
Quick and Easy No-Bake Preparation
The best part? You don’t need to turn on the oven for this beauty. Assembling this cake is so straightforward. It’s the kind of dessert that makes you feel like a baking star, even if you’re just starting out.
Perfect for Coffee and Chocolate Enthusiasts
If you adore the deep, satisfying taste of coffee mingling with sweet chocolate, this cake is made for you. It’s a decadent experience that truly satisfies those cravings.
Gather Your Ingredients for the Decadent Mocha Oreo Icebox Cake
To whip up this delightful no-bake creation, you’ll need a few key ingredients. Having everything ready makes the assembly process a breeze. Ensure your strong brewed coffee is completely cooled before you begin; this is crucial for the mocha cream. For the cookies, grab a standard package of Oreos – they are the delicious structure of our cake.
Essential Components
The heart of our creamy layer is heavy cream. It whips up beautifully, giving our cake its light and airy texture. Unsweetened cocoa powder provides that deep, rich chocolate flavor that pairs so well with coffee. And of course, the cooled coffee is what gives this dessert its signature mocha kick.
Sweeteners and Flavor Enhancers
Powdered sugar is perfect here. It dissolves easily into the cream, providing just the right amount of sweetness without any grittiness. A hint of vanilla extract rounds out all the flavors, making the mocha and chocolate notes sing. It’s these simple additions that make the cake so irresistible.
Crafting Your Decadent Mocha Oreo Icebox Cake: Step-by-Step
Let’s get this cake made! It’s a simple layering process that anyone can master.
Preparing the Mocha Whipped Cream
First, grab a large bowl. Pour in your heavy cream. Add the powdered sugar and vanilla extract. Whip it all together until stiff peaks form. This means when you lift the whisk, the cream stands straight up. In a separate small bowl, whisk your cooled coffee with the cocoa powder. Make sure it’s nice and smooth. Now, gently fold this coffee mixture into the whipped cream. Be careful not to overmix. You want to keep that lovely fluffiness!
Assembling the Layers
Grab a 9×13 inch baking dish. This is your canvas for deliciousness. Arrange a single layer of Oreo cookies snugly on the bottom. They should cover the base. Spread half of your luscious mocha whipped cream mixture evenly over the cookies. Then, add another layer of Oreos. Top that with the rest of the mocha cream. Finish with one last layer of Oreos. It’s like building a delicious, no-bake sandwich!
The Crucial Chilling Period
This is where the real magic happens. Cover your dish tightly with plastic wrap. Now, it needs to chill in the refrigerator. A minimum of 8 hours is required. Honestly, letting it chill overnight is even better! This gives the cookies time to soften. They absorb all those delicious flavors. This step is what makes it an “icebox” cake! It’s truly worth the wait.
Tips for the Ultimate Decadent Mocha Oreo Icebox Cake Success
Want to make this cake even more amazing? Here are a few little tricks I’ve picked up that really elevate this dessert. They’re simple things that make a big difference.
Enhancing the Coffee Flavor
For a really intense coffee punch, try using chilled espresso instead of regular brewed coffee. It amps up that mocha flavor beautifully. Just make sure it’s cooled completely before adding it to the cream.
Adding Extra Texture
A fun twist is to crush some of your Oreos. Mix these cookie crumbs right into the whipped cream before layering. It adds a delightful crunch and makes every bite even more interesting.
Serving and Storing Your Decadent Mocha Oreo Icebox Cake
This cake is a showstopper! It looks as good as it tastes. Presenting it beautifully makes it even more special for your guests.
Garnish and Presentation Ideas
Before you serve, give your cake a final flourish. Sprinkle the top generously with chocolate shavings or mini chocolate chips. This adds a lovely visual appeal and an extra pop of chocolatey goodness. It’s simple, but it makes a big difference!
Storing Leftovers Properly
If by some chance you have any cake left, don’t worry. Cover the dish tightly with plastic wrap. Store it in the refrigerator. It will stay delicious for up to 3 days. Make sure it’s well-sealed to keep it fresh.
Frequently Asked Questions About Decadent Mocha Oreo Icebox Cake
Do you have a few lingering questions before you dive into making this mocha Oreo icebox cake? I’m happy to help!
Can I use a different type of cookie?
While Oreos are the classic choice for this no-bake cake, you can certainly experiment. Chocolate sandwich cookies with a similar crispness will work. Just know the unique Oreo flavor will be missed.
How do I know if my whipped cream is stiff enough?
When you lift your whisk or beaters from the cream, it should form distinct peaks that stand straight up without drooping. If it slumps over, keep whipping for a few more seconds.
Can I make this cake ahead of time?
Yes, absolutely! This mocha Oreo dessert is actually best when made ahead. Chilling it overnight is highly recommended. This allows the cookies to soften perfectly.
What if I don’t have Oreos or want a different flavor?
You can swap Oreos for other chocolate cookies. If you’re not a coffee fan, simply omit the coffee and cocoa powder. You’ll have a delicious vanilla Oreo icebox cake instead!
Estimated Nutritional Information for Your Decadent Mocha Oreo Icebox Cake
Creating this delightful mocha Oreo icebox cake is a joy, and understanding its nutritional profile helps. Each generous slice typically offers around 350-400 calories. You can expect about 30-35g of carbohydrates and 25-30g of fat per serving. Please remember these figures are approximate. They can change based on the specific brands and quantities of ingredients you use.
PrintDecadent Mocha Oreo Icebox Cake: 1 Dreamy Recipe

A no-bake icebox cake made with Oreos, coffee, and chocolate for a rich and decadent dessert.
- Prep Time: 20 minutes
- Cook Time: 0 minutes
- Total Time: 8 hours 20 minutes
- Yield: 10-12 servings
- Category: Dessert
- Method: No-Bake
- Cuisine: American
- Diet: Vegetarian
Ingredients
- 2 cups heavy cream
- 1/2 cup powdered sugar
- 1 teaspoon vanilla extract
- 1/4 cup strong brewed coffee, cooled
- 1 tablespoon unsweetened cocoa powder
- 1 package (14.3 ounces) Oreo cookies
- 1/2 cup chocolate shavings or mini chocolate chips, for garnish
Instructions
- In a large bowl, whip the heavy cream, powdered sugar, and vanilla extract until stiff peaks form.
- In a separate small bowl, whisk together the cooled coffee and cocoa powder until smooth.
- Gently fold the coffee mixture into the whipped cream until just combined. Do not overmix.
- Arrange a single layer of Oreo cookies on the bottom of a 9×13 inch baking dish.
- Spread half of the mocha whipped cream mixture evenly over the cookies.
- Add another layer of Oreo cookies.
- Spread the remaining mocha whipped cream mixture over the second layer of cookies.
- Top with a final layer of Oreo cookies.
- Cover the dish with plastic wrap and refrigerate for at least 8 hours, or preferably overnight, to allow the cookies to soften and the cake to set.
- Before serving, garnish with chocolate shavings or mini chocolate chips.
Notes
- For a stronger coffee flavor, use espresso instead of brewed coffee.
- You can crush some Oreos and mix them into the cream for added texture.
- Adjust the sweetness by adding more or less powdered sugar to your preference.
Nutrition
- Serving Size: 1 slice
- Calories: Approximately 350-400
- Sugar: Approximately 30-35g
- Sodium: Approximately 150-200mg
- Fat: Approximately 25-30g
- Saturated Fat: Approximately 15-20g
- Unsaturated Fat: Approximately 5-10g
- Trans Fat: 0g
- Carbohydrates: Approximately 30-35g
- Fiber: Approximately 1-2g
- Protein: Approximately 3-5g
- Cholesterol: Approximately 50-60mg