

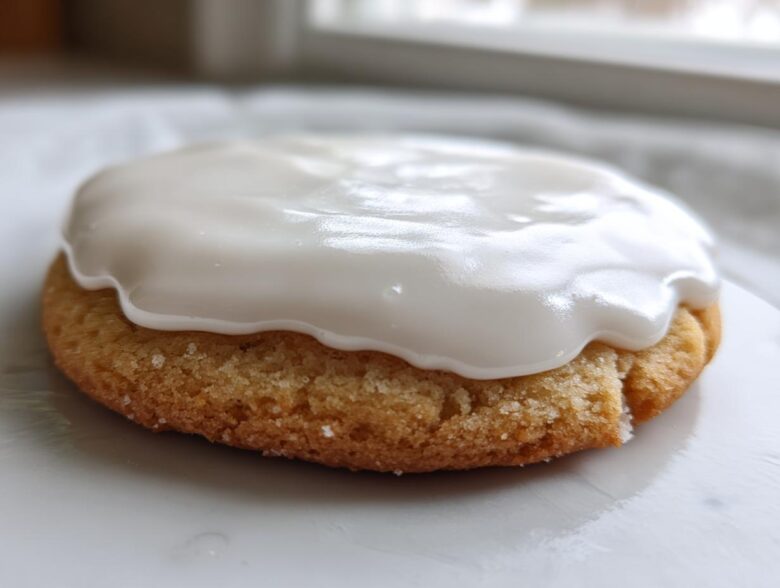
Oh, I know the pain! You spend hours cutting out the perfect shapes, you mix up a batch of what promises to be the world’s best **cookie icing**, and then… disaster. It either stays sticky forever, making your beautiful holiday cookies glue themselves into a single, sad stack, or it dries cracked and dull. Don’t even get me started on the lumpy batches from my early attempts!
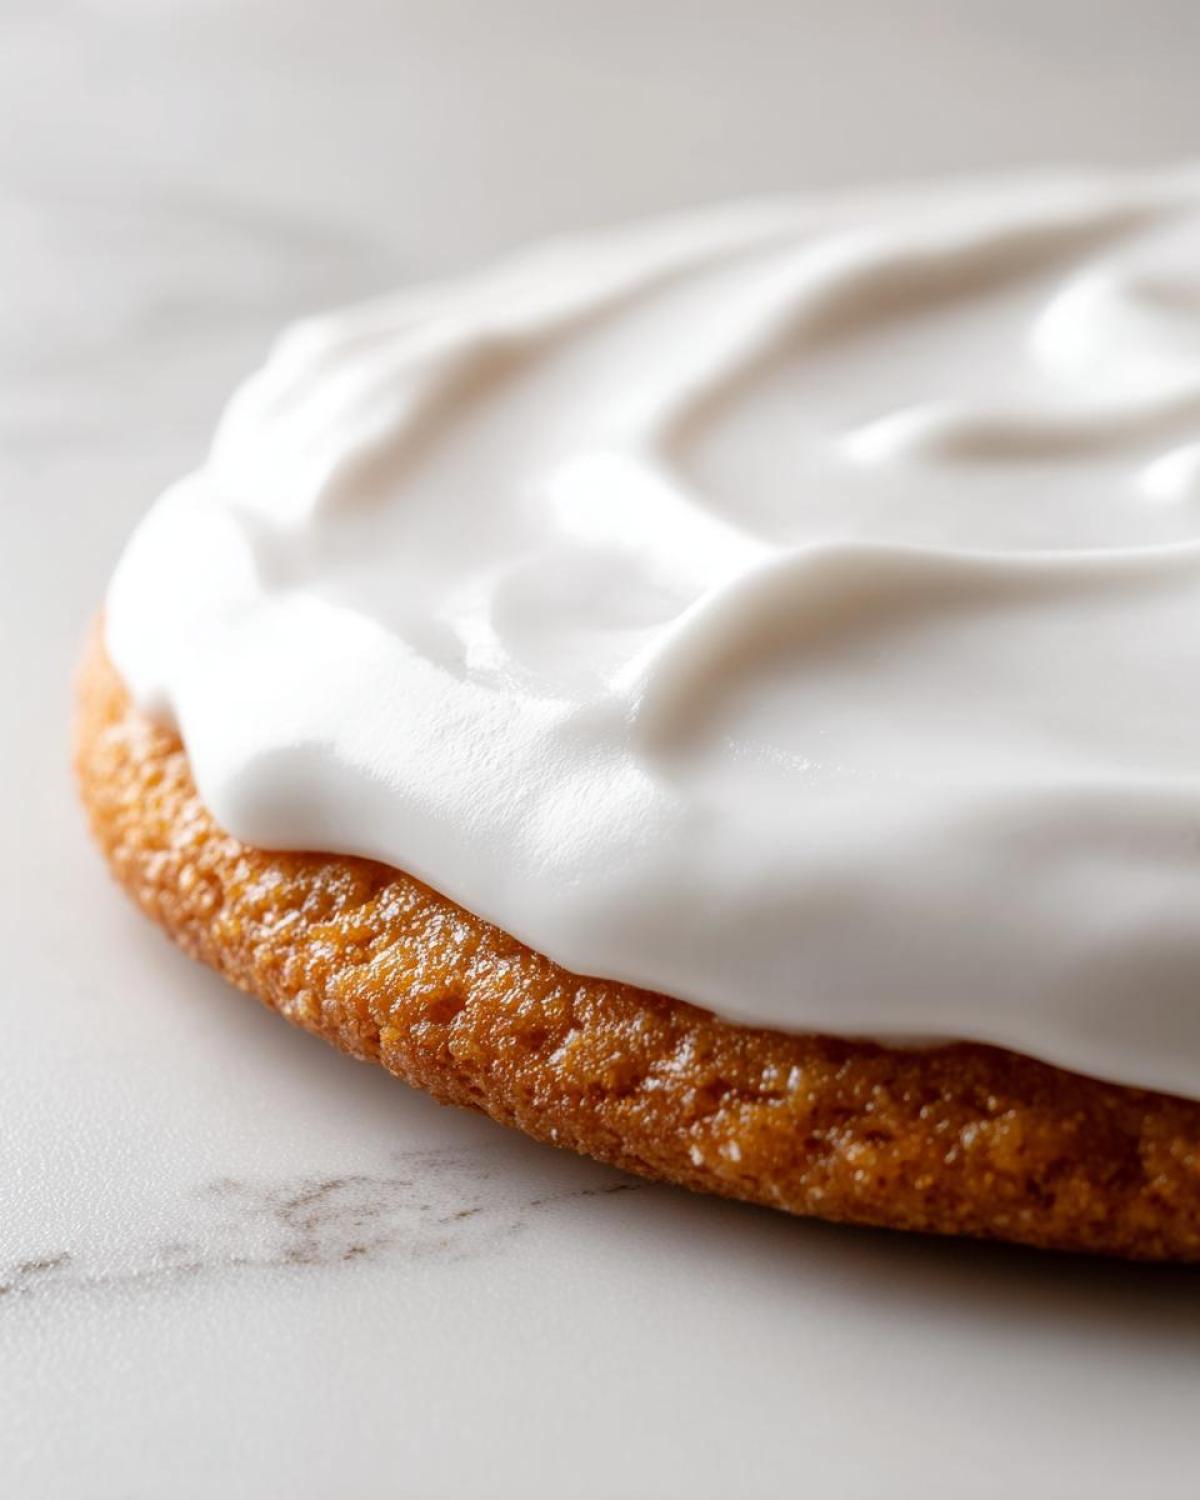
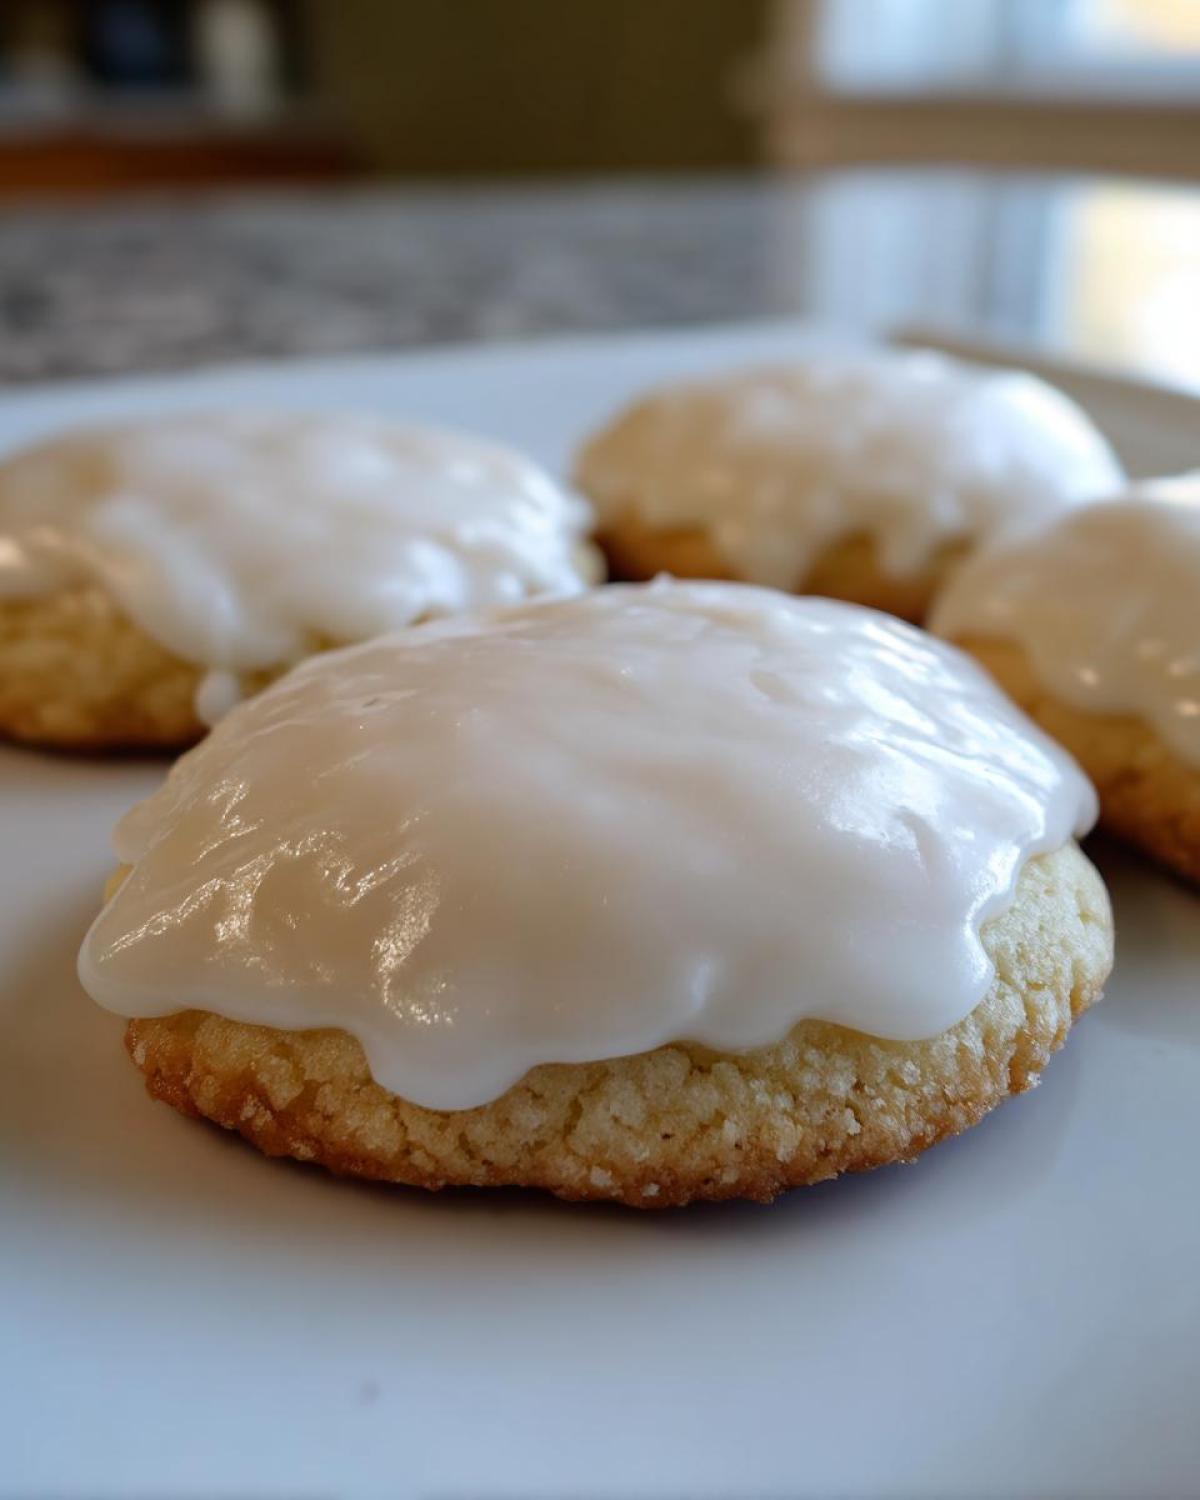
Trust me, I’ve been there, especially when getting ready for Christmas cookie exchanges. I swore that year I wouldn’t serve anything less than perfect. After way too many failed batches and a few emergency trips to the store, I finally locked down this royal icing formula. It is the secret weapon for an absolutely smooth, high-gloss finish that dries rock hard—perfect for cut-out cookies!
This isn’t some overly complicated recipe. It uses a handful of simple ingredients, but the ratios are spot on. You’ll walk away with a **durable cookie icing** that makes even my simplest sugar cookies look like they came straight from a professional bakery. You can find the sugar cookie recipe I use for these right here, but honestly, this icing recipe works on anything!
Why This Easy Cookie Icing Recipe is Your New Go-To
I’m not going to lie, making beautiful cookies takes patience, but this recipe for **cookie icing** makes the decorating part nearly foolproof. Forget soft, weepy frosting that never sets up. This is the formula I rely on when presentation matters most.
- It dries completely hard and smooth. No more sticky surfaces!
- You get that gorgeous, glossy sheen that makes your colored designs pop.
- It’s incredibly forgiving for beginners—if you can stir, you can handle this!
- It’s sturdy enough for intricate designs on cut-out cookies.
- This **durable cookie icing** means you can stack your favorites high or pack them up for gifting without any smudging.
Honestly, once you see how perfectly this stuff sets, you’ll ditch every other glaze recipe you’ve ever tried. It’s simply the best **icing for sugar cookies** I’ve found.
Simple Ingredients for Perfect Hardening Cookie Icing
The list of ingredients for this fantastic **royal icing** is super short, which is why I love it so much! You don’t need fancy stabilizers or weird items. We’re sticking to the basics that give us the best result: a **glossy hard icing recipe** that actually sets.
The stars of the show, based on the notes I often jot down on my card, are:
- 4 cups powdered sugar, and you absolutely MUST sift this!
- 3 tablespoons meringue powder—this is the secret ingredient that makes it harden perfectly. Don’t skip it!
- 6 tablespoons warm water
- 1 teaspoon vanilla extract
You might be wondering about the meringue powder. It’s crucial! If you substitute with plain egg whites, the results can be unpredictable, and we want a **no fail cookie icing**, right? Meringue powder helps ensure that when this dries, it’s firm enough to stack. Make sure your sugar is sifted, too. That step alone stops you from having those frustrating little lumps that ruin a perfectly **smooth cookie decorating icing** job. If you want a few extra tips on making sugar cookies to pair with this, check this recipe out!
Step-by-Step Guide: How to Make Sugar Cookie Icing
Okay, now that we have our sifted sugar and that magic meringue powder ready, let’s get mixing! This part is quick, but you can’t rush the mixer; that’s where we build the structure. Grab your electric mixer because you need that power for the best results when making this **easy cookie icing recipe**.
First, combine the dry stuff—the sifted powdered sugar and the meringue powder—in your mixing bowl. Now, add your six tablespoons of warm water slowly while the mixer is on the lowest setting. We don’t want a sugar cloud filling the kitchen, trust me! Once it’s mostly combined, toss in that teaspoon of vanilla for flavor.
Here’s the crucial part: crank that mixer up to medium-high. You need to beat this mixture for a solid 5 to 7 minutes. Don’t stop early! You are looking for the icing to become super thick. It should look smooth, glossy, and when you lift the beater, it should form stiff, proud peaks. This vigorous mixing builds the air we need for that hard, snappy finish.
Achieving the Perfect Royal Icing Consistency Guide
This is the part that separates the good decorators from the great ones, and honestly, it’s just practice! You need two main textures from this base batch of **royal icing for cookies**. Outline icing needs to hold its shape perfectly so your edges don’t run when you flood them.
For the flood icing—the stuff that fills the middle—we thin it out just a bit. My absolute favorite trick is the 10-second rule. Once you feel the icing is right for flooding, lift the beater out of the bowl. Watch how fast the icing settles back into the main batch. If it completely smooths itself back into the bowl in about 10 seconds, that’s your **perfect cookie icing texture** for flooding. If it disappears instantly, it’s too thin! If it leaves a trail that sits on top for longer than that, it’s still too thick for flooding. Adjust slowly with water or more sugar, a teaspoon at a time. This adjustment makes all the difference!
For outlining, I sometimes even use the icing straight from the mixer without adding extra water. If you’re dealing with tricky cut-outs, check out my guide on decorating gingerbread houses—though this is for cookies, the technique for thick glue-like icing is similar! Find that here.
Tips for Beginner Cookie Icing Success
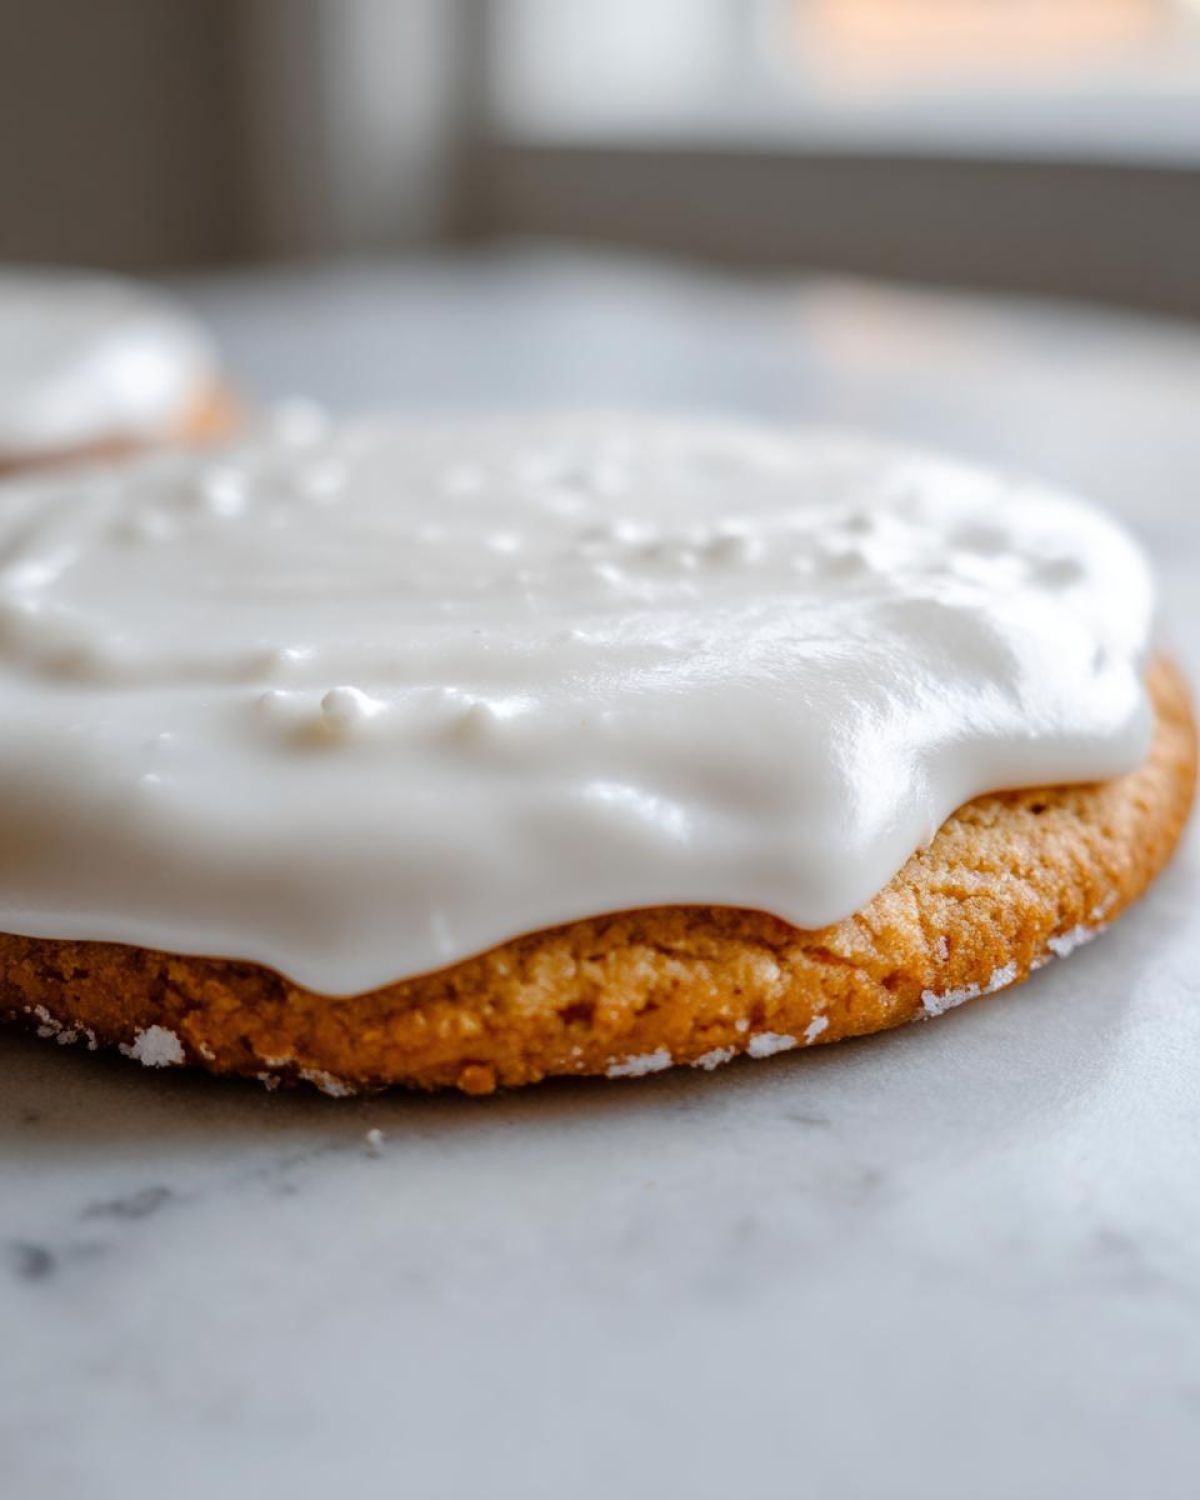
If you’re new to this **royal icing** game, don’t panic! Getting the hang of the consistency, especially when coloring, can throw you off, but I’ve got the quick fixes that saved me countless times. My biggest piece of advice, which comes straight from the recipe notes, is to use gel food coloring, and use it sparingly.
Seriously, a tiny dab of gel coloring goes a long way. If you add too much liquid, you ruin the texture, and you end up with a runny mess. I learned this the hard way trying to make neon green for St. Patrick’s Day. I dumped in too much liquid coloring, and suddenly my stiff outline icing was weeping all over the cookie! My fix? Slowly beating in another tablespoon of sifted powdered sugar until it came back to a pipeable consistency. It worked like a charm, but it was stressful!
Always remember the golden rule for troubleshooting: be gentle and patient. If you need to thin it out because it’s too stiff for your flood coat, add water just a half-teaspoon at a time—seriously, that little bit makes a huge difference. If it gets too watery, grab that sifted powdered sugar and add it one tablespoon at a time until it looks right again. You can find more great ideas for getting your **sugar cookie icing that hardens** just right in this helpful guide. Take it slow, and you’ll have professional-looking results in no time!
Decorating Techniques for Smooth Cookie Decorating Icing
Once you have your icing right—and I mean really right—it’s time for the fun part! But before we dive into covering the whole cookie, we have to respect the structure of this **royal icing**. You can’t just glob it all on at once if you want those sharp, professional borders.
The secret to super tidy edges on your **icing for cut-out cookies** is the two-step method. First, you need to outline the entire cookie perimeter using your stiffest batch of icing. This outline acts like a little dam or tiny wall that keeps the thinner flood icing from running right off the edge when you pour it in. It’s that structure that gives you beautiful, sharp borders!
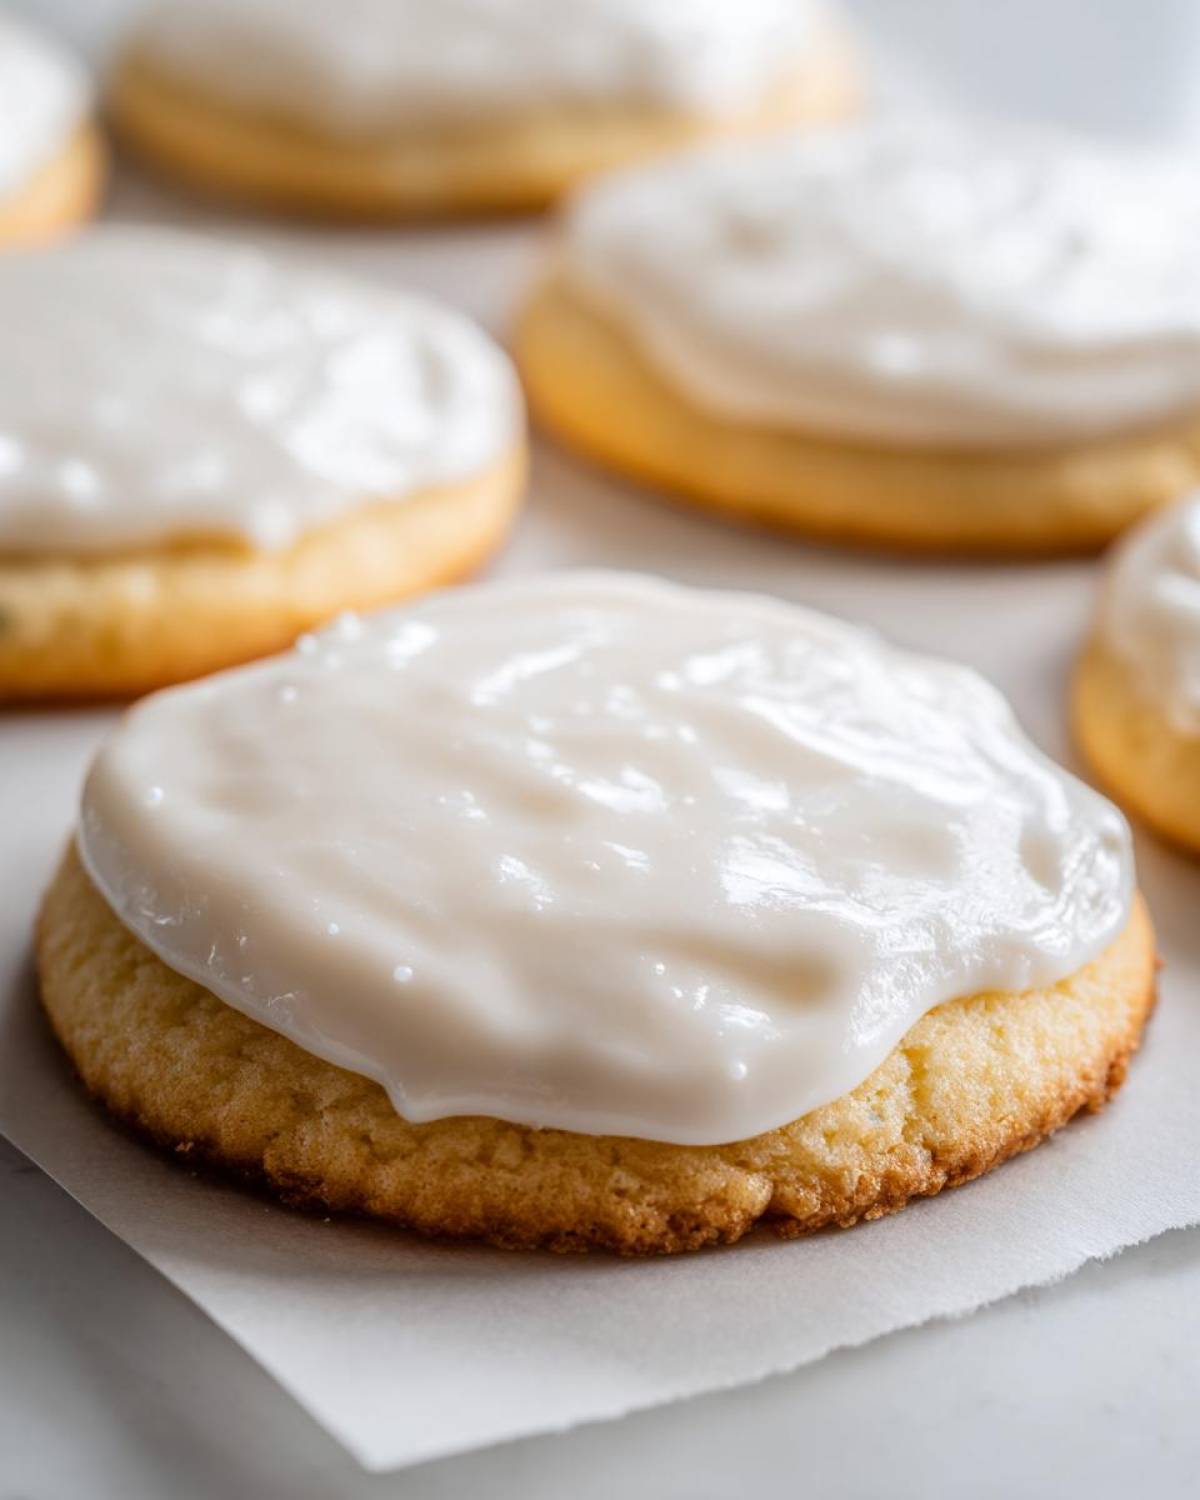
Once you finish outlining an entire batch of cookies—or at least several—you absolutely have to let that border set up. I wait a good 30 minutes minimum. If you try to flood too soon, the flood icing rushes right over the border. After the outlines are firm, you switch to your slightly thinner flood consistency we talked about earlier. Gently pour the flood icing into the outlined area. You might need to use a scribe tool or the tip of a toothpick to gently coax the icing into the corners. I always follow up with a quick light tap on the counter—that helps release any trapped air bubbles, leading to that incredibly **smooth cookie decorating icing** finish you want.
This two-step process might feel slow, but I promise it’s worth the wait. It separates a decent cookie from a “Wow, where did you buy that?!” cookie. If you’re looking for another great, simple frosting recipe for other uses, I sometimes use this vanilla buttercream, but for decorating cut-outs that need to be tough, this royal icing cannot be beaten!
Drying and Storing Your Hard Cookie Icing
We’ve done the hard structural work by mixing it right and flooding perfectly, but now comes the most agonizing part: waiting! This **cookie icing** needs time to cure underneath the air so it gets that beautiful hard shell. You must let those decorated cookies dry completely uncovered at room temperature. I know it’s tempting to rush them into a box, but you really need 6 to 12 hours for this stuff to fully set. Humidity is my enemy here; if it’s raining outside, sometimes I have to let them go for nearly a full day before they pass the gentle touch test.
Now, what about the extra icing you colored but didn’t use? Don’t put that in the fridge! This type of icing doesn’t like the cold. Keep any unused, colored icing in an airtight container right on your counter. I usually press a piece of plastic wrap directly onto the surface of the icing before putting the lid on nice and tight. It’ll stay good for about three days. Just give it a really good stir before you try to use it again—it tends to stiffen up when left alone, but it remixes beautifully!
Common Questions About Royal Icing for Cookies
When you start working with royal icing, you’re going to have questions. That’s totally normal! It behaves differently than standard buttercream, so knowing the answers really helps you get that perfect, smooth look. Here are the things I always get asked about when people try this **no fail cookie icing** recipe for the first time.
Can I substitute meringue powder in this cookie icing?
This is the big one! My honest answer is: if you want this **cookie icing** to dry hard and remain durable for gifting, you really should stick with the meringue powder. It’s specially formulated to create that firm, non-sticky shell we are aiming for. If you absolutely must substitute it because you ran out, you *can* use pasteurized egg whites instead, but you have to be so careful! Egg whites vary in size and moisture content, so you’ll need to reduce the amount of warm water you add initially, maybe by a teaspoon or two. You’ll likely need to mix it longer, too, to get the stiffness right. It’s just easier to keep the powder on hand for reliable results!
How long does this glossy hard icing recipe take to dry completely?
Ah, the waiting game! As I mentioned earlier, I usually tell people to plan on at least 6 to 12 hours for this **glossy hard icing recipe** to be truly set. It depends a lot on what Mother Nature is doing that day. If it’s dry and sunny in your kitchen, they’ll dry faster. If you live somewhere super humid, like I did for a while, they can take ages! If you can gently touch the surface and it feels totally solid—not slightly tacky at all—then you are good to go for stacking. Don’t risk stacking them if you have any doubt; just give them a few extra hours on the counter.
What is the best way to color this vanilla cookie icing?
For vibrant colors, especially deep holiday reds or blues, you need to use gel food coloring, not the liquid kind you buy at the grocery store! The liquid versions just add too much unwanted moisture, and you end up thinning out your beautiful base. Remember what I said about the flood consistency? Adding just a few drops of liquid coloring can undo all that careful measuring! Use a toothpick to dab a tiny bit of gel coloring into your icing, then mix thoroughly. If you need the color darker, add another tiny dab. It’s always easier to add more color than it is to fix an icing that has become too runny because you over-colored it!
Tips for Durable Cookie Icing for Gifting
When you’re making cookies specifically to pop into a tin or box for friends, the icing has to perform! Our goal here isn’t just pretty; it’s infrastructure. That’s why you simply cannot skimp on the full drying time, even if you’re tempted because you’re running late for a party. This strong royal icing formulation is sturdy once cured, which means it won’t crack or smudge when gently stacked.
Letting those cookies sit out the full 8 to 12 hours guarantees a sturdy, **durable cookie icing for gifting**. You want a complete cure so that when you wrap them up, all that beautiful detail stays pristine! Speaking of gifts, if you ever need a classic, moist bread recipe for another gift basket, check out this yummy date nut bread idea.
Share Your Beautifully Iced Creations
Now that you’ve mastered this **cookie icing** and your sugar cookies are looking absolutely gorgeous under that shiny coat, I really, really want to see what you made! Decorating is my favorite part, but sharing the results is right up there.
Please try leaving a star rating right below—it helps other bakers find this reliable recipe and ditch their sticky icing woes for good. And if you snapped a picture of your masterpiece, share it! Tag me on social media so I can marvel at your beautiful borders and perfect flood work. It truly makes my day to see this recipe bring joy (and gorgeous cookies!) to your kitchen.
If you’re already scouting your next bake after this success, maybe give my favorite chocolate chip cookies a try next time? You can find that recipe here. Happy decorating, friends!
PrintEasy Hardening Royal Icing for Sugar Cookies

This recipe provides a simple method for making royal icing that dries smooth, glossy, and hard, perfect for decorating cut-out sugar cookies.
- Prep Time: 15 min
- Cook Time: 0 min
- Total Time: 15 min
- Yield: Covers approximately 3 dozen standard cookies
- Category: Dessert
- Method: Mixing
- Cuisine: American
- Diet: Vegetarian
Ingredients
- 4 cups powdered sugar, sifted
- 3 tablespoons meringue powder
- 6 tablespoons warm water
- 1 teaspoon vanilla extract
Instructions
- In a large bowl, combine the sifted powdered sugar and meringue powder.
- Gradually add the warm water while mixing on low speed with an electric mixer.
- Once combined, add the vanilla extract.
- Increase the mixer speed to medium-high and beat for 5 to 7 minutes until the icing is very thick, smooth, and holds stiff peaks.
- Test the consistency: for outlining, the icing should hold its shape. For flooding, add water one teaspoon at a time until the icing flows smoothly off the mixer beater and settles back into the bowl in about 10 seconds (10-second count).
- Divide the icing into bowls for coloring, if desired. Add gel food coloring sparingly and mix until uniform.
- Use the icing immediately for outlining cookies. Let the outline dry for at least 30 minutes before flooding the center.
- To flood, use a thinner consistency icing. Gently spread the flood icing to cover the cookie area.
- Allow cookies to dry uncovered at room temperature for 6 to 12 hours, or until completely hard before stacking or packaging.
Notes
- Sift the powdered sugar to prevent lumps in your icing.
- Meringue powder is essential for achieving the hard, durable finish. Do not substitute with egg whites unless you adjust the liquid amount carefully.
- If the icing is too thin for flooding, add more sifted powdered sugar, one tablespoon at a time.
- If the icing is too thick, add water, one half-teaspoon at a time.
- Store unused icing in an airtight container at room temperature for up to three days; stir well before using again.
Nutrition
- Serving Size: 1/4 cup icing
- Calories: 180
- Sugar: 45
- Sodium: 5
- Fat: 0
- Saturated Fat: 0
- Unsaturated Fat: 0
- Trans Fat: 0
- Carbohydrates: 45
- Fiber: 0
- Protein: 1
- Cholesterol: 0