

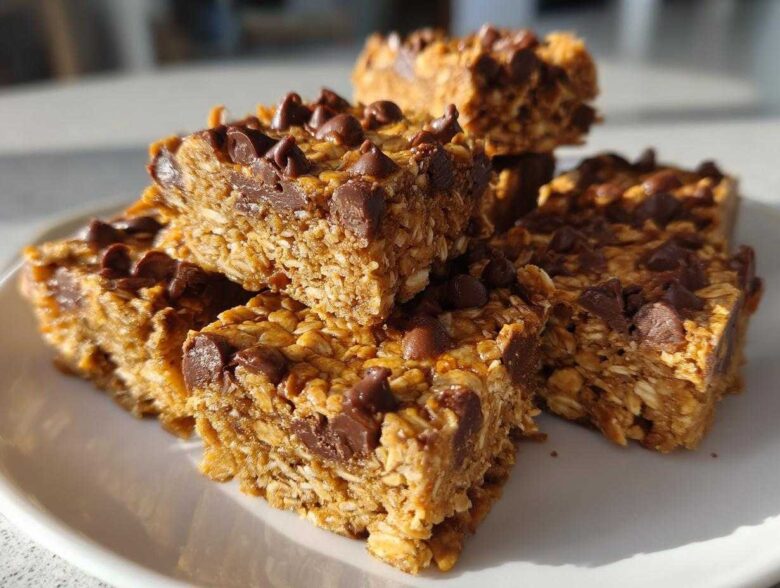
Oh, I know that feeling. You’re running out the door, your stomach is grumbling, and you’re staring down a shelf full of store-bought snacks that are either chalky or loaded with sugar you don’t want. It’s a struggle! My joy in the kitchen, even here in New York, has always been finding the absolute simplest way to make something fantastic. That’s why I put together this recipe for the Easy 5-Ingredient No-Bake Peanut Butter Protein Bars. These homemade protein bars are ridiculously simple, ready almost instantly, and they give you that perfect, satisfying energy boost without any fuss. Trust me, Kenji is enthusiastic about anything that requires zero cooking but delivers gourmet flavor!
Why You Will Love These Easy Protein Bars
Truly, these are some of the best homemade protein bars you’ll ever whip up. Forget waiting for ovens to preheat! We designed this recipe to be the ultimate answer when you need **quick protein snacks**.
Here is why I think you’ll keep them in your rotation:
- Zero Cooking Required: We call these **no bake protein bars** because they are ready to chill almost immediately. It’s basically just mixing and pressing!
- Total Simplicity: We’re only using five core ingredients. It’s hard to mess this up, even on a hectic Monday morning.
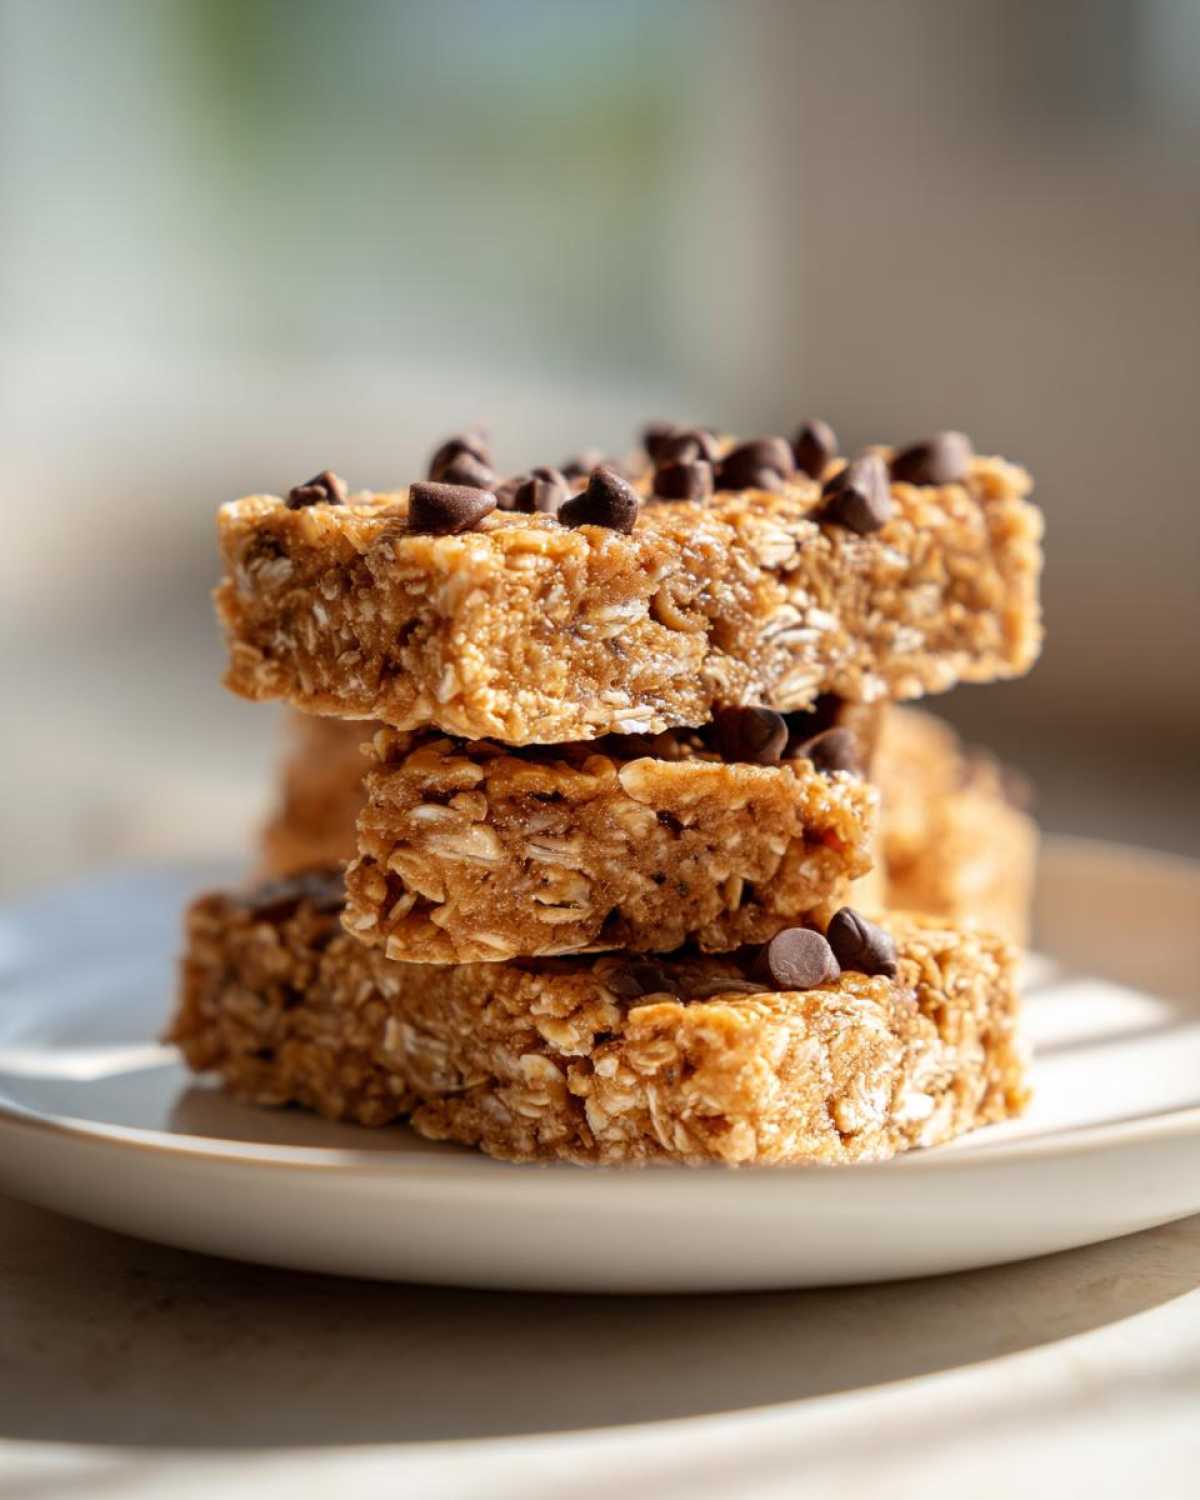
- That Perfect Texture: They are incredibly **chewy protein bars**. Not crunchy, not crumbly—just beautifully moist and satisfying.
- Fuel Power: You get a great punch of **high protein snacks** right when you need it, perfect for meal prep throughout the week. If you want the full step-by-step, check out our main guide here!
The Essential Ingredients for Perfect Homemade Protein Bars
When you keep things simple, you really have to focus on the quality of what you are using. Since these are **homemade protein bars**, we aren’t hiding behind fancy additives or preservatives, so let’s talk about what you need for these five-ingredient wonders. This keeps the cost down, and honestly, it makes these great **meal prep bars**!
Here is what you need for the base:
- One cup of rolled oats—the regular kind works perfectly!
- Half a cup of natural peanut butter. It must be the drippy kind, not the stiff stuff.
- Half a cup of vanilla or unflavored protein powder. This is key!
- A quarter cup of honey or maple syrup. If you need these to be vegan protein bars, this is where you choose maple syrup!
- A quarter cup of mini chocolate chips—and this is truly optional, but why would you skip the chocolate?
If you follow the list, you are halfway to having the best **quick protein snacks** ready for the week. For more inspiration on simple recipes, you can check out some great ideas over here.
Ingredient Notes and Substitutions for Your Protein Bars
Now, a quick word from my side about choices. The protein powder you pick really changes the results of these **easy protein bars**. If you use a thick whey powder, you might need an extra splash of water to get it to mix right. Plant-based powders can sometimes absorb more liquid, so start slow when mixing; you want a thick dough, not a batter!
Also, the peanut butter—it has to be natural, the kind where the oil separates. If you use those super-stirred, shelf-stable butters, they won’t bind the oats correctly, and your bars will crumble. I always make sure my peanut butter is room temperature, just slightly soft, so it mixes easily with the honey. That sweetener is what holds everything together, so don’t skimp on it!
Step-by-Step Guide to Making No Bake Protein Bars
Making these **no bake protein bars** is practically effortless, but a little attention to detail makes the texture absolutely perfect. You aren’t cooking, but you are constructing a dense, chewy treat! We don’t want crumbling masterpieces; we want easy-to-grab fuel. Follow these steps closely, especially when it comes to pressing the mixture down. I promise, these instructions will lead you straight to some amazing **homemade protein bars**.
If you’ve already made your mix, you can jump right into the pressing part, but I recommend reviewing the whole process. For the full details, you can always refer back to the main instruction list here.
Preparing the Pan and Mixing the Protein Bars
First things first: get your pan ready. I use an 8×8 inch pan and line it completely with parchment paper, leaving an overhang—that overhang is your lifeline later! This step guarantees easy removal later, so don’t skip it.
Next, get your oats and protein powder into a bowl. Now, add the creamy peanut butter and the honey or maple syrup. This is where things get messy, but it smells so good! You need to stir this until it’s all combined. My personal tip, from years of mixing things by hand, is that sometimes you just have to use clean hands to really work the honey into the dry bits until it forms one thick, unified dough. It should look unified, not crumbly or dusty.
Pressing, Chilling, and Cutting Your Homemade Protein Bars
Once you have that cohesive dough, transfer it to your prepared pan. Now, this next part is critical for getting those excellent **chewy protein bars** instead of a loose pile of ingredients—you must press it down. Use the bottom of a measuring cup or just the palm of your hand to really smash that mixture into the pan. Pack it down hard and make sure it’s perfectly even!
If you decided to use those little chocolate chips, gently press those into the top now. Then, we chill! Pop the whole pan into the refrigerator for at least one full hour. Seriously, don’t cheat this step! If you try to cut them too soon, they collapse. Once they are totally firm, use those parchment paper handles to lift the whole block out, and slice into 10 or 12 neat bars. Perfect!
Tips for Success When Making Protein Bars
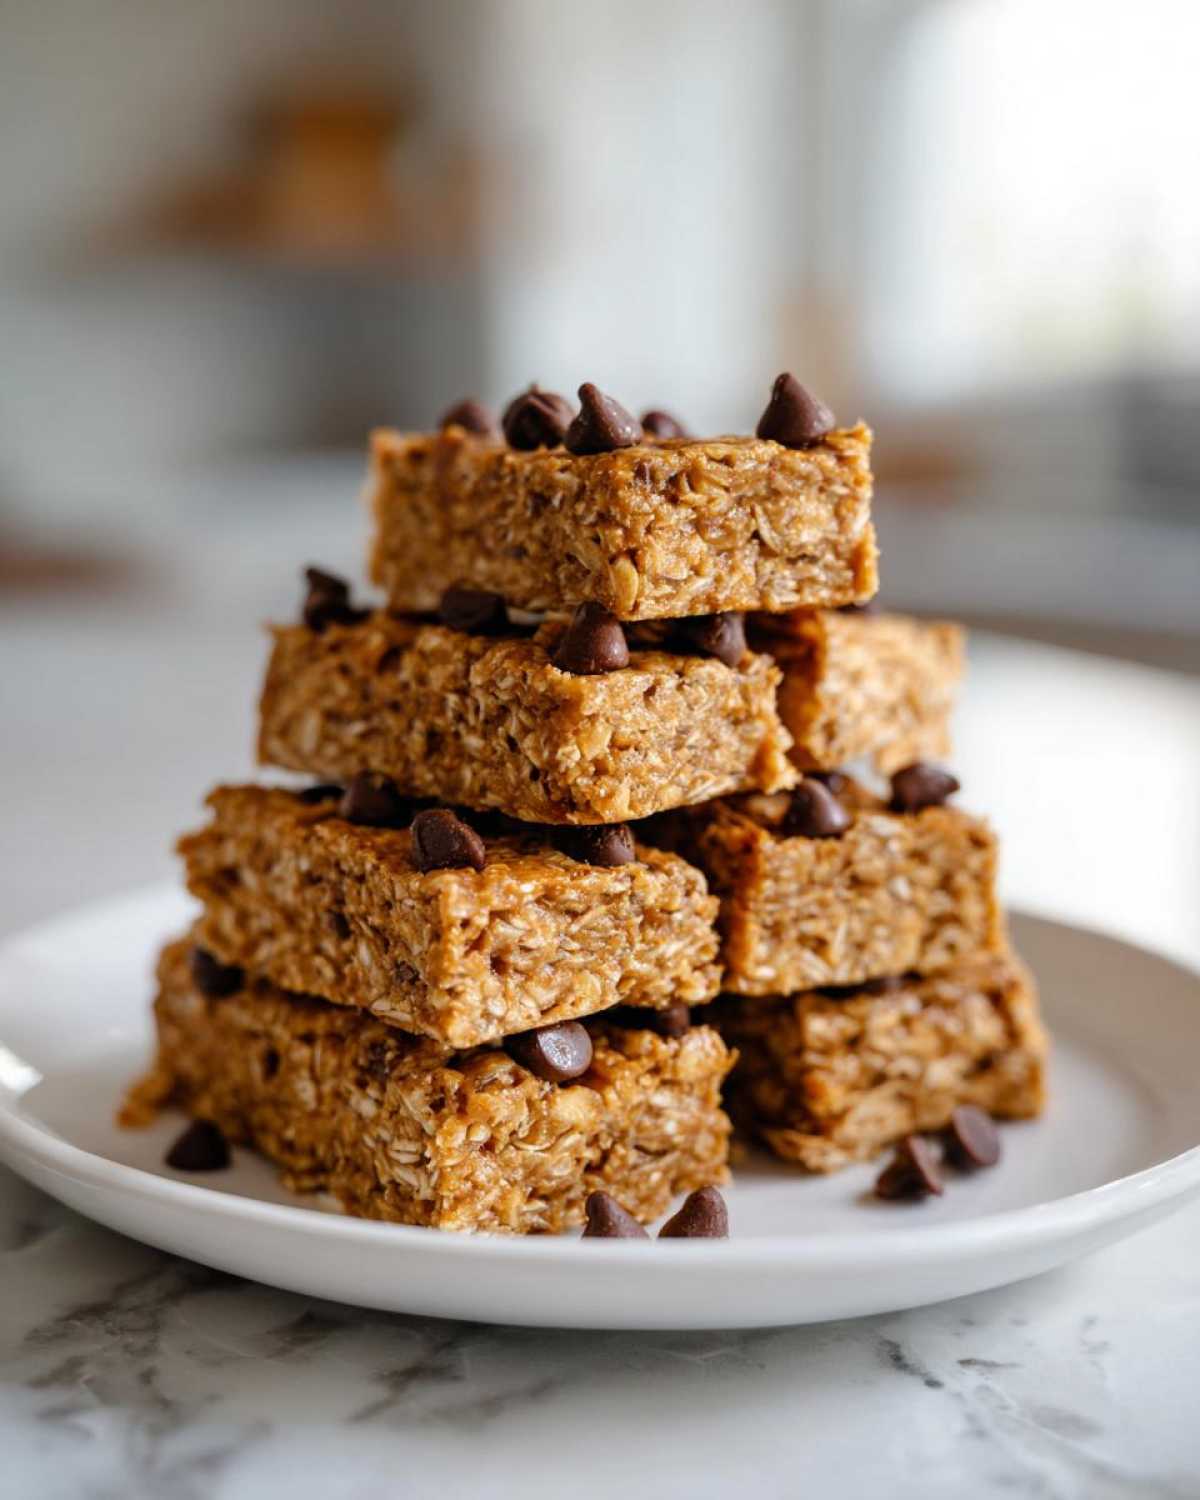
Kenji has certainly had a few sticky messes making these **protein bars** over the years, especially when I was trying to rush the process! Getting that perfect texture—soft, **chewy protein bars** that hold together but don’t stick to your teeth—is all about balancing those wet and dry elements. If you follow the recipe, you’ll be fine, but if you run into trouble, I have a couple of little secrets that always fix things right up.
If your mixture feels too dry, like it’s just crumbling oat dust no matter how hard you press it? Don’t panic! It just means your protein powder was thirsty, or maybe your peanut butter was too stiff. Just add liquid, one tiny teaspoon at a time. Use water, a splash of milk, or even a tiny bit of vanilla extract. Mix it in until it just starts holding its shape when squeezed between your fingers. Sometimes I look at the Pinterest results for homemade protein bars and wonder how they get theirs so firm, and honestly, it’s hydration!
Now, if you end up with the opposite problem—a really sticky, almost slurry mixture that won’t press nicely—you need to add a bit more dry binder. I usually reach for an extra tablespoon of protein powder or a tablespoon of almond flour if I have it handy. Mix that in gently. It thickens up surprisingly fast!
And remember, these are fantastic **make ahead protein bars**. They need that time in the cold to set up properly. Don’t try to eat them straight off the counter because they will separate on you. Keeping them cold is the real trick to long-term storage and the best texture!
Storage and Make Ahead Protein Bars Guide
This is where these **protein bars** really shine for us! Amaya often says that the best part of making something healthy is ensuring it’s there when you need it next. That’s the beauty of calling these **meal prep bars**—you make them once, and you’re set for snack time all week long, maybe even longer.
For typical storage, keep them in an airtight container right in the refrigerator. The recipe notes mention they stay good for about one week in the cold, and I completely agree. Keeping them chilled helps them keep that perfect, firm, chewy texture we worked so hard to achieve!
But what if you’re making a huge batch? Maybe you have a marathon week of meetings coming up? You can definitely freeze these! I find if you cut the bars first, wrap individual bars tightly in plastic wrap or place them in a freezer-safe bag, they freeze beautifully for up to three months.
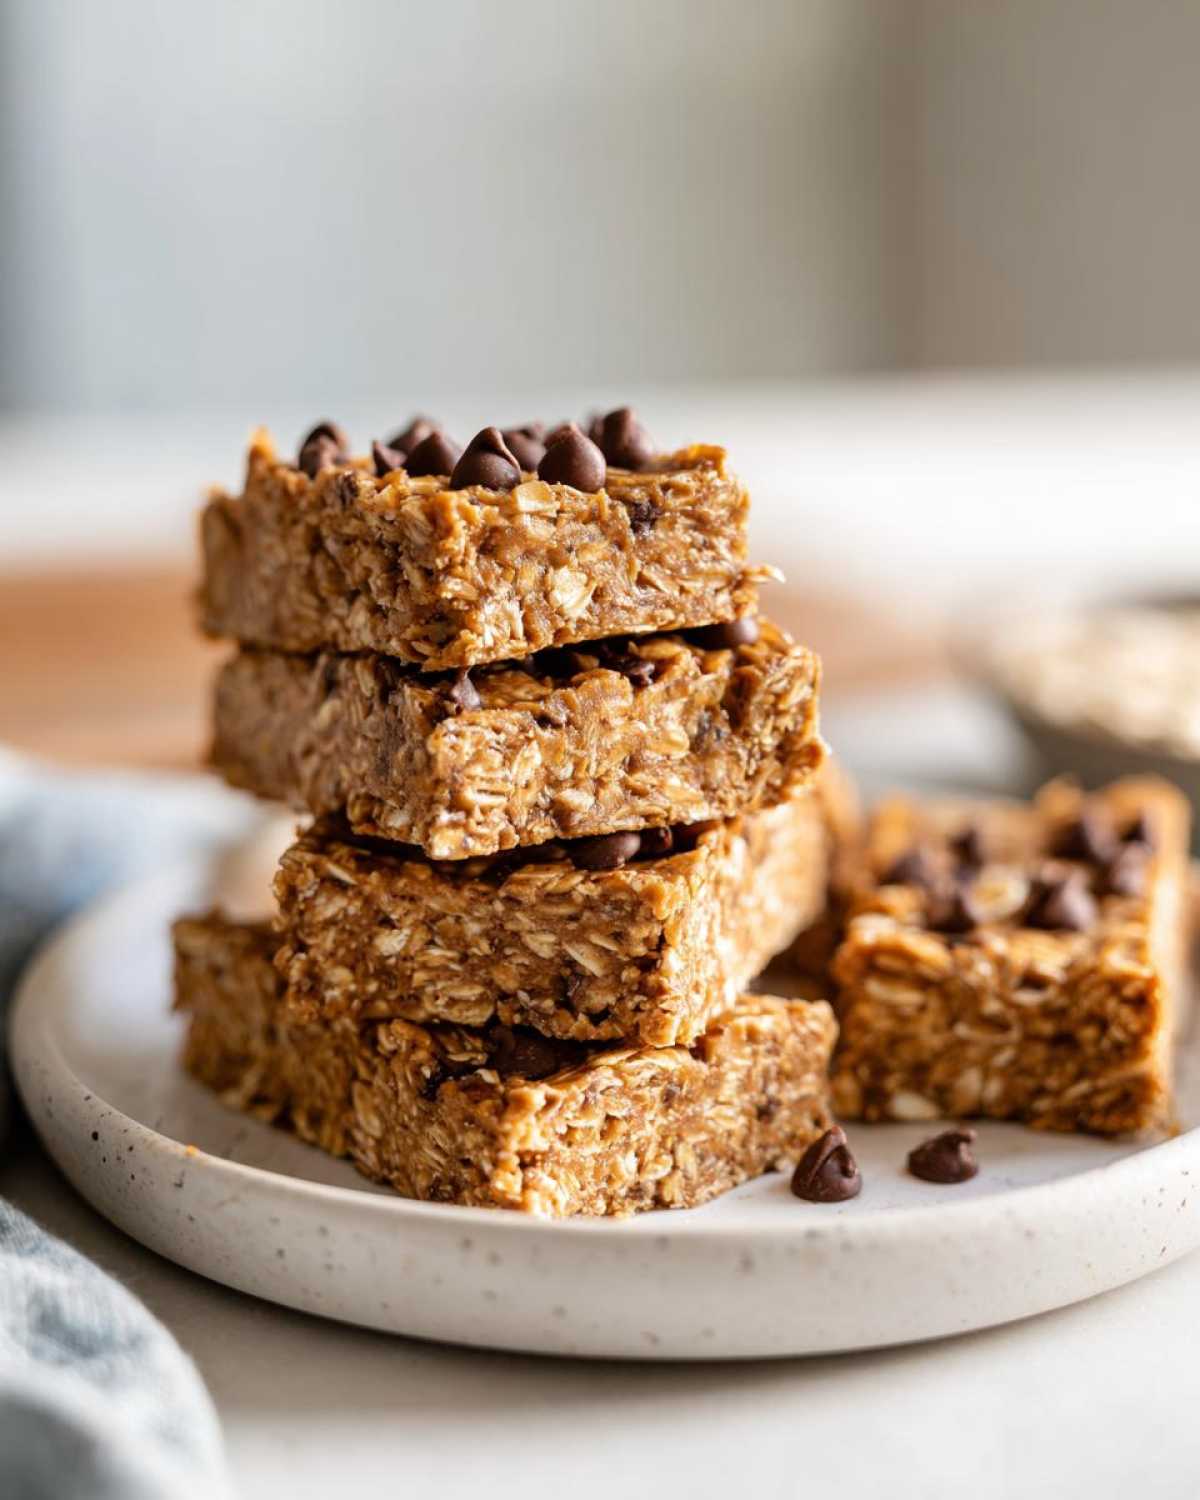
When you need one, just pull it out of the freezer about 10 minutes before you want to eat it. It thaws quickly, and it’s just as delicious as when you first made it. It’s the ultimate **make ahead protein bars** solution for busy mornings or needing **energy bars homemade** in a pinch!
Variations for Your High Protein Snacks
I love that these **protein bars** start with such a simple, perfect peanut butter base, but truly, this recipe is built for customizing! That’s the joy of **homemade protein bars**—you control the flavor profile completely. Changing things up means you never get bored, which is essential when you rely on these for **high protein snacks** all week long.
If peanut butter isn’t your favorite nut flavor, just swap it out! Almond butter or cashew butter works wonderfully in place of the peanut butter. You just need to ensure whatever butter you use is the natural, drippy kind so it binds well.
For a richer, deeply satisfying taste, you can easily turn these into **chocolate protein bars**. Just add two tablespoons of unsweetened cocoa powder right in with your protein powder and oats. You might need to add just a tiny splash more sweetener or liquid because cocoa tends to absorb moisture, but wow, the resulting flavor is incredible!
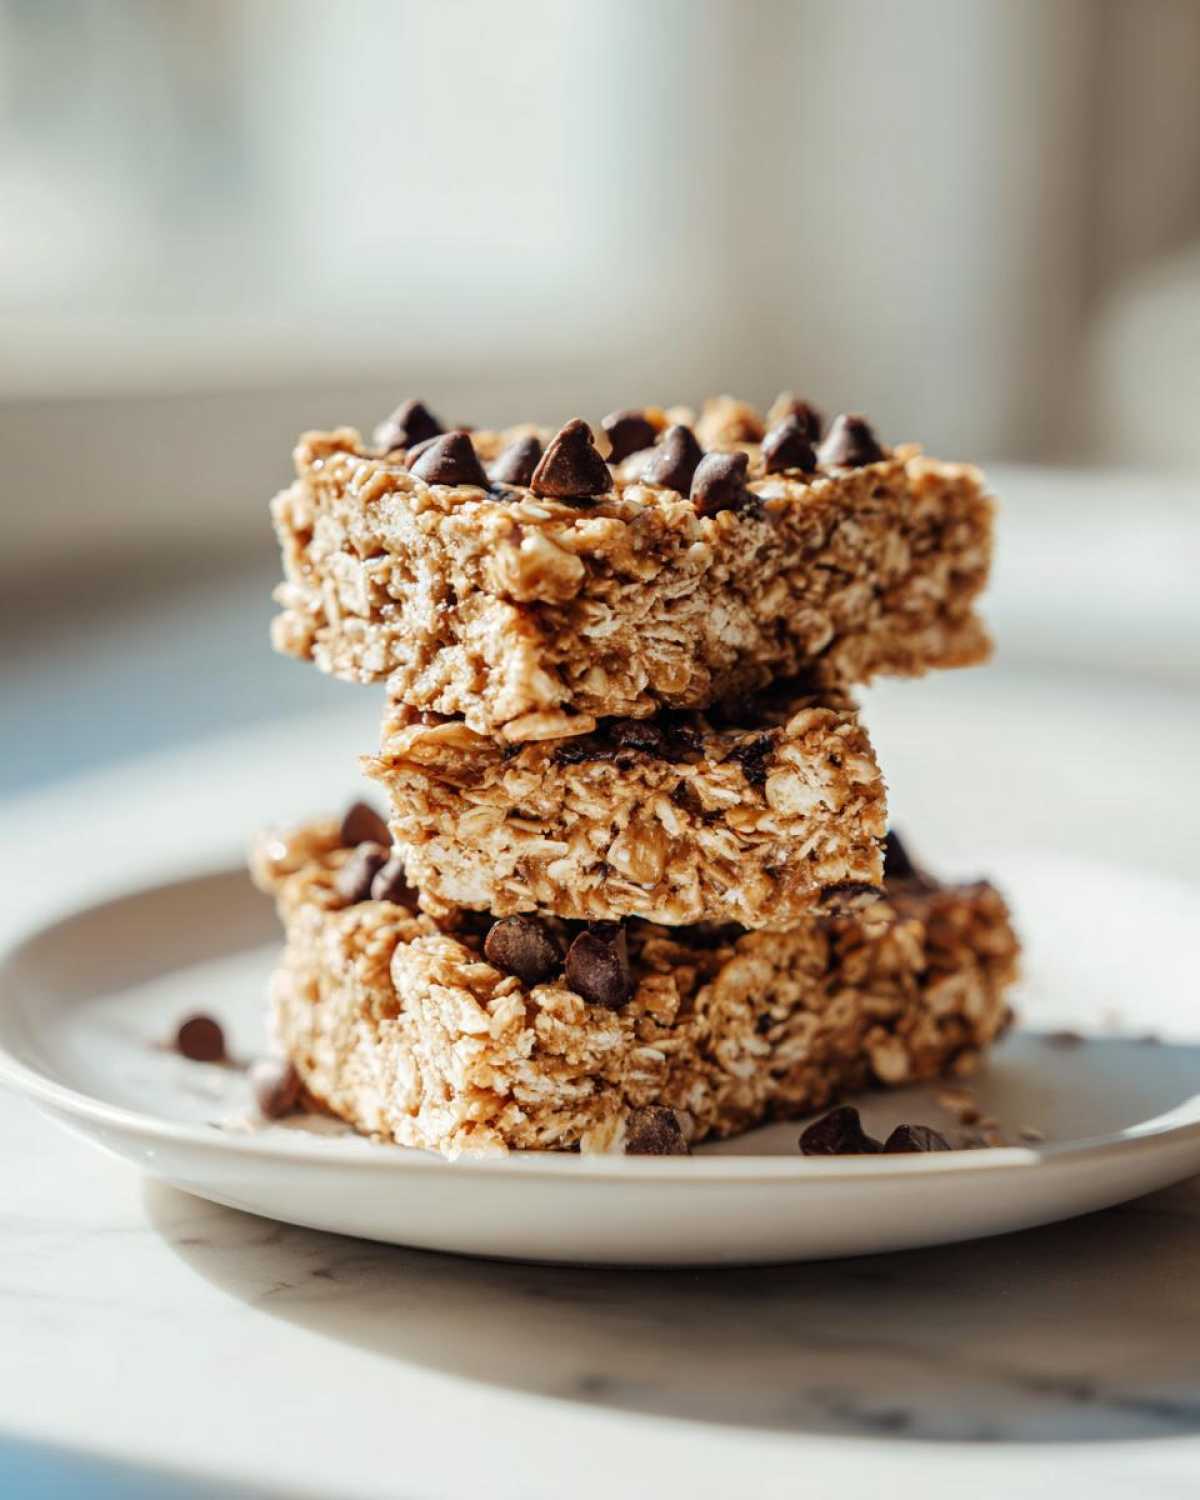
You can also toss in extras like chia seeds or ground flaxseed for a little nutritional bump. If you’d like to see another great snack that lets you adjust the flavors, check out my recipe for blueberry protein muffins—they are fantastic!
Making Keto Protein Bars or Low Sugar Protein Bars
So many people ask me about making these **easy protein bars** fit specific plans, especially if they are watching sugar intake. If you need **low sugar protein bars** or are aiming for **keto protein bars**, the main thing we change is that sweetener. Honey and maple syrup are natural sugars, so they don’t fit a strict keto plan.
For keto, you must switch out that honey for a granular or liquid keto-friendly sweetener, like monk fruit or erythritol blend. Be warned, though! These sugar substitutes don’t have the same sticky, binding quality as honey. Because of that, your mixture might feel much drier or crumblier than before.
When this happens, you need an extra binder that works with keto. I usually add an extra tablespoon of nut butter, or sometimes I warm up a teaspoon of coconut oil and mix that in until things just start to come together. It takes a little more finesse than the original recipe version, but you absolutely can create delicious **keto protein bars** that are still high in protein!
Serving Suggestions for Your Quick Protein Snacks
Even though these **protein bars** are fantastic all by themselves, I love finding little ways to incorporate them into a slightly bigger snack or mini-meal. Think of them as the foundation of a really good, quick fuel-up! This is especially true when you’re prepping for a workout or need something satisfying for a busy afternoon.
My favorite way to enjoy one of these **quick protein snacks** is right alongside my morning coffee. That warm, slightly bitter coffee cuts through the richness of the peanut butter so beautifully. It’s a perfect little pairing to get me moving!
Another great use is crumbled up on top of something else. If you eat plain Greek yogurt in the morning, just break half a bar over the top instead of using granola. It adds the chewiness, the flavor, and that boost of protein you need. It’s a great texture contrast against the smooth yogurt.
And, of course, they absolutely nail the pre-workout boost. I try to eat one about 30 minutes before a heavy lifting session. If you want another recipe that gives you that morning energy kick, check out my coffee smoothie recipe right here—it’s a game-changer for mornings!
Frequently Asked Questions About Homemade Protein Bars
Well, I’m happy to answer a few of the questions I get asked most often about these simple **protein bars homemade**. When you are trying to make high-protein snacks that actually taste good, you naturally have questions! Hopefully, these answers help you on your journey to the perfect batch.
Can I make these protein bars without oats?
That’s a great question about structure! The rolled oats do a lot of heavy lifting in these **easy protein bars**—they provide structure, fiber, and that specific chewiness we love. If you absolutely have to avoid oats, you can try replacing them with an equal volume of very finely crushed nuts or seeds, like almond flour or sunflower seeds.
But, I must level with you—the result won’t be the same. It will likely be softer or maybe even a little denser because nuts absorb moisture differently than oats do. You might need to adjust your liquid binder slightly. You won’t get those beautiful, classic **chewy protein bars** exactly, but you will still have a delicious, high-protein snack!
How much protein is truly in these easy protein bars?
This is the tricky part of every **homemade protein bar recipe**! The total protein content really depends 90% on the protein powder you choose. If you use a standard whey isolate, you’ll land right in the range we estimated in the nutritional chart.
However, if you use a very low-carb plant-based powder, or if your powder has less protein per scoop, the calories and protein per bar will shift. The recipe aims for around 12 grams per bar, but I always tell people to check the label on their specific powder and just do a quick calculation for the whole batch. That way, you know exactly what you are fueling your body with!
Why are my homemade protein bars crumbly?
Ah, the dreaded crumble! This is the number one issue people have making **no bake protein bars**, and it nearly always comes down to one of two things, based on my experience. First, you didn’t have enough binder. Did you measure your honey or maple syrup correctly? If your peanut butter was too thick, it would soak up some of that sweetness, leaving the oats dry.
Second, and this is important, you didn’t press hard enough! When you put the mixture into the pan, you need to compress it firmly—like you are making a crust for a cheesecake. If you just gently spread it in, the bar won’t hold together when you cut it. Press, press, press! That solid packing locks the ingredients together perfectly.
Estimated Nutritional Breakdown for These Protein Bars
Here is the snapshot of what you can expect in one of these wonderful little **protein bars**. Please remember, this is just my best estimate! Since we are using different brands of protein powder and choosing between honey or maple syrup, your specific numbers will change just a little bit. This is the joy of making them yourself, right?
If you are tracking macros, this information is super helpful for planning your **meal prep bars** for the week!
- Serving Size: 1 bar
- Calories: 190
- Protein: 12g (This number is highly dependent on your powder!)
- Carbohydrates: 18g
- Fiber: 2g
- Sugar: 7g
- Fat: 10g (Mostly healthy fats from the peanut butter!)
- Saturated Fat: 2g
- Unsaturated Fat: 8g
- Trans Fat: 0g
- Cholesterol: 0mg
- Sodium: 95mg
Keep in mind that if you swap out the peanut butter for something like almond butter, or if you use a protein powder that’s heavily sweetened, these numbers will shift. But this baseline gives you a fantastic idea of what a powerful little snack these **high protein snacks** truly are!
PrintEasy 5-Ingredient No-Bake Peanut Butter Protein Bars
You can make these easy, no-bake peanut butter protein bars at home in minutes. They are chewy, satisfying, and perfect for meal prep or a quick, high-protein snack.
- Prep Time: 10 min
- Cook Time: 0 min
- Total Time: 70 min
- Yield: 10 servings
- Category: Snack
- Method: No-Bake
- Cuisine: American
- Diet: Vegetarian
Ingredients
- 1 cup rolled oats
- 1/2 cup natural peanut butter
- 1/2 cup vanilla or unflavored protein powder
- 1/4 cup honey or maple syrup
- 1/4 cup mini chocolate chips (optional, for topping or mixing)
Instructions
- Line an 8×8 inch baking pan with parchment paper, leaving an overhang on the sides for easy removal.
- In a medium bowl, combine the rolled oats, protein powder, and peanut butter.
- Add the honey or maple syrup to the mixture.
- Stir everything together until a thick, uniform dough forms. You may need to use your hands to fully incorporate the ingredients.
- Press the mixture firmly and evenly into the prepared pan. Pack it down well to ensure the bars hold their shape.
- If using, sprinkle the mini chocolate chips over the top and gently press them into the surface.
- Place the pan in the refrigerator and chill for at least 1 hour, or until firm enough to cut.
- Use the parchment paper overhang to lift the block out of the pan. Cut into 10 to 12 bars.
- Store your homemade protein bars in an airtight container in the refrigerator for up to one week.
Notes
- For a vegan option, use maple syrup instead of honey and ensure your protein powder is plant-based.
- If the mixture seems too dry, add one teaspoon of water or milk at a time until it binds.
- These bars taste best when kept cold, which helps maintain their chewy texture.
Nutrition
- Serving Size: 1 bar
- Calories: 190
- Sugar: 7
- Sodium: 95
- Fat: 10
- Saturated Fat: 2
- Unsaturated Fat: 8
- Trans Fat: 0
- Carbohydrates: 18
- Fiber: 2
- Protein: 12
- Cholesterol: 0