

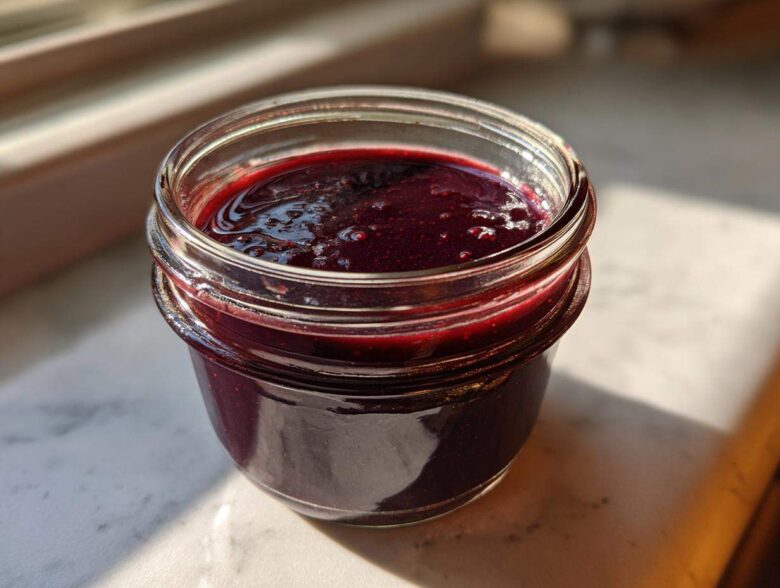
Oh, friends, when the chill winds start blowing, my heart immediately turns to preparation and protection. In my family, cultivated over generations, we always relied on the wisdom passed down from the earth itself for natural immune support. Kenji and I want to share our very favorite method for preparing this protective boost: our incredibly simple elderberry syrup recipe. This isn’t some complicated pharmacy concoction; this is a small batch elderberry syrup, lovingly sweetened with only raw honey, perfect for whipping up on a quiet afternoon. And the best part? You can chill it for immediate use or even put it up using a water-bath canner for storage. It brings such comfort knowing we have this ready for the family!
We have been making batches of this syrup for decades, and it always reminds me of the care my own mother took. Sharing these traditions with you, right here on Whisk Daily, feels like opening up our hearts just a bit more. You can read more about our journey from Kyoto to New York over on our About Us page, but for now, let’s get these berries simmering!
Why This Homemade Immune Syrup Recipe Works Best
There are tons of elderberry products out there now, but honestly, nothing beats making your own small batch elderberry syrup at home. When you prepare this homemade immune syrup yourself, you are in absolute control. You know exactly what’s going into the pot! We skip all those strange preservatives or fillers you find in store-bought bottles. Since we are using dried berries mostly, it’s reliable year-round, and it simmers up so quickly on the stovetop. It’s just clean, simple ingredients working hard for you.
Benefits of Making Your Own Elderberry Syrup Recipe
- You get to choose your sweetener! We insist on raw honey because it pairs beautifully with the berries and has its own lovely properties.
- No weird thickeners or artificial colors here—just water, berries, and honey. That’s the beauty of a true cold-and-flu remedy.
- You can easily adjust the spices! If your little one won’t touch it with ginger, you can leave it out next time. It’s totally customizable.
Gathering Ingredients for Your Elderberry Syrup Recipe
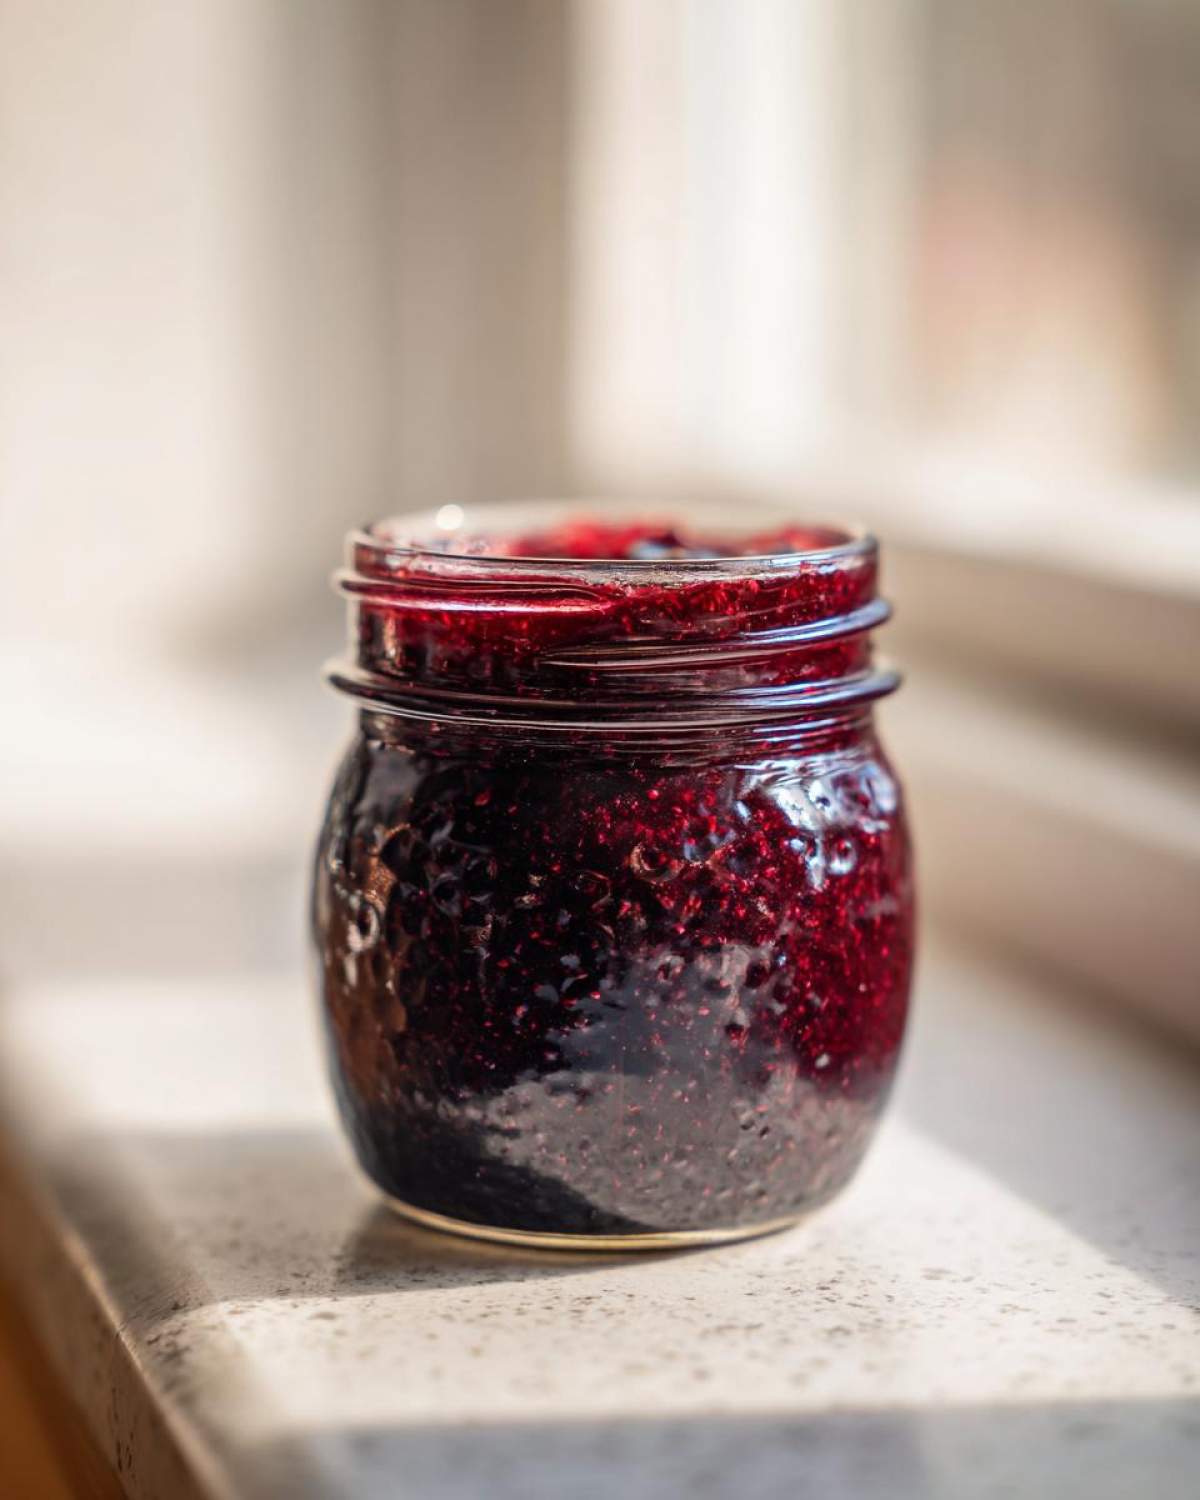
Alright, let’s talk about what goes into our pot! Getting the ingredients right is foundational to a successful elderberry syrup recipe. You only need a few things, but their quality really matters. We are keeping this simple: water, dried elderberries, and raw honey are the stars of the show. Remember, we are aiming for about 2 cups yield, which is a perfect small batch elderberry infusion.
For the optional flavor boosters that really elevate it, make sure your ginger is freshly sliced—don’t use the dusty powder! And yes, a cinnamon stick adds such a cozy warmth to the aroma as it simmers away on the stove. Trust me, having these components ready makes the whole process feel calm and organized.
Ingredient Notes and Substitutions for the Honey Elderberry Tonic
If you happen to have fresh elderberries instead of the dried ones, that is wonderful! Just remember they are a bit plumper, so you’ll need 1.5 cups of fresh berries to equal our standard 1 cup of dried ones. It’s important to note that when we make this honey elderberry tonic, we do not boil the liquid after the honey is in. Honey has delicate properties we want to respect!
Now, if you’re making this for the little ones, I have a secret trick I learned when trying to encourage them to take their dose: add about half a teaspoon of pure vanilla extract right after you strain and cool the liquid, just before adding the honey. It smooths out any sharpness and makes this homemade immune syrup taste like such a treat. That little addition definitely makes taking this effective cold-and-flu remedy much easier for tiny tummies!
Step-by-Step Instructions for the Elderberry Syrup Recipe
Okay, now for the fun part—turning those simple ingredients into our healing tonic! This process is straightforward, but you have to give it your full attention during the simmering time. We aren’t looking for a complex culinary display here; we just want that beautiful reduction to happen naturally. Keep your saucepan nearby, and let’s walk through this elderberry syrup recipe together, one step at a time.
Remember, patience here pays off greatly for the final consistency and flavor. Once that simmering is done, we switch gears to cooling and gently incorporating the honey. That temperature control is paramount, so please don’t rush it!
Simmering and Straining the Elderberry Syrup Recipe Base
- First, get your elderberries, water, and any optional spices like ginger or the cinnamon stick right into your saucepan.
- Bring this mixture up to a gentle boil. Once it starts bubbling happily, immediately lower your heat right down to low. Cover the pot and let it simmer peacefully for 45 minutes. You are waiting for the liquid to reduce by about half—watch it closely toward the end!
- When the time is up, remove the pan from the heat. Let it sit and cool down for about 15 minutes; it needs to lose some of that intense heat.
- Now, for smoothness! Take a fine-mesh sieve and line it with cheesecloth if you have it, setting it over a clean bowl. Pour your cooked mixture through this setup. Really press down gently on those spent berries and spices to squeeze out every last drop of potent liquid. Discard the solids—they’ve done their job!
Incorporating Honey into the Elderberry Syrup Recipe
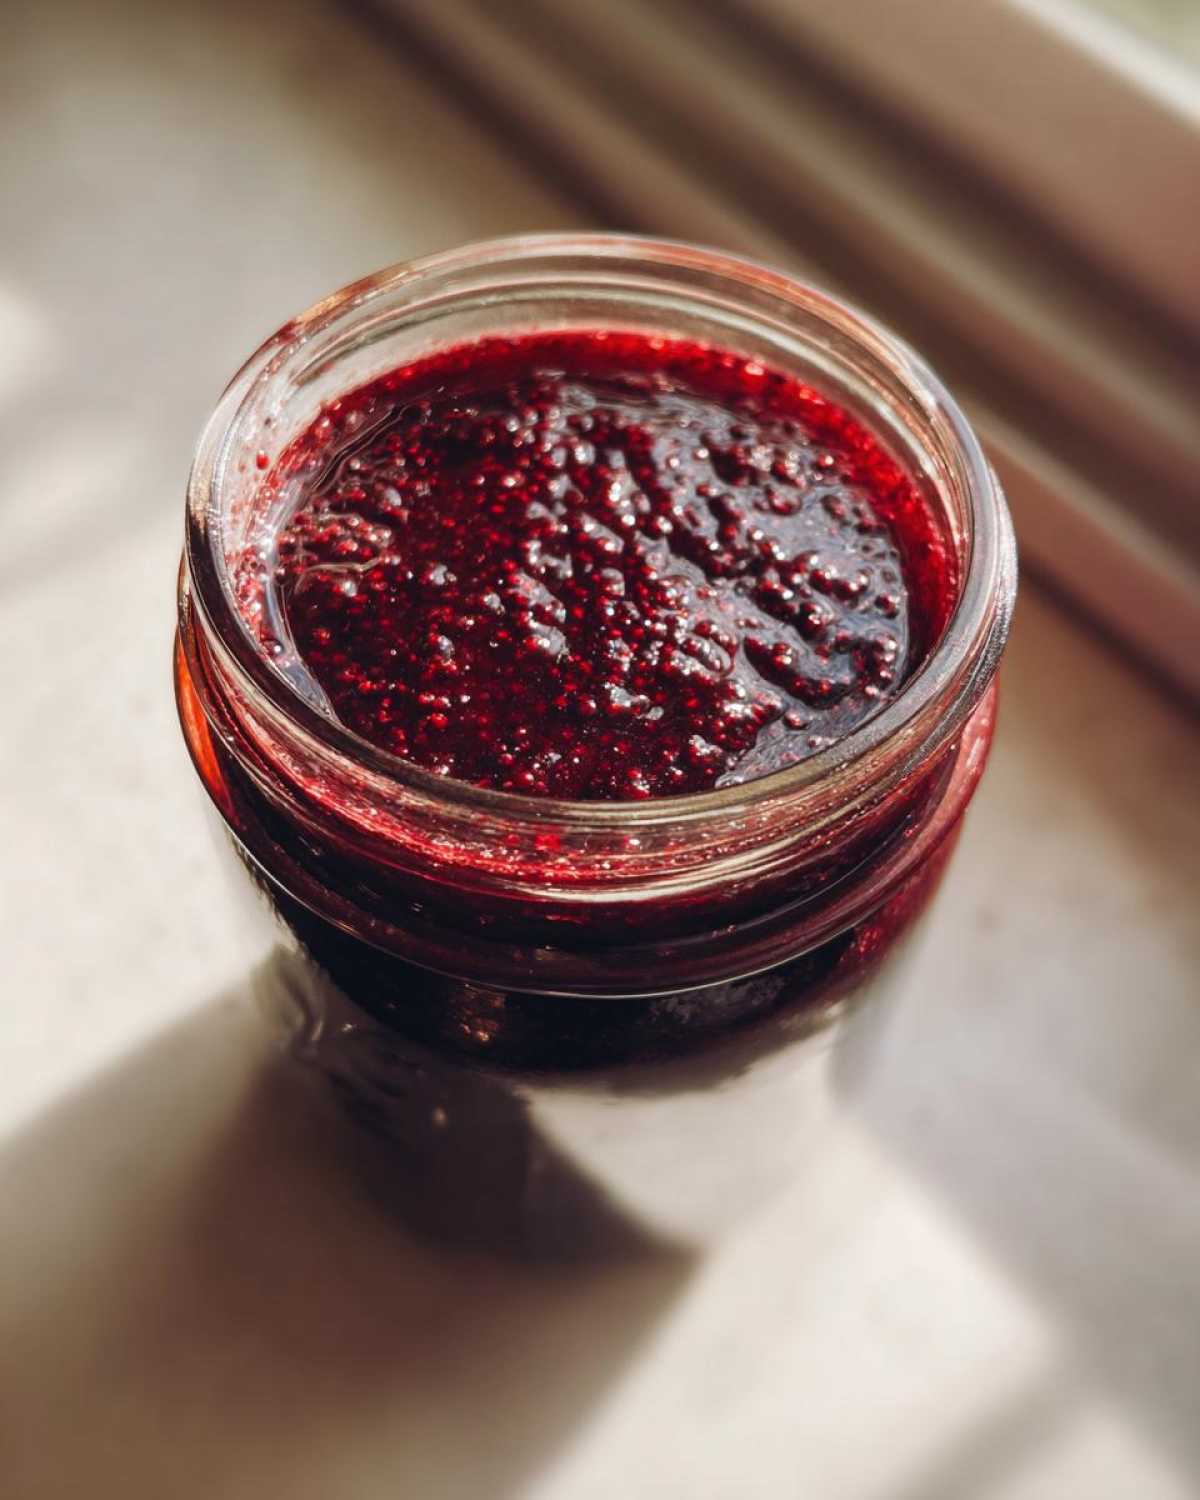
This is the step people sometimes rush, and that’s a mistake! Once you have strained your liquid, you must let it cool until it is only warm to the touch—definitely not hot! If the liquid is too hot when you stir in your raw honey, you risk damaging the beneficial enzymes in the honey. We want that raw goodness intact, so it’s crucial we don’t boil the mixture after the honey comes into play.
- Once the elderberry liquid is just warm, slowly stir in your half-cup of raw honey. Keep mixing gently until that honey is completely dissolved into the liquid.
- Finally, pour your finished honey elderberry tonic into clean jars, ready for storage or canning. Easy, right? That deep, rich color shows you’ve made a wonderful batch of homemade immune syrup!
Storage Options for Your Elderberry Syrup Recipe: Canning or Refrigeration
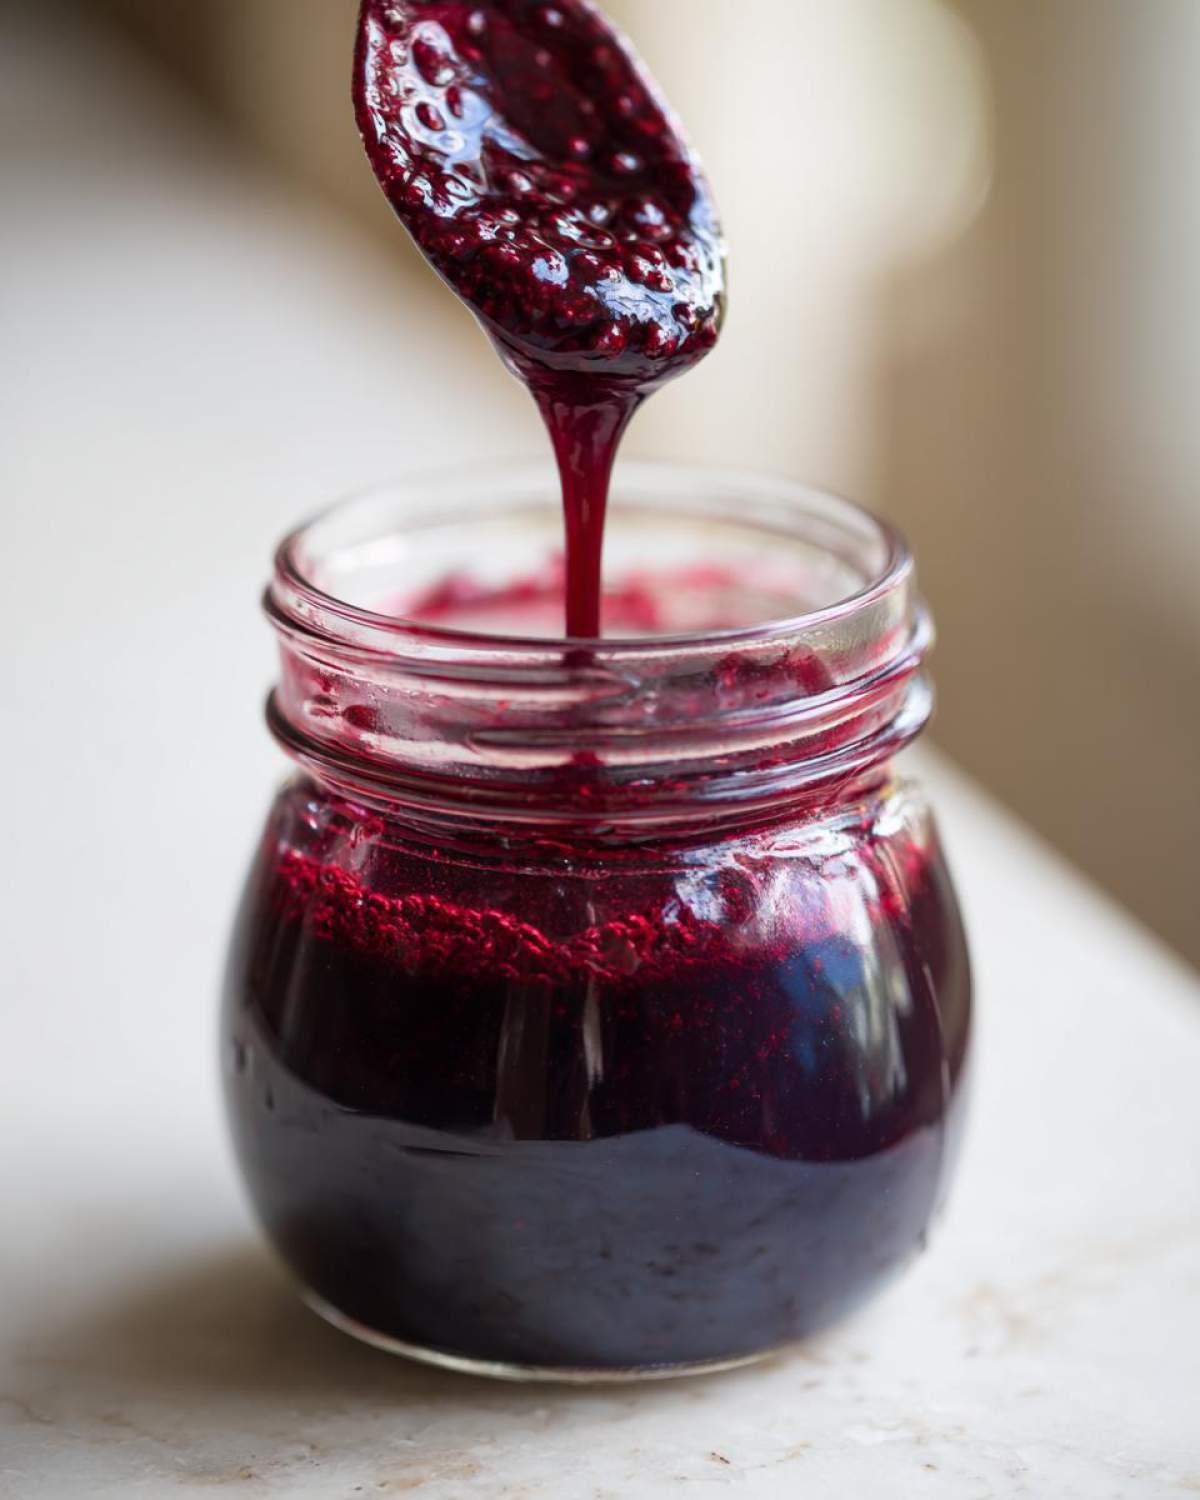
We’ve made this beautiful, rich liquid, and now we have to decide how to keep it safe! Since this is a small batch elderberry syrup recipe, we can certainly just keep a jar in the fridge, but Kenji loves being prepared for the long haul, so often we move right into preservation mode. Having options is so important for any natural remedy, isn’t it? You can choose the easy route, which is refrigeration, or you can put up your jars for serious long-term storage!
For the refrigerator option, just seal your jars tightly after the honey is stirred in—remember, the liquid needs to be cool!—and they will keep wonderfully for about three weeks. But if you want to celebrate your successful canning elderberry syrup skills, pull out your water bath canner. It’s slightly more work, but knowing you have a year’s worth of immune support on the shelf is just comforting.
Water-Bath Canning Instructions for Long-Term Elderberry Syrup Recipe Storage
If you are proceeding with full canning elderberry syrup, make sure your jars and lids are properly sterilized first—that’s rule number one in my book! Once you have poured your warm syrup into those sterilized jars and sealed them snugly, you will place them into your boiling water bath. You need to process them for 10 minutes exactly. I always give a little mental note to remind myself that everyone needs to check their altitude adjustments, as that can change the processing time!
Once you pull those jars out and let them cool completely on the counter—don’t touch them!—you’ll check the seal. If that middle button stays down, congratulations! Your potent homemade immune syrup is good to go and will maintain quality on the shelf for up to one whole year. Isn’t that wonderful? So much natural goodness preserved.
Tips for Success with Your Elderberry Syrup Recipe
When making any remedy at home, I always feel like there are little secrets that make the difference between a good batch and a truly *great* one. These aren’t complicated; they are just things I’ve learned over years of tinkering with this elderberry syrup recipe. Don’t worry if your first batch seems a little thin; that usually means we need to be patient with the simmering process or perhaps the honey didn’t dissolve perfectly upon addition.
If you want that wonderfully thick, luxurious consistency that feels so satisfying to spoon out, you need to ensure that liquid reduction is spot on. That 45 minutes of simmering is non-negotiable! We are aiming to remove nearly half the water content so the remaining liquid is beautifully concentrated before the honey goes in. Also, when you stir in the honey, make sure you use a whisk rather than a solid spoon for the first minute or so. The increased surface area helps the thick honey integrate much faster into the warm elderberry liquid, guaranteeing no sticky sweet pockets are left at the bottom of the jar.
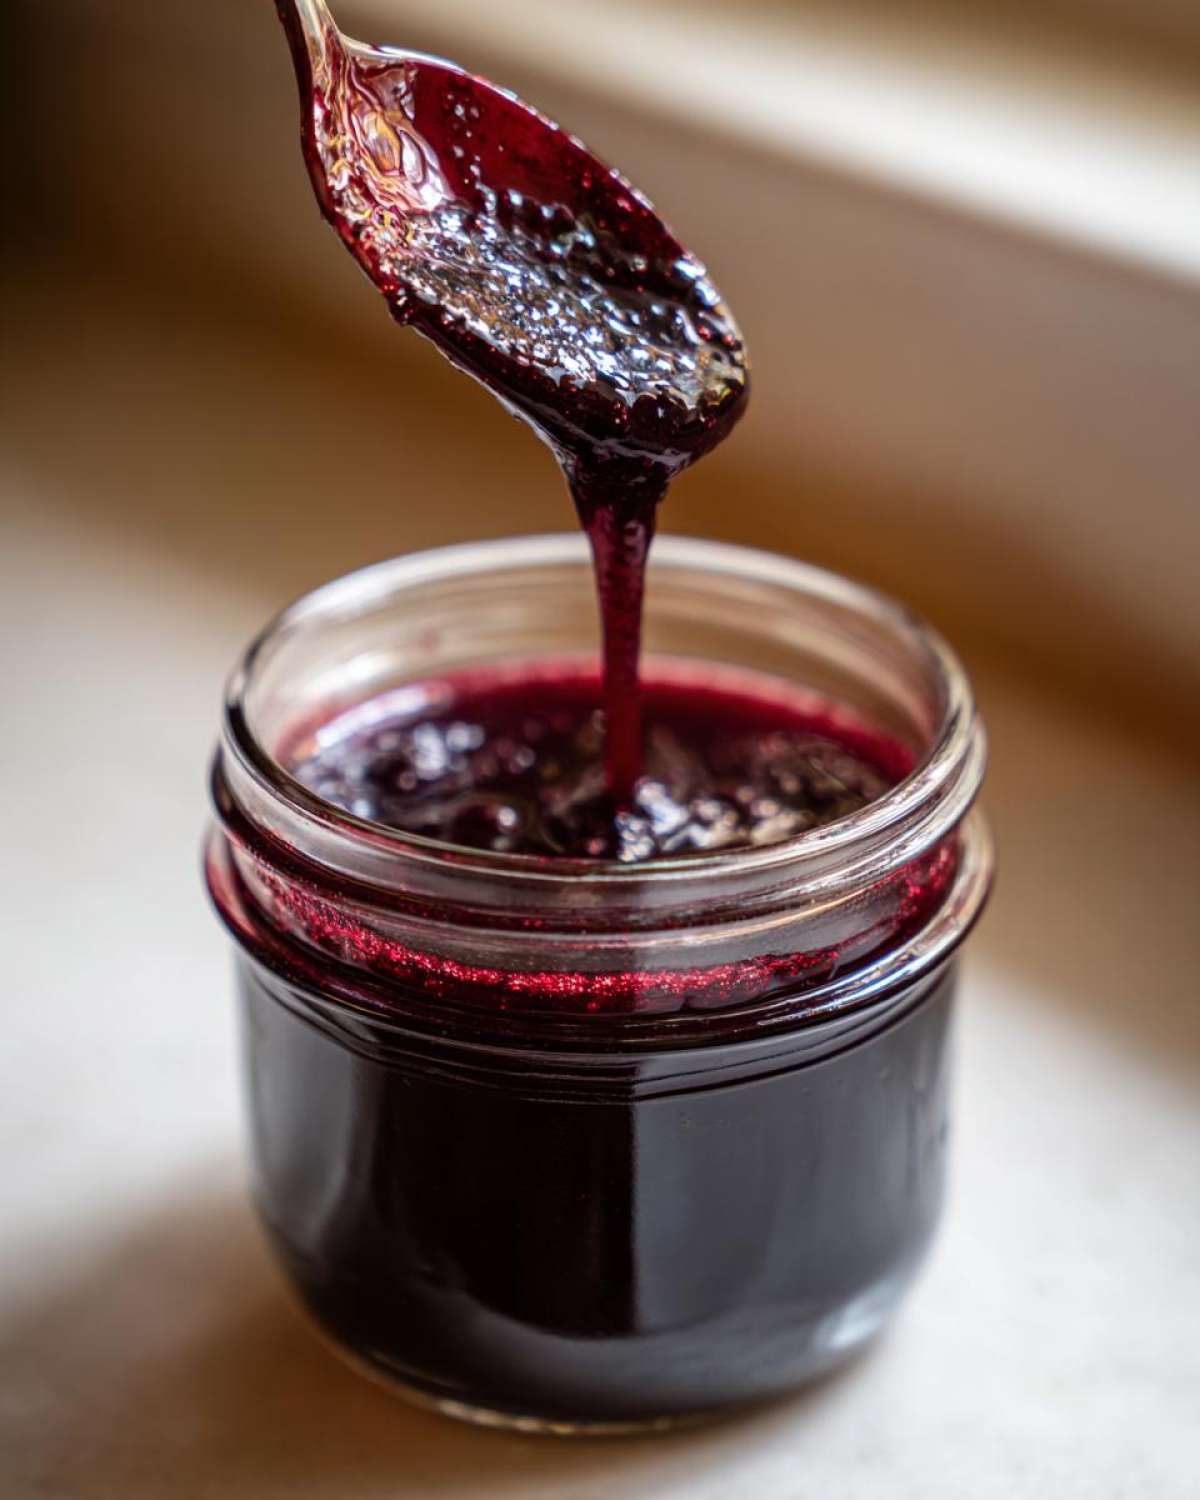
This is why I always tell Kenji that tasting as you go matters, even for a simple syrup! If you find your strained liquid is just a bit too tart for your liking after cooling, you can always add another tablespoon of honey, but please, taste it first! We never want to over-sweeten it, but a tiny bump might be just what your personal batch needs. For more tips and stories from our kitchen experiments, you can always check out the rest of our posts here on the blog!
Dosage Guidance for Your Homemade Immune Syrup
Now that you have this potent homemade immune syrup ready, we must chat briefly about dosage. I always feel responsible when sharing dosages, so please be mindful of these suggestions, especially when giving it to the little ones. We want this remedy to support the family gently and effectively, not overwhelm them!
For general daily wellness—that maintenance dose that keeps things running smoothly—adults should take 1 tablespoon once per day. Children over the age of one can have 1 teaspoon daily during non-sick times.
But, when that sniffle starts setting in, we step it up! If you or a family member starts feeling under the weather, you can safely increase the dosage up to three times daily for both adults and children over one. This small adjustment can make a real difference in how quickly you bounce back. Always remember this is natural, but it is potent!
Variations on the Classic Elderberry Syrup Recipe
While our core elderberry syrup recipe with just ginger and cinnamon is absolutely classic, I love to play around with warming spices during the long, slow simmer! This is where you can really make it *your* family’s specific honey elderberry tonic.
Next time you simmer the berries, try tossing in three or four whole cloves. Cloves add such a deep, rustic aroma to the whole kitchen—it smells like winter holidays! Sometimes, if I’m feeling really adventurous, I’ll add a small handful of dried rose hips along with the berries. They offer a lovely, subtle tartness that balances the sweetness of the honey beautifully once everything is strained out. Just remember, any spices you add must go in at the very beginning with the water so they have time to release their oils during that 45-minute simmer. Keep it natural, keep it flavorful!
Frequently Asked Questions About This Elderberry Syrup Recipe
Kenji and I always get so many wonderful questions after sharing a staple like this elderberry syrup recipe! It’s natural to want to make sure you get the best results when you are preparing something important for your family’s wellness. We’ve gathered a few of the most common inquiries we receive about this preparation method right here, so you can feel confident moving forward with your batch of homemade immune syrup.
Can I use the Instant Pot for this elderberry syrup recipe?
That’s a great question, especially since everyone seems to love their pressure cookers! While the Instant Pot elderberry option is certainly faster, we really recommend the traditional stovetop simmer for this specific tonic. The 45-minute slow reduction on the stove top allows the water to gently evaporate, concentrating the elderberry flavor perfectly. If you use the pressure cooker, you rarely get that reduction needed, resulting in a much thinner syrup. For the best flavor concentration, stick to the low, gentle simmer.
What is the best way to sweeten this cold-and-flu remedy?
For this specific cold-and-flu remedy, we strongly advocate for raw honey. Not only does the molasses content in raw honey add depth that processed white sugar just doesn’t have, but we also want to preserve the natural properties of the honey itself. Remember, we never boil the mixture after adding the honey because excessive heat can diminish those wonderful natural components. It’s the best pairing for this robust berry!
If you have questions as you are stirring in that final sweetener, please don’t hesitate to reach out to us through our Contact page. We love hearing from you!
Understanding the Nutrition in Your Honey Elderberry Tonic
We cherish this honey elderberry tonic because it’s built on pure, simple ingredients. While we focus much more on feeling well than counting calories when using remedies like this, I wanted to share the estimates! Per tablespoon serving, you’re looking at about 50 calories and approximately 12 grams of sugar, which comes from that lovely raw honey. It’s virtually fat-free and protein-free, keeping things very clean.
Of course, as Kenji always reminds me, these numbers are our best estimate based on the ingredients we use. For the full breakdown, you can always check out our detailed Nutritional Disclaimer page, but rest assured, we keep the additions very minimal!
PrintHomemade Elderberry Syrup Recipe for Immune Support
Make your own small batch elderberry syrup using dried berries and honey. This recipe is simple to prepare and suitable for water-bath canning or refrigeration.
- Prep Time: 10 min
- Cook Time: 45 min
- Total Time: 55 min
- Yield: About 2 cups
- Category: Remedy
- Method: Stovetop Simmering
- Cuisine: General
- Diet: Vegetarian
Ingredients
- 1 cup dried elderberries
- 3 cups water
- 1/2 cup raw honey
- 1 tablespoon fresh ginger, sliced (optional)
- 1 cinnamon stick (optional)
Instructions
- Combine the dried elderberries, water, ginger, and cinnamon stick in a saucepan.
- Bring the mixture to a boil, then reduce heat to low, cover, and simmer for 45 minutes. The liquid should reduce by about half.
- Remove the pan from the heat and let it cool slightly for about 15 minutes.
- Strain the mixture through a fine-mesh sieve or cheesecloth into a clean bowl, pressing gently on the solids to extract all the liquid. Discard the solids.
- Once the elderberry liquid is warm (not hot), stir in the raw honey until it is completely dissolved. Do not boil the mixture after adding honey.
- Pour the finished honey elderberry tonic into clean, sterilized jars for canning or storage.
- For refrigeration, seal jars tightly and store in the refrigerator for up to 3 weeks.
- For water-bath canning, process filled, sealed jars in a boiling water bath for 10 minutes (adjust time for altitude). Allow jars to cool completely before checking seals. Canned syrup lasts up to 1 year.
Notes
- If using fresh elderberries, use 1.5 cups of fresh berries instead of 1 cup dried.
- For a kid-friendly flavor, you can add 1/2 teaspoon of vanilla extract after removing from heat, before adding honey.
- Dosage Suggestion: Adults take 1 tablespoon daily for maintenance, or up to 3 times daily when feeling unwell. Children over age 1 can take 1 teaspoon daily for maintenance, or up to 3 times daily when feeling unwell.
Nutrition
- Serving Size: 1 tablespoon
- Calories: 50
- Sugar: 12g
- Sodium: 1mg
- Fat: 0g
- Saturated Fat: 0g
- Unsaturated Fat: 0g
- Trans Fat: 0g
- Carbohydrates: 13g
- Fiber: 0g
- Protein: 0g
- Cholesterol: 0mg