

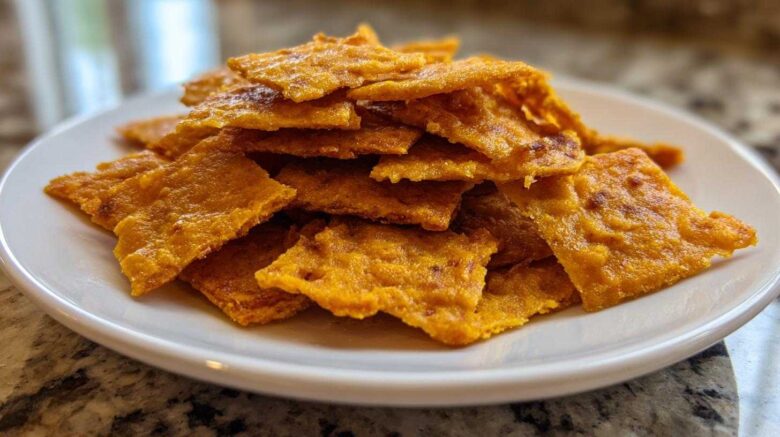
Oh, the humble cheese cracker. We all have our favorites, right? For me, there’s nothing quite like that satisfying crunch and burst of cheesy flavor. But I have to tell you, these homemade cheese crackers (better than Cheez-Its) have completely stolen my heart. They’re just… more. More flavor, more crunch, more pure joy in every bite. I remember when my grandkids first tried them. Their eyes lit up, and that’s when I knew I’d created something special. It’s a simple pleasure, but those moments of pure delight mean everything to me.
Why You’ll Love These Homemade Cheese Crackers
- They’re surprisingly simple to whip up.
- The taste is incredibly rich and satisfying.
- You get that perfect, addictive crunch.
- Making them brings a special kind of kitchen joy.
- They’re truly better than any store-bought option!
A Taste of Tradition: Amaya’s Approach to Homemade Cheese Crackers
For me, cooking is all about love. It’s putting a little bit of your heart into everything you make. These homemade cheese crackers are no different. They remind me of the simple, comforting snacks I used to make for my own children back in Kyoto. There’s a warmth and care baked into every single cracker. It’s about taking familiar ingredients and transforming them into something truly wonderful. That feeling of sharing a homemade treat, made with my own hands, is what this recipe is all about. It’s a little piece of home, baked just for you.
The Essential Ingredients for Perfect Homemade Cheese Crackers
Gathering your ingredients is the first step to cracker bliss! You’ll need 2 cups of all-purpose flour for the base. A teaspoon of salt balances the flavors. For that essential lift and texture, we use 1/2 teaspoon of baking soda. If you like a tiny kick, a pinch of cayenne pepper (about 1/4 teaspoon) is wonderful. The star, of course, is 1 1/2 cups of shredded sharp cheddar cheese. This gives our crackers that irresistible cheesy punch. And finally, 1/4 cup of milk helps bring it all together into a workable dough. Don’t forget 1 cup (that’s two sticks!) of cold, cubed unsalted butter. It’s crucial for that flaky, melt-in-your-mouth texture.
Ingredient Notes and Potential Substitutions
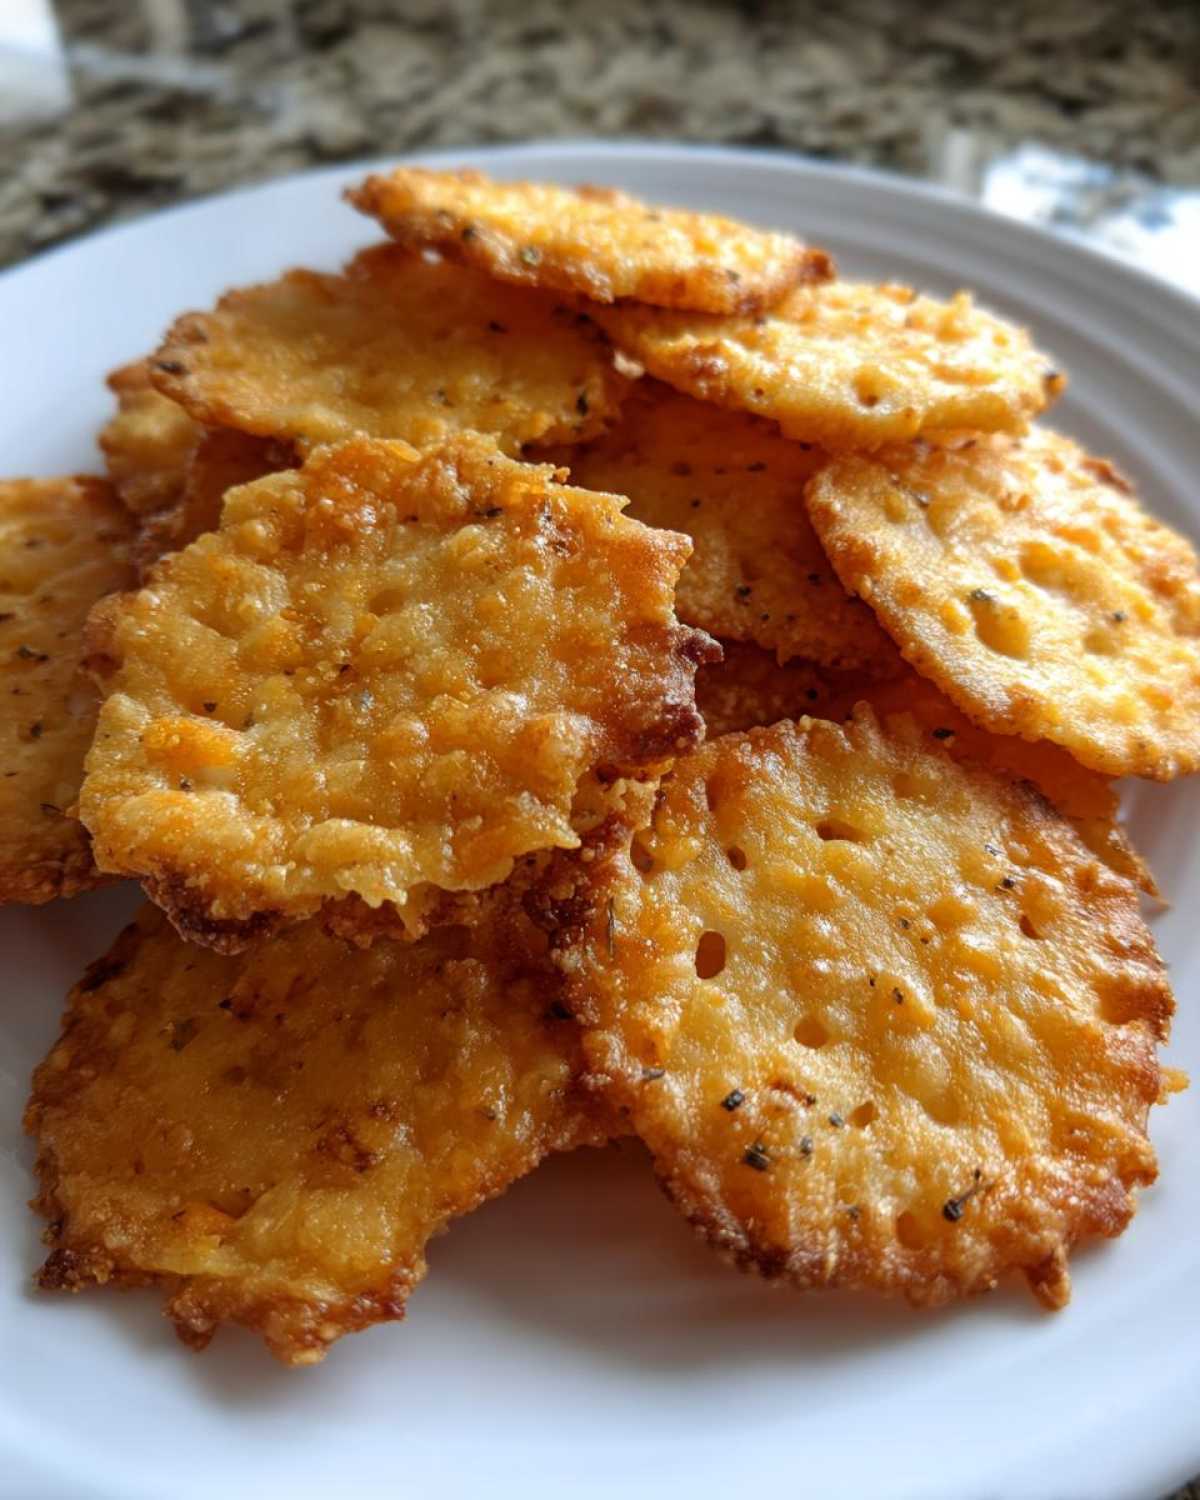
I find that sharp cheddar cheese really gives these homemade crackers the best flavor. It has a wonderful tanginess that cuts through the richness. However, you can absolutely experiment! A good quality medium cheddar works well too. For a different flavor profile, try Gruyère or a Monterey Jack. Just make sure your cheese is finely shredded for even distribution. As for the flour, all-purpose is fantastic. I haven’t personally tried other flours here, but if you do, let me know how they turn out! Sometimes, if my dough feels a bit dry, I’ll add a tablespoon more milk. If it’s too sticky, a little extra flour helps.
Crafting Your Homemade Cheese Crackers: Step-by-Step Instructions
Let’s get these delicious homemade cheese crackers into your oven! First, preheat your oven to 375°F (190°C). Line your baking sheets with parchment paper. This makes cleanup a breeze. In a big bowl, whisk together your flour, salt, baking soda, and cayenne pepper if you’re using it. This ensures everything is nicely combined before we add the wet ingredients.
Now, cut in the cold, cubed butter. You can use a pastry blender or just your fingertips. Work it in until the mixture looks like coarse crumbs. It’s okay if there are still some pea-sized butter bits. Next, stir in your shredded sharp cheddar cheese. Mix it until it’s spread evenly through the crumbly mixture.
Gradually add the milk. Mix until a dough just starts to come together. Be gentle here; overmixing makes tough crackers. Turn the dough onto a lightly floured surface. Gently knead it just a few times until it forms a ball. You want it cohesive, not sticky.
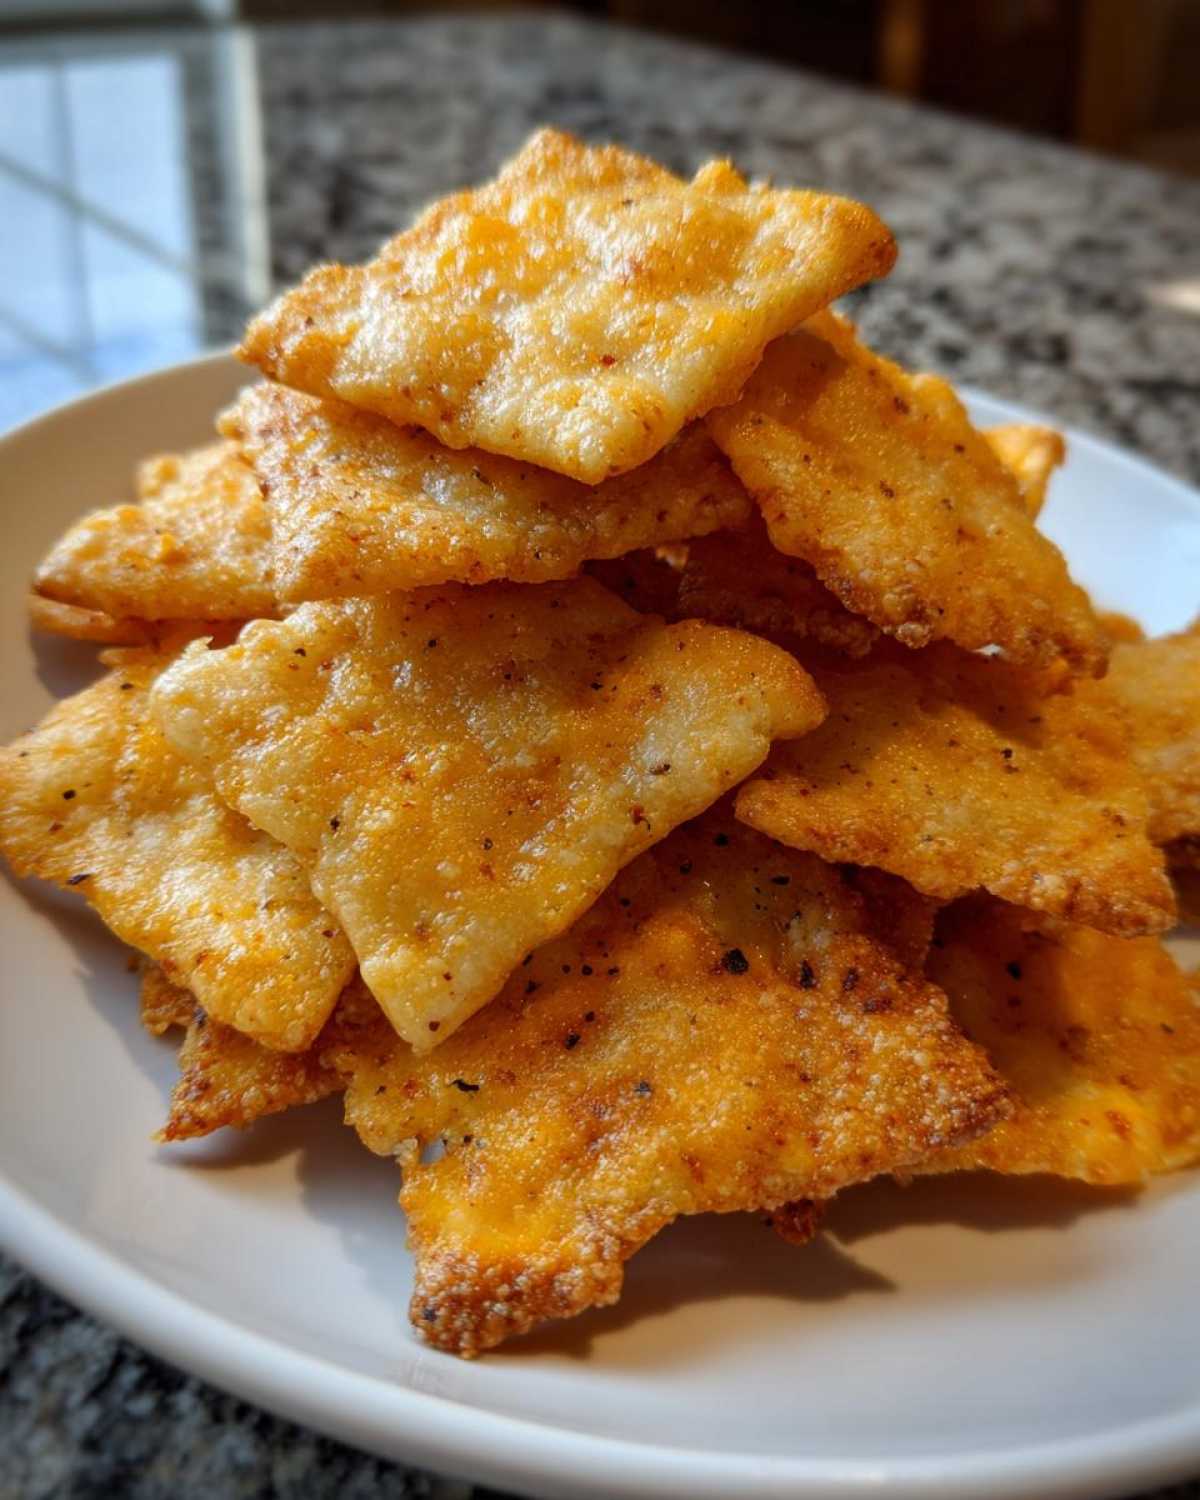
Divide the dough in half. Roll out one half between two sheets of parchment paper to about 1/8-inch thickness. This even thickness is key for baking. Transfer this rolled dough to a baking sheet. Repeat with the other half of the dough. You can score the dough into cracker shapes now. Use a pizza cutter or a knife. Small cookie cutters work too! Prick each cracker a few times with a fork. This stops them from puffing up too much. Bake for 12-15 minutes. Watch for golden brown edges and firm crackers.
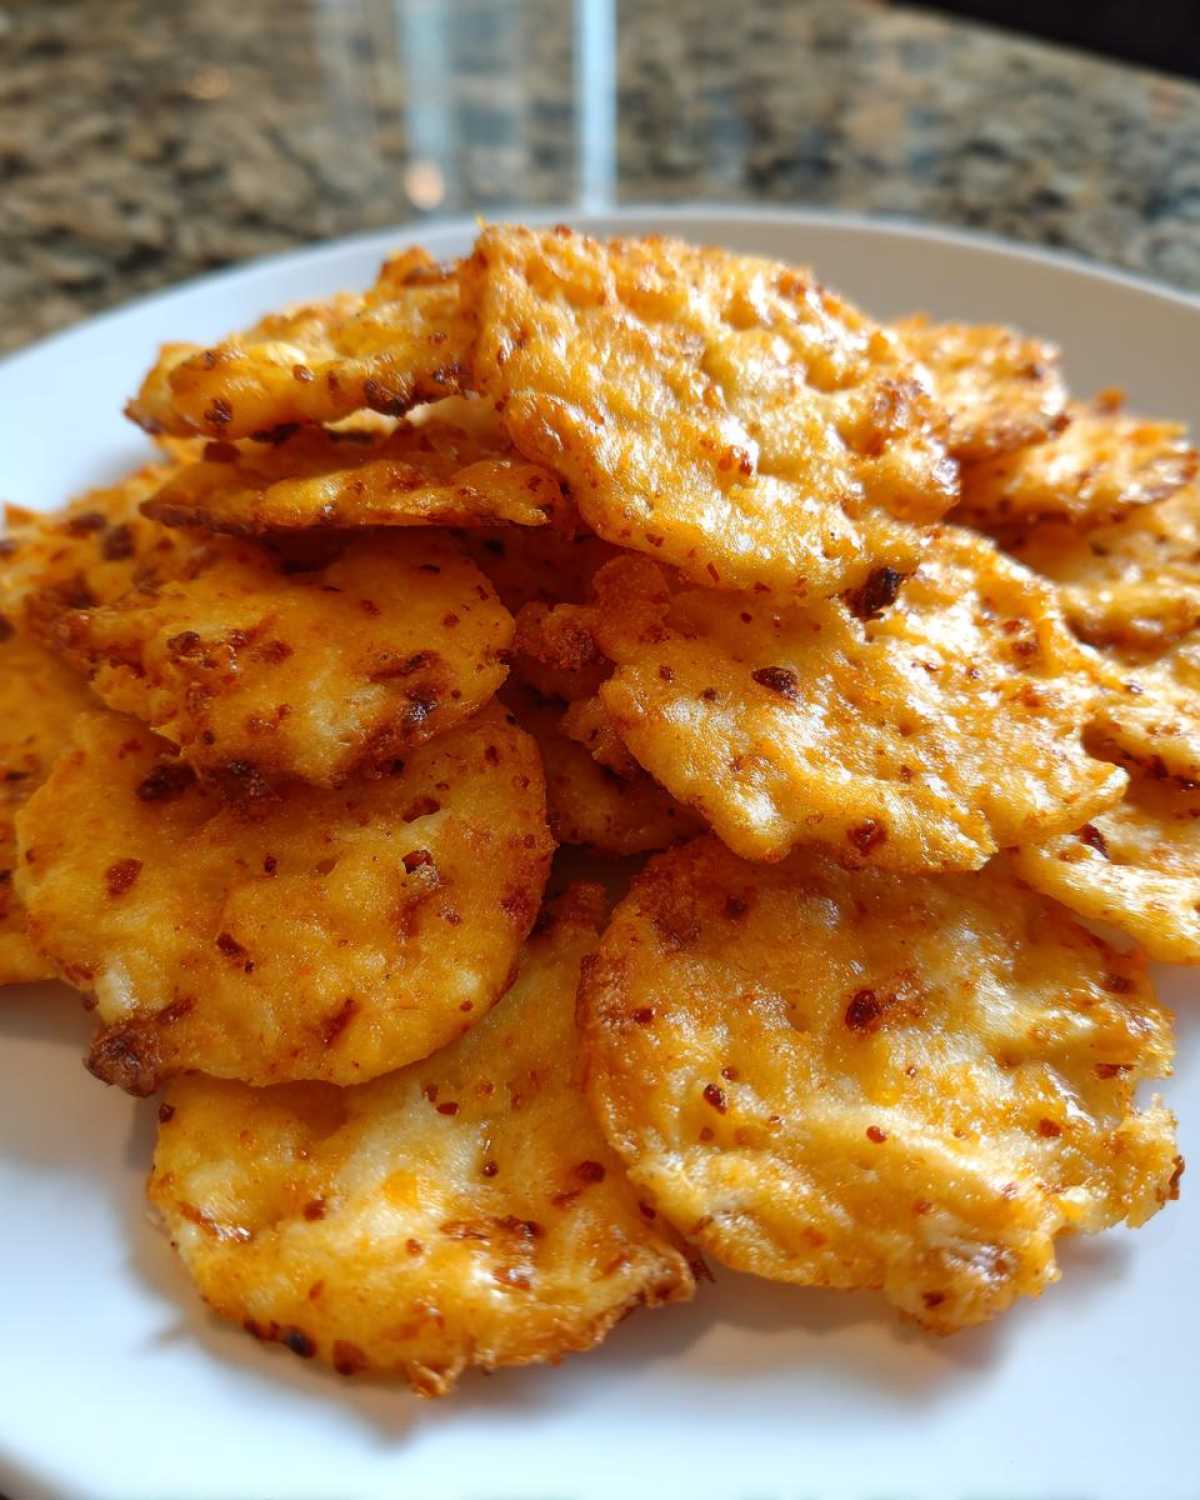
Let them cool completely on the baking sheets. They finish crisping up as they cool. Then, break them apart or move them to a wire rack.
Tips for Achieving the Perfect Homemade Cheese Crackers
Keep your butter and milk cold for the best texture. Don’t overwork the dough; a gentle hand yields tender crackers. Roll the dough evenly for uniform baking. Pricking each cracker prevents puffing. Watch them closely near the end of baking; they can go from golden to burnt quickly!
Baking Your Homemade Cheese Crackers to Golden Perfection
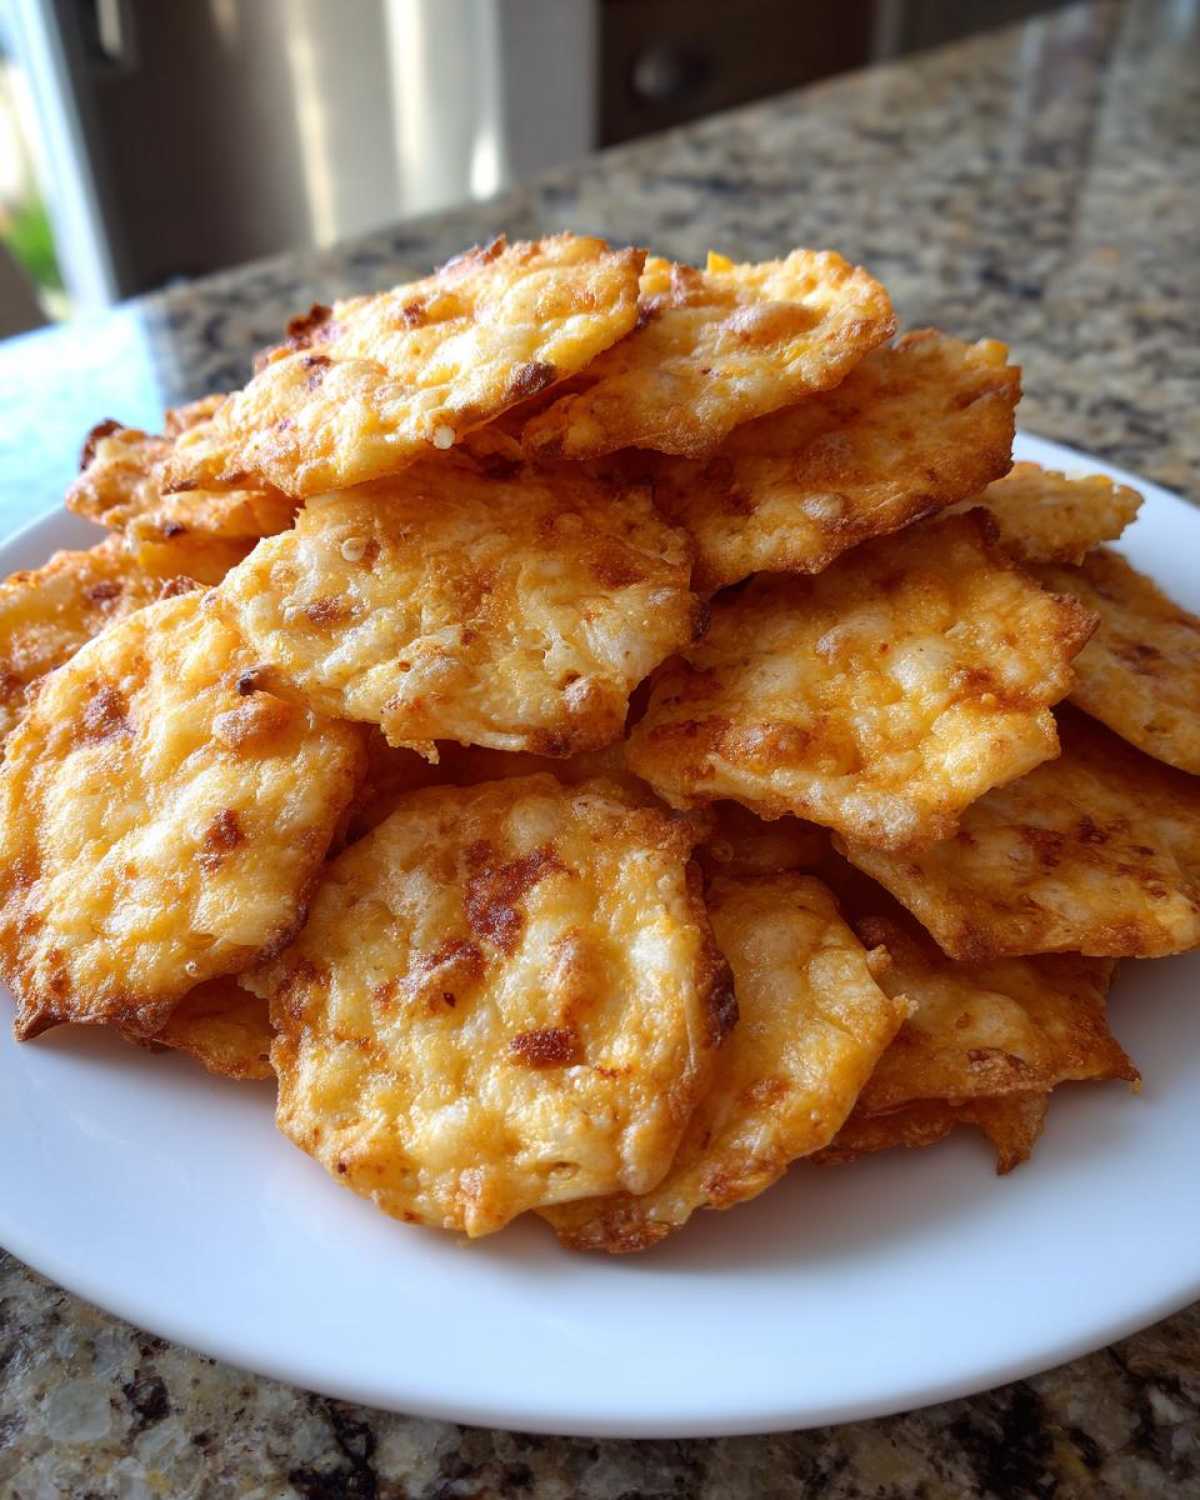
Now for the magic part! Baking these homemade cheese crackers transforms that simple dough into crispy, golden delights. You’re looking for those lovely golden-brown edges and a firm feel. This is where you really see the difference from store-bought. You get that perfect snap and crunch that only fresh baking can provide. It’s a beautiful thing.
The cooling step is just as important as the baking. As your crackers cool on the baking sheets, they continue to crisp up beautifully. This ensures every single bite is perfectly crunchy. Patience here really pays off for that amazing texture.
Scoring and Shaping Your Delicious Homemade Cheese Crackers
Getting the shape just right is fun! After you’ve rolled out your dough, grab a pizza cutter or a sharp knife. Gently score lines to create your cracker squares or rectangles. You can also use fun cookie cutters if you have them! Make sure to keep the sizes fairly consistent. This helps them bake evenly. Don’t forget to prick each cracker a few times with a fork. This little step stops them from puffing up too much, keeping them nice and flat for that perfect crunch.
Storing and Enjoying Your Homemade Cheese Crackers
Once your homemade cheese crackers are completely cool, it’s time to store them. Keep them in an airtight container at room temperature.
They’ll stay wonderfully crisp for up to a week. This makes them perfect for making ahead! You can find more delicious recipes on our blog.
Enjoy them on their own as a delightful snack. They’re also fantastic with a dollop of cream cheese or alongside your favorite soup. For a similar savory treat, try our garlic knots.
Frequently Asked Questions About Homemade Cheese Crackers (Better Than Cheez-Its)
Can I use a different cheese for these homemade cheese crackers?
Absolutely! While sharp cheddar is my favorite for its bold flavor, you can experiment. A good quality medium cheddar, Monterey Jack, or even a mix works wonderfully. Just ensure the cheese is finely shredded for even melting.
How do I make my homemade cheese crackers extra crispy?
For maximum crispness, make sure your dough is rolled thinly and evenly. Pricking each cracker with a fork prevents puffing. Baking them until the edges are nicely golden brown is key. Don’t be afraid to let them cool completely on the baking sheet; they continue to crisp up as they cool. For more baking tips, check out our guide on baking techniques.
What’s the best way to store these better-than-Cheez-Its snacks?
Store your cooled homemade crackers in an airtight container at room temperature. This is the best way to keep them crunchy and prevent them from getting stale. They should stay delicious for about a week. For other snack ideas, consider our no-bake trail mix granola bars.
Can I add other seasonings?
Yes! A pinch of garlic powder or onion powder mixed with the dry ingredients adds another layer of flavor. You could also try a sprinkle of smoked paprika before baking for a lovely color and taste. For more flavor inspiration, explore our collection of savory recipes.
Estimated Nutritional Information for Homemade Cheese Crackers
Please note that the nutritional information provided here is an estimate. It can vary depending on the specific brands of ingredients you use and the exact size of your crackers. We always recommend calculating your own if you have specific dietary needs. For more information on understanding nutritional data, you can refer to resources like the FDA’s Nutrition Facts Label guide.
PrintAmazing Homemade Cheese Crackers (Better Than Cheez-Its)

Learn how to make homemade cheese crackers that are even better than your favorite store-bought brand. These crackers are cheesy, crunchy, and surprisingly easy to make.
- Prep Time: 20 minutes
- Cook Time: 15 minutes
- Total Time: 35 minutes
- Yield: Approximately 100 crackers
- Category: Snacks
- Method: Baking
- Cuisine: American
- Diet: Vegetarian
Ingredients
- 2 cups all-purpose flour
- 1 teaspoon salt
- 1/2 teaspoon baking soda
- 1/4 teaspoon cayenne pepper (optional)
- 1 cup (2 sticks) unsalted butter, cold and cubed
- 1 1/2 cups shredded sharp cheddar cheese
- 1/4 cup milk
Instructions
- Preheat your oven to 375°F (190°C). Line baking sheets with parchment paper.
- In a large bowl, whisk together the flour, salt, baking soda, and cayenne pepper (if using).
- Cut in the cold butter using a pastry blender or your fingertips until the mixture resembles coarse crumbs.
- Stir in the shredded cheddar cheese until evenly distributed.
- Gradually add the milk, mixing until a dough just comes together. Be careful not to overmix.
- Turn the dough out onto a lightly floured surface and gently knead a few times until it forms a cohesive ball.
- Divide the dough in half. Roll out one half of the dough between two sheets of parchment paper to about 1/8-inch thickness.
- Transfer the rolled dough to a baking sheet. Repeat with the second half of the dough.
- Score the dough into cracker shapes using a pizza cutter or knife. You can also use small cookie cutters. Prick each cracker a few times with a fork.
- Bake for 12-15 minutes, or until the edges are golden brown and the crackers are firm.
- Let the crackers cool completely on the baking sheets before breaking them apart or transferring them to a wire rack.
Notes
- For extra flavor, you can add a pinch of garlic powder or onion powder to the dry ingredients.
- If your dough is too dry, add a tiny bit more milk. If it’s too sticky, add a little more flour.
- Store cooled crackers in an airtight container at room temperature for up to a week.
Nutrition
- Serving Size: 10 crackers
- Calories: 120
- Sugar: 1g
- Sodium: 150mg
- Fat: 7g
- Saturated Fat: 4g
- Unsaturated Fat: 3g
- Trans Fat: 0g
- Carbohydrates: 12g
- Fiber: 1g
- Protein: 3g
- Cholesterol: 20mg