

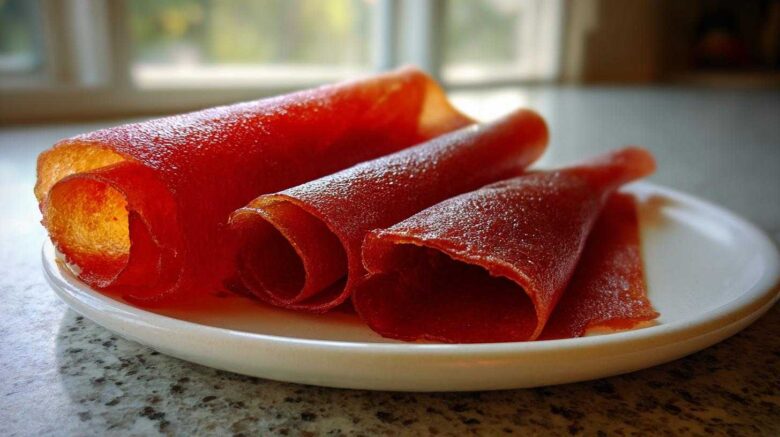
There’s nothing quite like the joy of seeing little faces light up over a delicious, healthy snack. As a grandpa, I’ve always loved making treats for my grandchildren. It’s a way we connect, you know? They visit, and the first thing they ask is, “Grandpa, what are we making today?” For the longest time, I wanted a snack that was fun, tasty, and good for them. Something I could pack for their school lunches or for our park adventures.
That’s when I rediscovered the magic of homemade fruit leather. It’s like a fruit roll-up, but so much better. I can control every single ingredient. No weird stuff, just pure fruit goodness!
Making homemade fruit leather has become one of our favorite kitchen activities. It fills the house with such a sweet, fruity smell. Plus, it’s incredibly portable. It’s the perfect healthy snack for busy families. My grandkids absolutely adore these. They call them “Grandpa’s fruity ribbons.” And honestly, that just melts my heart. I’m so excited to share this simple recipe with you.
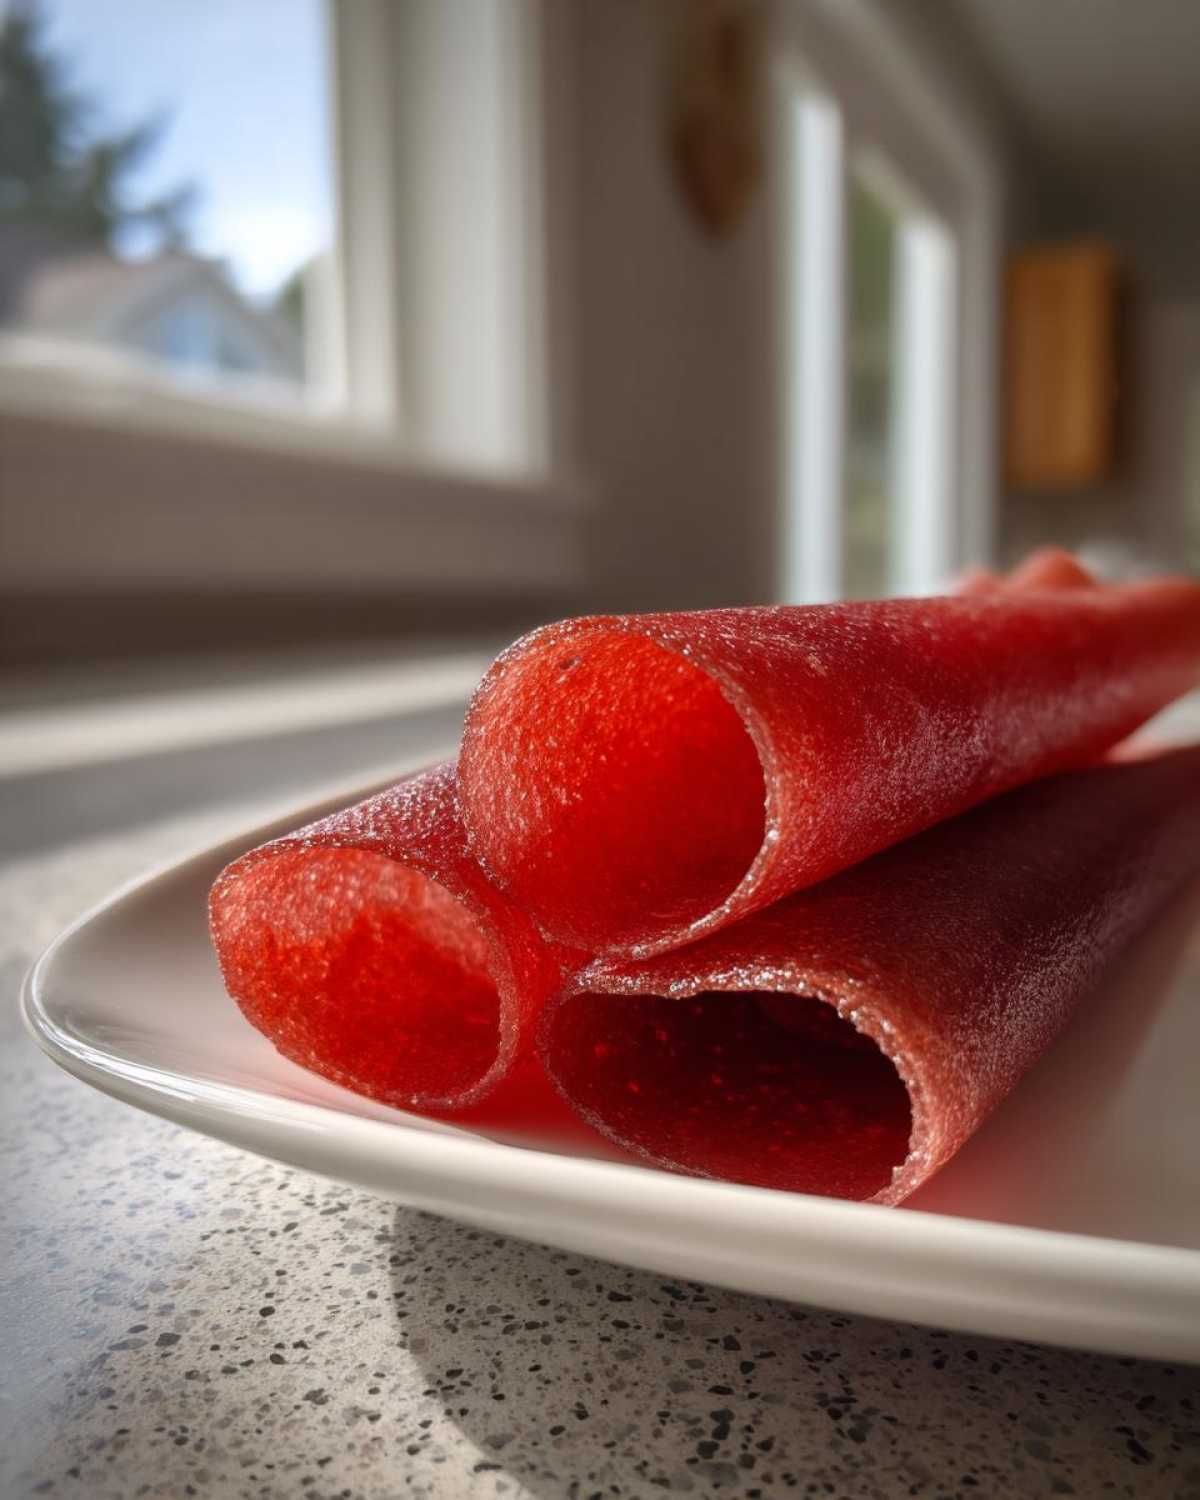
Why You’ll Love This Homemade Fruit Leather
I get it, life is busy. But making homemade fruit leather brings so much joy. It’s truly a game-changer for snack time. I love knowing exactly what goes into every bite. You will too!
- You control the ingredients: No hidden sugars or strange additives.
- It’s super healthy: Just pure fruit, packed with vitamins.
- Kids absolutely adore it: It’s a fun, natural treat.
- It’s budget-friendly: Use seasonal or frozen fruit.
- Perfect for meal prep: Make a big batch for the week.
- Portable and mess-free: Ideal for on-the-go snacking.
The Benefits of Making Homemade Fruit Leather
This recipe is a real winner for any parent. You choose the fruit, so you know it’s fresh. You can skip the added sugar entirely if your fruit is sweet enough. Or, you can add just a tiny bit for a little boost. It’s all about what feels right for your family. This homemade fruit leather is packed with natural goodness. It’s a healthy choice you can feel good about.
Homemade Fruit Leather: A Perfect Lunchbox Snack
One of my favorite things about homemade fruit leather is how perfectly it fits into a lunchbox. It’s thin, flexible, and doesn’t make a mess. No sticky fingers or crumbs! My grandkids love peeling off a strip at school. It’s a nice change from typical store-bought snacks. Plus, it holds up great, even if it sits in a lunchbox for a few hours. It’s just so convenient for busy school days or any adventure.
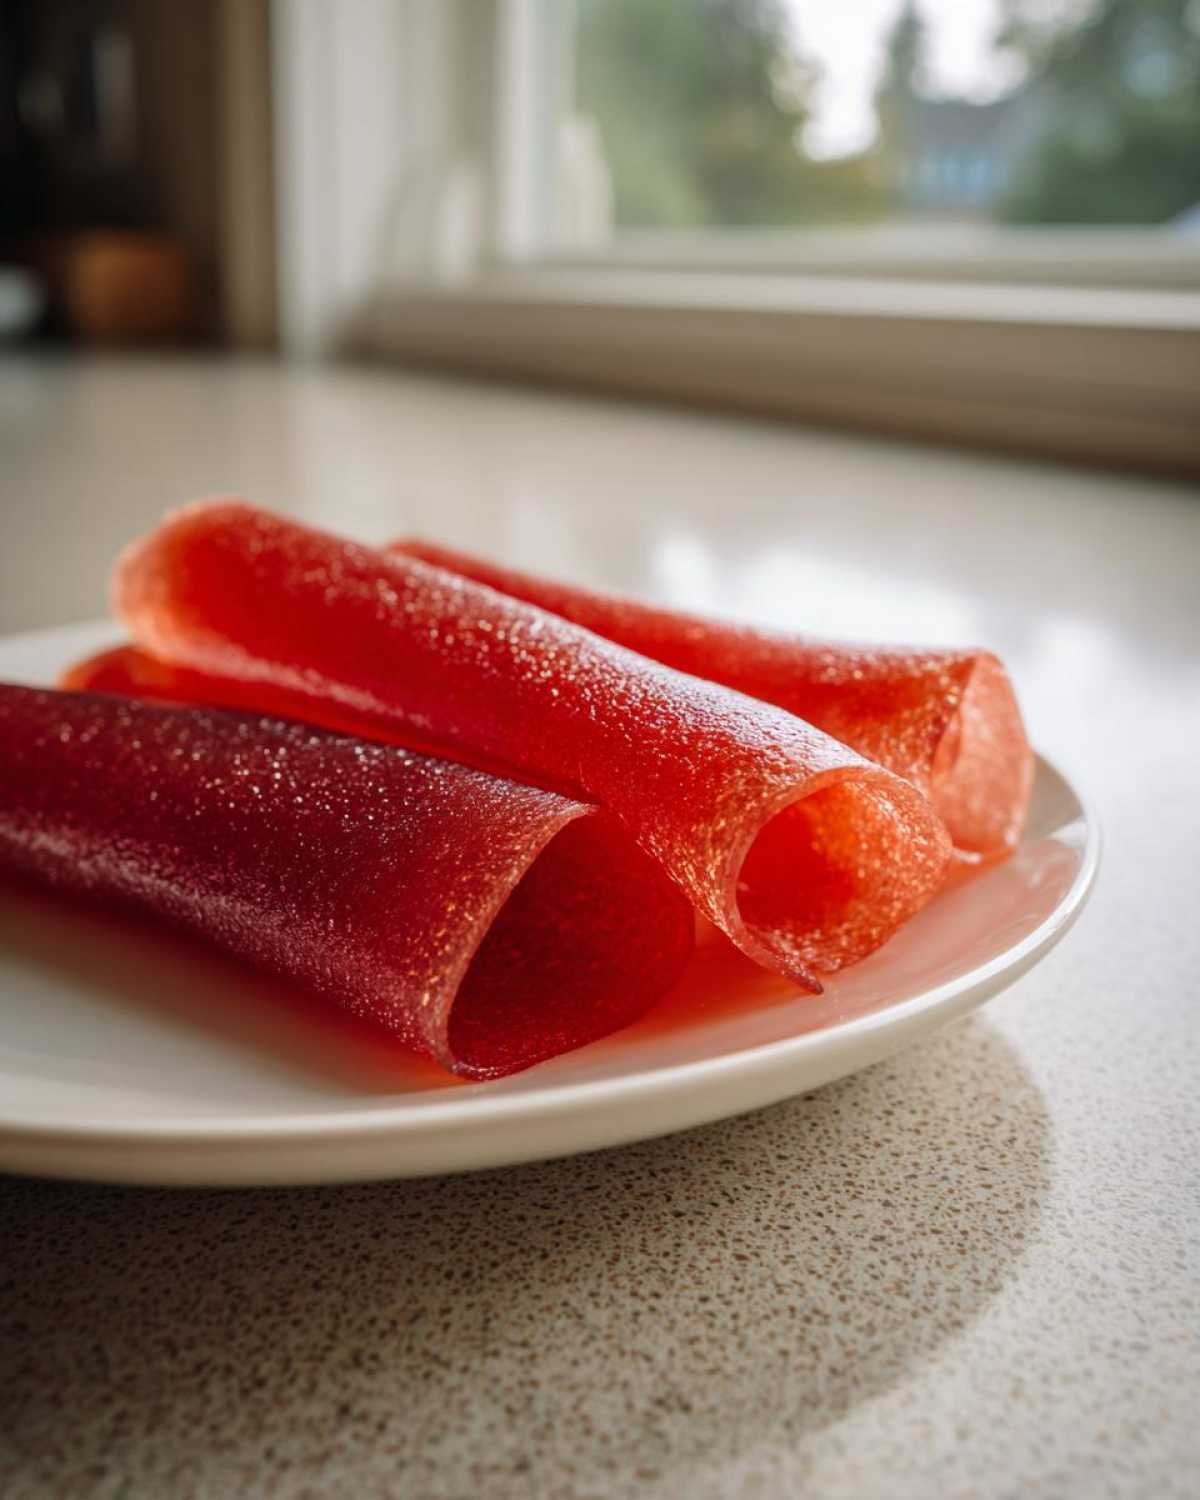
Ingredients for Perfect Homemade Fruit Leather
Making homemade fruit leather starts with good ingredients. You don’t need much, which is part of its charm! I always pick the freshest fruit I can find. Here’s what you’ll need for this delicious snack:
- 4 cups of fresh or frozen fruit. Think berries, peaches, mangoes, or apples.
- 1 to 2 tablespoons of honey or maple syrup. This is totally optional, adjust to your taste.
- 1 tablespoon of lemon juice. Again, optional, but it really brightens the flavor. It also helps with preservation.
That’s it! Simple, right? The beauty of homemade fruit leather is its simplicity. It lets the natural flavors shine.
Choosing the Best Fruits for Homemade Fruit Leather
This is where the fun begins! Almost any fruit works for homemade fruit leather. I often use a mix of berries for a vibrant color. Peaches and mangoes make a wonderfully sweet leather. Apples are also fantastic, especially when ripe. You can use fresh fruit, of course. Frozen fruit works just as well too. Just thaw it first before blending.
Optional Sweeteners and Brighteners for Homemade Fruit Leather
Sometimes, fruit needs a little help. If your fruit isn’t super sweet, a touch of honey or maple syrup is perfect. I add it to taste, usually just a tablespoon. Lemon juice is my secret weapon. It adds a lovely tartness. This really makes the fruit flavors pop! It also helps keep the fruit leather from browning. So, it looks as good as it tastes.
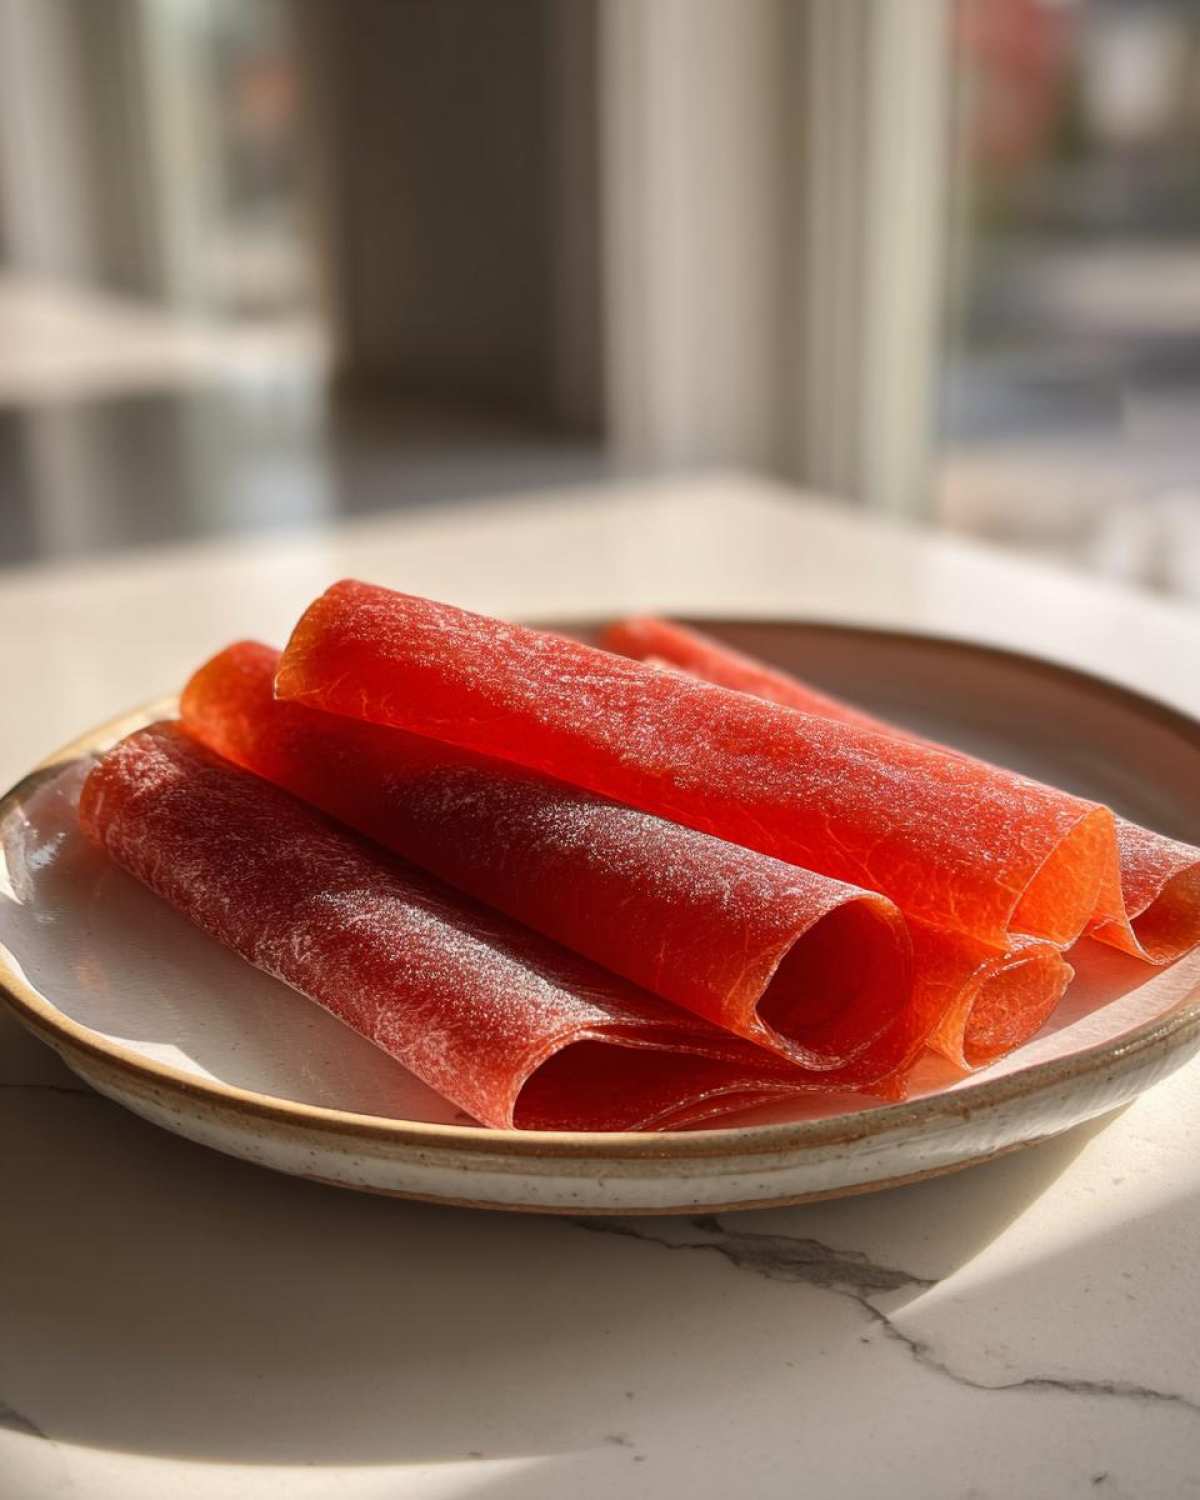
How to Prepare Homemade Fruit Leather
Making homemade fruit leather is easier than you think. It just takes a little patience. I’ll walk you through each step. You’ll have delicious fruit leather in no time. It’s a very satisfying process. Let’s get started!
Preparing Your Fruit for Homemade Fruit Leather
First, wash all your fruit really well. If you’re using larger fruits like apples or peaches, you’ll need to peel them. Then, remove any cores or pits. Chop them into smaller pieces. This helps them blend smoothly. If using berries, a quick rinse is all you need. Simple as that!
Blending and Spreading Your Homemade Fruit Leather Puree
Next, put your prepared fruit into a blender. Add the optional honey or maple syrup. Don’t forget the lemon juice! Blend it until it’s super smooth. No chunks allowed! Then, line a baking sheet with parchment paper. Pour the puree onto the sheet. Spread it evenly, about 1/8 to 1/4 inch thick. Aim for an even layer. This helps it dry nicely.
Dehydrating Homemade Fruit Leather to Perfection
Now, it’s time to dry your homemade fruit leather. Preheat your oven to its lowest setting. Mine goes to 150°F. Place the baking sheet inside. Let it bake for 4 to 8 hours. The time depends on your puree’s thickness. It also depends on your oven. The fruit leather should feel dry. It should peel easily from the paper. If it’s sticky, give it more time. If it’s brittle, you overdid it. You can also use a dehydrator if you have one. Just follow its instructions. Once done, let it cool completely.
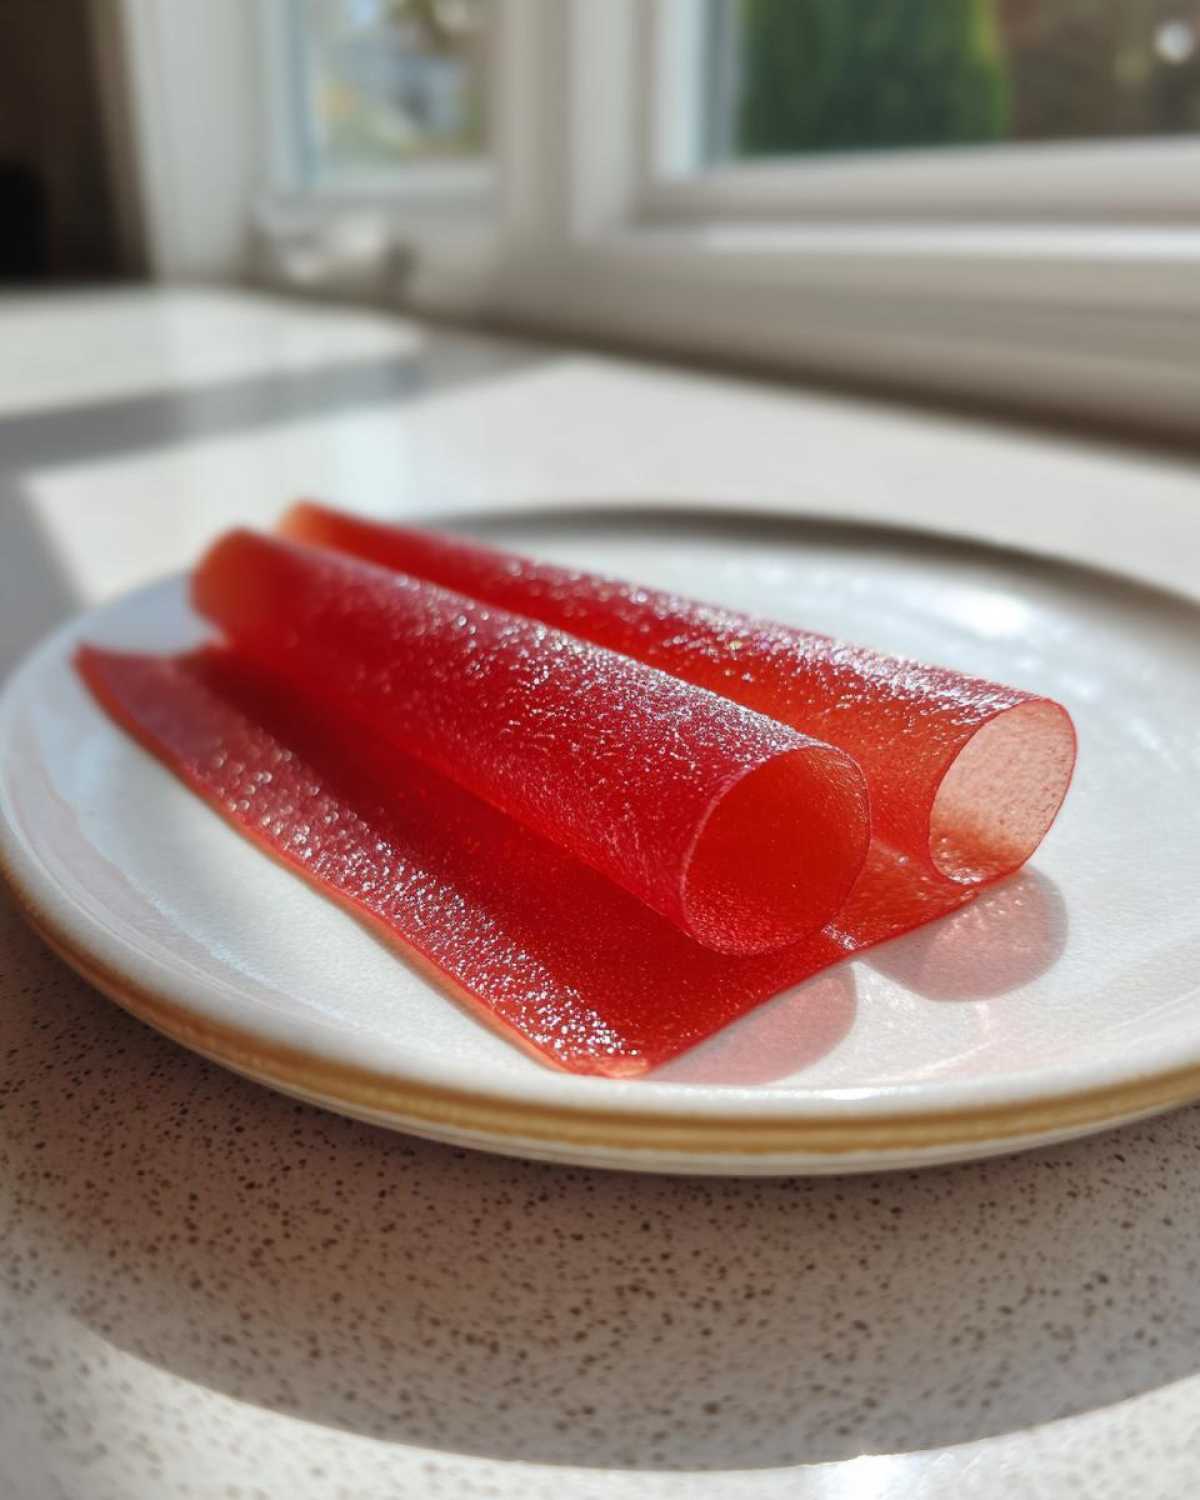
Tips for Homemade Fruit Leather Success
Over the years, I’ve learned a few tricks. These help make homemade fruit leather perfect every time. Little things can make a big difference. I love sharing these insights with you. They come from lots of kitchen adventures.
Experimenting with Homemade Fruit Leather Flavors
Don’t be afraid to get creative with your homemade fruit leather! I love mixing berries with apples. Peach and mango is another favorite. You can even add a pinch of cinnamon to apple leather. Or a tiny bit of ginger to pear. The possibilities are endless. Just use ripe, flavorful fruits. That’s the key. Have fun with it!
Troubleshooting Your Homemade Fruit Leather
Sometimes, things don’t go perfectly. If your homemade fruit leather is brittle, it’s over-dried. Next time, try a shorter drying time. Or spread it a bit thicker. If it’s too sticky, it needs more time. Just put it back in the oven or dehydrator. It will get there! Practice makes perfect, and every batch is a delicious lesson.
Storing and Enjoying Your Homemade Fruit Leather
You’ve put in the effort, now let’s make sure your homemade fruit leather stays fresh. Proper storage is key. This ensures you can enjoy your delicious snack for days. It’s so satisfying to grab a piece. Knowing it’s fresh makes it even better.
Proper Storage for Homemade Fruit Leather
Once your fruit leather is cool, peel it gently. I like to cut mine into strips. Then, I roll each strip up. You can also use cookie cutters for fun shapes. Store these rolls in an airtight container. They will last up to two weeks at room temperature. For longer storage, keep them in the fridge. They’ll stay fresh for a month there. Just make sure no air gets in!
Creative Ways to Enjoy Homemade Fruit Leather
My grandkids love unrolling their fruit leather. It’s part of the fun! You can pack it in lunchboxes. It’s perfect for car rides too. I sometimes cut it into small pieces. These are great to sprinkle over yogurt. Or mix into trail mix. It adds a lovely chewy texture. It’s a versatile and yummy treat. Enjoy every sweet bite!
Homemade Fruit Leather: Frequently Asked Questions
I often get questions about making homemade fruit leather. It’s a popular recipe! Here are some of the most common ones. I hope these answers help you on your fruit leather journey. Don’t hesitate to ask if you have more questions!
Can I make Homemade Fruit Leather without added sugar?
Absolutely, yes! You can make delicious homemade fruit leather with no added sugar. Just pick very ripe, naturally sweet fruits. Berries, ripe mangoes, or sweet peaches work wonderfully. The natural sugars are often enough. This makes it an even healthier snack option. Give it a try!
What is the best way to cut Homemade Fruit Leather?
Once your homemade fruit leather is cool, it’s easy to cut. I usually use kitchen shears or a pizza cutter. Cut it into long strips. Then, roll each strip up. You can also use fun cookie cutters. This makes cute shapes. Just peel it off the parchment first. It makes for a fun and easy snack.
How do I know when my Homemade Fruit Leather is done?
Your homemade fruit leather is ready when it’s no longer sticky. It should feel pliable. It should peel easily from the parchment paper. If it’s brittle, it’s over-dried. If it’s still gooey, it needs more time. The texture should be like a fruit roll-up. It takes a little practice to get it just right.
Can I use a food dehydrator for Homemade Fruit Leather?
Yes, a food dehydrator works perfectly for homemade fruit leather. Many people prefer it! Just spread your fruit puree thinly on the dehydrator trays. Follow your dehydrator’s instructions for fruit leather. The temperature is usually low, around 135°F. It provides a consistent, even drying. This often gives great results.
Nutritional Information
I know many of you care about what you eat. Here’s a quick look at the nutritional side of homemade fruit leather. Please remember, these values are estimates. They can change based on your specific fruits. They also depend on if you add sweeteners. Always consider your ingredients. Enjoy your healthy snack!
Share Your Homemade Fruit Leather Creations
I absolutely love hearing from you all! It brightens my day. Have you tried making this homemade fruit leather? What fruit combinations did you use? Did you discover any fun shapes? I’m always curious about your kitchen adventures. Please share your experiences in the comments below. Your ideas might inspire others. Let’s build a community of happy home cooks. I can’t wait to read about your delicious creations!
PrintAmazing Homemade Fruit Leather: A 1-Day Joyful Snack

Make healthy, portable homemade fruit leather. This easy recipe uses real fruit, letting you control the sugar. It’s a simple, storable, and lunchbox-friendly snack kids love.
- Prep Time: 15 minutes
- Cook Time: 4-8 hours
- Total Time: 4 hours 15 minutes to 8 hours 15 minutes
- Yield: 10-12 servings
- Category: Snack
- Method: Dehydrating
- Cuisine: American
- Diet: Vegetarian
Ingredients
- 4 cups fresh or frozen fruit (berries, peaches, mangoes, apples, etc.)
- 1-2 tablespoons honey or maple syrup (optional, to taste)
- 1 tablespoon lemon juice (optional, for brightness and preservation)
Instructions
- Wash and prepare your fruit. If using large fruits like apples or peaches, peel and core them, then chop into small pieces.
- Place the fruit in a blender or food processor. Add honey or maple syrup and lemon juice, if using. Blend until completely smooth.
- Line a baking sheet with parchment paper or a silicone baking mat. Pour the fruit puree onto the prepared sheet, spreading it evenly into a thin layer (about 1/8 to 1/4 inch thick).
- Preheat your oven to the lowest setting (usually 150-170°F / 65-75°C). Alternatively, use a dehydrator according to the manufacturer’s instructions.
- Bake or dehydrate the fruit leather for 4-8 hours, or until it is no longer sticky to the touch and peels easily from the paper/mat. The exact time will depend on the thickness of your puree and your oven/dehydrator.
- Once cooled, peel the fruit leather off the parchment paper/mat. Cut it into strips or shapes and roll them up.
- Store homemade fruit leather in an airtight container at room temperature for up to 2 weeks, or in the refrigerator for longer storage.
Notes
- Experiment with different fruit combinations for unique flavors.
- For a thicker, chewier fruit leather, spread the puree slightly thicker.
- If your fruit leather is too brittle, it may have been over-dried. If it’s too sticky, it needs more drying time.
Nutrition
- Serving Size: 1 piece
- Calories: 50-80
- Sugar: 8-15g
- Sodium: 0-5mg
- Fat: 0g
- Saturated Fat: 0g
- Unsaturated Fat: 0g
- Trans Fat: 0g
- Carbohydrates: 12-20g
- Fiber: 2-4g
- Protein: 0-1g
- Cholesterol: 0mg