

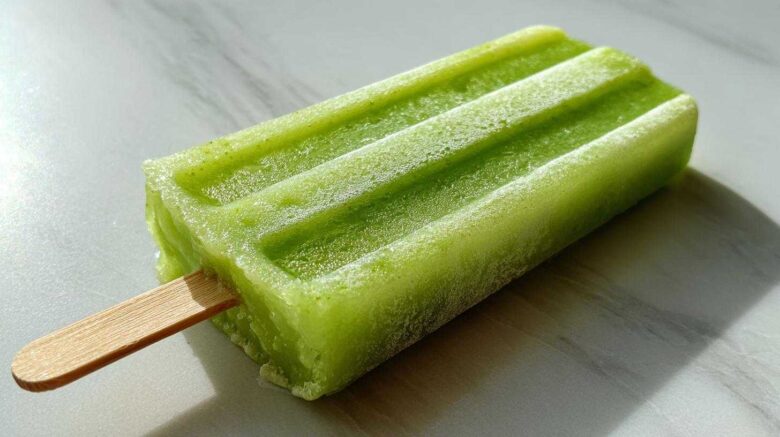
Key Lime Pie Popsicles: Your Perfect Summer Treat
Oh, summer days! They always bring back such sweet memories for me. Long afternoons spent chasing fireflies and, of course, enjoying cool, refreshing treats. These Key Lime Pie Popsicles are like a little slice of sunshine on a stick. They capture that perfect balance of tart and creamy that makes key lime pie so special. And the best part? They’re incredibly easy to make! You get all that wonderful flavor in a delightful frozen form. It’s a no-bake wonder that’s just perfect for beating the heat.
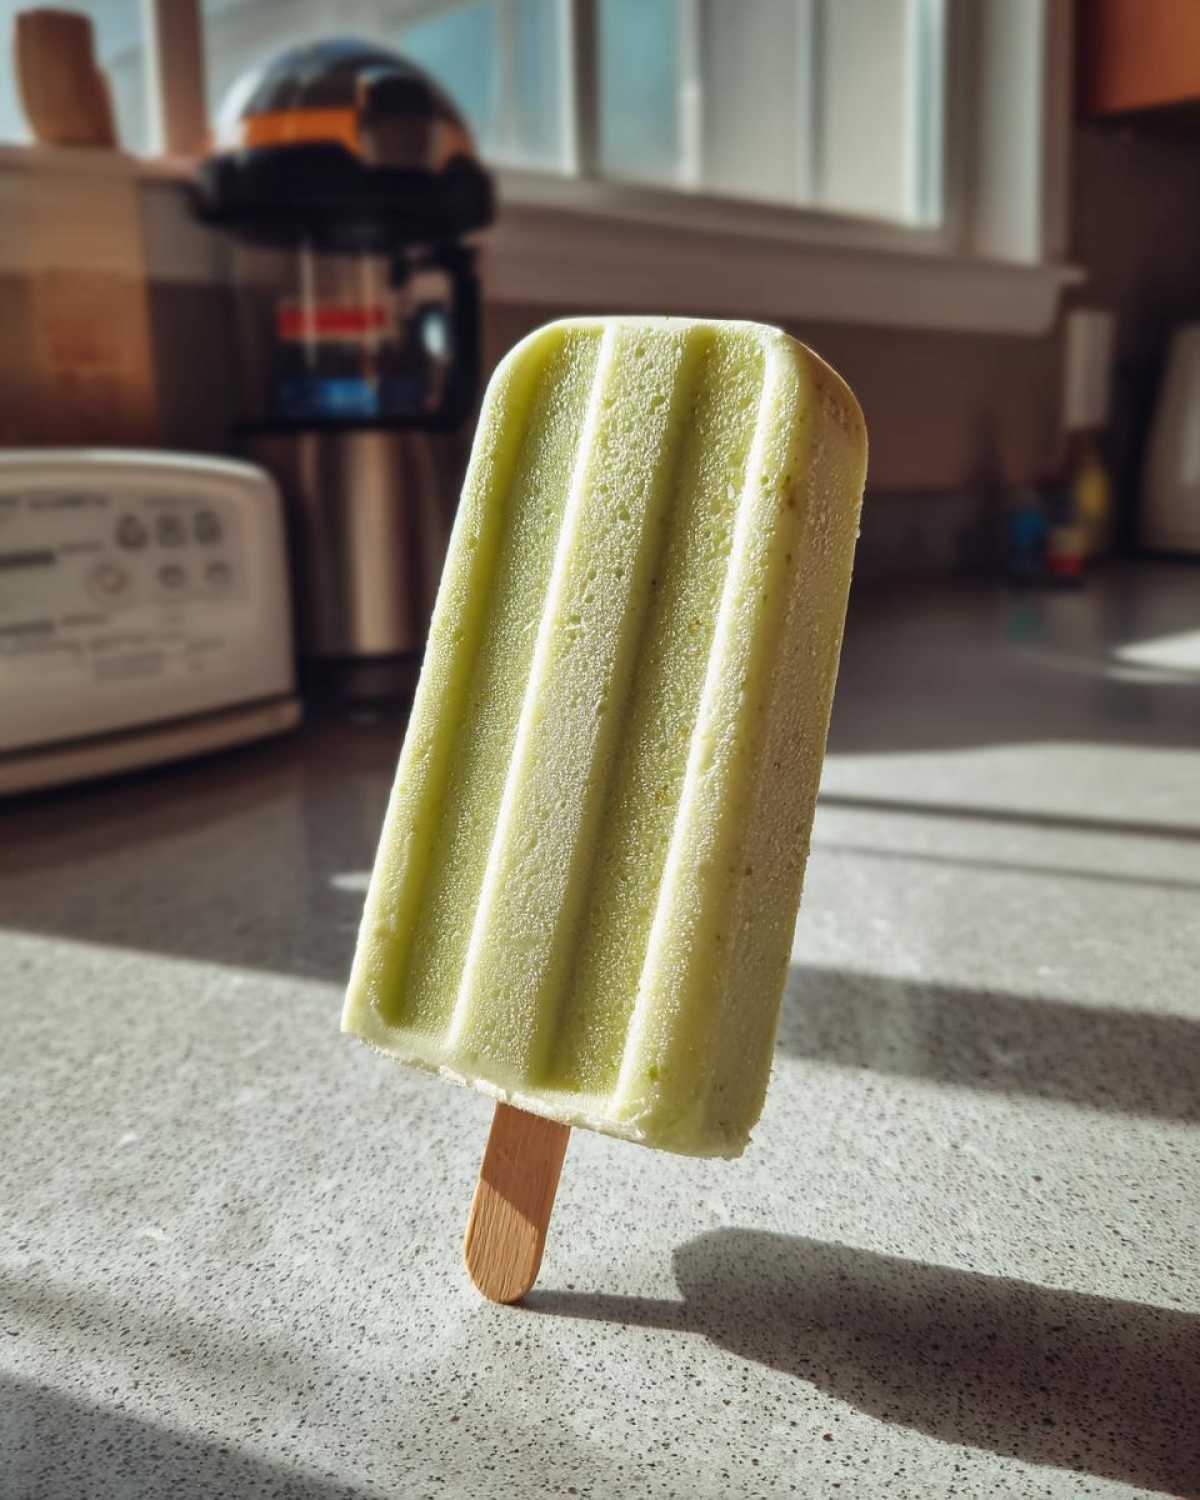
Why You’ll Love These Key Lime Pie Popsicles
These popsicles are a dream for summer! Here’s why you’ll want to make them:
- So easy to whip up.
- A delightful tart and creamy flavor.
- The ultimate refreshing summer dessert.
- It’s a simple no-bake treat.
- Perfect for parties or just a weeknight.
You’ll have a fantastic frozen delight in no time.
Ingredients for Key Lime Pie Popsicles
To create these delightful Key Lime Pie Popsicles, you’ll need just a few simple things. The magic truly happens with the quality of your ingredients! You’ll need:
- 1 cup of heavy cream
- 1 (14-ounce) can of sweetened condensed milk
- 1/2 cup of fresh key lime juice
- 1 teaspoon of finely grated lime zest
These ingredients blend together beautifully for that signature tart and creamy taste. Using fresh key lime juice really makes a difference in flavor.
Ingredient Notes and Substitutions
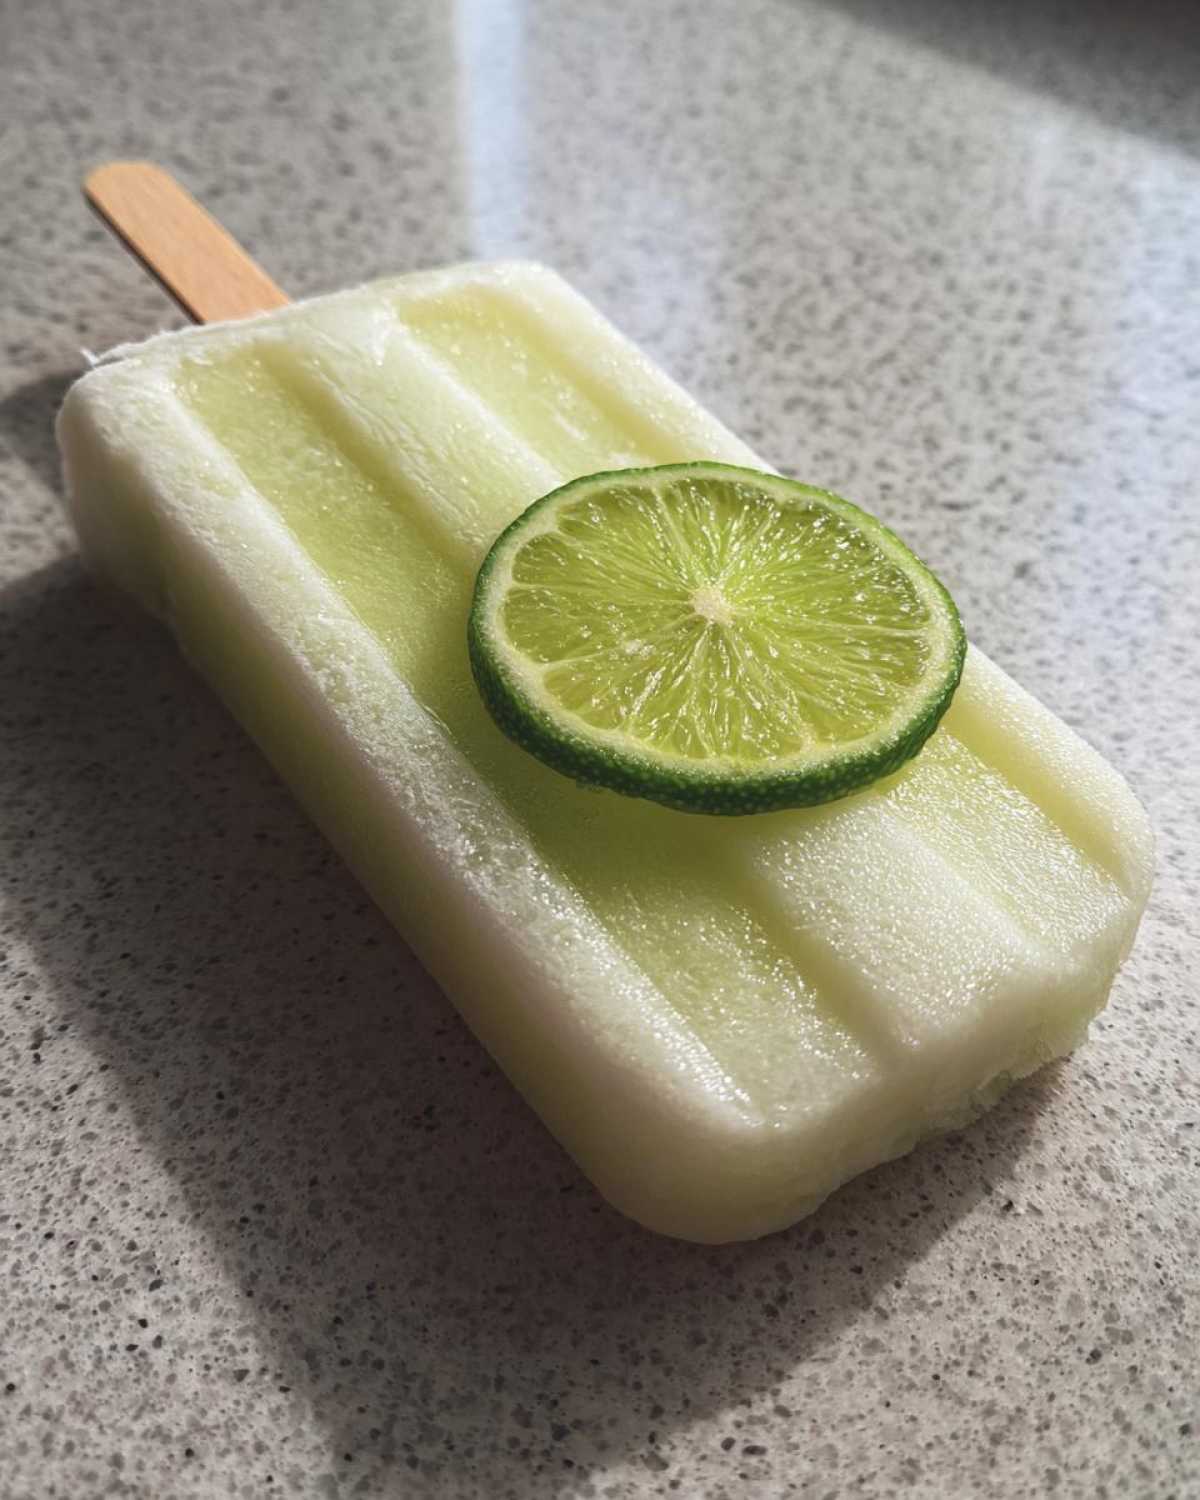
Key lime juice is what gives these popsicles their unique, zesty punch. If you can’t find it, regular lime juice will work. Just know it might be a little less tart. I’ve found that the fresh stuff really brings out the best flavor. The lime zest adds an extra layer of bright, citrusy aroma that I just love!
How to Make These Key Lime Pie Popsicles
Making these Key Lime Pie Popsicles is wonderfully straightforward. You’ll be amazed at how simple it is to get that authentic key lime pie flavor into a frozen treat. It really is a joy to prepare. Let’s get started on creating these delightful summer popsicles.
First, grab a large bowl. You’ll want your heavy cream to be nice and cold for this part. Whip it up until you see stiff peaks forming. This gives our popsicles that lovely creamy texture. Next, gently fold in the sweetened condensed milk. Add your key lime juice and lime zest too. Mix everything until it’s just combined. Don’t overmix it! Pour this delicious mixture into your popsicle molds. Then, pop in your popsicle sticks. Now comes the hardest part: waiting! Freeze them for at least six hours. You want them to be completely firm.
Step-by-Step Guide to Perfect Key Lime Pie Popsicles
Let’s walk through making your Key Lime Pie Popsicles.
- Whip your heavy cream in a large bowl until stiff peaks form. This creates a light and airy base.
- Gently fold in the sweetened condensed milk. Add your key lime juice and lime zest. Mix until just combined. Careful not to overmix.
- Pour the creamy mixture into your popsicle molds.
- Insert popsicle sticks firmly into each mold.
- Freeze for at least 6 hours, or until the popsicles are solid. Patience is key here!
- When ready to serve, run the outside of the molds under warm water for a few seconds. This helps them slide out easily.
You’ll have perfect, tart, and creamy popsicles ready to enjoy!
Tips for the Best Key Lime Pie Popsicles
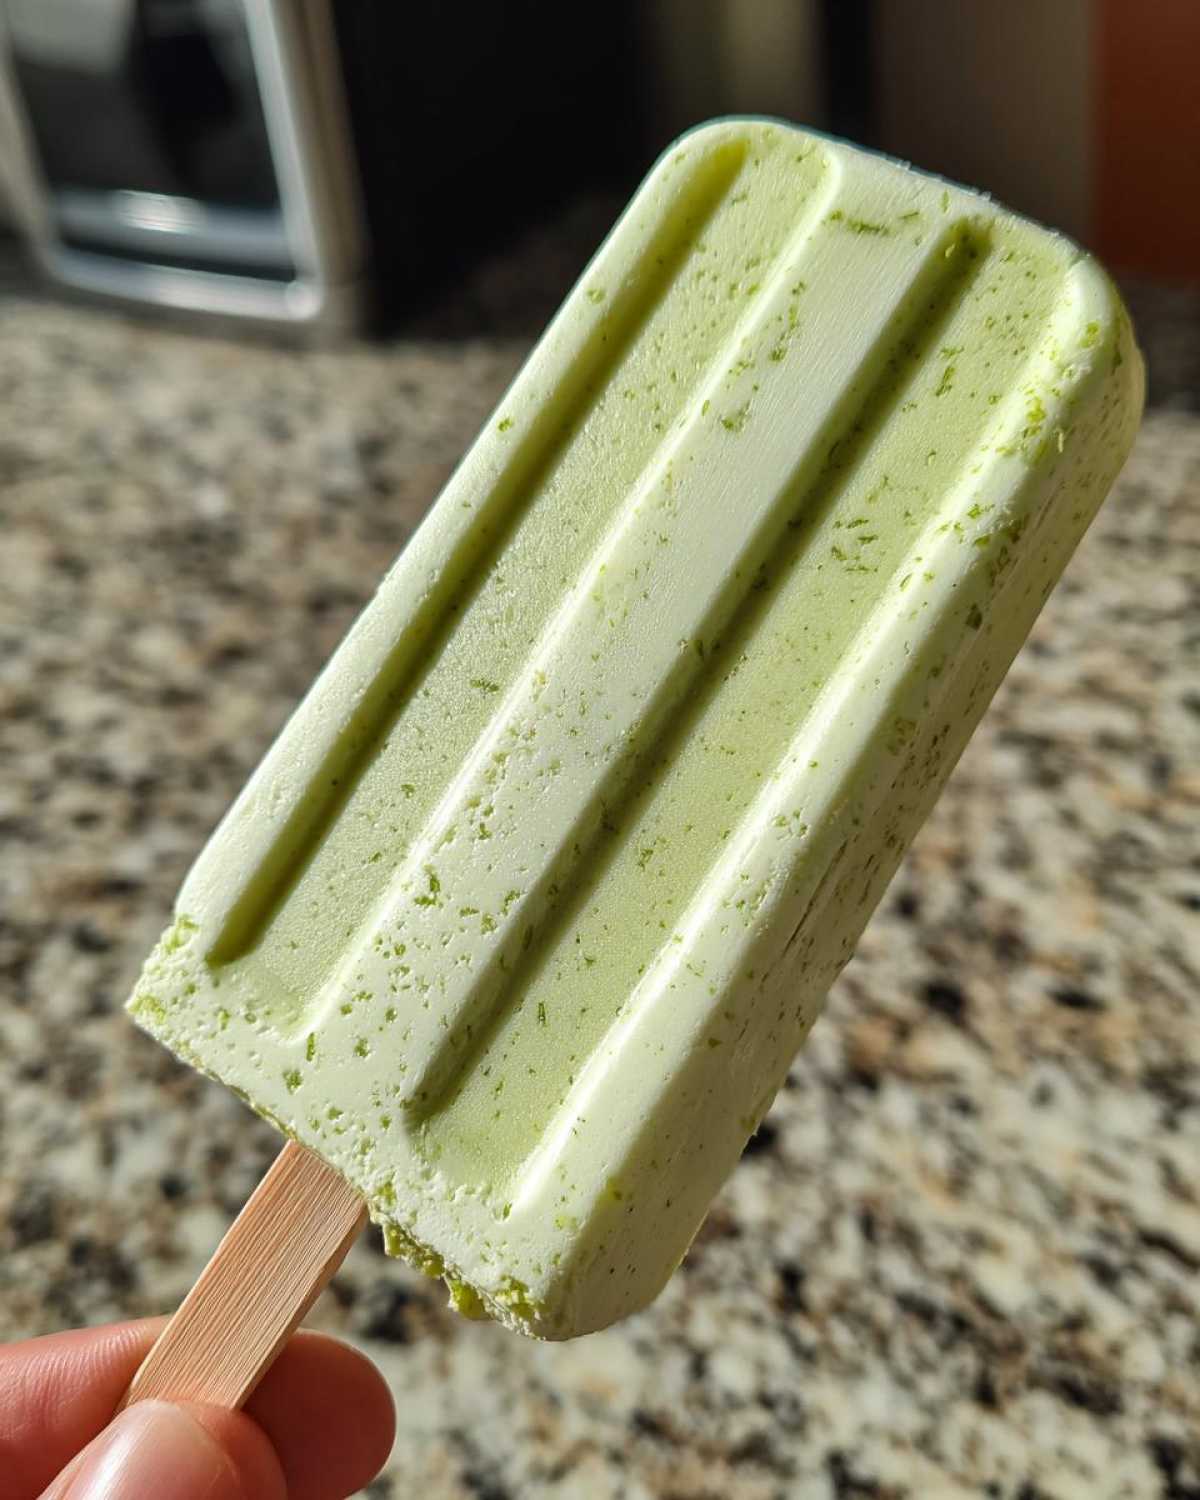
To make your Key Lime Pie Popsicles truly spectacular, a few little tricks can help. I love using silicone popsicle molds; they make unmolding a breeze! Make sure your mixture is well chilled before pouring it into the molds. This helps achieve that perfect creamy texture. If you find your popsicles aren’t freezing solid enough, ensure your freezer is set to a cold temperature. For an extra bit of fun, you can swirl in a bit of graham cracker crust mixture before freezing. It adds a lovely texture reminiscent of a real pie crust. These little adjustments really elevate your frozen treat!
Serving and Enjoying Your Key Lime Pie Popsicles
These Key Lime Pie Popsicles are perfect just as they are. But for a truly special touch, consider the “extra special treat” option! Melt some white chocolate and dip the frozen popsicles in it. Add colorful sprinkles for a festive look. Serve them on a sunny day. Watching people’s faces light up as they take their first bite is pure joy. These little frozen delights are sure to be a hit with everyone.
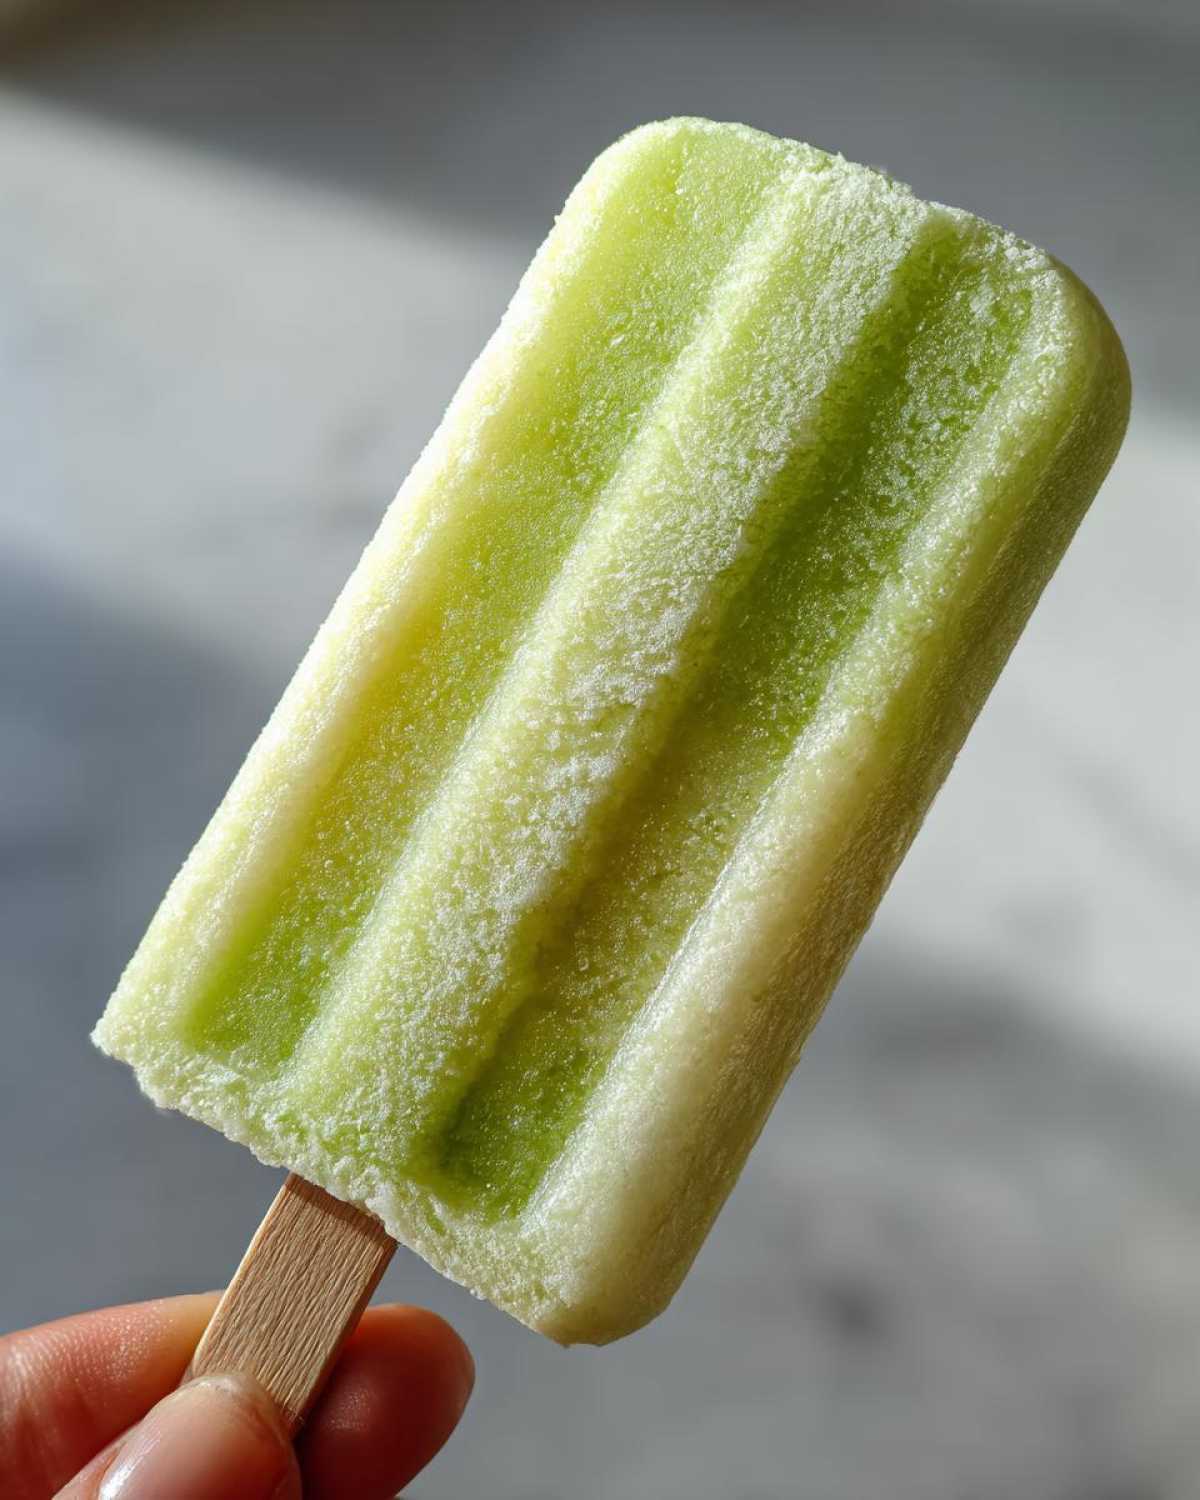
Storing Your Key Lime Pie Popsicles
Got some leftover Key Lime Pie Popsicles? No problem! To keep them tasting fresh and creamy, store them back in their molds if you can. Or, wrap each popsicle tightly in plastic wrap. Then place them in an airtight container in the freezer. This prevents freezer burn and keeps them perfectly delightful for your next craving.
FAQ About Key Lime Pie Popsicles
Got some questions about these delightful Key Lime Pie Popsicles? I’ve got you covered!
- Can I make these dairy-free?
Yes, you can! For a dairy-free version, try using full-fat coconut cream instead of heavy cream. You might also need to experiment with a dairy-free condensed milk alternative. The texture might vary slightly, but the tart lime flavor will still shine through.
- What if I don’t have popsicle molds?
No worries! You can use small paper or plastic cups. Fill them with the mixture, cover the top with foil, and poke the popsicle sticks through the foil to keep them upright. They work just as well!
- How long do they last in the freezer?
These frozen treats are best enjoyed within 1 to 2 weeks. After that, the texture might start to change a bit. But honestly, they usually disappear much faster than that!
A Note on Nutrition for Key Lime Pie Popsicles
Making these Key Lime Pie Popsicles is a joy, and it’s helpful to have an idea of what you’re enjoying. The nutritional information provided is an estimate, as homemade recipes can vary. Each popsicle typically contains around 200 calories. You’ll find about 10g of fat, with 6g being saturated fat. They also offer roughly 30g of carbohydrates and 2g of protein. Remember, these numbers are approximate and can change based on your specific ingredients and portion sizes. Enjoy this cool, tart treat!
PrintKey Lime Pie Popsicles: 6 Tart & Creamy Summer Delights
Enjoy a taste of summer with these Key Lime Pie Popsicles. They are tart, creamy, and incredibly refreshing.
- Prep Time: 15 minutes
- Cook Time: 0 minutes
- Total Time: 6 hours 15 minutes
- Yield: 8-10 popsicles
- Category: Dessert
- Method: Frozen
- Cuisine: American
- Diet: Vegetarian
Ingredients
- 1 cup heavy cream
- 1 (14 ounce) can sweetened condensed milk
- 1/2 cup key lime juice
- 1 teaspoon lime zest
Instructions
- In a large bowl, whip the heavy cream until stiff peaks form.
- Gently fold in the sweetened condensed milk, key lime juice, and lime zest until just combined.
- Pour the mixture into popsicle molds.
- Insert popsicle sticks and freeze for at least 6 hours, or until firm.
- To unmold, run the molds under warm water for a few seconds.
Notes
- For an extra special treat, dip the frozen popsicles in melted white chocolate and sprinkles before serving.
- If you don’t have key lime juice, regular lime juice can be used, but it may be less tart.
Nutrition
- Serving Size: 1 popsicle
- Calories: Approximately 200
- Sugar: Approximately 25g
- Sodium: Approximately 20mg
- Fat: Approximately 10g
- Saturated Fat: Approximately 6g
- Unsaturated Fat: Approximately 4g
- Trans Fat: 0g
- Carbohydrates: Approximately 30g
- Fiber: 0g
- Protein: 2g
- Cholesterol: Approximately 25mg