

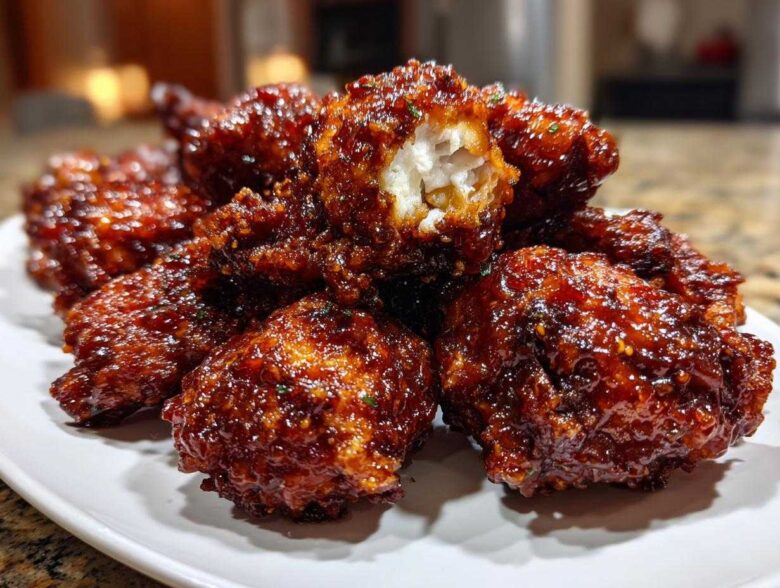
Listen, I have been chasing that perfect, shatteringly crisp crust you only ever get from the best spots in Seoul, and folks, I finally cracked the code! Forget soggy leftovers or disappointing takeout; this ultimate Korean fried chicken recipe is the game-changer you need. The secret isn’t just in the sauce—though we’ll cover the amazing Gochujang and Soy Garlic options—it’s all about technique. We are leaning hard into the authentic double-fry method here. I remember the first time I got the crunch *just* right; it was so loud I nearly dropped the wing! Trust me, your weeknight dinners (or next big party!) are about to get a serious upgrade.
Why This Double-Fried Korean Fried Chicken Recipe Works
People try to shortcut this, but you just can’t rush perfection when you’re aiming for that legendary crunch. This recipe works because we respect the process. It creates a texture that stays crisp even when you douse it in sauce. If you’ve been searching for the best crispy chicken at home, this is it. We aren’t messing around with basic flour dredge layouts here; the structure of this Korean fried chicken is engineered for maximum shatter.
- It achieves a super thin crust that never gets greasy.
- The meat inside stays incredibly juicy because of the dual cooking stages.
- The coating adheres perfectly, even after glazing.
The Secret to Homemade Fried Chicken Crunch
The main difference maker in the batter is the starch. We use a super high ratio of potato starch (or cornstarch) mixed with just a little flour. This combo is low-protein, which means less gluten development when wet. Less gluten equals a drier, thinner, almost glass-like coating. It’s the key to that signature shatter you find in the best crispy chicken recipe batches.
Mastering the Double Fried Chicken Technique
You absolutely have to fry everything twice, no exceptions! The first fry cooks the meat all the way through at a lower temperature, letting the moisture settle in. Then, we pull it out, let the crust cool down a hair, and drop it back into screaming hot oil. That second dip blasts out any residual moisture, guaranteeing that crispness that lasts!
Essential Ingredients for Authentic Korean Fried Chicken
Okay, now that we know *how* we’re making it crispy, let’s talk about what you need to pull this off at home. Honestly, the ingredient list looks short, but every single thing matters—especially for that batter! You don’t need a million fancy things, but the ratio of the starches must be right, or you lose that delicate crunch we worked so hard for. Before you even think about mixing things, make sure your chicken pieces are bone dry. I mean, blot them until you think they can’t get any drier! That moisture is the enemy of crispiness, so that’s rule number one for getting that wonderfully juicy fried chicken result.
For the Crispy Korean Fried Chicken Base
This is the heart of the coating, so measure carefully here. You’re going to whisk together the potato starch or cornstarch—that’s essential for the thin shell—with some flour for structure, salt, pepper, and the secret weapon: baking powder. The baking powder is what gives the batter a little lift when it hits the hot oil. The most critical part of this base, though, is using ice-cold water. I mean, if you can, throw the water in the freezer for ten minutes first! Mixing cold batter into hot oil creates those amazing little bubbles that turn into the iconic coating for your crispy chicken recipe.
Choosing Your Korean Chicken Glaze
This is where you get to customize! You can’t have proper Korean style chicken without a killer sauce to toss it in right at the end. We have two fantastic options outlined in the recipe card, but know this: the glaze is what makes it truly special. For the spicy route, you need genuine Gochujang; it brings depth that Sriracha just can’t touch. If you opt for the savory side, make sure you have fresh garlic and ginger ready, because those aromatics are what define that delicious soy garlic fried chicken flavor. These sauces are what tie the whole experience together!
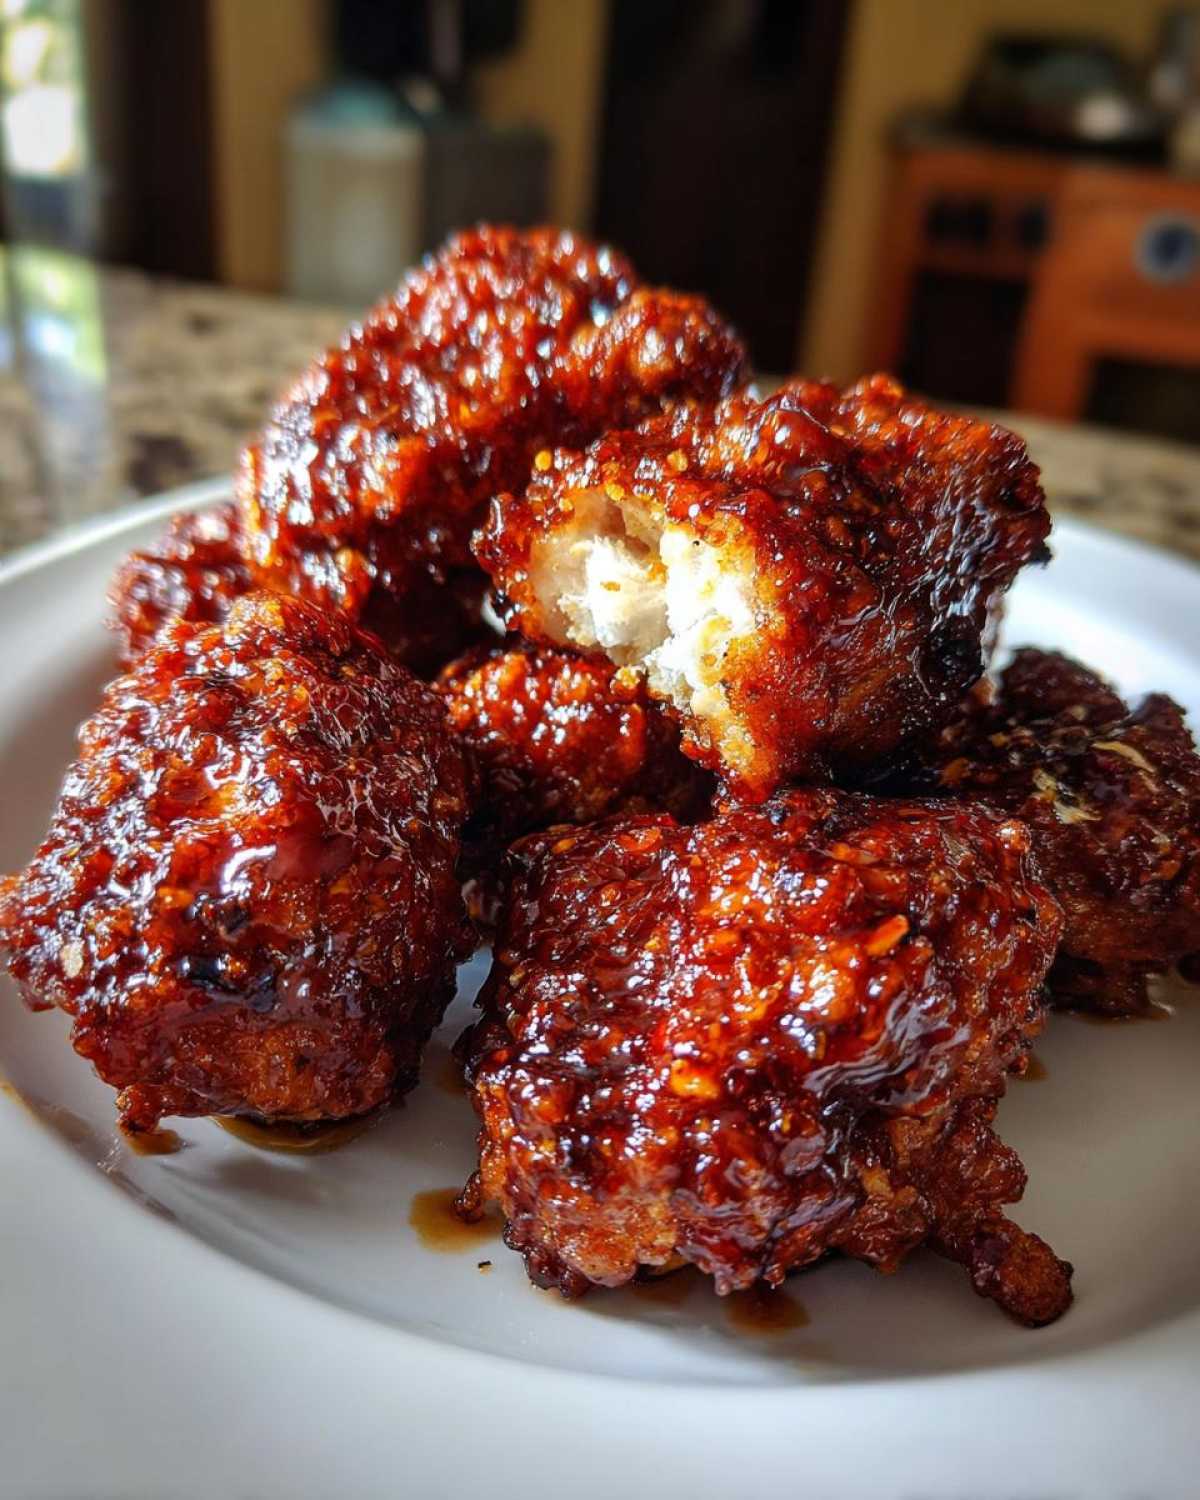
Step-by-Step Instructions for Perfect Korean Fried Chicken
Alright, let’s get messy. This is where the magic of the double fried chicken technique comes to life. Seriously, make sure you have a cooking thermometer handy for this part! You can’t eyeball the temperature for true restaurant-quality crispiness, trust me on that one. We are moving fast once the oil starts heating up, so have all your ingredients ready to go, especially those gorgeous glazes.
Preparing and Batter Coating the Chicken
First, you absolutely must pat every single piece of that chicken aggressively dry. If there’s surface moisture, the batter won’t stick right, and you won’t get that great homemade fried chicken crunch we are after. Mix your dry stuff—starch, flour, powder—and then add that cold water. You want a thin, slightly bumpy mess. It should coat the chicken like a thin film, not a thick pancake batter. Mix it just until combined; if you beat it up too much, you’ll develop gluten, and suddenly you have chewy chicken wrappers instead of crispy shells! Shake off the excess batter really well before the next step.
The First Fry: Cooking Through
We start the first bath low and slow, around 325°F (160°C). Don’t drop too many pieces in at once, or you’ll drop the temperature too fast and steam the chicken instead of frying it. Fry these guys for about 8 to 10 minutes. They should be cooked through and just lightly golden—pale, almost. Pull them out and immediately put them on a wire rack, not paper towels! They need to rest for a good 10 minutes. This resting period is vital; it lets the inside moisture steam out so the crust can get super rigid for the second fry.
The Second Fry: Achieving Maximum Crispiness
Now, crank that heat! We are heating the oil up to a roaring 375°F (190°C). This is where the real development happens for that ultra-crispy texture you expect from the best crispy chicken at home. Drop the rested chicken back into the oil for just 2 to 3 fast minutes. It’ll go from pale gold to a deep, beautiful brown color very quickly. Pull them out, shake off the excess oil, and get them ready for the sauce immediately!
Glazing and Serving Your Korean Chicken
While that last batch is frying, you should have your sauce simmering. Whether you chose the fiery gochujang chicken sauce or the savory soy garlic one, you just need 2 minutes for the sugars to melt down and thicken slightly. The key here is speed: toss the piping hot, freshly fried chicken right into the warm glaze in a large bowl. Make sure every surface is coated quickly before the residual heat causes the sauce to seize up. Serve these immediately while they are still audibly crunchy!
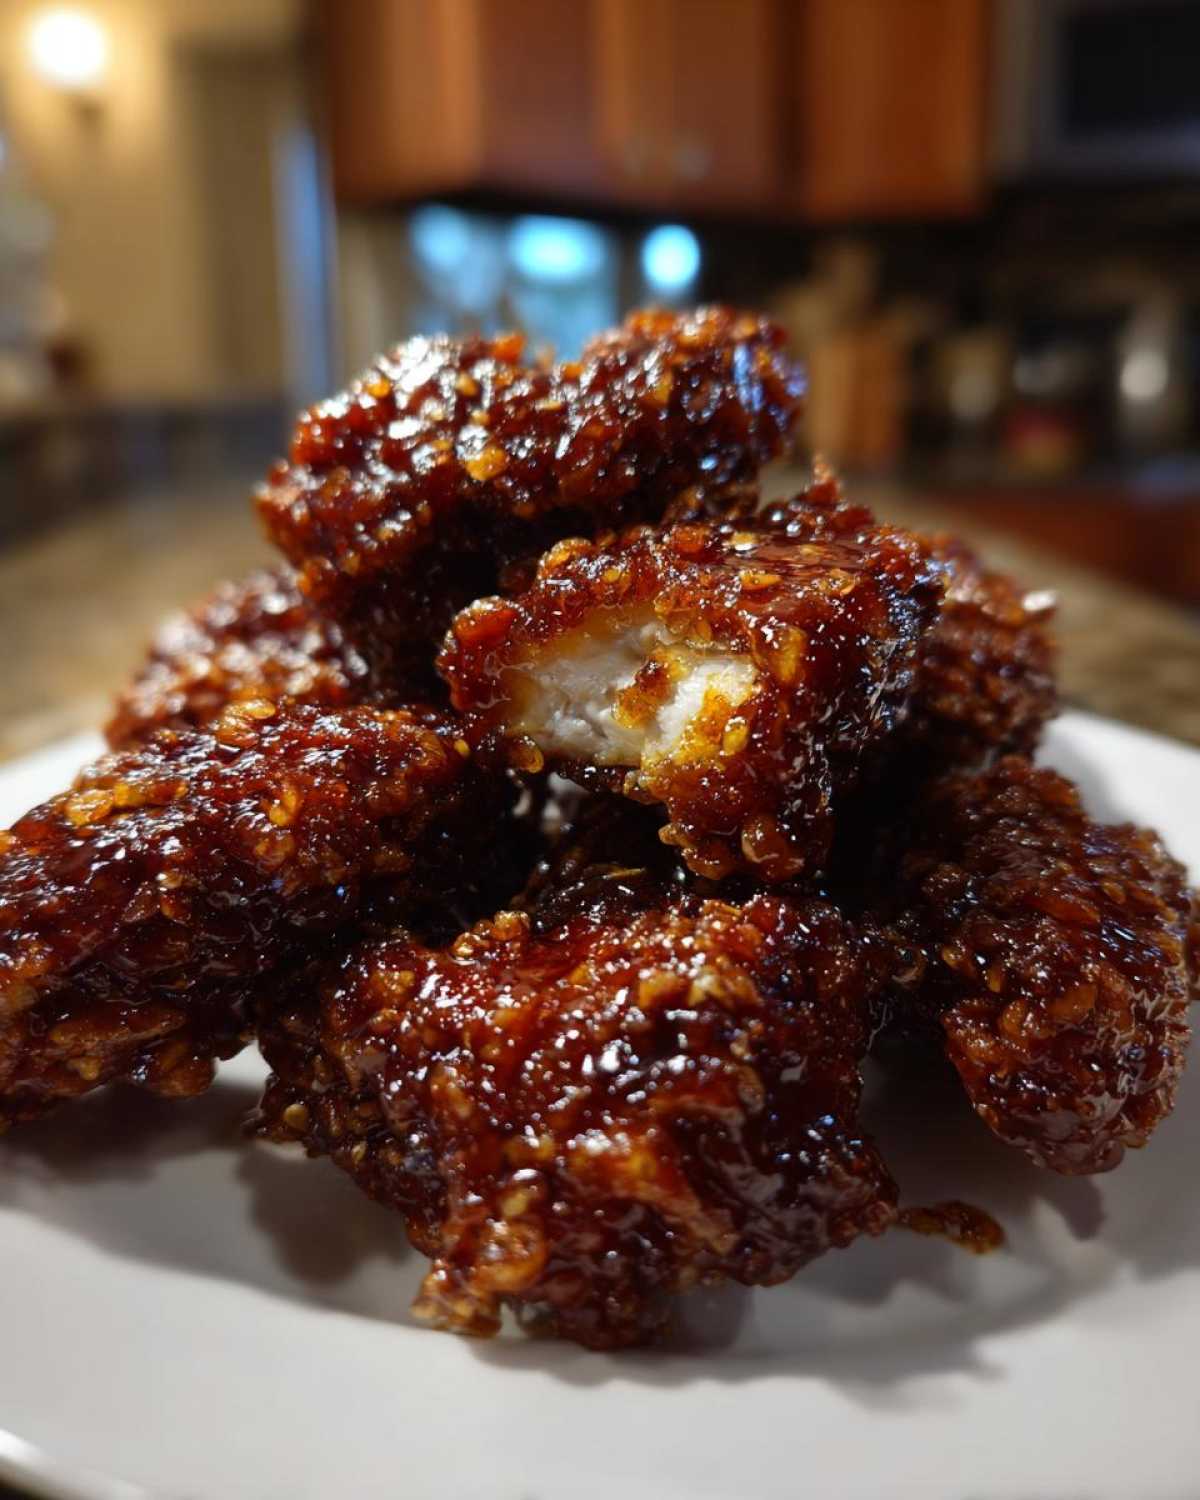
Flavor Variations: Gochujang vs. Soy Garlic Korean Fried Chicken
This recipe is fantastic because once you nail that perfect crunch using the double-fry method, you’ve basically got a blank canvas for flavor! The real personality of your Korean fried chicken comes down to the sauce you toss it in at the end. I usually alternate depending on who I’m cooking for. If I need something bold, I go fiery red; if I need something savory and addictive that pairs with literally anything, I go soy garlic. Both are quick simmer jobs, so you aren’t adding any downtime to your cooking process!
Making the Spicy Gochujang Chicken Glaze
If you love that punch of heat that still manages to be sweet—the classic street food vibe—this is your move. The base, of course, is Gochujang paste. It’s deep, fermented, and complex. Remember, this is for your sweet and spicy chicken, so we have to balance that heat with some sugar and honey. I like to add rice vinegar right at the end when simmering because that little bit of acid cuts through the richness of the fried chicken and keeps the sauce bright. Don’t skip the minced garlic; it really wakes up that spicy kick!
Crafting the Savory Soy Garlic Korean Chicken Glaze
This glaze is pure umami heaven, and it’s probably the one I make most often when I’m serving this as an appetizer. It’s deep, glossy, and makes you want to lick the bowl clean. The backbone here is good quality soy sauce, sweetened up with brown sugar for that molasses depth. But the real stars that define this soy garlic fried chicken are the fresh aromatics. You need lots of garlic and just a touch of fresh grated ginger. Simmer it until it coats the back of a spoon, and watch that deep amber color develop. It’s unbelievably good on the double-fried crust!
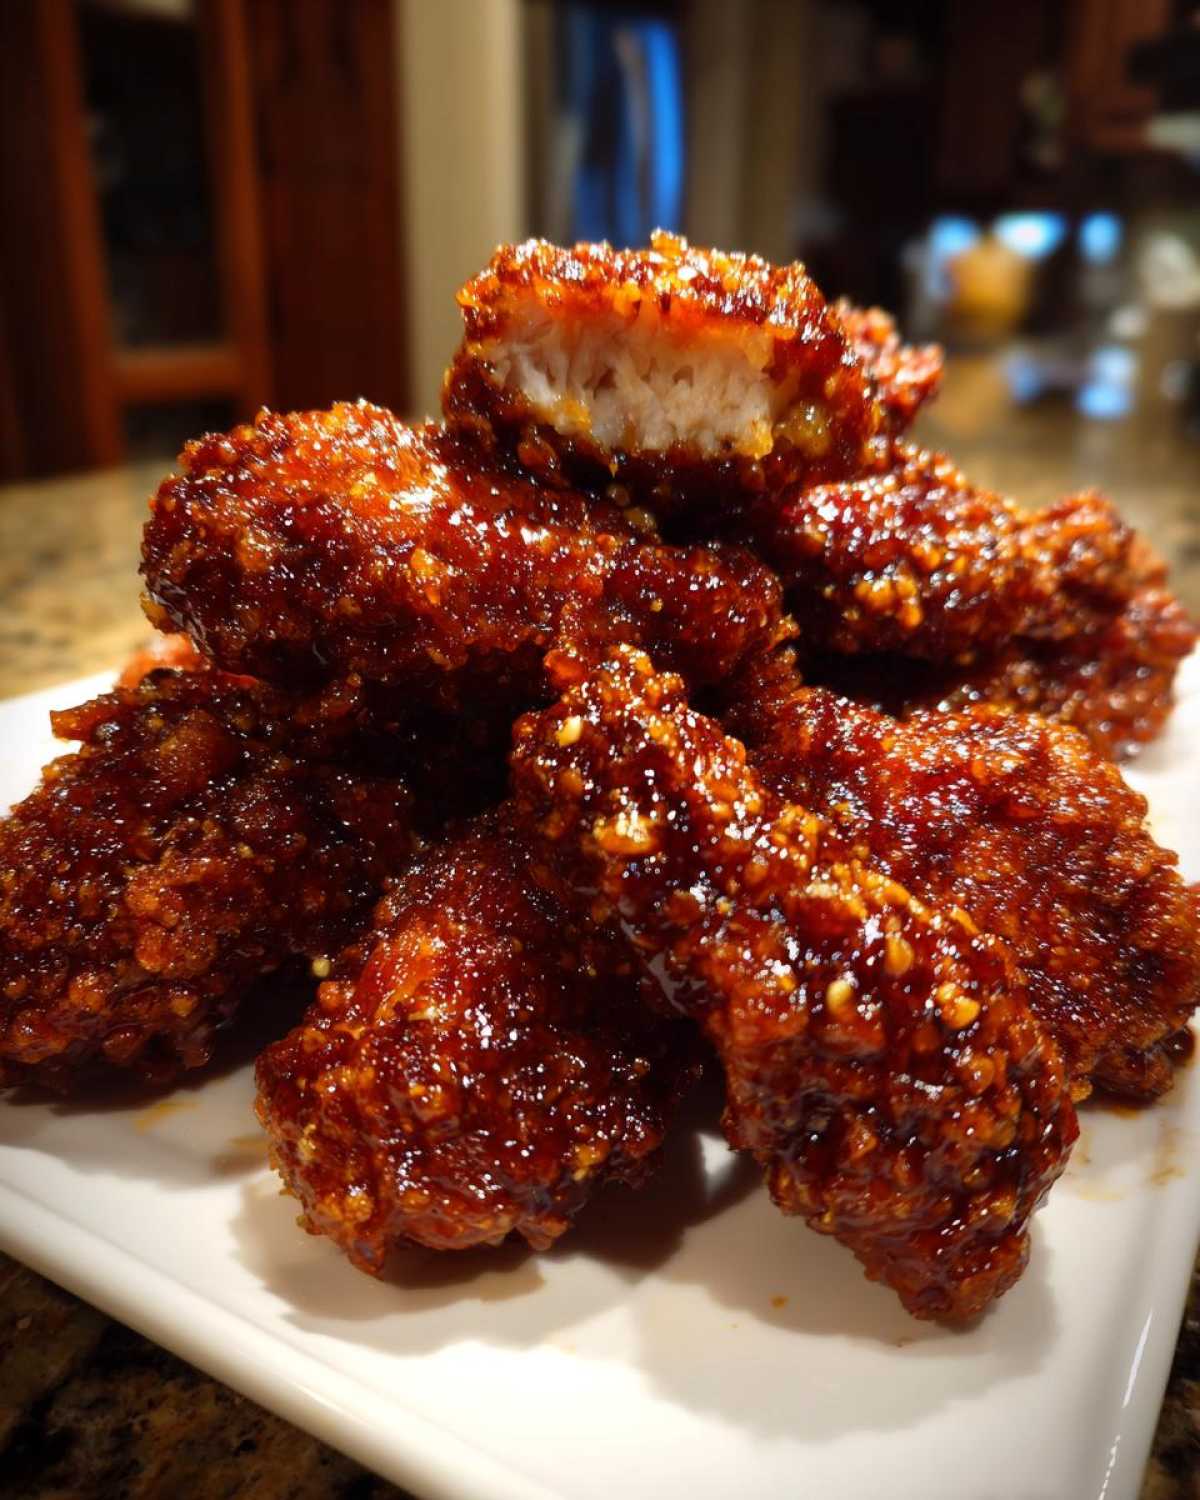
Tips for the Best Crispy Chicken at Home
So, you’ve got the technique down—you’re double-frying like a pro and using the right starches! That’s fantastic! But even the best recipe can hide a few surprises on your first few tries. I learned these little tricks the hard way, usually by burning a batch or ending up with soggy wings waiting for the second fry. These few tips are what separate good homemade easy asian chicken dinner from truly spectacular, restaurant-quality stuff. Don’t skip these final pointers; they protect your hard work!
Oil Temperature Control is Key
I cannot stress this enough: you need a reliable deep-fry thermometer. It’s the single most important non-ingredient tool for making Korean fried chicken work its magic. For the first fry, if you are below 320°F, you’ll just soak the chicken in oil, and it’ll be heavy. If you’re above 340°F, the outside burns before the inside is done, and you waste time waiting for the cooling stage. For the second fry, you *must* hit 375°F for that final textural blast. If you don’t have a thermometer, your timing will be wildly inconsistent, and that’s when disappointing texture creeps in!
Serving Suggestions for Korean Style Chicken
The richness of the double-fried bird and the sticky glaze are intense, right? You need something sharp and cool to cut through all that amazing flavor. My absolute favorite pairing—and the one they always serve at those tiny street stalls—is pickled radish, or Chikin-mu. It’s just cubed radish soaked in a vinegar and sugar brine. If you don’t want to make that, even a simple, crunchy slaw with a light rice vinegar dressing does the trick. It gives your palate a clean break before you dive into the next piece of glorious, crispy chicken. It’s all about balance folks!
Storing and Reheating Your Korean Fried Chicken
Okay, let’s be real for a second. This crispy chicken recipe is absolutely, 100% best eaten the minute it comes out of that second fry and hits the warm sauce. That audible *crunch* fades quickly once moisture settles in, which is just the sad reality of fried, glazed food. However, sometimes you just can’t finish it all (though I usually try!). Don’t despair! You can absolutely save leftovers, but you have to skip the fridge for the sauced pieces if you want any chance of salvaging texture later.
If you made a huge batch of these glorious Korean chicken wings, here’s what I do: Eat half immediately, glazed or plain. For the remaining half, save the un-glazed, double-fried pieces in a container lined with paper towels, but leave the lid barely cracked on the counter for about 30 minutes while they cool down a bit. This helps release steam before you seal them up.
When you’re ready for round two, maybe a few days later as a quick weeknight chicken recipe, putting sauced pieces straight into the microwave is a mortal sin. It turns everything gummy and sad. The absolute best way to bring back that crunch is heat without steam. I swear by tossing the leftover pieces back into a 400°F (200°C) oven for about 5-7 minutes. No oil needed! The dry heat crisps up that starch coating again. You can quickly whip up a fresh, small batch of sauce to toss them in right before serving if they were glazed before storage. If they were plain, toss them in the oven, and then give them a quick dip in the fresh sauce for that final glossy finish. That double-fry pays off even on leftovers!
Frequently Asked Questions About Korean Fried Chicken
I get so many questions about this recipe! It’s fantastic how many of you are trying to master the true flavor of Korean fried chicken at home. These are all things I wondered about when I was first getting started, especially that texture business. Here are the answers to the most common things folks ask me!
Can I use an air fryer for this crispy chicken recipe?
This is the big one these days! Look, can you use an air fryer? Yes, you totally can! If you’re aiming for a healthier option or just don’t want to deal with deep frying, it works okay. However, you won’t get that perfect, shatteringly thin, ultra-crisp shell that comes from the double-fry method described here. The starch coating tends to absorb the oil differently, and the air fryer dries things out a bit more. If you must air fry, spray your breaded chicken generously with oil before you start, and remember that this isn’t exactly the same crunch as the authentic version. Check out my notes on the air fryer korean chicken variation for specifics, but for the real deal, keep that hot oil ready!
What is the best oil for making Korean Fried Chicken?
You need oil that can handle high heat without smoking out your kitchen or changing the flavor of the chicken. I stick to neutral oils with high smoke points. Vegetable oil is my go-to because it’s affordable and does the job perfectly for both frying stages. Canola oil is another excellent choice for the same reasons. You want the oil to be a silent partner here; it should crisp the exterior without contributing any flavor of its own. Skip olive oil entirely—it’s just not happy at those high temperatures we need for the second fry!
How do I keep the chicken juicy inside while maximizing the crunch?
This is the magic trick of the whole recipe, and it all comes down to timing the rest! You need that 8-10 minute soak in the 325°F oil to actually cook the bone-in pieces all the way through. If you skip the rest period and go straight to the second, hotter fry, the outside will burn before the inside is safe to eat. That 10-minute rest on the wire rack lets the internal temperature stabilize and lets the initial steam escape. When you drop it back in at 375°F, that intense heat instantly seals that beautiful crust while anything watery inside has already evaporated. That resting stage is the non-negotiable step that delivers the **juicy fried chicken** result!
Estimated Nutritional Data for This Korean Fried Chicken
Now, before you get too excited and dive face-first into that bowl of sauce-covered wings, I have to put on my responsible home cook hat for a second! These numbers are just estimates, okay? They are based on the recipe details—the deep-frying oil absorption, the sugar content of the glazes, and the size of the serving. If you end up using a ton more honey in your sweet and spicy chicken sauce than I did, these values are going to shift a little. It’s crucial to remember that deep-fried, glazed chicken isn’t exactly a health food, but oh my gosh, it’s worth every single bite!
This breakdown is for one serving size, which I set at four pieces of chicken, coated in either glaze. Seriously, focus on the protein, though—this is packing a punch! If you use my standard measurements, here is what you can expect:
- Serving Size: 4 pieces
- Calories: Approximately 550 per serving
- Fat: Around 30 grams (That’s where the richness comes from, folks!)
- Carbohydrates: Roughly 40 grams (Mostly the delicious coating and the sugars in the glaze)
- Protein: A solid 35 grams! Great for feeling satisfied.
- Sodium: Heads up here—it’s about 750 mg, which is why you don’t need to oversalt the initial batter!
If you’re worried about the fat content, remember that the double-fry technique actually helps the chicken absorb *less* oil than a single, lower-temperature fry often does. We are sealing that crust fast! For a comparison, if you were to make the plain, unglazed version, you could shave off a few carbs and maybe 5 grams of fat. But honestly, why would you do that when the gochujang chicken sauce is waiting?
Share Your Ultimate Korean Fried Chicken Experience
Okay, I’ve spilled all my secrets—the potato starch, the double-fry magic, the Gochujang vs. Soy Garlic debate! Now it’s your turn! When you conquer this recipe and pull out that first batch of perfectly shatteringly crispy Korean fried chicken, I absolutely need to hear about it.
Don’t be shy! Jump down into the comments below and let me know how it went. Did you choose the sticky-sweet path, or are you a Soy Garlic loyalist? Rate the recipe for me so others know what wonders await them! The more details you share, the better we can all become expert crunchy chicken makers.
And hey, if you took a killer photo of your beautiful, glossy wings or pieces—maybe glistening under the kitchen lights—please share it on Instagram or your favorite spot and tag me! Seeing your homemade successes makes all my late-night testing worth it. I love seeing this wonderful Korean street food recipe bring joy (and crunch) to your dinner tables. Happy frying, everyone!
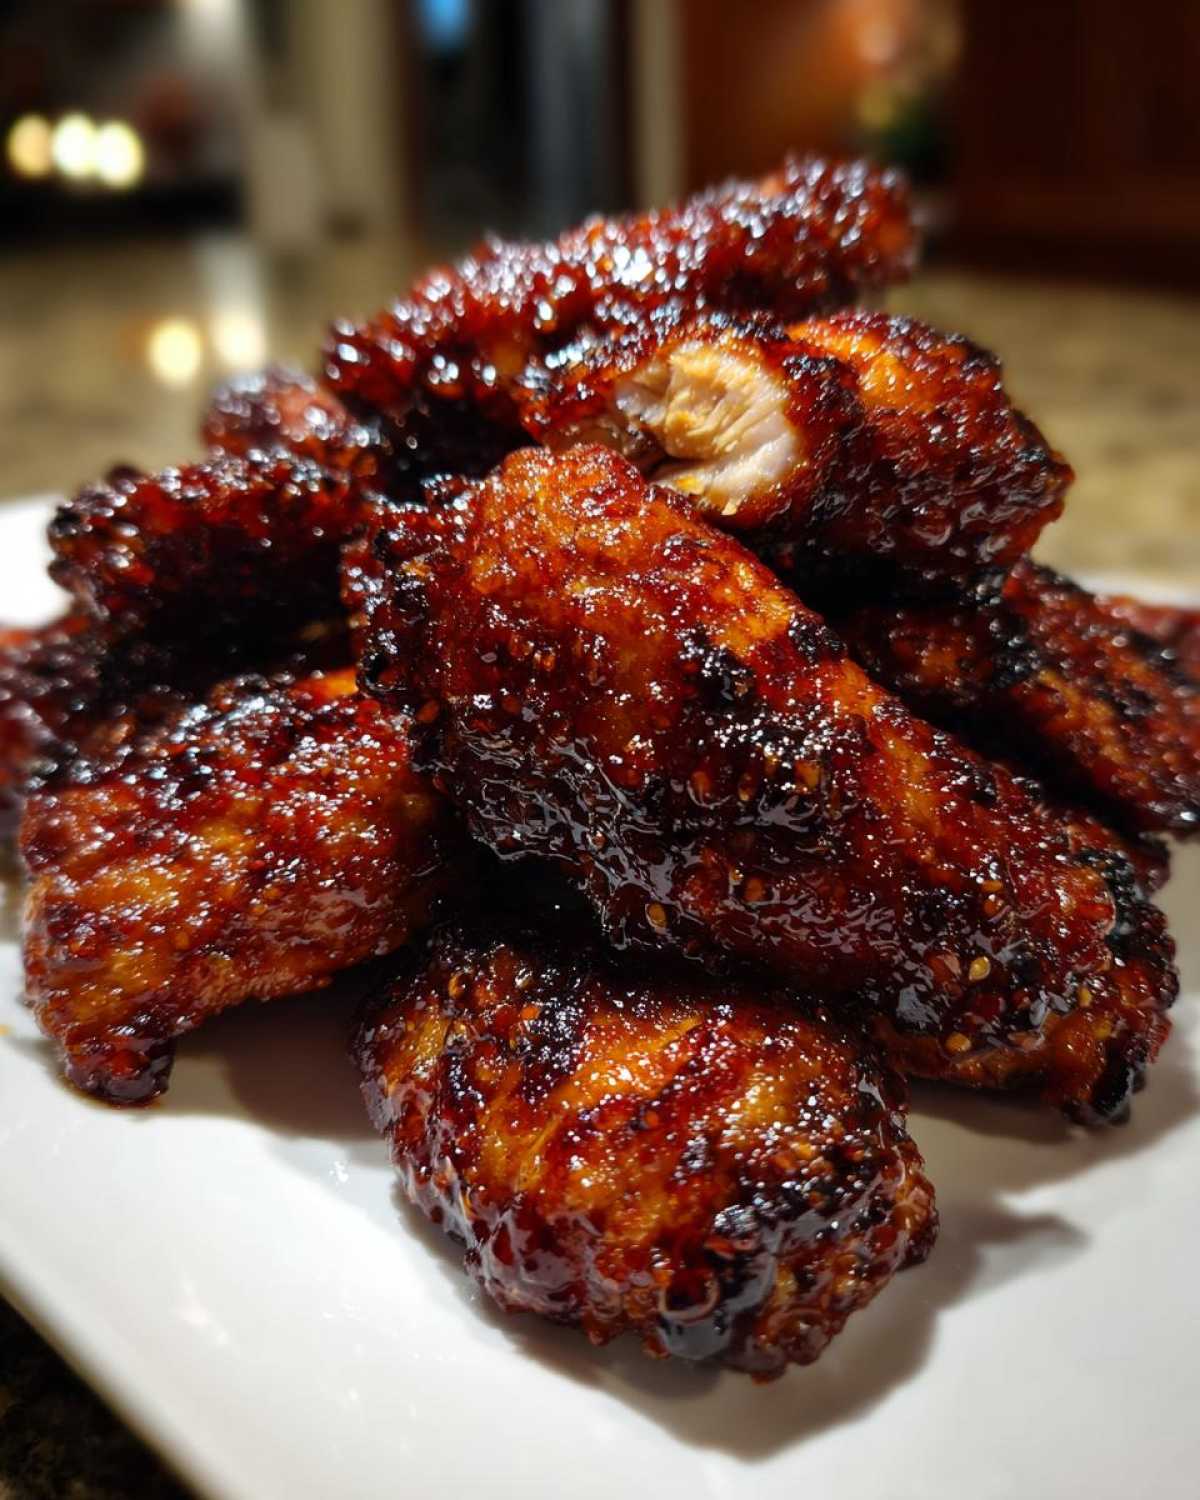
Ultimate Double-Fried Korean Fried Chicken
Make ultra-crispy Korean Fried Chicken using the double-frying method, with options for a spicy Gochujang glaze or a savory Soy Garlic glaze.
- Prep Time: 20 min
- Cook Time: 25 min
- Total Time: 45 min
- Yield: 4 servings
- Category: Dinner
- Method: Deep Frying
- Cuisine: Korean
- Diet: Low Lactose
Ingredients
- 3 lbs chicken wings or pieces
- 1 cup potato starch or cornstarch
- 1/2 cup all-purpose flour
- 1 teaspoon salt
- 1/2 teaspoon black pepper
- 1/2 teaspoon baking powder
- 1 cup cold water
- Vegetable oil, for deep frying
- For Gochujang Glaze: 1/4 cup Gochujang, 2 tablespoons honey, 2 tablespoons soy sauce, 1 tablespoon rice vinegar, 1 tablespoon brown sugar, 1 clove garlic (minced)
- For Soy Garlic Glaze: 1/4 cup soy sauce, 3 tablespoons honey, 2 tablespoons brown sugar, 1 tablespoon rice vinegar, 2 cloves garlic (minced), 1 teaspoon grated ginger
Instructions
- Pat the chicken pieces very dry with paper towels. This step is important for crispiness.
- In a large bowl, whisk together the potato starch, flour, salt, pepper, and baking powder.
- Pour in the cold water and mix until you have a thin, slightly lumpy batter. Do not overmix.
- Dip each piece of chicken into the batter, shaking off any excess.
- Heat about 3 inches of oil in a deep pot or Dutch oven to 325°F (160°C).
- Fry the chicken in batches for 8 to 10 minutes until lightly golden and cooked through. Do not overcrowd the pot.
- Remove the chicken and let it rest on a wire rack for at least 10 minutes. This allows moisture to escape.
- Increase the oil temperature to 375°F (190°C).
- Return the chicken to the hot oil and fry again for 2 to 3 minutes until deep golden brown and extremely crispy. Remove and drain well.
- Prepare the glaze: Combine all ingredients for your chosen glaze (Gochujang or Soy Garlic) in a small saucepan. Bring to a simmer over medium heat and cook for 2 minutes until slightly thickened.
- Toss the hot, double-fried chicken immediately in the warm glaze until fully coated.
- Serve immediately.
Notes
- For extra flavor, you can lightly season the raw chicken with salt, pepper, and a dash of ginger powder before battering.
- If you prefer Soy Garlic, add a teaspoon of sesame oil to the finished sauce for aroma.
- For a slightly spicier Gochujang glaze, add a pinch of cayenne pepper.
Nutrition
- Serving Size: 4 pieces
- Calories: 550
- Sugar: 18
- Sodium: 750
- Fat: 30
- Saturated Fat: 7
- Unsaturated Fat: 23
- Trans Fat: 0
- Carbohydrates: 40
- Fiber: 1
- Protein: 35
- Cholesterol: 110