

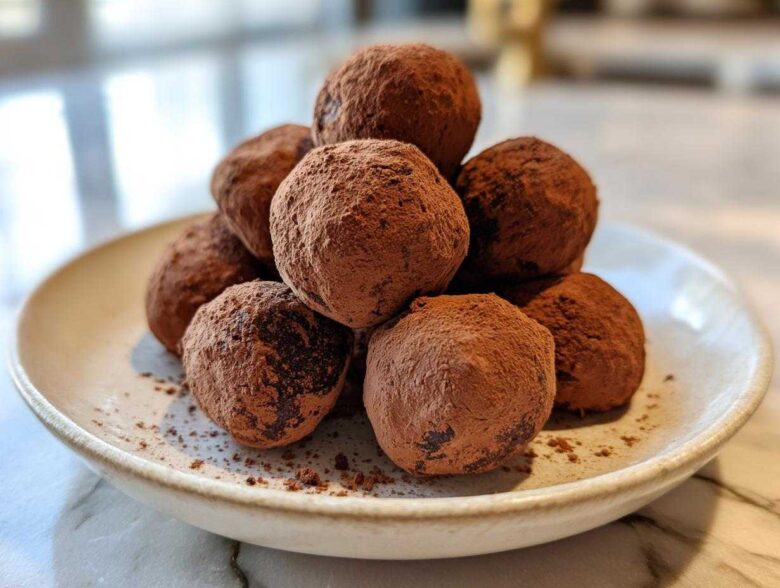
Okay, confession time: Do you ever just stand over the mixing bowl, staring longingly at that sweet, buttery cookie dough, but then that little voice screams, “NO RAW EGGS!”? I know I do! But I finally cracked the code to satisfy that intense craving without any worry, and honestly, this might be my favorite quick fix ever. Forget about baking—we’re going straight to the good part with these incredibly rich **No-Bake Chocolate Chip Cookie Dough Truffles**.
The absolute key to making these truffles truly safe to eat—beyond skipping the eggs—is treating our flour properly. I’ve done dozens of tests in the kitchen to make sure this method works perfectly every single time. Trust me when I say that once you bite into these perfectly portioned, chocolate-coated balls of pure indulgence, you’ll be wondering why you didn’t make them sooner. If you want tons of quick dessert inspiration, check out what else we’ve been whipping up over at the blog!
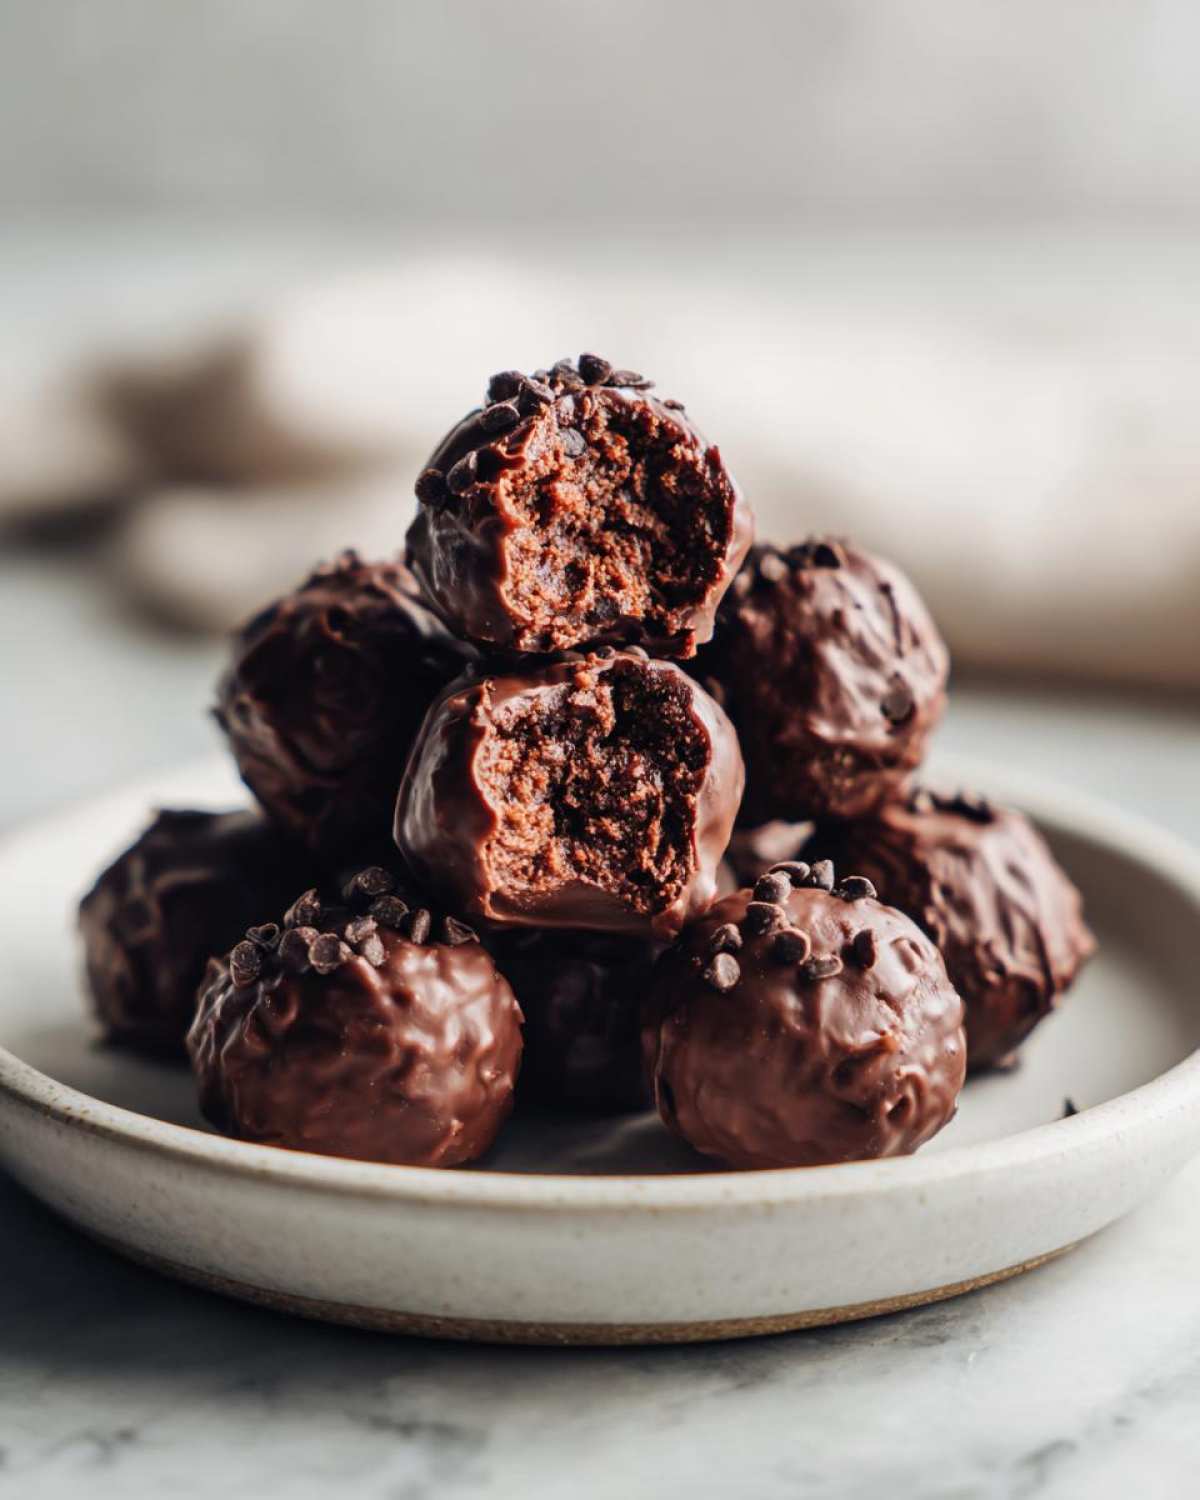
Why You Will Love These No-Bake Chocolate Chip Cookie Dough Truffles
I promise you, these aren’t just good; they solve so many dessert emergencies. When you need something decadent right now, these truffles deliver! Here’s the quick rundown on why they’ve become a staple in my freezer:
- Total Safety First: We heat-treat the flour, so you can happily eat every crumb without a single worry about raw ingredients.
- Speed Demon Dessert: From the moment you start mixing to popping them in the fridge, you’re looking at maybe 20 minutes of active work. True no-bake magic!
- Perfect Portion Control: They are perfectly sized little bites. It’s easier to stop at one (or two!) when they’re tiny truffles instead of cutting slices from a huge tray.
- Unbeatable Texture: Unlike baked cookies, the dough stays creamy, rich, and perfectly soft on the inside, especially once they chill a bit.
- Maximum Indulgence: Dipping them in extra chocolate takes these straight into candy territory. These **No-Bake Chocolate Chip Cookie Dough Truffles** taste way richer than they have any right to be!
- Kid-Friendly Fun: Seriously, enlist the little ones just for the rolling and dipping part. It’s assembly, not intense cooking!
Essential Ingredients for Safe No-Bake Chocolate Chip Cookie Dough Truffles
Okay, listening up, because this is where the magic—and the safety—happens. When you’re making something completely raw, you can’t just toss everything into a bowl! I have my ingredient list down to the absolute essentials for the best flavor and texture in these truffles, and yes, the flour treatment is a non-negotiable step. We don’t want any sneaky bacteria hanging around where there’s no oven to kill them off!
You need that all-purpose flour, of course, but it *must* be heat-treated first. We’re using softened butter—not melted, softened!—along with your white and brown sugars to get that classic deep cookie dough flavor. Don’t forget high-quality vanilla! The milk or cream helps bring it all together into a scoopable dough, and those mini chocolate chips mean you get chocolate in every single tiny truffle bite. If you want an even richer flavor profile, just check out my tips for the best homemade chocolate chip cookies for inspiration on chip quality!
Ingredient Notes and Substitutions for Your No-Bake Chocolate Chip Cookie Dough Truffles
Let’s talk seriously about that flour. You absolutely have to heat-treat it to 165°F. I usually just spread my cup of flour on a plate and zap it in the microwave in short bursts, stirring in between, until it hits the right temp. If you hate the microwave, spread it on a baking sheet and bake at 350°F for exactly five quick minutes, but you must let it cool completely before mixing, or you’ll melt your butter!
Now, substitutions! If you have specialized gluten-free flour blend made for baking, you still need to heat-treat that, too! For the richness, you can swap out 1/4 cup of that softened butter for creamy peanut butter if you want to riff on the classic flavor—it makes a wonderful, slightly different truffle. And just so you know, if you’re skipping the chocolate shell, you can even try leaving out the milk and using a splash more vanilla for an even more intense flavor base.
Step-by-Step Instructions for Perfect No-Bake Chocolate Chip Cookie Dough Truffles
This whole process flies by, I promise! We’re breaking it down into two main parts: making the safe dough base and then turning those perfect little balls into gorgeous chocolate-coated treats. The biggest time sink isn’t the mixing, it’s the chilling, so don’t skip that part. If the dough is warm when you try to roll it, it’s going to look sloppy and stick everywhere. Grab that parchment paper and let’s get started!
Preparing the Safe Edible Cookie Dough Base
First things first: We need to tackle that flour. Remember, spread it out and zap it in the microwave until it hits 165°F internally, then let it cool completely—seriously, wait until it’s room temperature. Once that’s done, move right into the good stuff! In a big bowl, beat that softened butter with both the granulated and brown sugars until the mixture looks pale and fluffy. This creaming step is non-negotiable for getting that light texture we want, even in a no-bake item!
Next, stir in your vanilla and milk until they just blend in. Now, slowly—and I mean slowly—add in your cooled, heat-treated flour and salt. Mix this just until a dough forms. If you mix this too much, you’ll end up with stiff, dry dough, so stop mixing as soon as you don’t see huge streaks of dry flour anymore. Finally, fold in your mini chocolate chips by hand. That’s the dough base done and ready for shaping!
Forming and Coating Your Chocolate Chip Truffle Recipe No Oven
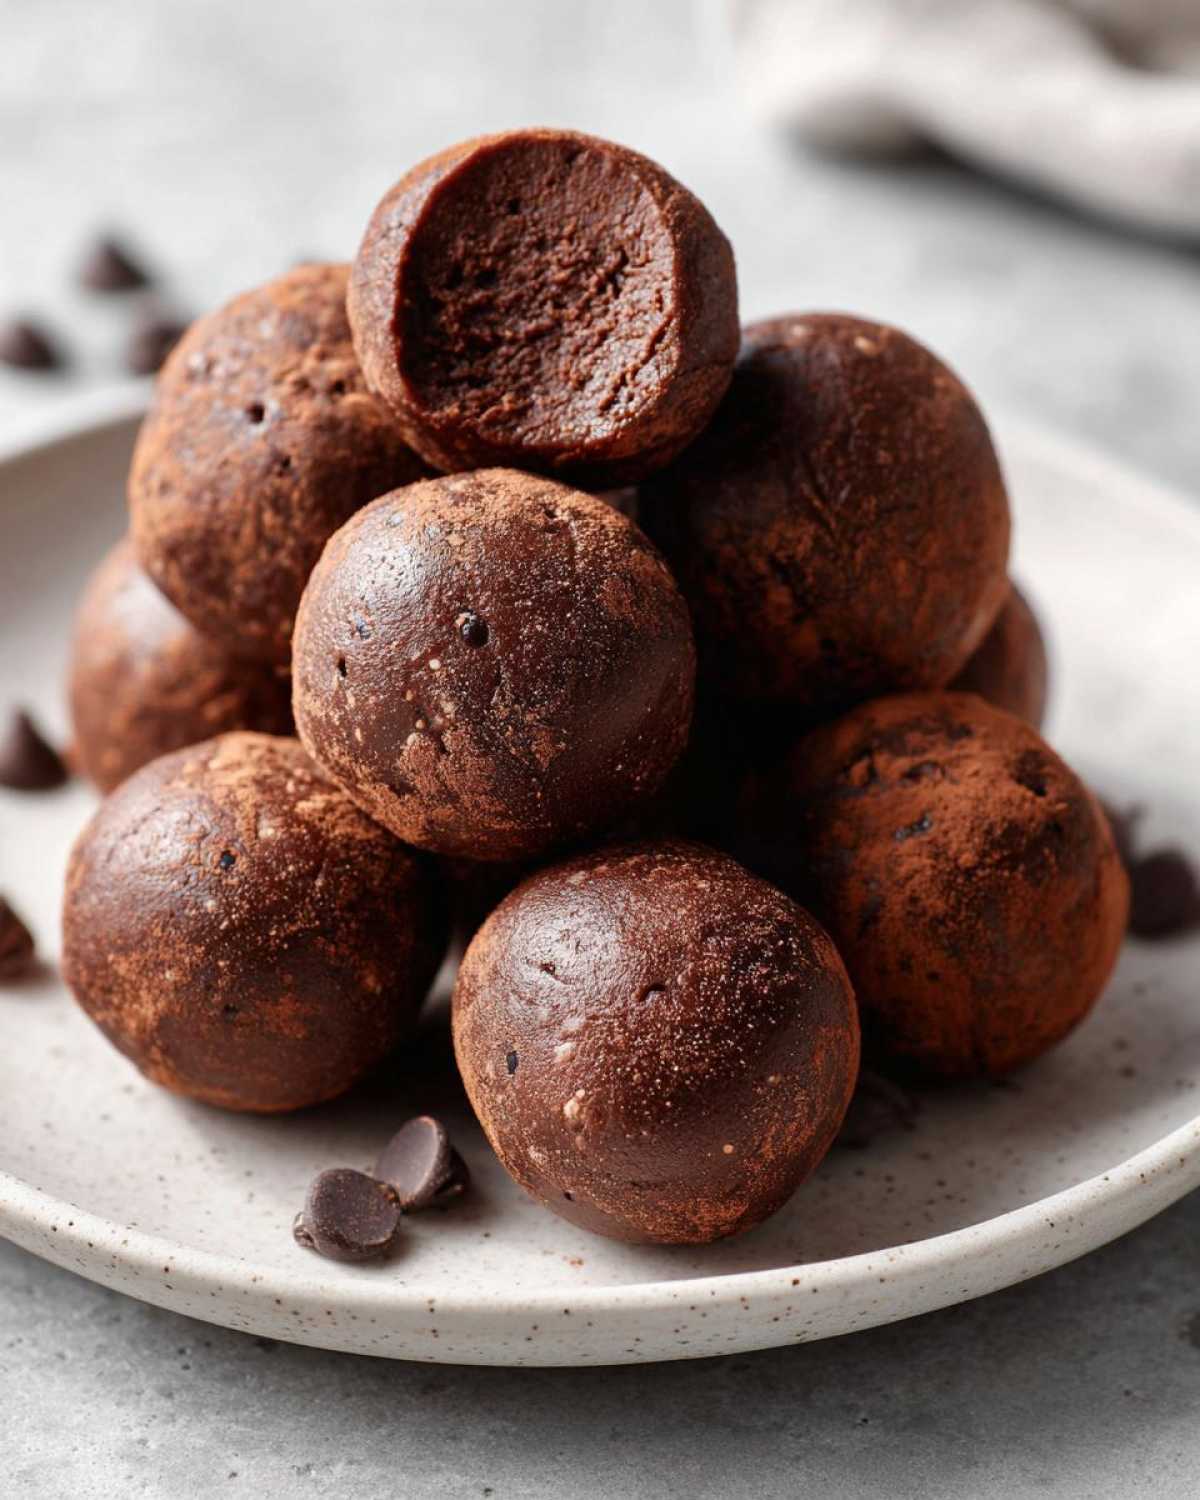
Time to make them look like truffles! Scoop small amounts of dough and roll them quickly between your palms—aim for about one inch across, about the size of a fat marble. Line a baking sheet with parchment paper and set all your rolled dough balls on it. Now, you have to chill them for a solid 15 minutes. This firms them up so they don’t fall apart when you dip them.
While they chill, melt your coating chocolate. I usually use the microwave for this, stirring every 30 seconds so it doesn’t seize up on me. Once chilled, dip each dough ball into the melted coating. Use a fork or specialized dipping tool to work quickly, let any extra chocolate drip back into the bowl, and place it back on the parchment. You can see a great example of how I manage the mess over at this no-bake classic! Pop them back in the fridge for about 10 minutes just until that lovely chocolate shell snaps hard.
Tips for Success with Homemade Edible Cookie Dough Candy
Even though these are easy **Homemade Edible Cookie Dough Candy** bites, there are definitely a couple of tiny things that can trip you up. I learned these the hard way, let me tell you! My biggest, number one tip applies right after you fold in those chips: chill that dough!
If you try to roll rock-hard, completely cold dough, it just crumbles apart. But if you roll it when it’s room temperature, it gets sticky, melty, and leaves horrible fingerprints all over your beautiful chocolate coating later. I always chill mine for 20 minutes minimum, or until it feels firm but still pliable. It’s the sweet spot, I promise!
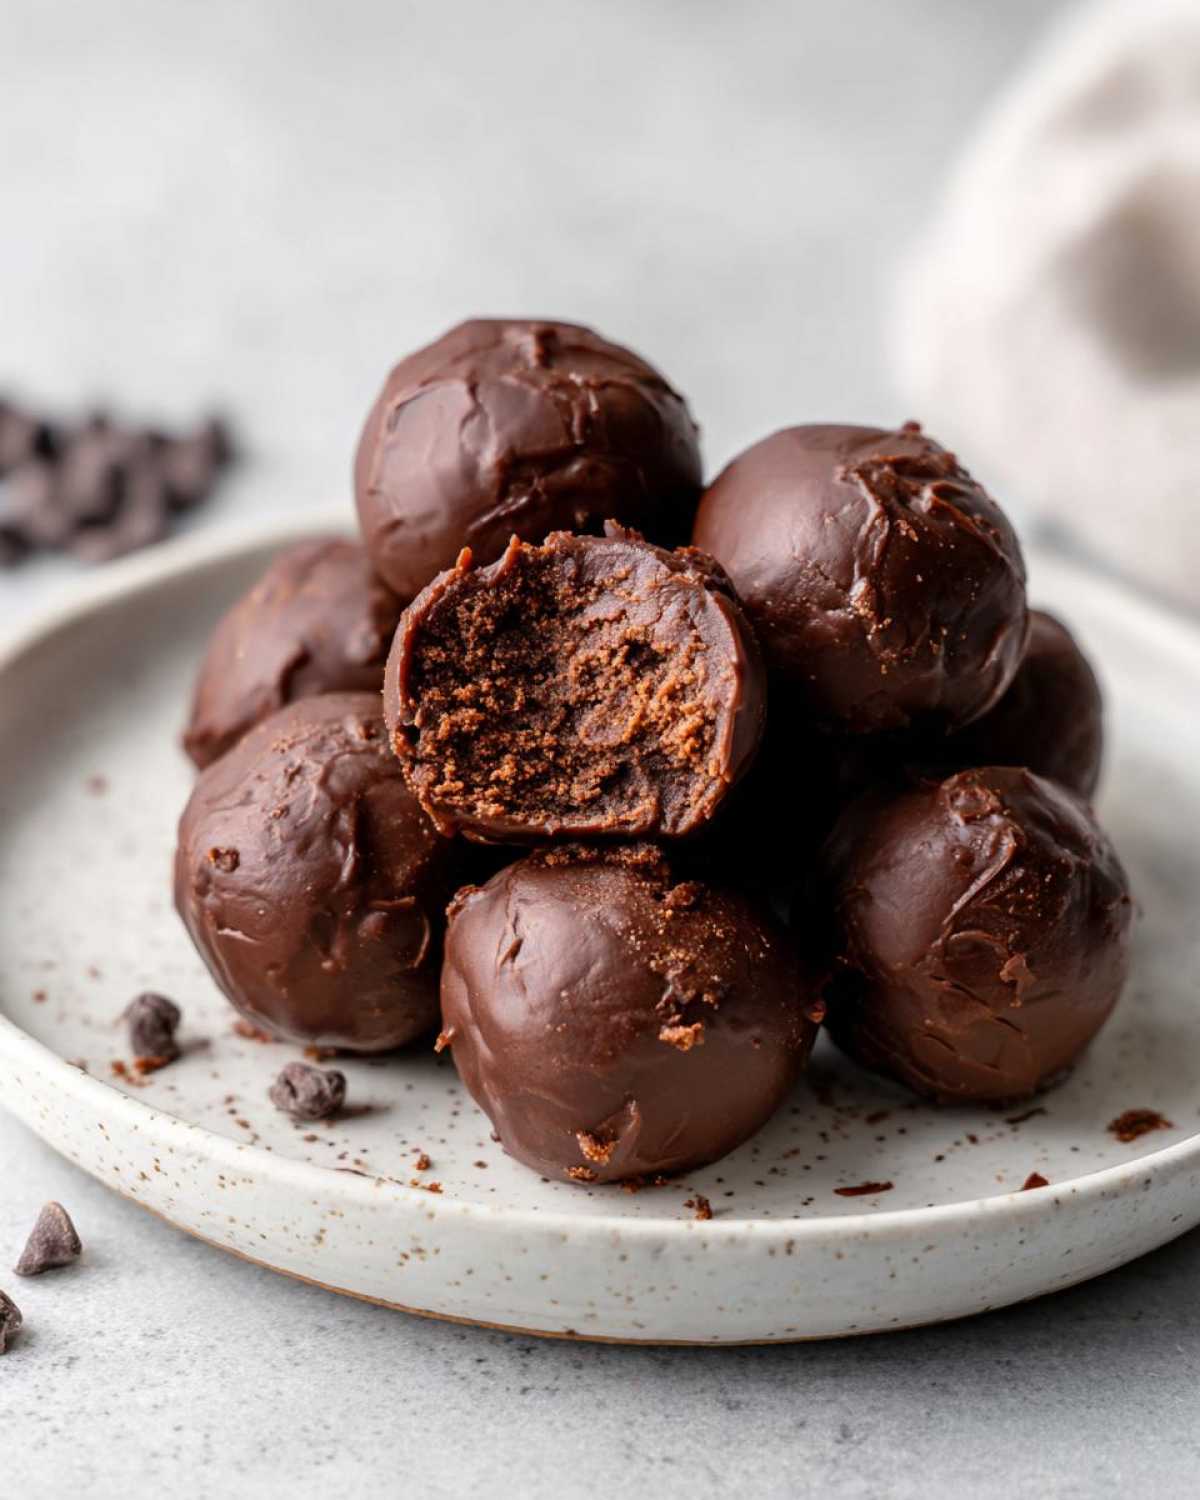
Another common issue is the dreaded cracked chocolate coating, especially when dealing with something cold like our chilled truffles. The temperature shock makes the chocolate seize up or crack when you try to eat it. A quick fix for this is letting the chocolate-coated truffles sit out on the counter for about five minutes before you eat them. This lets the dough soften just a touch, and the chocolate coating evens out its temperature.
Also, don’t rush melting your chocolate for the dip! If you overheat it or burn it slightly, it gets thick and grainy. Use low power in the microwave and stir constantly. Thin, glossy chocolate equals a smooth, beautiful shell for your truffles. If you ever want to read up on my favorite bread recipes for when you feel like actually turning on the oven, check out my tips for moist date nut bread!
Variations for Your No-Bake Chocolate Chip Cookie Dough Truffles
Part of the fun with any great base recipe is seeing how far you can stretch it, right? We already have the safest, quickest **Easy No Bake Dessert Balls** dough ready to go, but these things adapt beautifully to just about anything you have in your pantry! You don’t have to stick to just mini chocolate chips, believe me.
For a total flavor shift, try adding half a teaspoon of ground cinnamon or a tiny pinch of cayenne pepper right in with the flour. It gives these little guys an unexpected little kick that pairs wonderfully with the chocolate shell. It’s simple, but wow, does it wake things up!
If you want to beef up the texture, definitely consider adding chopped pecans or walnuts. I’d stick to about 1/4 cup total for the whole batch, and make sure they’re finely chopped so they don’t totally interfere with the rolling process. These feel a bit more adult when you add nuts!
And now for the big one: you absolutely have to try the **Peanut Butter Cookie Dough Truffles Variation**. It’s super easy! If you want to go the PB route, just take about 1/4 cup of that softened butter out of the main recipe and replace it with creamy peanut butter. You might need to add an extra little drizzle of milk—maybe a teaspoon—to keep the consistency right for rolling, but it creates this heavenly, salty-sweet center that is just dynamite once dipped in dark chocolate.
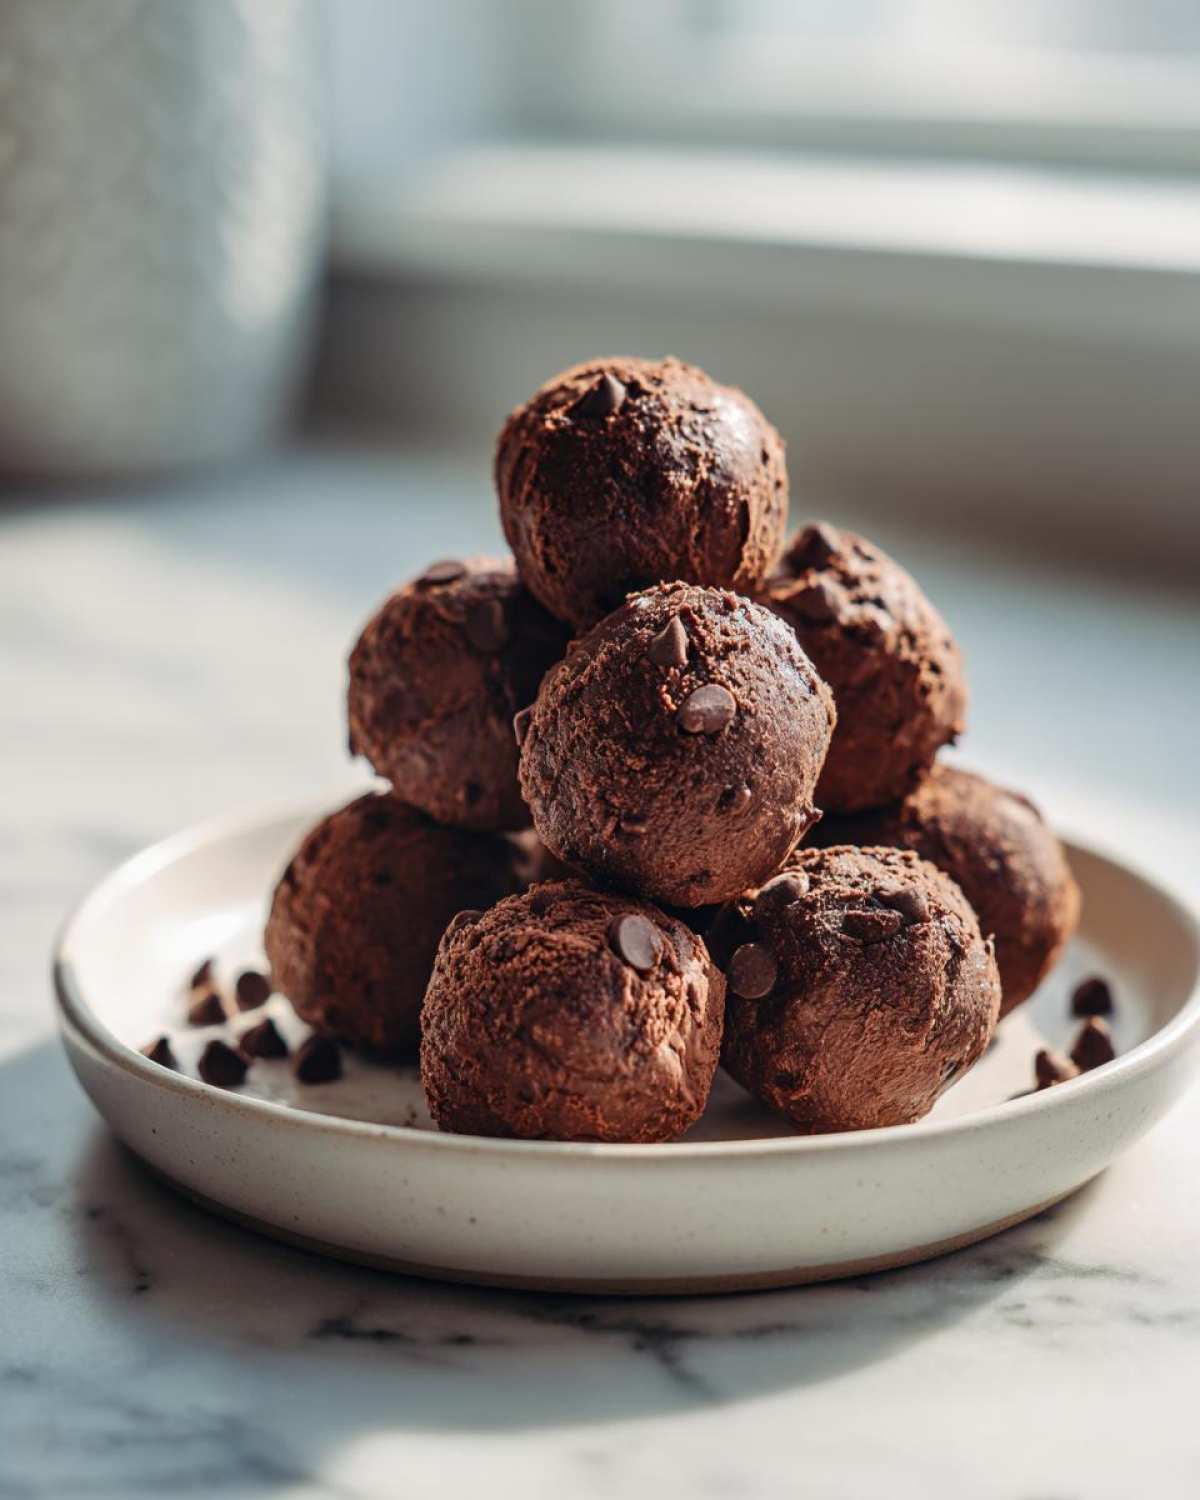
If you’re getting creative with dips instead of just plain chocolate, try using white chocolate or even butterscotch chips! Just melt them down the same way you did the milk chocolate. If you’re looking for more ideas on how to incorporate flavors into baking batter (even though we aren’t baking here!), you should definitely sneak a peek at my recipe for moist date nut bread for some flavor pairing inspiration!
Storage and Reheating Instructions for No-Bake Chocolate Chip Cookie Dough Truffles
One of the best things about making these **No-Bake Chocolate Chip Cookie Dough Truffles** is that they are fantastic make-ahead treats! Since there’s no egg or dairy cream involved (just milk/cream which is used in small amounts), they keep really well. You basically have two options for storage, depending on how long you need to keep your candy stash hidden away.
If you plan on eating these within a week or maybe ten days, the refrigerator is your best friend. Store them in an airtight container—and this is important—make sure you put a layer of parchment or wax paper between the layers of truffles! If you stack them directly on top of each other, that beautiful chocolate coating you worked so hard to set will stick to the truffle below it, and nobody wants that mess.
For longer storage, pulling out the big guns—the freezer—is the way to go. You can absolutely freeze these, and they hold up incredibly well. I usually line a cookie sheet with parchment, lay the truffles out single-layer, freeze them solid for an hour or so, and *then* transfer them to a heavy-duty, freezer-safe bag or container. This prevents them from sticking together in one giant, delicious brick.
Now, how do you bring them back to the perfect texture? Serving them rock-hard straight from the fridge or freezer is just no fun! If they’ve been refrigerated, I always give mine about 15 to 20 minutes on the counter before serving. If they came straight from the freezer, give them a good 30 to 40 minutes on the counter, still loosely covered, just to let that dough soften up and release that wonderful chocolatey coating so it doesn’t shatter everywhere when you bite into it.
If you’re ever looking for ideas on how to store and reheat other creamy, delicious staples—like my favorite creamy old-fashioned rice pudding—I’ve got notes on that too! But for these truffles, airtight containers and a little bit of patience on the counter are the secrets to perfect enjoyment.
Frequently Asked Questions About Safe To Eat Cookie Dough Bites
It’s totally normal to have questions when you’re eating something that looks like *raw* dough! I get it! That’s why I pulled together the most common things people ask me about making these **Safe To Eat Cookie Dough Bites**. We want maximum deliciousness and zero worry, right?
Is the flour truly safe to eat in this No-Bake Chocolate Chip Cookie Dough Truffles recipe?
Yes, absolutely yes! That’s the whole foundational point of this recipe. Regular raw flour can carry bacteria like E. coli, so we can’t just skip that step. As long as you diligently heat-treat your flour—getting it up to 165°F internally, whether you use the microwave or the oven like I showed you—it becomes perfectly safe to eat raw. Once that flour is treated and cooled, the dough is completely safe to enjoy! That’s what separates these from grabbing a spoon of regular raw batter.
Can I make these Chocolate Chip Truffle Recipe No Oven faster than the listed time?
You can definitely speed up the active work part! The mixing and rolling only take about 20 minutes total, which is super fast for a **Quick Dessert Truffle**. However, you really can’t rush the chilling process. You need those dough balls firm before you dip them in chocolate, otherwise, they smear and melt right into the coating, leaving you with chocolate-covered dough blobs instead of neat truffles. I usually try to cheat the 15-minute chill by putting them in the freezer for 10 minutes, but don’t forget them back there!
If you are looking for even faster no-bake sweets that skip the shaping and chilling, I have some ideas for easy no-bake protein bars that get ready even quicker, though they don’t have that classic cookie dough vibe!
Estimated Nutritional Breakdown for No-Bake Chocolate Chip Cookie Dough Truffles
Okay, let’s talk about the fuel in these magnificent little bites! Because we aren’t baking them, we aren’t losing or changing any of the fats or sugars, so these are definitely a rich treat. I always feel better enjoying something decadent when I know exactly what I’m getting into, even if it’s just a rough idea!
Here is the estimated nutritional breakdown for one of these glorious **No-Bake Chocolate Chip Cookie Dough Truffles**, based on the recipe quantities above. Please remember, this is just an estimate because whether you use salted or unsalted butter, or the specific brand of chocolate coating you choose, can shift the numbers a little bit. But this gives you a solid baseline:
- Serving Size: 1 truffle
- Calories: Right around 150 calories
- Total Fat: About 9 grams (and this is where that lovely butter content comes in!)
- Saturated Fat: Roughy 5 grams
- Carbohydrates: Around 16 grams
- Sugar: Yes, about 14 grams (it is cookie dough, after all!)
- Protein: Just 2 grams
- Sodium: Around 50mg
I always joke that because they are so small, they are portion-controlled, which totally balances out the sugar! But seriously, enjoy them! They are the perfect, quick little burst of sunshine when you need a sweet something without having to commit to a whole batch of baked goods.
Share Your Homemade Edible Cookie Dough Candy Creations
I seriously can’t wait to see what you all whip up! Making these **No-Bake Chocolate Chip Cookie Dough Truffles** is so much fun, and half the joy is seeing everyone else’s finished, chocolate-coated beauties.
Once you’ve made your batch of **Homemade Edible Cookie Dough Candy**, please send me a picture! Tag me on social media so I can see how your chocolate shells turned out—did you go for a drizzle, a full dip, or maybe try those peanut butter variations we talked about?
And if you loved how quick and safe this treat was, please do me a huge favor and head back here to leave a rating! Stars and comments truly help other folks find the best, worry-free sweet fixes. If you want to stay in the loop on all my new speedy no-bake ideas and baking experiments, make sure you subscribe to get updates from the blog!
PrintNo-Bake Chocolate Chip Cookie Dough Truffles

Make safe, edible chocolate chip cookie dough, form it into small balls, and coat them in chocolate for a quick, no-bake dessert treat.
- Prep Time: 20 min
- Cook Time: 5 min
- Total Time: 25 min
- Yield: About 20 truffles
- Category: Dessert
- Method: No-Bake
- Cuisine: American
- Diet: Vegetarian
Ingredients
- 1 cup all-purpose flour (heat-treated)
- 1/2 teaspoon salt
- 1/2 cup (1 stick) unsalted butter, softened
- 1/4 cup granulated sugar
- 1/4 cup packed brown sugar
- 1 teaspoon vanilla extract
- 2 tablespoons milk (or cream)
- 1/2 cup mini chocolate chips
- 4 ounces melting chocolate or chocolate chips for coating
Instructions
- Heat-treat the flour: Spread the flour on a microwave-safe plate. Microwave on high in 30-second intervals, stirring between each, until the flour reaches 165°F internally. Let it cool completely.
- In a large bowl, beat the softened butter, granulated sugar, and brown sugar together until light and fluffy.
- Mix in the vanilla extract and milk until just combined.
- Gradually add the cooled, heat-treated flour and salt to the wet ingredients, mixing on low speed until a dough forms. Do not overmix.
- Fold in the mini chocolate chips by hand.
- Roll the dough into small, one-inch balls. Place them on a parchment-lined baking sheet.
- Chill the dough balls in the refrigerator for at least 15 minutes to firm up.
- Melt the coating chocolate according to package directions (microwave method works well).
- Dip each chilled dough ball into the melted chocolate, allowing excess to drip off. Return the coated truffles to the parchment paper.
- Refrigerate the truffles for about 10 minutes, or until the chocolate coating is set.
Notes
- To heat-treat flour in the oven, spread it on a baking sheet and bake at 350°F for 5 minutes, then cool.
- For a peanut butter variation, substitute 1/4 cup of the butter with peanut butter.
- You can skip the chocolate coating and serve the dough balls plain if you prefer.
Nutrition
- Serving Size: 1 truffle
- Calories: 150
- Sugar: 14
- Sodium: 50
- Fat: 9
- Saturated Fat: 5
- Unsaturated Fat: 4
- Trans Fat: 0
- Carbohydrates: 16
- Fiber: 1
- Protein: 2
- Cholesterol: 15