

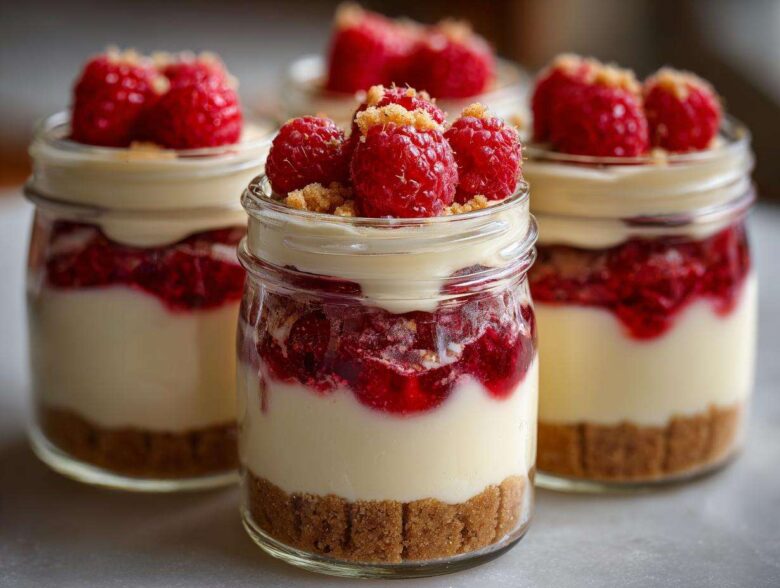
Okay, listen up, because when summer hits, I simply cannot face turning on the oven. Seriously, my kitchen turns into a sauna faster than you can say “preheat.” That’s why I obsess over desserts that are fast, creamy, and perfectly portioned. Enter the jar life! There’s something so satisfying about having a tiny, self-contained treat that you can grab and go, or better yet, hide away in the fridge until exactly the right moment. These No-Bake Raspberry White Chocolate Cheesecake Jars are my reigning champions. They look fancy, taste like heaven, and involve zero baking. If you need a break from mixing batter for cake pans, you absolutely have to try this quick recipe. You can even prep them the day before a party!
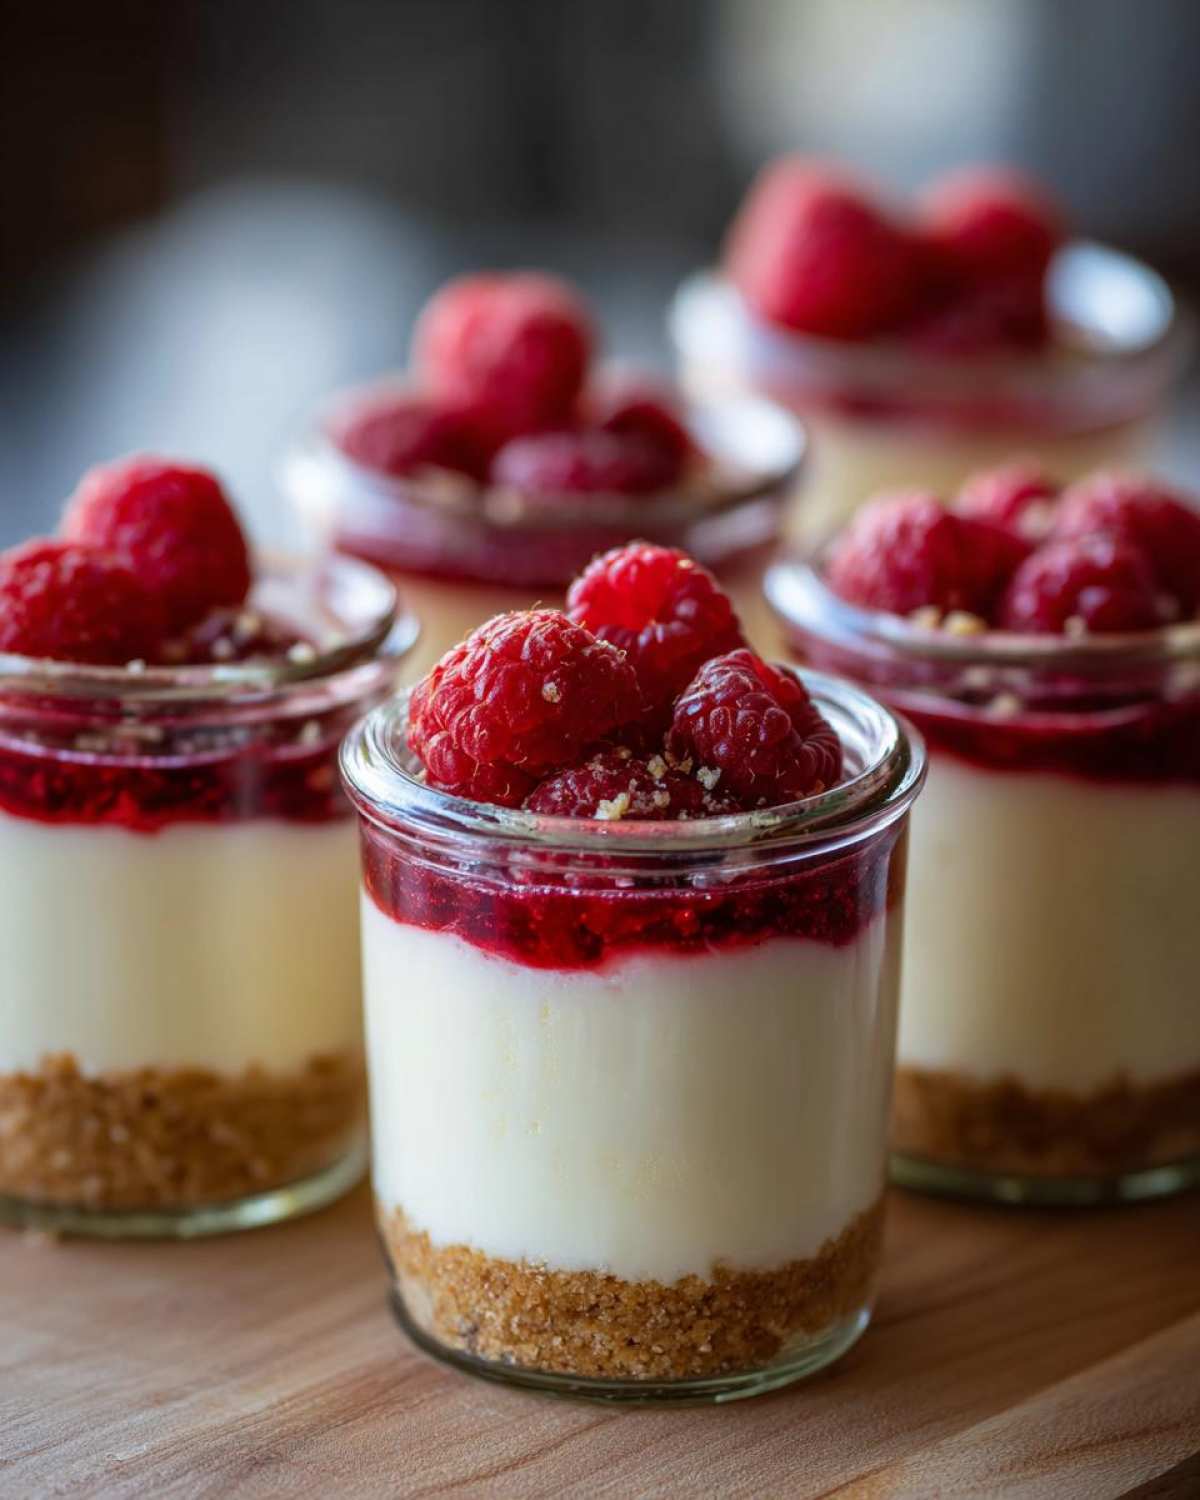
If you’re looking for other no-bake wins, you should check out my obsession with making Oreo dirt cake in a similar jar style—it’s just as easy!
Why You Will Love These No-Bake Raspberry White Chocolate Cheesecake Jars
I truly think these are going to change your dessert game, especially when the weather warms up. You want easy, right? Well, here is why these little jars are absolute perfection:
- Zero oven time! We are talking pure, simple assembly for the best Easy No Oven Desserts of the season.
- The flavor combo of sweet white chocolate and tart raspberry is just divine. My favorite Raspberry White Chocolate Treats, hands down.
- Portion control is built right in! These are fantastic Portable Dessert Ideas for picnics or backyard BBQs—no slicing required.
- They look incredible layered up in the glass jars. Total show-stopper presentation without any of the actual work!
See? It’s just so much easier than a giant pan. Plus, they chill up perfectly, so you can always have Single Serving Cheesecake ready to go.
Essential Ingredients for Perfect No-Bake Raspberry White Chocolate Cheesecake Jars
This recipe hinges on a few key components, and honestly, the quality of your white chocolate makes all the difference. Don’t skimp here! If you use waxy, cheap chips, your filling won’t be silky smooth the way we want it.
For the crust, we keep it classic. You need about one and a half cups of graham cracker crumbs mixed with a quarter cup of melted butter. Make sure to press that down firmly in the bottom of your jars so it acts like a solid little blanket for the filling.
For the creamy center, we’re relying on 8 ounces of good, room-temperature cream cheese, a half cup of powdered sugar, and a teaspoon of vanilla. And here’s a big one: the heavy whipping cream needs to be ice cold so you can beat it up into stiff peaks! Those peaks are what give us the volume since we aren’t using any eggs or gelatin.
Finally, the stars! Four ounces of high-quality white chocolate, melted and then allowed to cool just slightly before folding in—we don’t want hot chocolate melting our lovely whipped cream! Plus, one cup of fresh or thawed raspberries. If you want an extra punch of fruity goodness, grab some raspberry jam; I like to swirl that in using my quick jam recipe.
Step-by-Step Instructions for Layered Dessert in Jars
Putting together these layered dessert in jars is seriously so much fun, almost like building a tiny, edible tower! Remember, since this is a no-bake recipe, our goal isn’t baking; it’s making sure everything chills long enough to hold its shape. No preheating needed, but chilling is your best friend here!
Preparing the Crust Base
First things first, get those graham crumbs and the melted butter mixed up really well. You want it evenly damp, like wet sand. Grab your 8-ounce jars (or whatever cute jars you are using) and scoop about two tablespoons of that buttery crumb mix into the bottom of each one. I use the back of a small spoon or even the flat bottom of a shot glass to really pack it down tight. A solid base is crucial so your cream filling doesn’t just slide around when you try to eat it later!
Creating the Simple Cheesecake Filling
This is where the magic happens. In one bowl, beat the room-temperature cream cheese, sugar, and vanilla until it’s totally smooth—no lumps allowed! Then, in a totally separate, clean, cold bowl, whip your heavy cream until it forms stiff peaks. I mean *stiff*—this takes patience, but it’s necessary. Gently, gently fold that whipped cream into the cream cheese mixture. Don’t stir hard, or you’ll deflate all that air you just worked for! Then, add your slightly cooled melted white chocolate and fold that in until it’s just combined. Don’t overmix, or you’ll lose the fluff!
Assembling Your No-Bake Raspberry White Chocolate Cheesecake Jars
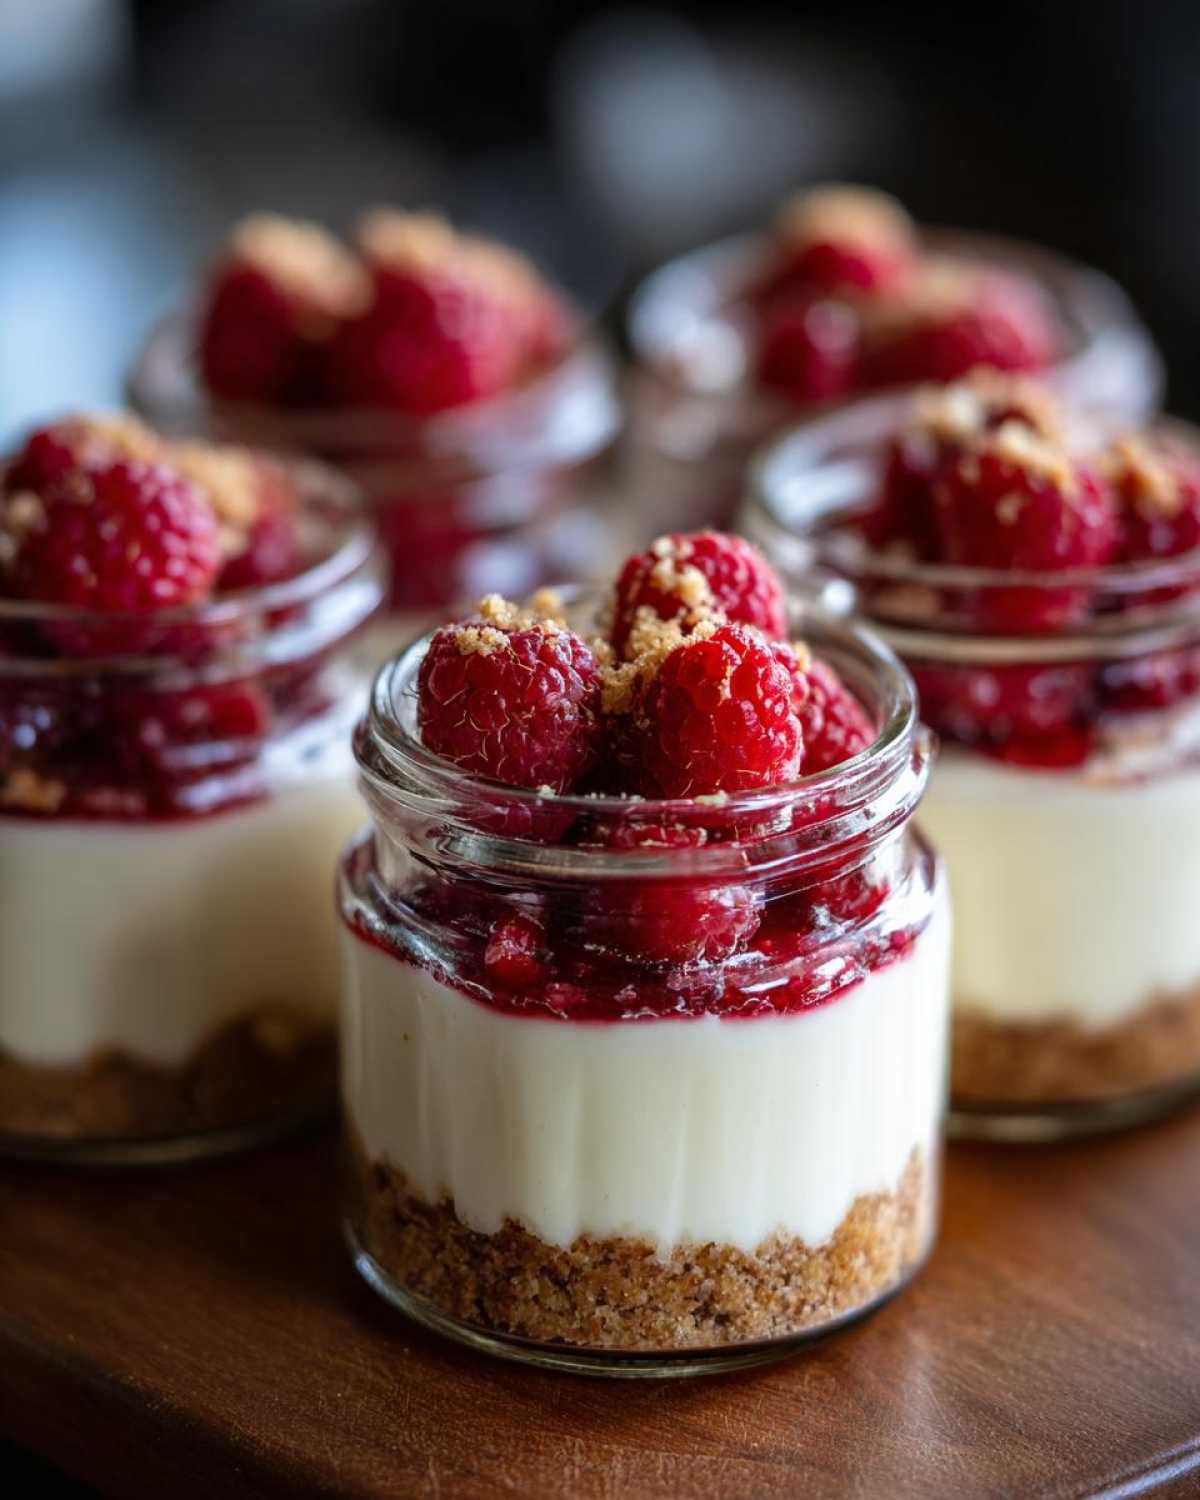
Okay, time to layer up our No-Bake Raspberry White Chocolate Cheesecake Jars! Start by spooning or piping half of that gorgeous filling over your crust in each jar. Next, sprinkle on a few fresh raspberries, and if you’re using that optional raspberry jam, drop a tiny bit right in the center for a surprise swirl when people dig in. Top that with the rest of the cheesecake filling. Finish the visual appeal by topping each jar with your last few remaining berries. Cover them up tightly and send them to the fridge for a minimum of four hours. Trust me, waiting is the hardest part, but chilling is what makes this work!
Expert Tips for Perfect No-Bake Raspberry White Chocolate Cheesecake Jars
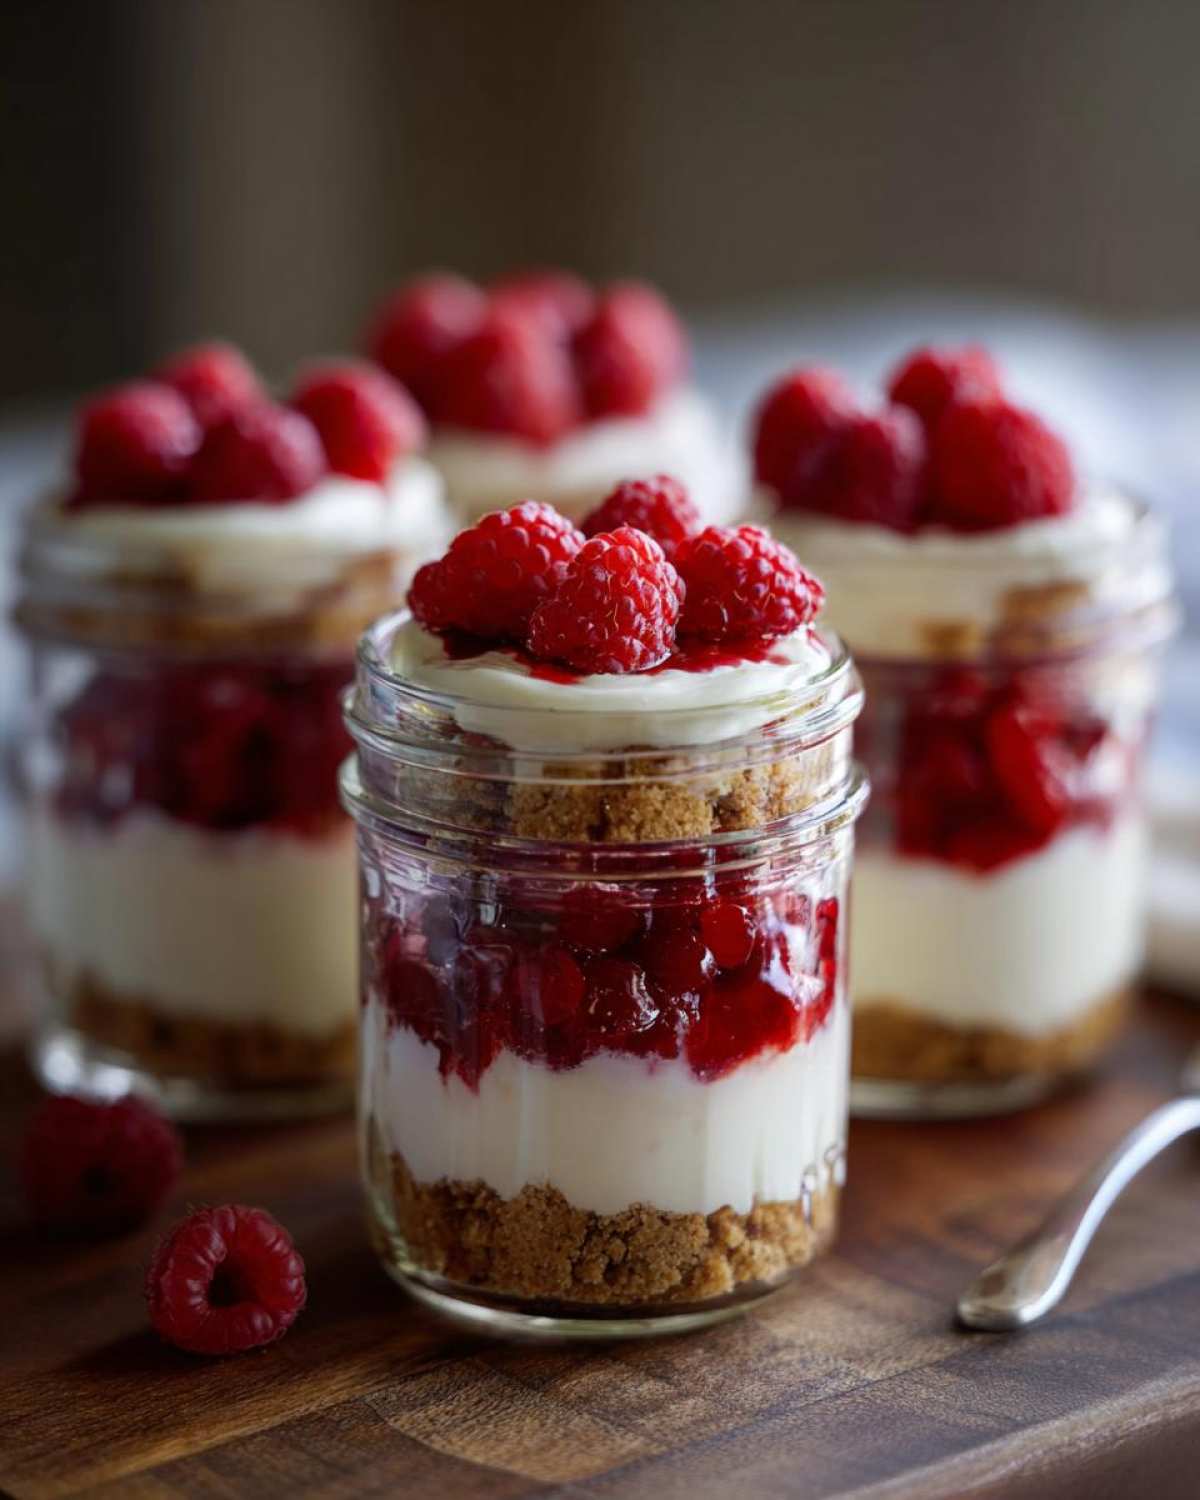
You want these No-Bake Raspberry White Chocolate Cheesecake Jars to look as good as they taste, right? My biggest texture tip revolves around that gorgeous melted white chocolate. You HAVE to let it cool down for about 10 minutes after melting before you fold it into your cream cheese mix. If it’s too hot, it will melt the air out of your whipped cream, and suddenly your filling turns soupy. Oops!
For really neat, restaurant-quality layers, put that cheesecake filling into a big zip-top bag and snip off a corner—bam, you have a DIY piping bag! Pipe the filling in slowly for super clean lines. If you’re feeling fancy, you can check out different ways to guarantee a great result in my quick cheesecake recipe guide, but for these jars, keeping the white chocolate cool is king. A little patience here makes a huge visual payoff later!
Storage and Make Ahead Dessert Jars Instructions
Since these are already perfectly portioned in their own little vessels, they are the ultimate Make Ahead Dessert Jars! I always make mine a day ahead of time because I’ve learned the hard way that if I don’t put them away immediately, I’ll end up eating them right off the counter.
The most critical part of using these No-Bake Raspberry White Chocolate Cheesecake Jars is giving them enough time to actually set up. You absolutely must chill them for a minimum of four hours. Seriously, if you try to eat them after two hours, that beautiful filling will still be a soft, sloppy mess. I aim for six hours, but overnight is truly the sweet spot because it lets those graham cracker crumbs soak up just a tiny bit of moisture from the filling, making the base melt-in-your-mouth good.
When it comes time to store them, make sure you seal the lids on tight! You can keep these wonderful things tucked away in the refrigerator for up to three days. Any longer than that, and the fresh raspberries start to look a little sad, and the texture of the cream cheese filling just isn’t quite as bright. They are fantastic for parties because you just pull them out of the fridge when people walk in, and boom—instant individual dessert!
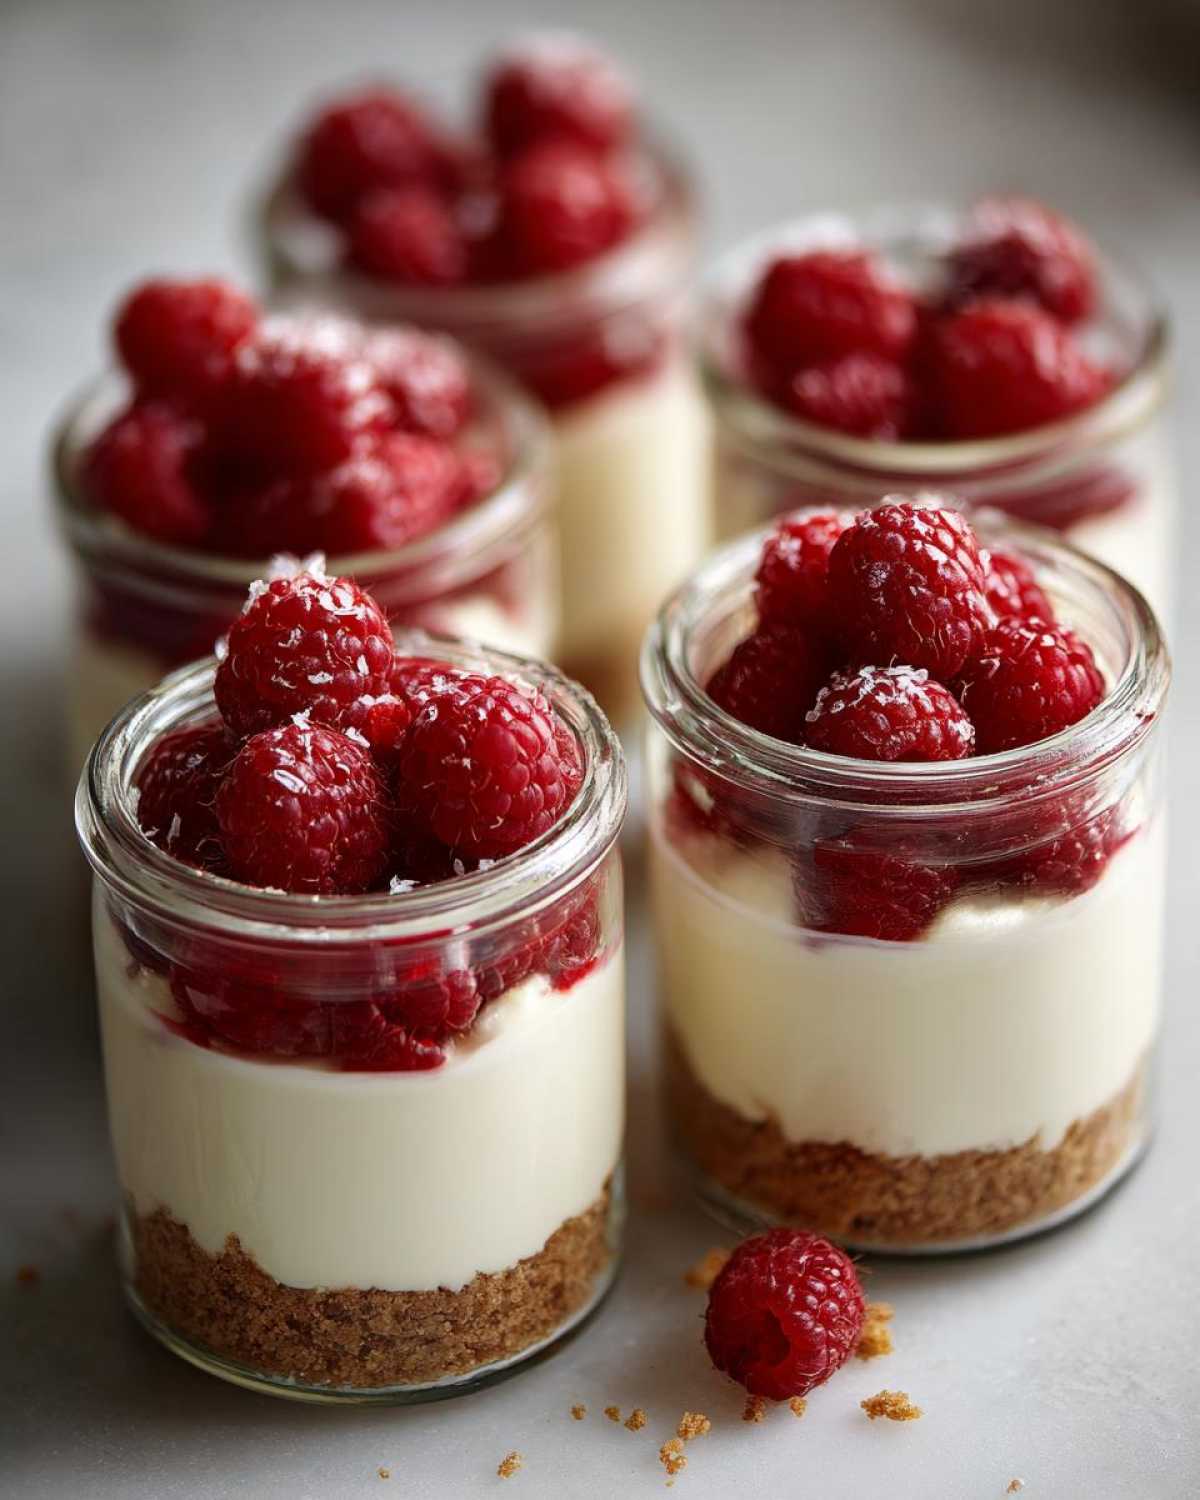
If you’re prepping them for a picnic or taking them somewhere, I always suggest using jars with screw-on lids so you don’t have spills. Check out my tips on general best practices for make-ahead dessert jars to make sure everything stays fresh on the go.
Variations for Your No-Bake Raspberry White Chocolate Cheesecake Jars
One thing I love about simple assembly desserts like these is how easy it is to switch things up! If raspberries aren’t in season, trust me, strawberries or even a tart mix of mixed berries work wonderfully in these Raspberry White Chocolate Treats. The tart fruit cuts through the sweetness of the cream cheese and white chocolate perfectly.
You can also play around with the base. If you aren’t feeling graham crackers, try crushing up vanilla wafers or even shortbread cookies instead! That just changes the whole profile of your No-Bake Raspberry White Chocolate Cheesecake Jars. It’s fun to have a few different crust options ready for when people request them again!
Frequently Asked Questions About Single Serving Cheesecake
Since these No-Bake Raspberry White Chocolate Cheesecake Jars are so straightforward, people usually just have questions about setting them up for success or getting them ready for a crowd. I hear you! Here are the things I always get asked about these amazing Individual Cheesecake Jars.
How long must the No-Bake Raspberry White Chocolate Cheesecake Jars chill?
This is the most common question, and it’s so important! You absolutely must let these set. The minimum time you should wait is four hours, but honestly, that’s only if you’re starving and need a taste test. For the filling to become firm enough to scoop with a spoon without everything slumping together, you really want to aim for six hours, or even better, chill them overnight. That extra time lets the whipped cream solidify perfectly against the rich white chocolate.
Can I use pre-made graham cracker crust mix for these Individual Cheesecake Jars?
Yes, you totally can, and it saves a couple of minutes! If you decide to use store-bought crumbs, measure out 1 ½ cups of the mix and use the same ¼ cup of melted butter. Mix it up, and it should work just fine. The downside? Pre-made crumbs are often finer, which can lead to a slightly harder crust, but it’s a great shortcut for true emergency Quick Cheesecake Recipe needs!
What is the best way to transport these Portable Dessert Ideas?
Transporting these Portable Dessert Ideas requires a little planning, but it’s easy once you know the trick. Because they are already sealed in jars, they are halfway there! Make sure you use lids that screw on tight—don’t just use foil or plastic wrap unless you are driving locally. For longer trips, place the sealed jars snugly inside a deep container or a small cooler where they can’t tip over. If you transport them upright and keep them cool, they arrive looking exactly as perfect as when they left your kitchen!
Estimated Nutritional Data for No Bake Dessert Recipes
I totally hate talking about numbers when food tastes this good, but I know some of you need to know what you’re getting into! Because these are No-Bake Raspberry White Chocolate Cheesecake Jars and we aren’t using an oven or eggs, the macros look pretty sweet, relatively speaking for a cheesecake!
Roughly, one of these single-serving desserts comes out to about 450 calories. It’s got around 30 grams of fat, 40 grams of carbs, and about 7 grams of protein. Remember, these are just estimates because I use real raspberries, and if you decide to go heavy on the melted white chocolate (which I don’t blame you for!), things change!
If you’re looking for more simple ways to calculate nutrition in your sweet meals, I have a few pointers over on my main page for no-bake dessert recipes.
Share Your No-Bake Raspberry White Chocolate Cheesecake Jars Creations
Now the best part! I absolutely insist that if you make these little beauties, you have to tell me how they turn out. Did you swirl in extra jam? Did you use those amazing tiny jars or go for bigger ones?
Your feedback helps other bakers see what works best, so please click the little star rating system below and let me know what score you’d give THESE No-Bake Raspberry White Chocolate Cheesecake Jars. Seriously, I read every single comment!
And if you took a picture because, let’s be real, these are totally Instagram-worthy, tag me! I love seeing them all lined up ready to go. Finding your posts over on the main blog site at my recipe hub makes my day. Don’t forget to share this recipe with anyone who hates turning on their oven this summer!
PrintNo-Bake Raspberry White Chocolate Cheesecake Jars
Make individual servings of creamy, no-bake cheesecake layered with white chocolate and fresh raspberries, perfect for easy serving and portability.
- Prep Time: 25 min
- Cook Time: 0 min
- Total Time: 4 hr 25 min
- Yield: 4 servings
- Category: Dessert
- Method: No Bake
- Cuisine: American
- Diet: Vegetarian
Ingredients
- 1 1/2 cups graham cracker crumbs
- 1/4 cup melted unsalted butter
- 8 ounces cream cheese, softened
- 1/2 cup powdered sugar
- 1 teaspoon vanilla extract
- 1 cup heavy whipping cream, cold
- 4 ounces white chocolate, melted and slightly cooled
- 1 cup fresh or thawed frozen raspberries
- 2 tablespoons raspberry jam or preserves (optional, for extra swirl)
Instructions
- Mix the graham cracker crumbs and melted butter in a bowl until combined. Press about 2 tablespoons of the mixture into the bottom of four small (8-ounce) jars.
- In a separate bowl, beat the softened cream cheese, powdered sugar, and vanilla extract until smooth.
- In a third bowl, whip the cold heavy whipping cream until stiff peaks form.
- Gently fold the whipped cream into the cream cheese mixture until just combined.
- Fold in the melted white chocolate until no streaks remain. This is your cheesecake filling.
- Spoon or pipe half of the cheesecake filling over the crust layer in each jar.
- Top the filling layer with a few raspberries and a small dollop of raspberry jam, if using.
- Add the remaining cheesecake filling to the jars.
- Top each jar with remaining raspberries.
- Cover the jars and refrigerate for at least 4 hours, or until the filling is firm.
Notes
- For a smoother layer, chill the jars for 30 minutes between adding the crust and the first layer of filling.
- Use small offset spatulas or piping bags for neat layering inside the jars.
- These desserts keep well in the refrigerator for up to 3 days.
Nutrition
- Serving Size: 1 jar
- Calories: 450
- Sugar: 35
- Sodium: 180
- Fat: 30
- Saturated Fat: 18
- Unsaturated Fat: 12
- Trans Fat: 0
- Carbohydrates: 40
- Fiber: 1
- Protein: 7
- Cholesterol: 75