

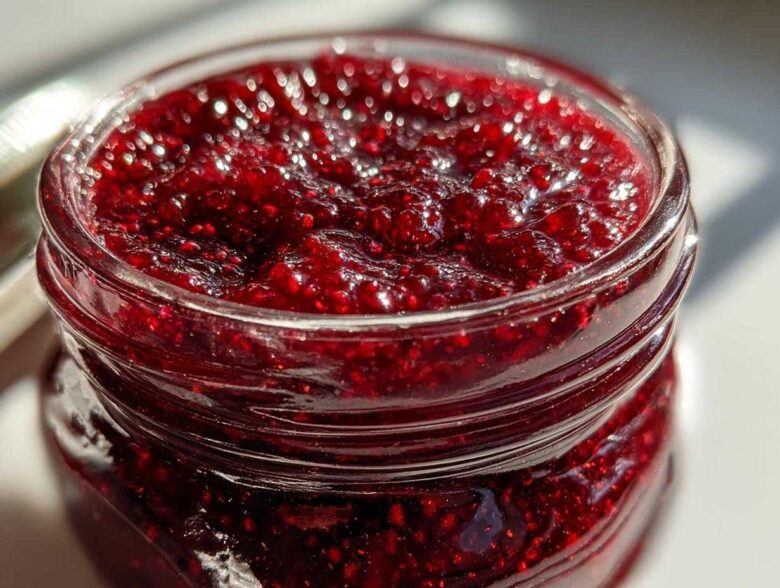
Oh, when the summer berries are bursting with flavor, you just have to capture that sunshine, don’t you? Kenji always laughs because I get overly excited about bottling up that intense, fresh flavor! Today, I want to share our secret for the absolute best raspberry jam. Trust me, this is the simplest way to make it happen: an easy 3-ingredient raspberry jam recipe that requires absolutely no added pectin. After decades of making preserves the traditional way, I can assure you, this quick method lets the natural sweetness of the fruit shine through beautifully. If you want to see all our other wonderful kitchen adventures, please check out our main blog page here: our main blog page.
Why This Easy Jam Recipe Makes the Best Raspberry Jam
Honestly, what’s not to love about a recipe that asks so little of you but gives back so much flavor? This is truly the best raspberry jam because we rely on the fruit itself. Kenji sometimes teases me for having too many complicated steps, but my family’s old ways taught me about what ingredients need to balance naturally.
- This is the easy jam recipe you’ve been searching for! We only use three things.
- We skip store-bought pectin entirely. This wonderful raspberry jam without pectin sets up beautifully just using the kiss of acid from the lemon juice.
- It delivers that intense, bright berry flavor fresh from the garden, not masked by extra additives.
Just Three Ingredients for Perfect Raspberry Jam
That’s right, only raspberries, sugar, and fresh lemon juice. The sugar is crucial here because it draws out the natural pectin hiding in the berries, and the lemon juice provides the necessary acidity to encourage that setting process. It’s chemistry in a pot, and it’s so satisfying when it works!
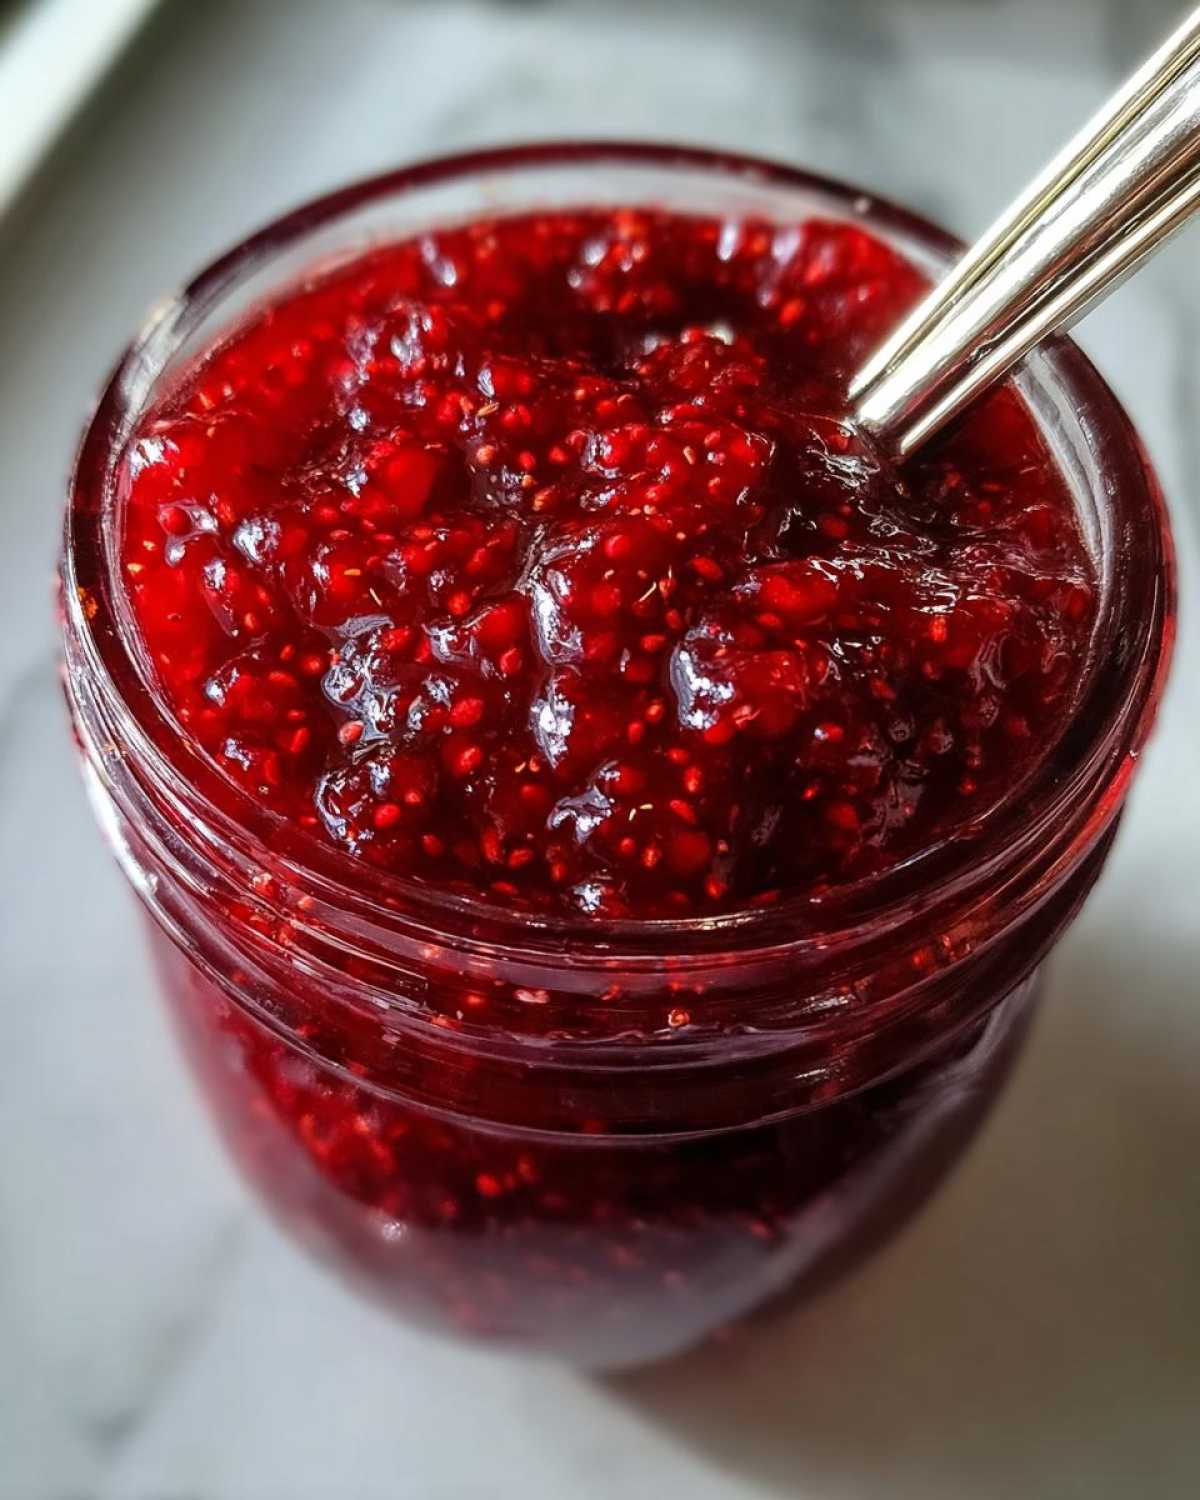
Quick Raspberry Jam: Ready in Under an Hour
Because we are making a small batch jam recipe, the cooking time is incredibly short. We aren’t filling a whole basement pantry; we are filling one or two jars for immediate enjoyment. You can go from the fridge to your spoon in less than an hour. If you love quick baking projects, you might also adore my recipe for Sour Cream Coffee Cake!
Gathering Ingredients for Your Homemade Raspberry Jam
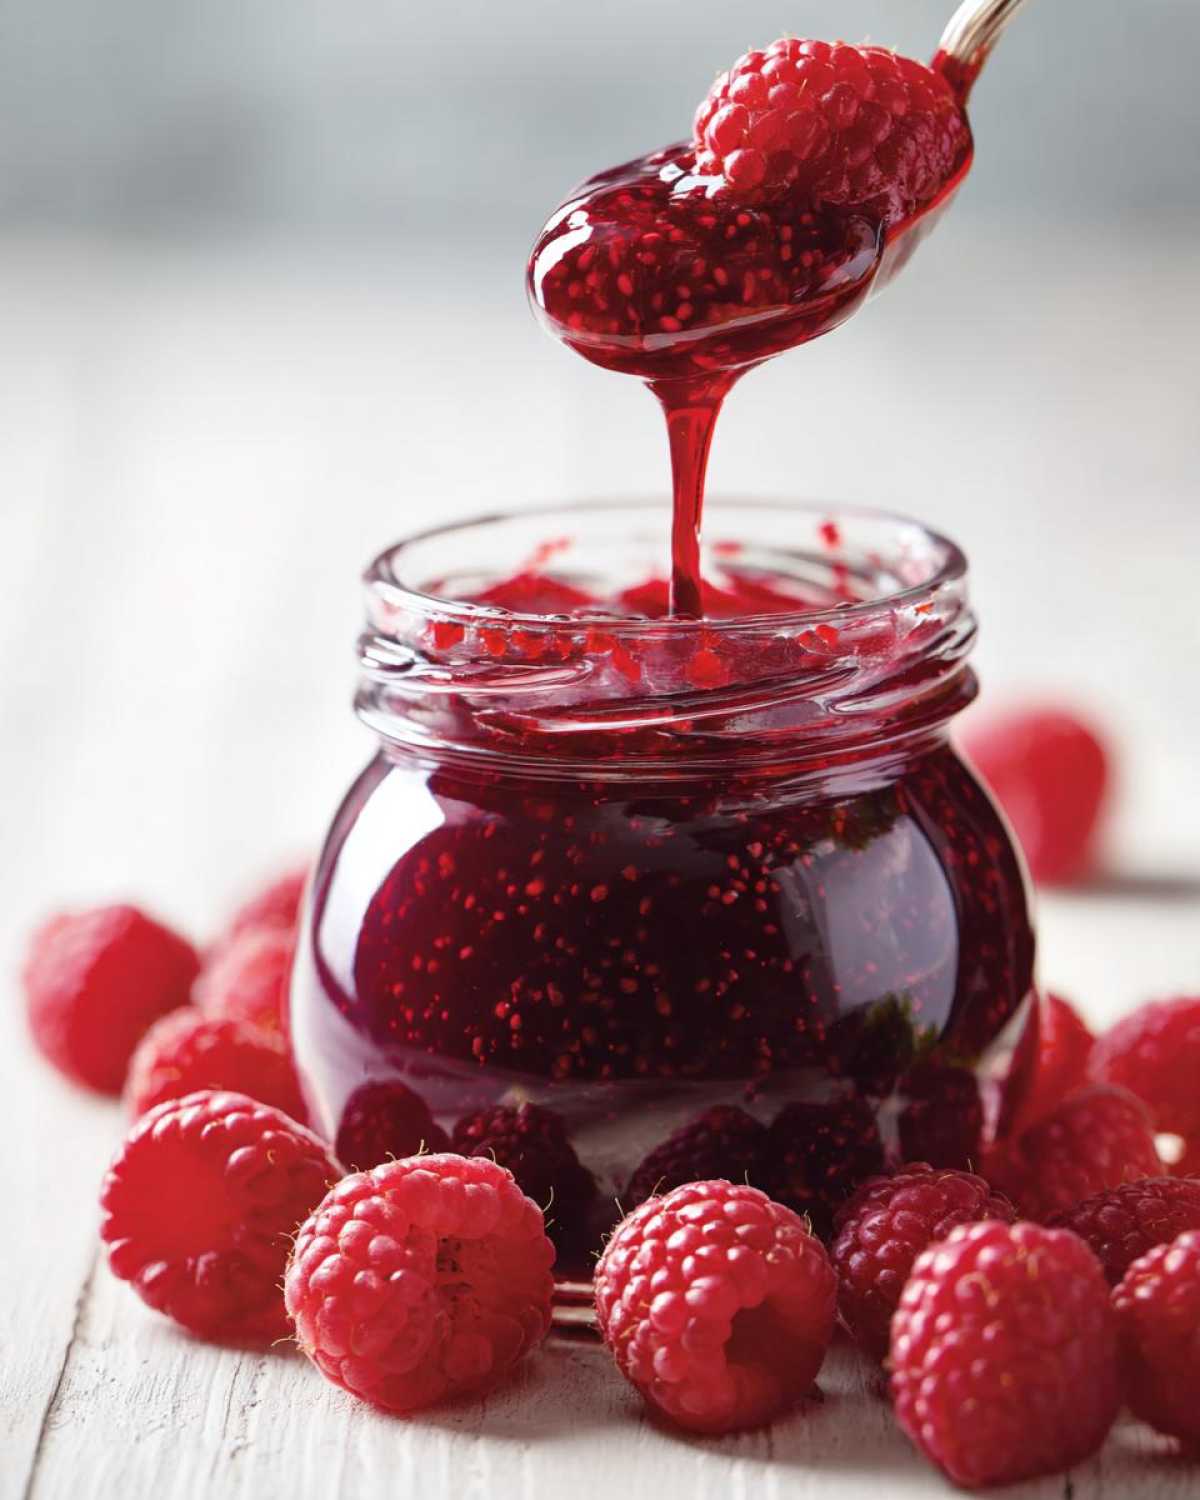
To make this authentic, bright homemade raspberry jam, keep things simple! I always lay everything out beforehand so I can move fast once the heat goes on. You really only need three items: fresh or frozen berries, sugar, and lemon juice. Having everything ready is half the battle!
Ingredient Notes and Substitutions for Raspberry Jam
You absolutely can use frozen raspberries—don’t thaw them first! Just toss them in straight from the freezer with the sugar. Now, if you simply cannot share your space with those little seeds, I completely understand. You can gently press the cooked jam through a fine-mesh sieve before jarring if you want that pure, smooth texture. It’s a little extra work, but it results in a gorgeous seedless raspberry jam.
How to Prepare Quick Raspberry Jam on the Stovetop
This is where the magic happens, and honestly, this whole quick raspberry jam process feels like being a kitchen chemist! First things first, we need to wake up the berries a little bit. In your heavy-bottomed pot—and I stress heavy-bottomed so you don’t scorch the bottom—toss in your raspberries and the sugar. Let that sit for maybe 15 minutes. That resting time is important; the sugar pulls out beautiful, heavy juices from the fruit.
Next, turn the heat to medium-high. Stir constantly, just until you see every single sugar crystal melt away into liquid. Once it hits a roaring, full, rolling boil—the kind that just won’t stop bubbling no matter how much you stir—that’s when you add your splash of lemon juice. That acid right there is essential for this raspberry jam to set up nicely without any extra help!
Now, you boil hard! You have to keep the heat high and stir frequently so it doesn’t stick. If you are making soft, fluffy bread, you worry about gentle mixing. Here, we want speed and evaporation. It usually takes about 10 to 15 minutes of this active boiling for the liquid to reduce enough.
Testing for the Set Point in Raspberry Jam Without Pectin
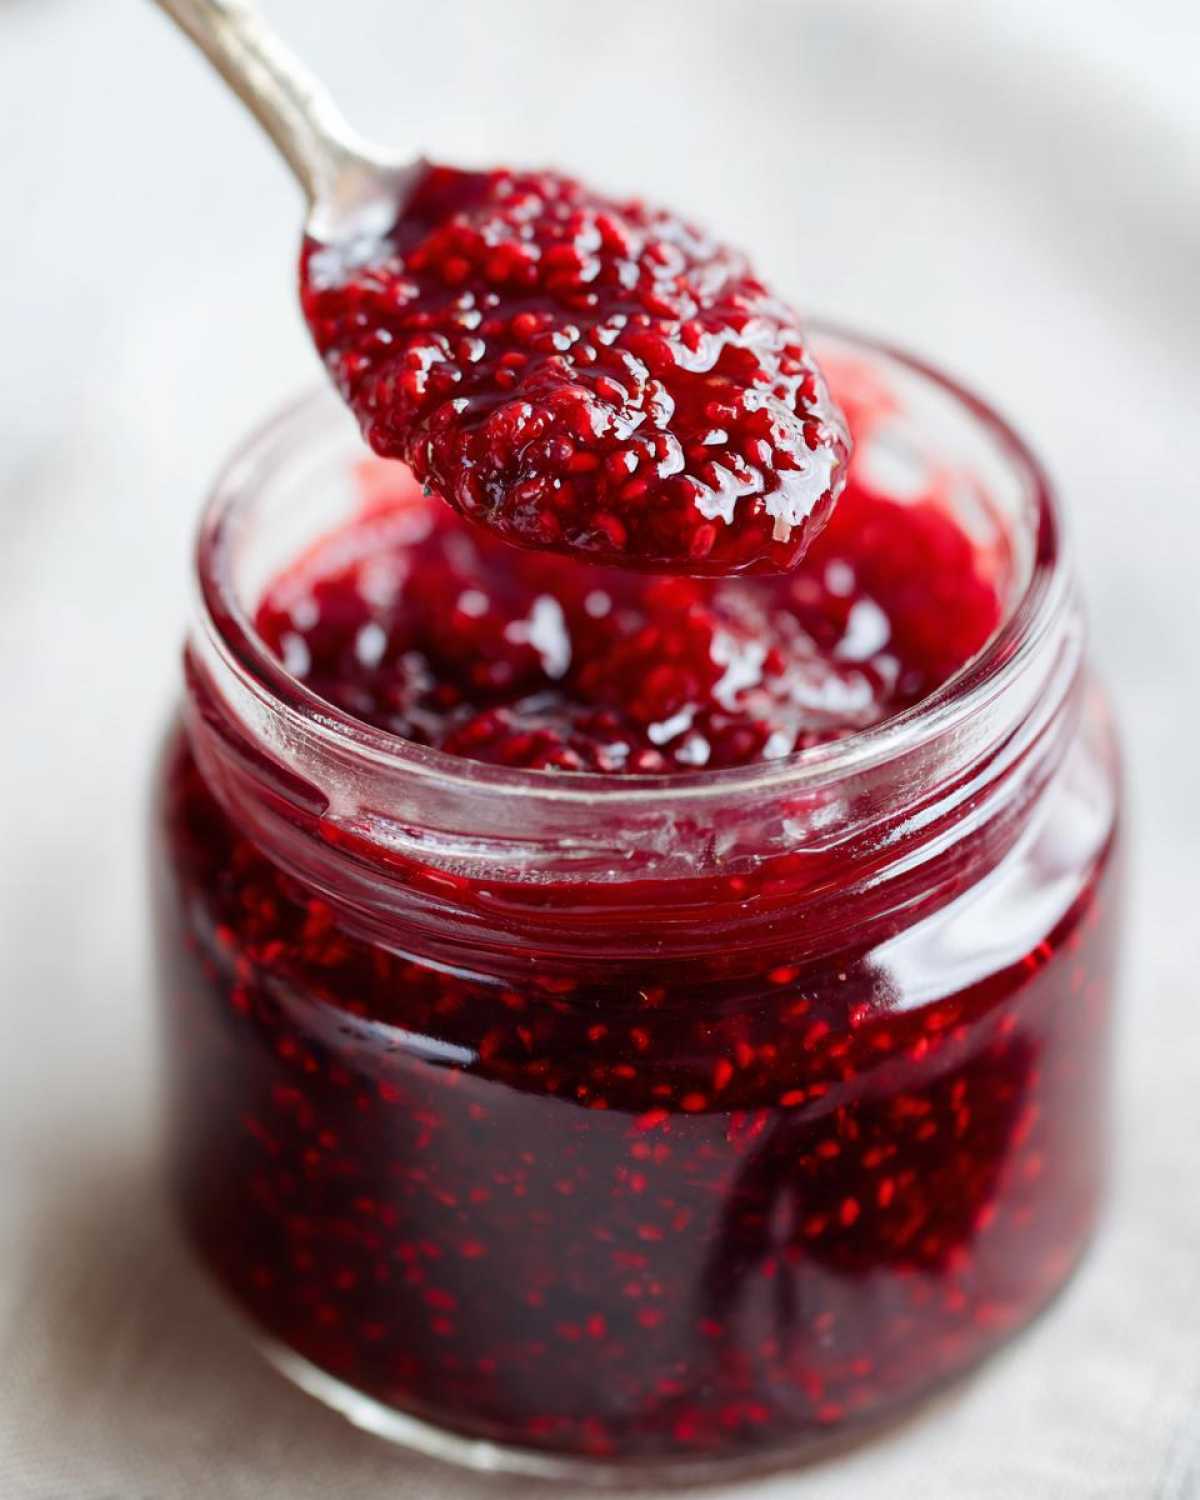
This is the moment of truth! If you’re nervous about consistency, you need to test it. First, keep a little plate of your jam in the freezer while you cook. Once you think it’s thickened, dip a cold spoon right in and pull it up. If the jam drips off slowly in one thick sheet, not quickly like water, you are getting close! The real test, the one my grandmother taught me, is placing a tiny dollop onto that chilled plate. If you push that drop with your finger and the surface wrinkles up, congratulations—your jam has set! If it just smears, you need a few more minutes of hard boiling.
Preservation Methods for Your Small Batch Raspberry Jam
Since we’ve made a delicious small batch jam recipe, you have a few delightful choices on how to store this beautiful homemade raspberry jam. Not everyone wants to deal with the water bath canner, and that’s perfectly fine! This recipe is flexible, which I truly love.
Freezer Jam Instructions for Maximum Freshness
If you want the quickest option, the freezer is your best friend. Once the jam is done cooking and you’ve skimmed off any little bubbles on top, you just need to let it cool down for about 10 or 15 minutes before pouring it into your freezer-safe jars. I often make one jar for the fridge and pop the second one right into the freezer. These freezer jam instructions are so easy; it keeps its bright summer flavor protected for months!
Beginner Canning Raspberry Jam Using a Water Bath
Now, if you are ready to seal it up for pantry storage, we need to ensure we follow safety rules for canning raspberry jam. Ladle the piping hot jam immediately into your hot, sterilized jars. Make sure you leave about 1/4 inch of space at the top—that’s your headspace, and it’s super important! Wipe the rims clean, seal them up, and process the jars in a boiling water bath for exactly 10 minutes. This method keeps your jam shelf-stable for a long time. If you are ever looking for a comforting baked good to pair with your new jam, try my Buttermilk Cornbread!
Tips for Success Making Simple Fruit Preserves
When you are working with just three ingredients for these simple fruit preserves, every little step matters so much! My biggest worry when I first started doing this without commercial pectin was scorching the bottom of the pot. I remember one time, I got distracted thinking about Kenji’s garden plans, and the sugar started to smoke! Oh, the smell! Always use a heavy pot, and never, ever walk away when the mixture is at a hard boil. If you made my Vegetable Beef Soup, you know I worry about the bottom of the pot!
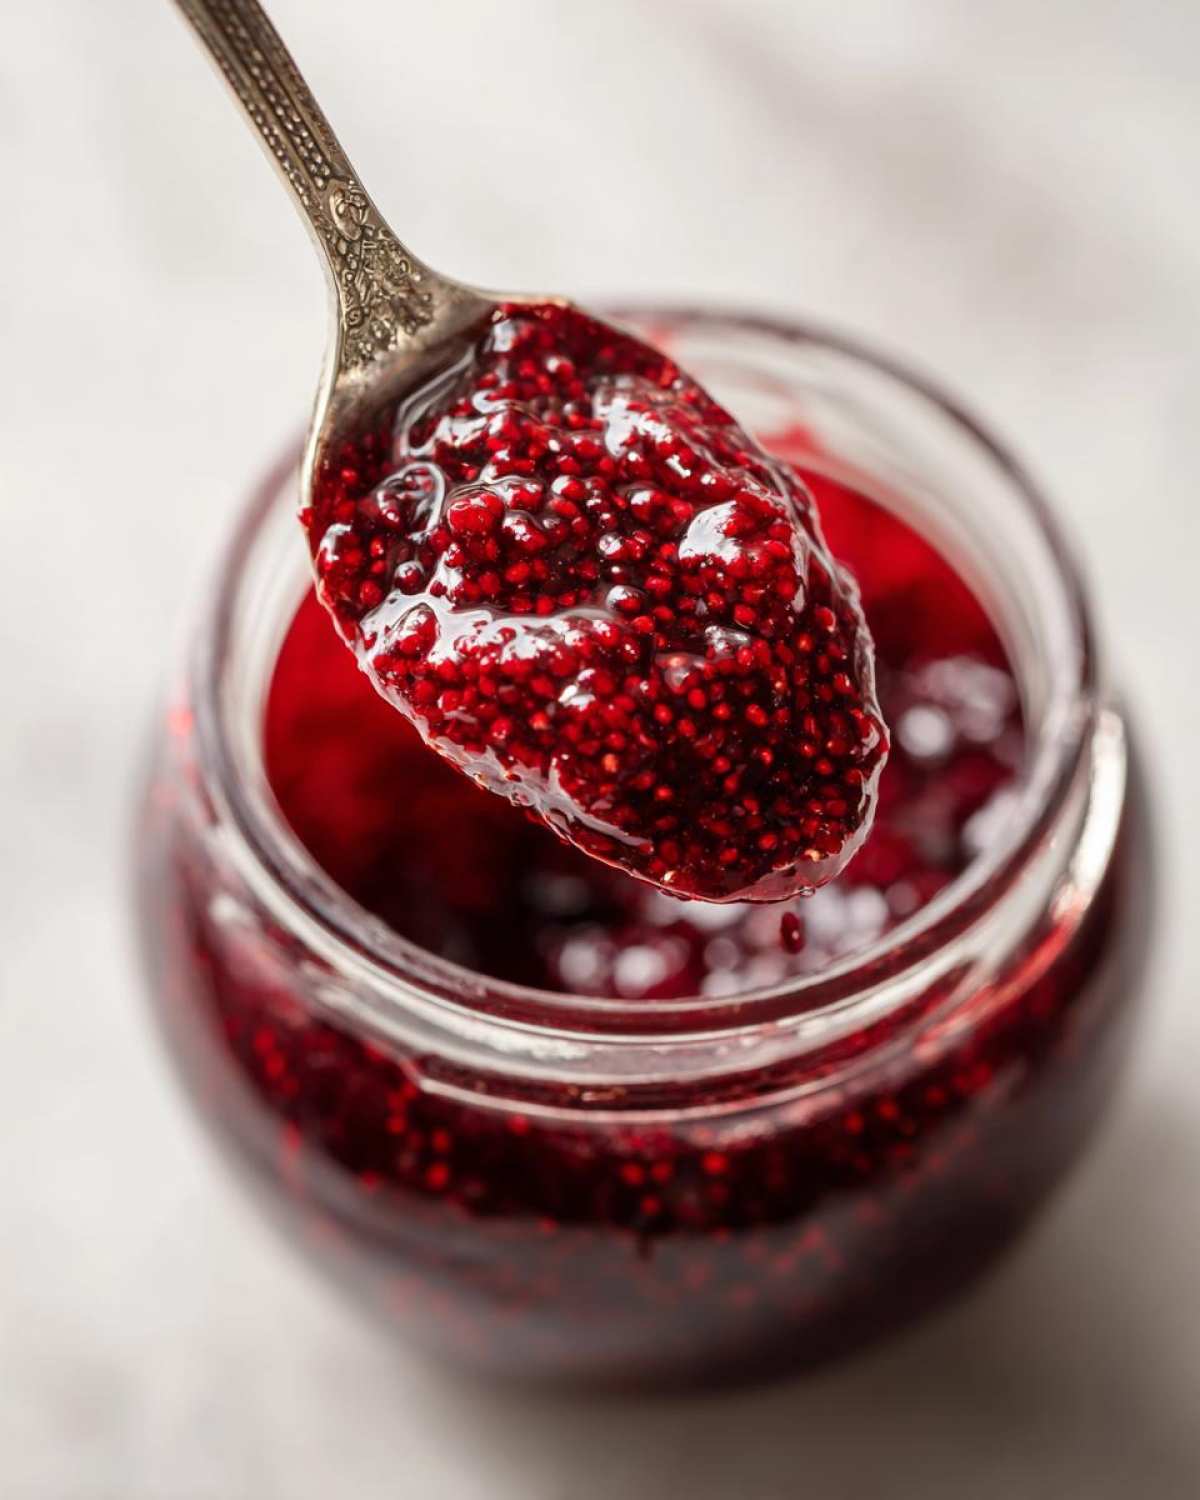
Another little trick I learned? Skimming the foam. After the jam is done boiling, a blanket of pink foam usually forms on top. While it’s harmless, it makes the jar look cloudy. I take a large metal spoon and gently skim it all off the surface before jarring. It keeps your jars looking shiny and perfect, just like they should! I learned the hard way that letting it just sit doesn’t work—you have to skim it while it’s hot.
Storage and Reheating Instructions for Raspberry Jam
This beautiful, bright jam keeps so well, which is part of why I love making this small batch version! You can usually keep one jar of this refrigerator jam tucked away for about three to four weeks. Just make sure the lid is tight and it stays cold—but honestly, ours never lasts that long! If you are making homemade raspberry jam, you should know how long each method lasts.
For the freezer containers we filled up, that vibrant summer flavor will hold up fantastic for nearly a year. Just seal those jars well and pop them in the back of the deep freeze. They are perfect for those winter mornings when you are dreaming of sunshine!
If you took the time to do the water bath canning process—bless your dedication!—those sealed jars are good to go in a cool, dark pantry for up to a year, maybe even longer if your seals are perfect. Always check that the lid depressed fully when you press on the middle; that’s how you know your canning raspberry jam was successful!
Now, occasionally, if the jar of refrigerator jam gets very cold, it can feel a little stiff when you first open it. Don’t worry! Just give it 15 minutes on the counter, or stir it gently for a moment, and it will soften right back up to that perfect, spoonable consistency. You don’t need heat unless you plan to use it as a warm topping, of course! If you love making hearty snacks, you should really check out my recipe for Cream Cheese Sausage Balls while your jam softens!
Frequently Asked Questions About Raspberry Jam
If you’re new to making preserves, I know your head might be swimming with questions about rolls, sets, and seals! That is perfectly normal, my dear. When Kenji was first learning from my family, he asked a million questions too. Here are a few things I hear often when people try this easy jam recipe for the first time.
How high should my altitude be for safe canning times?
This is such an important question, especially for those of you living up in the mountains! Canning safety is paramount. The standard processing time of 10 minutes I gave earlier is based on sea level, roughly up to 1,000 feet elevation. If you live higher than that, you absolutely must adjust your time! For every 1,000 feet above sea level, you need to add 5 minutes to the processing time. So if you are at 5,000 feet, you’re looking at 15 minutes processing time—don’t skip this step for safe storage of your raspberry jam!
What exactly is a ‘rolling boil’ when making jam?
Ah, the rolling boil! This is the key to activating the natural pectin we rely on in this recipe. It is not gentle simmering, and it’s not boiling vigorously for just a second. A true rolling boil is when the mixture is bubbling so actively that even if you stir it hard right in the center, the bubbles do not stop. It’s a sign that the water content has cooked down enough for the fruit solids and sugar to properly thicken. We need that strong burn for about 10-15 minutes!
Can I use honey or maple syrup instead of granulated sugar in this raspberry jam recipe?
Oh, I love the flavor of honey, especially in my morning tea! But when we talk about jams like this where we are trying to achieve that natural set without commercial pectin, you really need the crystal structure of granulated sugar. Sugar does more than sweeten; it helps manage the water content and solidifies the jam structure with the acid. If you substitute honey or maple syrup, you’ll get a much softer set—more like a lovely syrup or sauce. If you want that classic, spreadable texture, stick to the granulated sugar for this batch. If you want something sweet and soft for your breakfast, you should see how beautifully this jam goes on my Buttermilk Cornbread!
I followed the recipe, but my jam is too runny. What went wrong?
Don’t panic! This is common when you are first learning to trust the set test. Usually, runny jam just means it needs a little more time boiling hard to evaporate off more water. If you tested it and it failed the wrinkle test, just bring it back to a hard, rolling boil for another five minutes and test again. Sometimes, especially with very juicy berries, it takes a few extra minutes. If you are absolutely certain it’s cooked but still soft, just use it as a delicious refrigerator jam for now!
Estimated Nutritional Data for Raspberry Jam
Kenji always insists that we must be transparent about what we are putting into our bodies, even when it is something as wonderfully sweet and indulgent as homemade jam! Because this recipe is so simple—just berries, sugar, and a little lemon—the nutrition is straightforward. Remember that jam is, by nature, high in sugar, which is essential for creating that shelf-stable product.
- Serving Size: About 2 tablespoons (a good dollop on toast!)
- Calories: Roughly 105 per serving
- Sugar: Around 27g (This is necessary for setting and preservation!)
- Fat: 0g
- Carbohydrates: About 27g
- Protein: Almost none, which is expected for fruit preserves.
These are estimates based on the basic ratio of fruit to sugar. Enjoying this in moderation with your meals, like a dollop in hearty soup or on bread, is simply delightful.
Share Your Best Raspberry Jam Creations
Now that you know how easy it is to capture summer in a jar, I would absolutely love to hear from you! Did you try my 3-ingredient raspberry jam? Did you brave the water bath canning process, or are you enjoying yours as speedy refrigerator jam straight from the fridge? Please leave a rating below and tell me what you used it on! Did you try it in a sparkling cocktail mix? I’m always looking for new ways to use our preserves! Happy cooking, dear friends.
Estimated Nutritional Data for Raspberry Jam
Kenji always insists that we must be transparent about what we are putting into our bodies, even when it is something as wonderfully sweet and indulgent as homemade jam! Because this recipe is so simple—just berries, sugar, and a little lemon—the nutrition is straightforward. Remember that jam is, by nature, high in sugar, which is essential for creating that shelf-stable product.
- Serving Size: About 2 tablespoons (a good dollop on toast!)
- Calories: Roughly 105 per serving
- Sugar: Around 27g (This is necessary for setting and preservation!)
- Fat: 0g
- Carbohydrates: About 27g
- Protein: Almost none, which is expected for fruit preserves.
These are estimates based on the basic ratio of fruit to sugar. Enjoying this in moderation with your meals, like a dollop in hearty soup or on bread, is simply delightful.
Share Your Best Raspberry Jam Creations
Now that you know how easy it is to capture summer in a jar, I would absolutely love to hear from you! Did you try my 3-ingredient raspberry jam? Did you brave the water bath canning process, or are you enjoying yours as speedy refrigerator jam straight from the fridge? Please leave a rating below and tell me what you used it on! Did you try it in a sparkling cocktail mix? I’m always looking for new ways to use our preserves!
If you loved this simple recipe, please give it five stars right here on the site. Your feedback truly helps Kenji and me know which recipes to share next. It means the world to me knowing that a little bit of my family’s tradition is sitting right on your breakfast table. Happy cooking, dear friends, and enjoy every bit of that fresh berry goodness!
With love from my kitchen to yours,
Amaya
PrintEasy 3-Ingredient Homemade Raspberry Jam (No Pectin Needed)
Make this bright, flavorful homemade raspberry jam with just three simple ingredients. This recipe is quick, requires no added pectin, and is perfect for beginners. You can store this small batch jam in the refrigerator, freezer, or process it for water bath canning.
- Prep Time: 15 min
- Cook Time: 20 min
- Total Time: 35 min
- Yield: About 2 half-pint jars
- Category: Preserves
- Method: Stovetop Cooking
- Cuisine: American
- Diet: Vegetarian
Ingredients
- 2 cups fresh or frozen raspberries
- 3 cups granulated sugar
- 1 tablespoon fresh lemon juice
Instructions
- Prepare your jars if canning, or gather your refrigerator/freezer containers. If canning, process jars in boiling water for 10 minutes before starting the jam.
- Combine the raspberries and sugar in a large, heavy-bottomed pot. Let the mixture sit for 15 minutes to allow the sugar to draw out the juices from the berries.
- Place the pot over medium-high heat. Stir constantly until the sugar dissolves completely and the mixture begins to bubble.
- Once the mixture reaches a full, rolling boil that cannot be stirred down, add the lemon juice. The lemon juice helps the jam set naturally.
- Continue to boil rapidly, stirring often to prevent scorching, until the jam thickens. This usually takes about 10 to 15 minutes of hard boiling.
- Test for set: Dip a cold spoon into the jam and hold it up. If the jam drips off slowly in a thick sheet rather than running off like water, it is ready. Alternatively, place a small spoonful on a chilled plate; if it wrinkles when pushed, it has set.
- If you are making refrigerator or freezer jam, remove the pot from the heat and skim off any foam from the surface. Let it cool slightly before pouring into clean jars.
- If you are canning raspberry jam, ladle the hot jam into your hot, sterilized jars, leaving 1/4 inch headspace. Wipe rims clean, apply lids and bands, and process in a boiling water bath canner for 10 minutes, adjusting time for altitude.
- Allow the jam to cool completely before storing. Enjoy this best raspberry jam on toast or yogurt!
Notes
- For seedless raspberry jam, gently press the cooked jam through a fine-mesh sieve before the final boil or before jarring.
- This recipe makes a small batch, perfect for keeping one jar in the fridge and one in the freezer.
- If using frozen raspberries, do not thaw them before cooking.
Nutrition
- Serving Size: 2 tablespoons
- Calories: 105
- Sugar: 27g
- Sodium: 1mg
- Fat: 0g
- Saturated Fat: 0g
- Unsaturated Fat: 0g
- Trans Fat: 0g
- Carbohydrates: 27g
- Fiber: 1g
- Protein: 0g
- Cholesterol: 0mg