

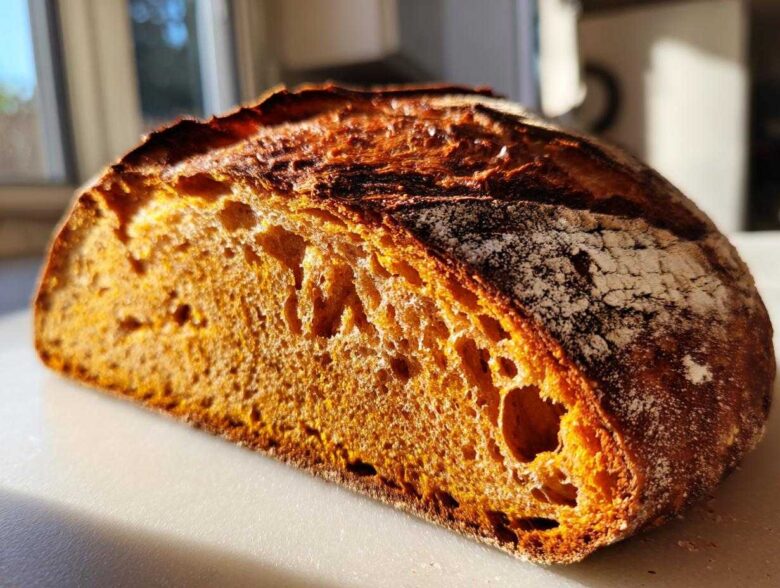
Oh, my gosh, if you think you know cozy autumn baking, wait until you meet this loaf! I’m obsessed with the way the slight tang of sourdough plays with sweet, spiced pumpkin. This year, I finally nailed the recipe I’ve been tinkering with since September: the Cinnamon Swirl Pumpkin Sourdough Bread. It’s rustic like a farmhouse loaf but has this incredible, soft, moist crumb you just don’t expect from artisan bread.
Trust me, folks, this isn’t just another seasonal bake; this is *the* seasonal bake. When I first started combining my sourdough starter with pumpkin puree, my loaves were either too wet or they didn’t rise right. We went through a few bricks (sadly!), but now? My pumpkin sourdough comes out perfectly airy, deep orange inside, and holding a beautiful shape. I’m so excited to share the exact steps that finally made this dreamy bread a reality for my kitchen!
I use techniques I learned from my Italian nonna mixed with what I know about managing the humidity that pumpkin adds. If you’ve been looking for a showstopper that uses up some of that active starter and smells like heaven while it bakes, you’ve absolutely found it. Head over to my main blog page to see some of my other favorite seasonal baking experiments!
Why This Cinnamon Swirl Pumpkin Sourdough Bread is Your Best Fall Sourdough Recipe
Honestly, I’ve made so many fall sourdough recipes this year, but this one outshines them all. It hits every single note you want in cozy autumn baking. It’s soft, it’s tangy from the long fermentation, and you get those gorgeous specks of intense flavor running through the middle. This isn’t some dry, crumbly loaf; this is peak best pumpkin sourdough territory, I promise you that!
The sourdough base gives this bread that classic artisan structure, which is crucial because pumpkin puree wants to make everything collapse. Then we add that beautiful, intricate cinnamon swirl, and suddenly, it’s not just bread; it’s dessert for breakfast. It’s perfect sliced thin and toasted, maybe with a little extra butter. You can even adapt the concept for a date nut bread variation if you need a change later on!
Achieving the Perfect Moist Sourdough Pumpkin Crumb
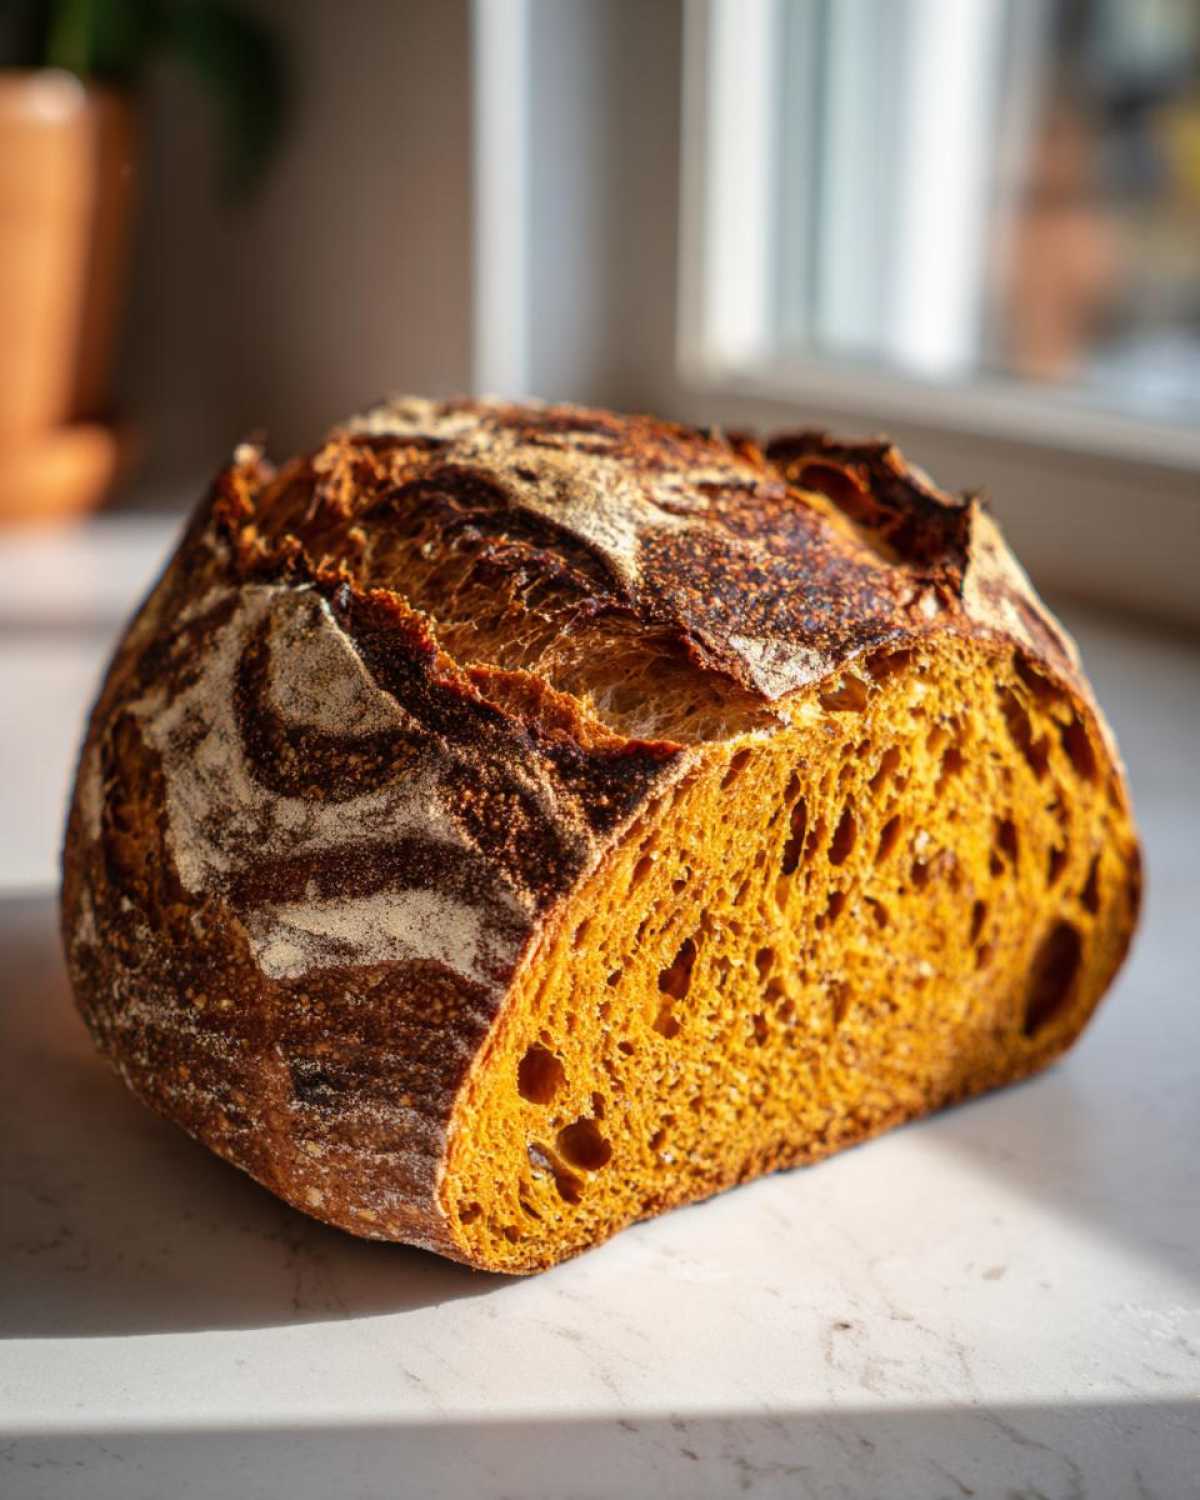
The secret to avoiding a dense brick is managing that pumpkin moisture. Pumpkin puree is full of natural sugars and pectin, and while they add incredible flavor and color, they can weigh things down. That’s why we rely heavily on that long, 18-hour cold proof in the fridge. The slow fermentation builds gas slowly, strengthening the gluten network enough to hold all that pumpkin goodness. It keeps the crumb tender and soft without sacrificing the lift we need for an artisan pumpkin loaf.
The Art of the Cinnamon Swirl Sourdough
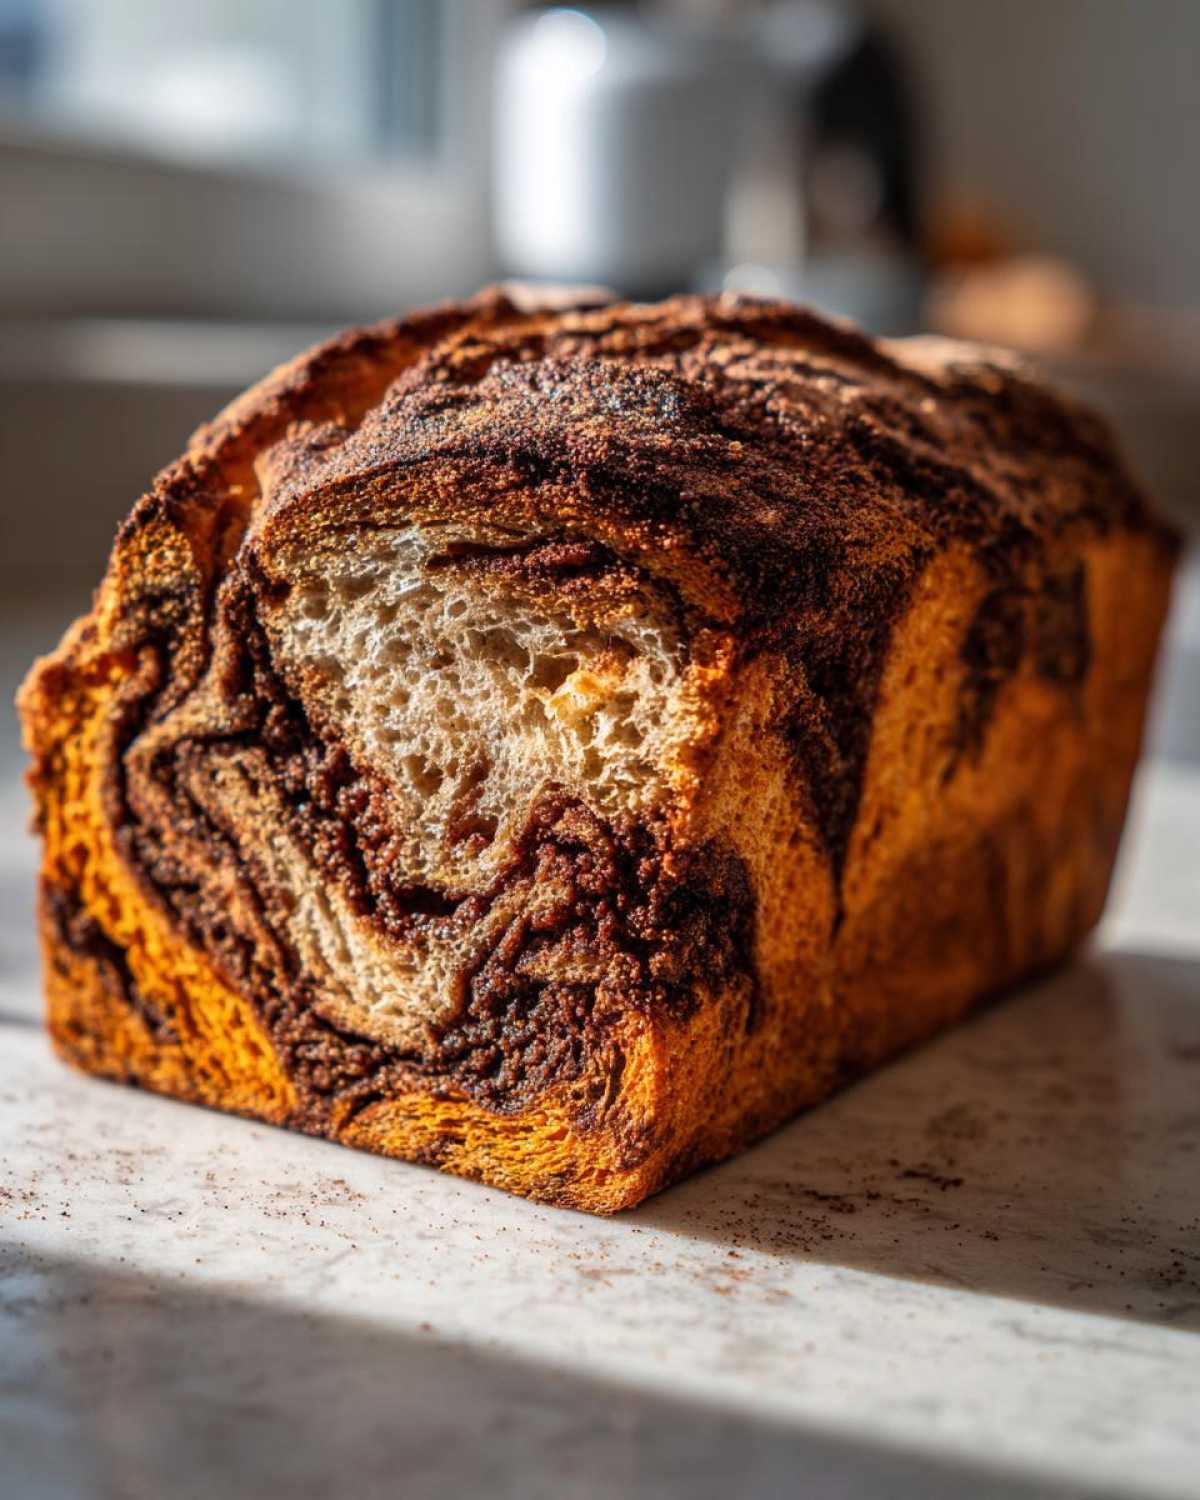
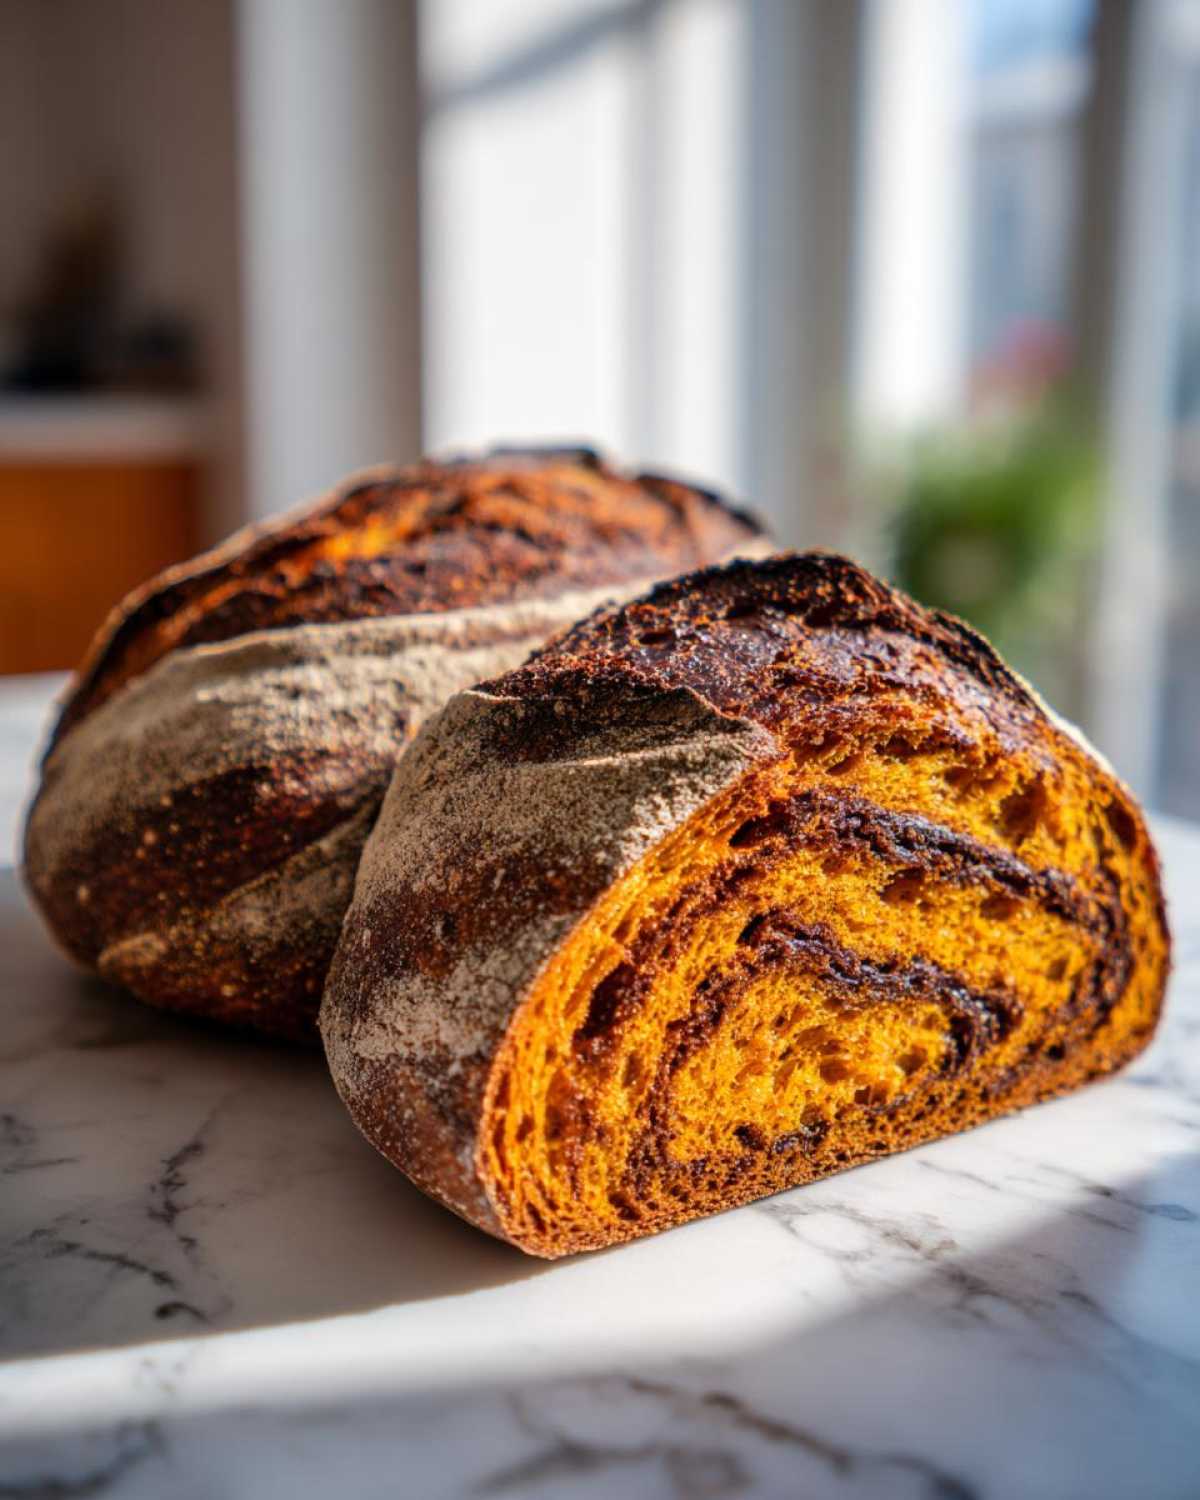
The swirl is pure drama, and it’s what separates this from a standard pumpkin spice sourdough. We aren’t just sprinkling cinnamon on top; we are making a thick, butter-based paste and rolling it right into the dough before the cold proof. When you slice into this loaf, you get these beautiful, dark ribbons of cinnamon sugar that contrast perfectly with the orange crumb. It takes an extra step, sure, but that visual payoff when you cut the first piece of pumpkin sourdough is just unmatched.
Essential Ingredients for Artisan Pumpkin Loaf
Okay, let’s talk about what actually goes into this magic bread because using the right stuff is critical, especially when you’re balancing the wetness of pumpkin and the lift of sourdough. You’ll see the full list in the recipe card, but I want to walk you through the must-haves first. You need that happy, bubbly starter, real pumpkin puree, and a good strong flour to hold it all together.
And remember, we need that cinnamon swirl paste for the flavor layering! I love that this recipe gets so much of its body from simple ingredients, and it means you probably have everything on hand already for this next Artisan Pumpkin Loaf.
Ingredient Notes and Substitutions for Pumpkin Sourdough Bread
First thing: this recipe needs an active sourdough starter (fed 4-6 hours prior). It’s not the place to try and use discard for the main bake, because that pumpkin is heavy, and we need maximum leavening power. You absolutely must use pumpkin puree, not the spiced pie filling—we control the spice blend ourselves! Secondly, when you grab flour, reach for bread flour. It has higher protein, which helps create those strong gluten strands needed to trap the gas and support the weight of the puree.
If you want to add some extra flavor later, you could check out how people use excess **sourdough discard pancakes recipe** batter to make quick treats on the side!
Step-by-Step Instructions for Your Pumpkin Sourdough
Okay, now for the real fun! Making an artisan pumpkin loaf from scratch takes a little patience, but the steps are super straightforward if you stick to the timing. Don’t rush the process—especially the long, cold nap in the fridge. That’s where the deep flavor and that fantastic, tangy crumb develops. We’re treating this like a serious artisan loaf, but putting in the flavor bomb of the season!
Before we start mixing, make sure your swirl paste—that butter, sugar, and cinnamon mix—is ready. Keep it at room temperature so it’s nice and soft; you want it spreadable, not hard like concrete. While you’re waiting for the dough to rest later, this paste needs to be ready to go.
Mixing and Bulk Fermentation: Building Strength in the Pumpkin Sourdough Dough
Grab your big bowl! Mix your active starter, warm water, pumpkin, brown sugar, salt, and spice until it’s mostly combined. Then, dump in all that bread flour and mix it until you get what I call a ‘shaggy mess.’ Don’t worry about it looking neat; that’s normal! Cover it up and let it rest for 30 minutes. That’s the autolyse, which just means the flour is getting friendly with the water.
After that 30-minute break, we start building structure. You’ll do four rounds of stretch and folds, waiting 30 minutes between each set. Just reach under one side of the dough, pull it up, and fold it over the top. Rotate the bowl and repeat until you’ve done all four sides. After the fourth round, the dough should feel much smoother and less floppy.
Shaping the Cinnamon Swirl Sourdough
This is the moment the magic happens! Gently flatten your dough out onto a lightly floured surface into a rough rectangle. You don’t want to deflate all your hard work, so be gentle! Now, grab that soft cinnamon-sugar paste and spread it evenly right over the top of that sticky dough. Don’t leave any white spots uncovered!
Once it’s coated, you need to roll it up tightly like a jelly roll or a tight sleeping bag. Make sure you pinch those seams closed really well so the buttery swirl stays trapped inside during baking. Tuck it gently seam-side down into a well-floured banneton. Now, it goes into the fridge for its long sleep—12 to 18 hours is perfect for that deep, tangy pumpkin bread flavor.
Baking Your Rustic Pumpkin Loaf
Don’t skip the preheating! You need your Dutch oven screaming hot at 500 degrees for a full hour. Using a Dutch oven traps the steam the dough needs for that beautiful oven spring. When it’s ready, carefully turn your cold dough out onto parchment paper, give it a quick score if you want some oven decoration, and drop it into the hot pot.
Bake it covered for 20 minutes at 500 degrees. Then, this is important: lower the temp to 450 degrees, take the lid off, and bake for another 25 to 30 minutes until it’s gloriously deep brown. The best advice I can give you is to let it cool completely on a wire rack—seriously, several hours! If you slice it too soon, all that lovely internal moisture will escape, and you’ll end up with a slightly gummy situation. Patience pays off for the rustic pumpkin loaf!
If you’re looking for other great techniques for achieving that bakery-style crust without all the fuss, you should check out my guide on easy Italian bread recipes to see how I handle high-heat baking!
Sourdough Discard Pumpkin Recipe Variations
Now, I know what you’re thinking. My main pumpkin sourdough loaf uses an active starter, which is great for big, beautiful artisan bread. But what about all that leftover, happy starter discard? We absolutely can’t let that go to waste, especially when fall baking flavors are calling!
This is where we get sneaky and use that tangy discard for quick treats. Don’t toss it! We can pivot into some fantastic, simple bakes with tons of flavor. If you’re hunting down ways to use up that extra starter, you need to check out how I make my best banana nut muffins recipe—it’s the perfect starting point for adapting discard recipes.
Easy Sourdough Pumpkin Muffins
If you have starter discard, I highly recommend whipping up a batch of Sourdough Pumpkin Muffins. Forget the long fermentation for these! Just combine your discard with your pumpkin puree, eggs, oil, sugar, and all those wonderful pumpkin pie spices. Because the discard isn’t the primary leavener here (baking soda/powder do the heavy lifting), they come together in about five minutes of active mixing.
These little guys are so tender because of the fat and pumpkin, and the slight acidity from the sourdough discard pumpkin adds a wonderful, subtle background note that keeps them from being too sweet. They are the perfect grab-and-go breakfast sourdough pumpkin treat!
Tips for Success with Your Pumpkin Sourdough Bread
Baking with pumpkin is tricky because it adds so much moisture. Here are a few things I learned the hard way so you don’t have to suffer through a pancake-flat loaf! First off, if the dough feels overly sticky during the initial mixes and folds, don’t start dumping in extra flour right away. That just ends up too heavy later. Instead, trust the cold proof to tighten things up overnight.
Next, make sure your active starter is truly active before you mix it in. A sluggish starter will have no chance against that heavy pumpkin puree. You want it floating beautifully on water before you add it to the mix! Also, for scoring, be bold! The surface of this pumpkin sourdough dough can look strong, but it’s holding a lot of water inside. A confident, deep score allows that steam to escape right where you want it to.
For extra inspiration on getting amazing results, you might want to look at some of my tips from the best homemade chocolate chip cookies post; the rules for handling high-sugar doughs actually share some similarities!
Serving Suggestions for This Cozy Autumn Baking Loaf
Now that you have this gorgeous, aromatic loaf, how do you eat it? Honestly, I love it just sliced thick and eaten plain while it’s still slightly warm—the cinnamon swirl practically melts! But this pumpkin sourdough really shines at breakfast or brunch.
Because of that lovely sourdough tang, it pairs beautifully with tangy spreads. Cream cheese is a classic, of course, but try a whipped goat cheese if you want something truly unexpected! It also makes the most incredible French toast. Seriously, don’t skip making breakfast sourdough pumpkin French toast!
If you haven’t tried making French toast using artisan bread, go look at my guide for easy French toast at home—it makes this loaf unbelievably custardy and delicious!
Storage and Reheating Instructions for Pumpkin Sourdough
Listen, I know you’re going to want to tear into this loaf the second it comes out of the oven, but you have to practice restraint! The cooling step is key, especially with how moist this pumpkin sourdough gets. Once it’s totally cool—I usually wait about four hours just to be safe—wrap it up tightly. I use beeswax wraps or a good quality zipper-top bag to keep the air out. It keeps really well on the counter for about three days thanks to the sugar and the tang from the fermentation.
If you want it to last longer, you can absolutely freeze it! Slice the whole loaf first, wrap the individual slices snugly in plastic wrap, and then toss them into a freezer bag. It freezes beautifully for up to three months.
When you’re ready for a slice, the reheating method matters if you want to bring that crust back to life. Skip the microwave; it just turns the crust sad and chewy. If you have a slice or two, the toaster works in a pinch, but for the real experience, I pop a thick slice directly onto a baking sheet. Pop it in a 350-degree oven for about five to seven minutes. That little bit of dry heat brings back the nice crispness on the crust while keeping the inside perfectly soft. That’s the best way to enjoy your artisan pumpkin loaf the next morning!
Frequently Asked Questions About Pumpkin Sourdough
Whenever I post about a new bake, I always get so many questions, and that’s totally understandable! Getting that perfect rise in a heavier dough takes practice. Here are some of the common things folks ask me about making their own pumpkin sourdough so it tastes just like mine.
Can I use sourdough discard instead of active starter in this pumpkin sourdough recipe?
That is a fantastic question for someone trying to clear space in their fridge! For this specific loaf, since we’re dealing with the weight of the pumpkin puree, no, I really don’t recommend it. This recipe needs a strong, hungry, active sourdough starter (fed 4-6 hours prior) to have the lifting power required. If you use discard, you’ll likely end up with a wonderful smelling, deeply flavored, but very flat brick!
How long does the cold proofing take for the best Cinnamon Swirl Sourdough?
My instructions call for 12 to 18 hours, and that range is flexible based on how tangy you like your bread. If you prefer a milder flavor, stick closer to the 12-hour mark. If you are like me and crave that deep, slightly sour kick that balances the sweetness of the cinnamon and pumpkin spice, definitely aim for the full 18 hours. That long, slow chill is what develops the best flavor complexity in your Cinnamon Swirl Sourdough.
Why is my artisan pumpkin loaf dense?
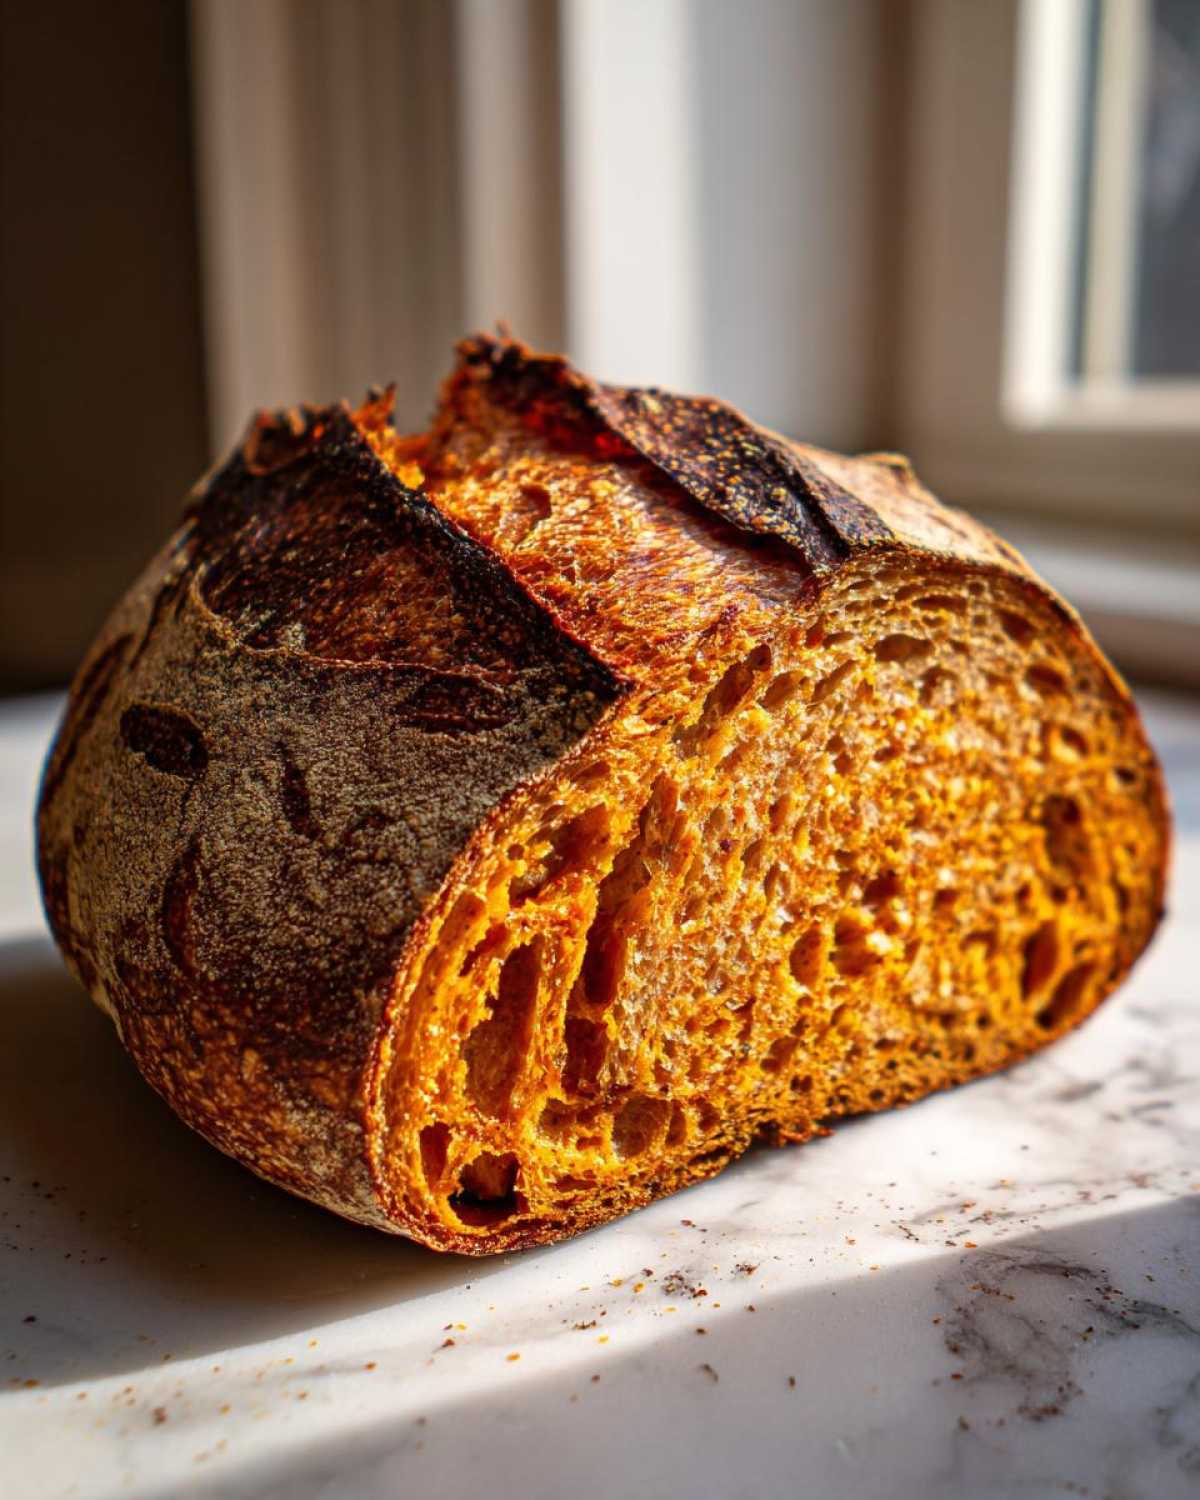
This is usually down to one of two things, or sometimes both! First, check your starter activity. If your starter wasn’t bubbly and doubled in size before you mixed it, it won’t have the energy needed. Second, look at your shaping. When you roll up that dough with the cinnamon paste, you have to make sure you are rolling it tightly! If the roll is loose, the gas escapes during baking, and you’ll get density rather than that beautiful open crumb you see in a great artisan pumpkin loaf.
If you’re curious about other quick and easy ways to use up starter, sometimes I pivot and make a red velvet cake batter variation using discard as the acidic booster for the baking soda!
Share Your Tangy Pumpkin Bread Creation
Now that you’ve gone through all those steps to create this incredible, spiced loaf, I desperately want to see what you came up with! Did your swirl look amazing? Did you manage to wait until it was completely cool before slicing into that perfectly moist pumpkin sourdough?
Please take a picture of your masterpiece—especially the cross-section showing off that cinnamon ribbon—and tag me on social media! It honestly makes my day when I see my recipes coming to life in your kitchens. If you loved the recipe, leaving a quick star rating helps other bakers find this guide, too.
If you run into any hiccups or have a brilliant tip to add—maybe you used maple syrup instead of brown sugar in the swirl—please drop a comment below. I read every single one, and I love hearing how you customize things. Feel free to send any feedback or questions to me through my contact page, too!
PrintCinnamon Swirl Pumpkin Sourdough Bread
A recipe for a moist, artisan sourdough loaf featuring seasonal pumpkin puree and a rich cinnamon swirl throughout the crumb.
- Prep Time: 30 min
- Cook Time: 55 min
- Total Time: 1 hour 25 min
- Yield: 1 loaf
- Category: Bread
- Method: Baking
- Cuisine: American
- Diet: Vegetarian
Ingredients
- 100g active sourdough starter (fed 4-6 hours prior)
- 350g warm water
- 500g bread flour
- 100g pumpkin puree (not pie filling)
- 50g light brown sugar
- 10g fine sea salt
- 5g pumpkin pie spice
- For the swirl: 50g softened unsalted butter
- For the swirl: 75g granulated sugar
- For the swirl: 10g ground cinnamon
Instructions
- Mix the active starter, warm water, pumpkin puree, brown sugar, salt, and pumpkin pie spice in a large bowl until combined.
- Add the bread flour and mix until a shaggy dough forms. Cover the bowl and let it rest for 30 minutes (autolyse).
- Perform four sets of stretch and folds, spaced 30 minutes apart, to build dough strength.
- For the swirl, mix the softened butter, granulated sugar, and cinnamon until a thick paste forms.
- After the final set of folds, gently flatten the dough into a rough rectangle on a lightly floured surface. Spread the cinnamon-sugar paste evenly over the dough surface.
- Roll the dough tightly into a log shape, sealing the edges well. Place the log seam-side down into a well-floured banneton basket.
- Cover the basket and cold proof in the refrigerator for 12 to 18 hours.
- Preheat your oven to 500 degrees Fahrenheit (260 Celsius) with a Dutch oven inside for one hour.
- Carefully remove the hot Dutch oven. Gently turn the dough out onto a piece of parchment paper. Score the top of the loaf as desired.
- Cover the Dutch oven and bake for 20 minutes at 500 degrees Fahrenheit (260 Celsius).
- Reduce the oven temperature to 450 degrees Fahrenheit (232 Celsius), remove the lid, and continue baking for another 25 to 30 minutes, until the crust is deep brown.
- Cool the loaf completely on a wire rack before slicing.
Notes
- Use pumpkin puree that does not contain added sugar or spices for best flavor control.
- If your starter is very active, reduce the bulk fermentation time before shaping.
- A high hydration dough is common with pumpkin; expect it to feel sticky during handling.
Nutrition
- Serving Size: 1 slice
- Calories: 310
- Sugar: 12
- Sodium: 350
- Fat: 4
- Saturated Fat: 2
- Unsaturated Fat: 2
- Trans Fat: 0
- Carbohydrates: 58
- Fiber: 2
- Protein: 9
- Cholesterol: 10