

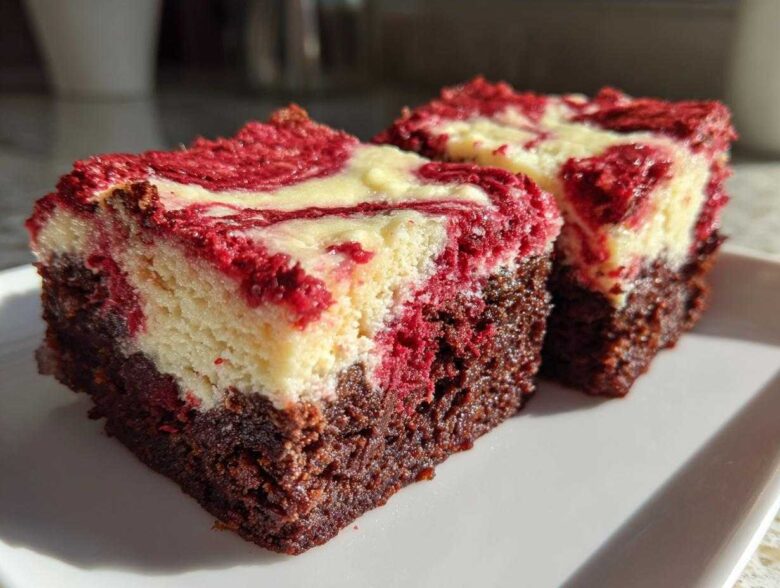
If you are anything like me, sometimes you just need a dessert that screams, “I deserve this!” Forget simple cookies; we are going straight for decadence today. I’m talking about the absolute dream combination: rich, fudgy chocolate baked into a bar, swirled with that creamy, slightly tangy texture only cheesecake can provide, all wrapped up in that signature, deep velvet color. Yes, honey, these are the ultimate fudgy red velvet cheesecake brownies! Getting that perfect marbling was tricky at first—my early attempts looked more like tie-dye than elegant marbling!
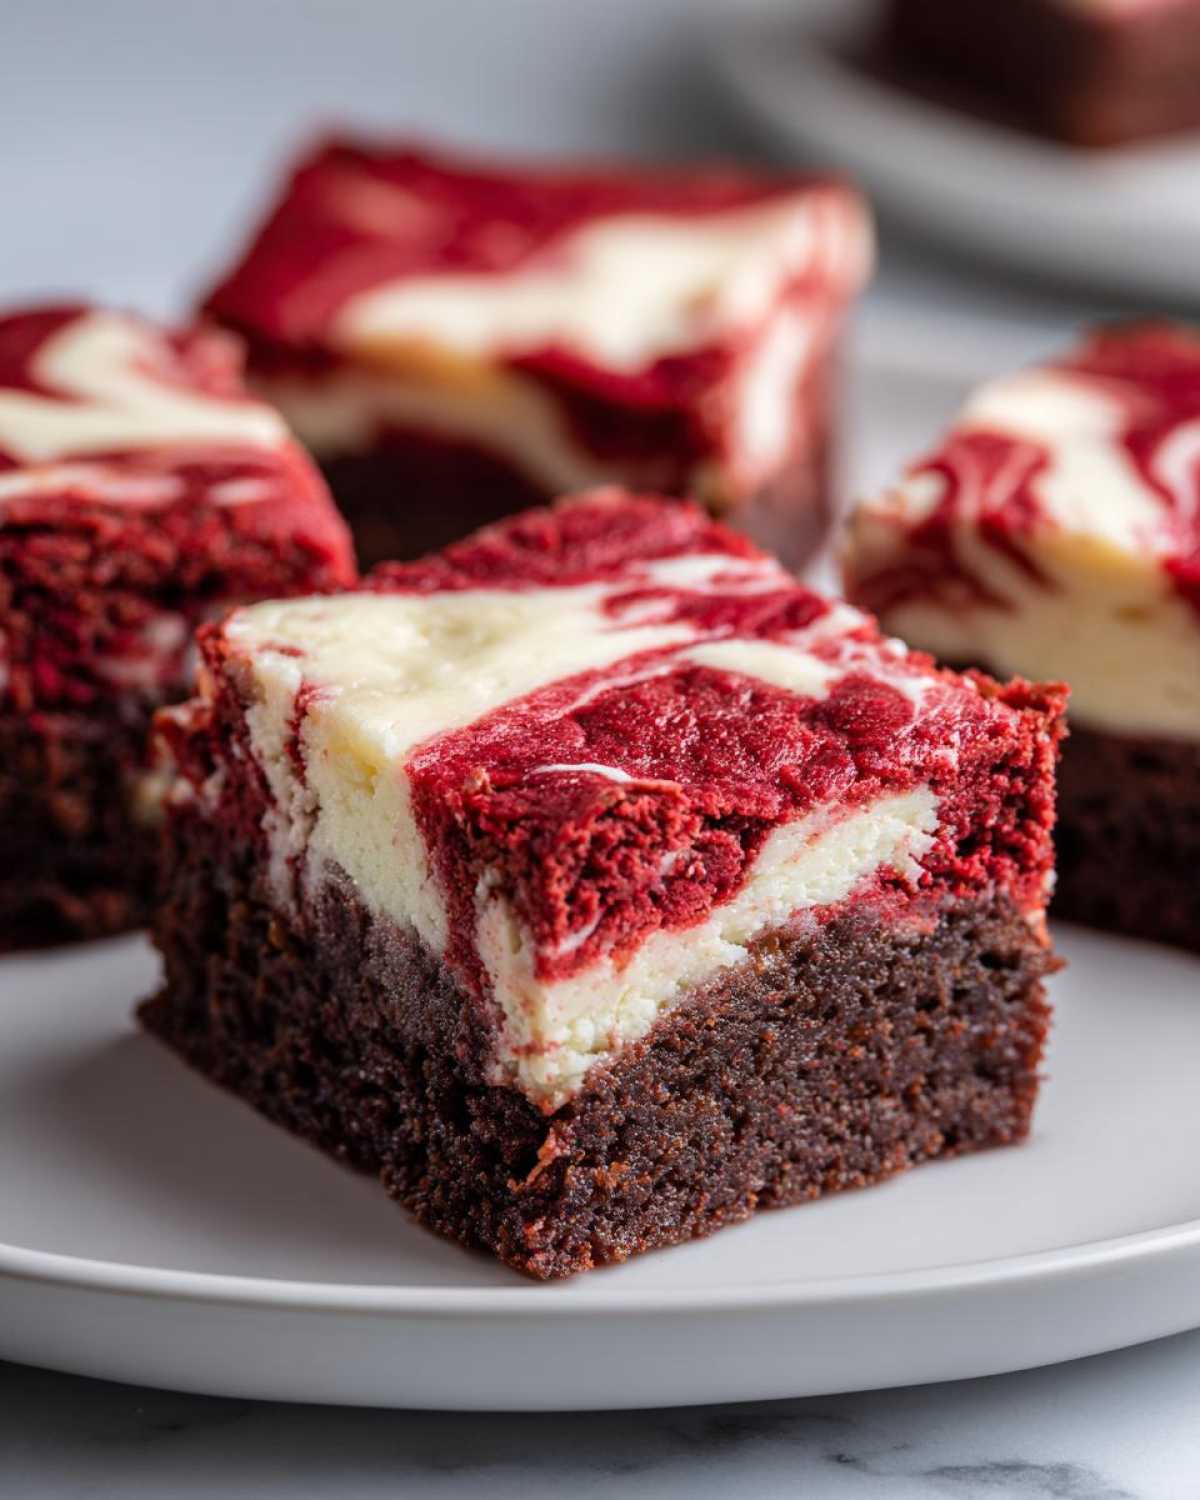
But trust me, I finally cracked the code to getting that distinct, showstopping swirl on top. This recipe is unbelievably easy to assemble, yet it looks like you spent all day working on it. They’re perfect for Valentine’s Day, a big party, or just because you had a rough Tuesday. Grab your mixing bowls; we’re making magic!
Why You Will Make These red velvet cheesecake brownies Again and Again
Honestly, you’ll be making these cheesecake swirl brownies constantly because they hit every single dessert craving in one square. I mean it!
- The base is unbelievably fudgy; it just melts in your mouth, never dry or cake-like.
- That tangy cream cheese layer is the perfect foil to the deep chocolate and velvet flavor.
- They look stunning! That marbled pattern we make is pure showstopper material for any party.
- They are surprisingly sturdy—you can take them anywhere, and they stay blissfully moist!
Essential Ingredients for Perfect red velvet cheesecake brownies
You know I preach about ingredients because they make or break a baked good, right? Especially when we are dealing with a hybrid like these decadent chocolate treats. Making sure everything—from the fat to the coloring—is just right guarantees that fudgy chocolate layer pairs perfectly with that sweet, tangy cream cheese cloud on top. Don’t skip the good stuff here!
For the Fudgy Red Velvet Brownie Base
This is where we get the deep flavor and that signature color. Trust me on the gel coloring; liquid dye just won’t give you that vibrant, rich red velvet look we’re going for!
- 1 cup (2 sticks) unsalted butter, melted
- 2 cups granulated sugar
- 4 large eggs
- 1 teaspoon vanilla extract
- 1 teaspoon white vinegar
- 1 teaspoon red food coloring (gel preferred—this is key!)
- 1 1/4 cups all-purpose flour
- 1/2 cup unsweetened cocoa powder
- 1/2 teaspoon salt
For the Creamy Cheesecake Swirl
The most important thing here is patience! Your cream cheese needs to be truly softened—room temperature makes for the silkiest, easiest swirl you’ve ever seen. No lumps allowed!
- 8 ounces cream cheese, softened
- 1/4 cup granulated sugar (for cheesecake layer)
- 1 large egg (for cheesecake layer)
- 1/2 teaspoon vanilla extract (for cheesecake layer)
Step-by-Step Instructions for Amazing red velvet cheesecake brownies
Alright, let’s get baking! This process is super straightforward, but remember that patience is your secret ingredient, especially when it comes to swirling and cooling. We want fudgy centers, not raw batter, so follow these steps closely. It’s easier than you think to get bakery-style results right in your own kitchen with these layered dessert bars!
Preparing the Pan and Brownie Batter
First things first, get that oven warmed up to 350°F (175°C). I always line my 9×13 pan with parchment paper, making sure there’s an overhang on two sides—this is your rescue handle later! Whisk the melted butter and the big dose of sugar together until they look happy. Then, one by one, beat in those four eggs. Now for the fun part: add the vanilla, vinegar, and that gorgeous red coloring. Mix it until it’s uniform. In a separate bowl, give your dry stuff—flour, cocoa, salt—a quick whisk. Slowly introduce the dry mixture to the red wet stuff. Stop mixing the second it disappears. Seriously, overmixing is the enemy of a fudgy brownie!
Creating the Cheesecake Layer
While the brownie batter rests, we whip up the creamy topping. Grab your softened cream cheese—it must be soft! Beat it until it’s looking fluffy and smooth. Then, gently mix in the quarter cup of sugar, the single egg, and that little bit of vanilla for the cheesecake layer. You just want this mixture perfectly smooth. If your cream cheese is cold, you are going to get lumps, and nobody wants a lumpy swirl!
Assembling and Creating the Marbled red velvet cheesecake brownies
Time to layer! Spread about two-thirds of your bright red velvet batter evenly into the parchment-lined pan. Next, take the cheesecake mixture and just drop spoonfuls all over the top. Don’t worry about neatness here; just try to space them out. Then, carefully spoon the remaining one-third of the red batter over those dollops. Now for the showstopper move: grab a butter knife or a skewer and just gently drag it through the layers. Think figure eights, not vigorous stirring. You want ribbons and swirls, not mud! Keep the knife moving just below the surface so you don’t dig down to the bottom.
Baking and Cooling for the Best Texture
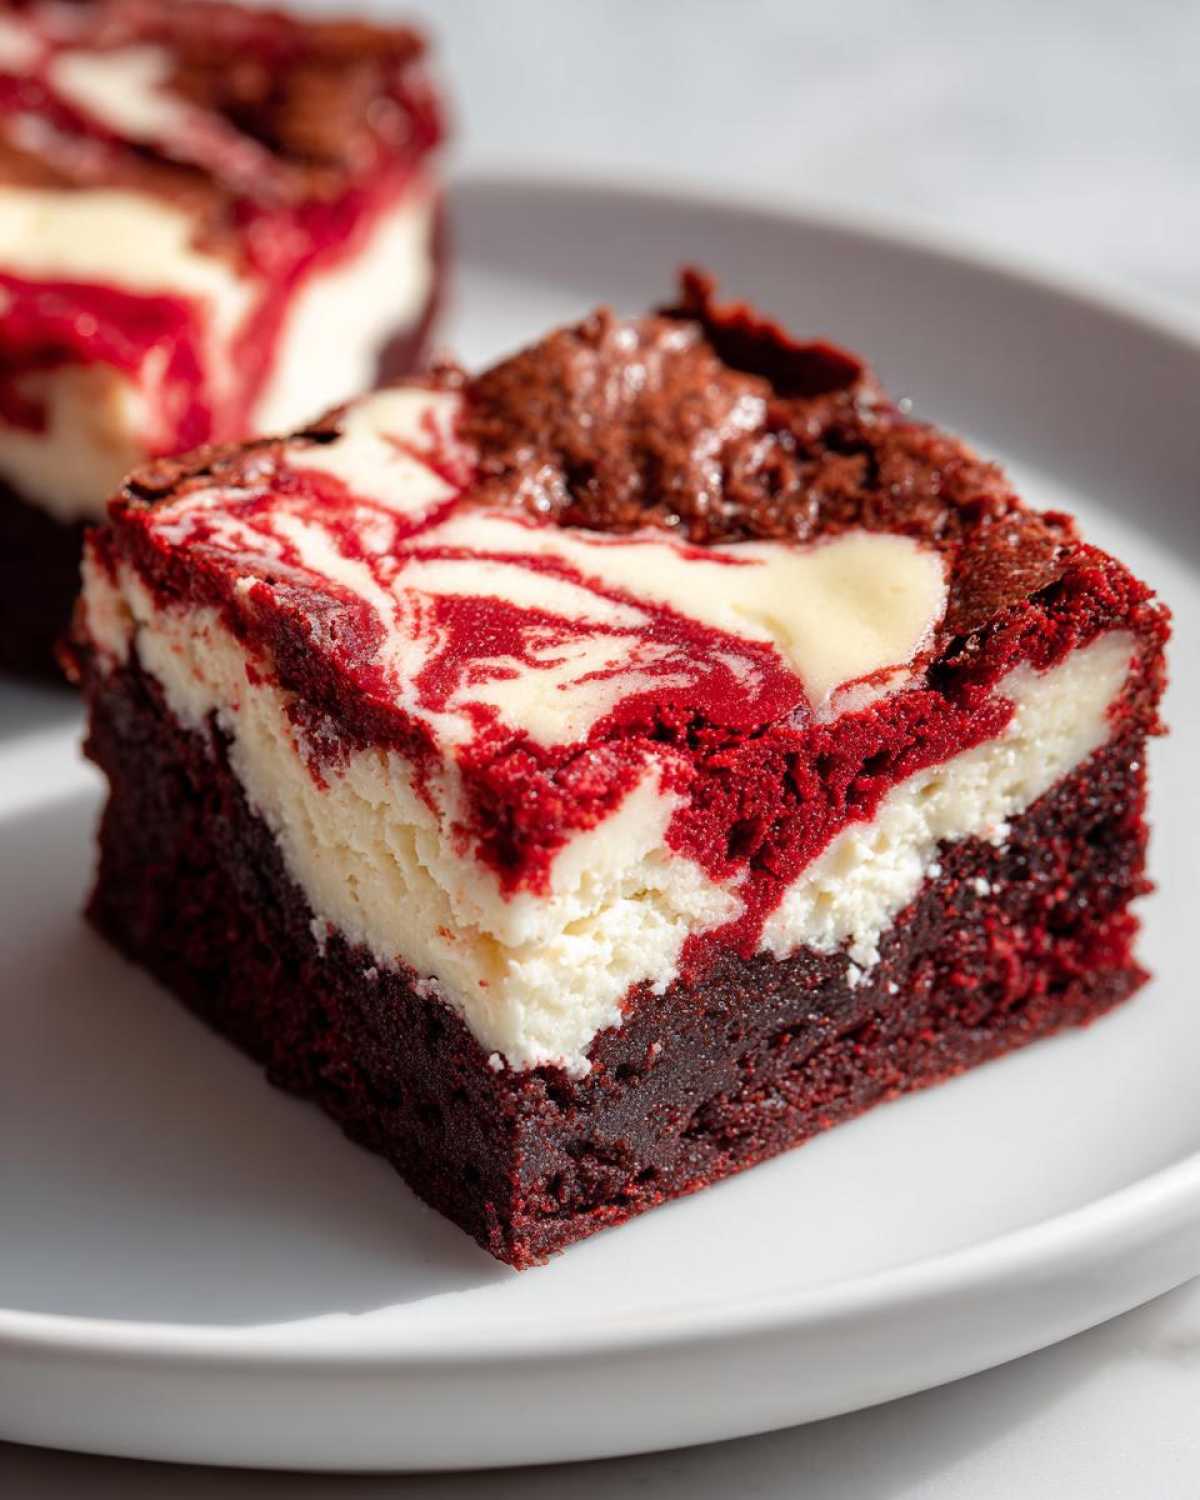
Pop this beauty into the oven for about 30 to 35 minutes. You aren’t looking for a fully dry toothpick here; you want moist crumbs clinging to it when you test the middle. That’s the sign of a truly fudgy texture! The absolute hardest part now is waiting. Let these cool completely on a rack before you even *think* about cutting them. Chilling them for a couple of hours is even better. If you cut them warm, you end up with a sloppy mess, not these beautiful, clean-edged bars.
Tips for the Ultimate red velvet cheesecake brownies Swirl
Listen, the swirl is everything! It’s what separates a pretty brownie from a truly amazing one. The biggest secret, which I learned the hard way after making a giant, pale pink mess, is temperature. Your cream cheese for the swirl layer has to be super soft, like truly yielding to the touch. If it’s even a little stiff, you’ll end up dragging chunks instead of ribbons. Next, think small with your dollops. Don’t drop big blobs of cheesecake filling; use a teaspoon to place little kisses of cream cheese across the top batter.
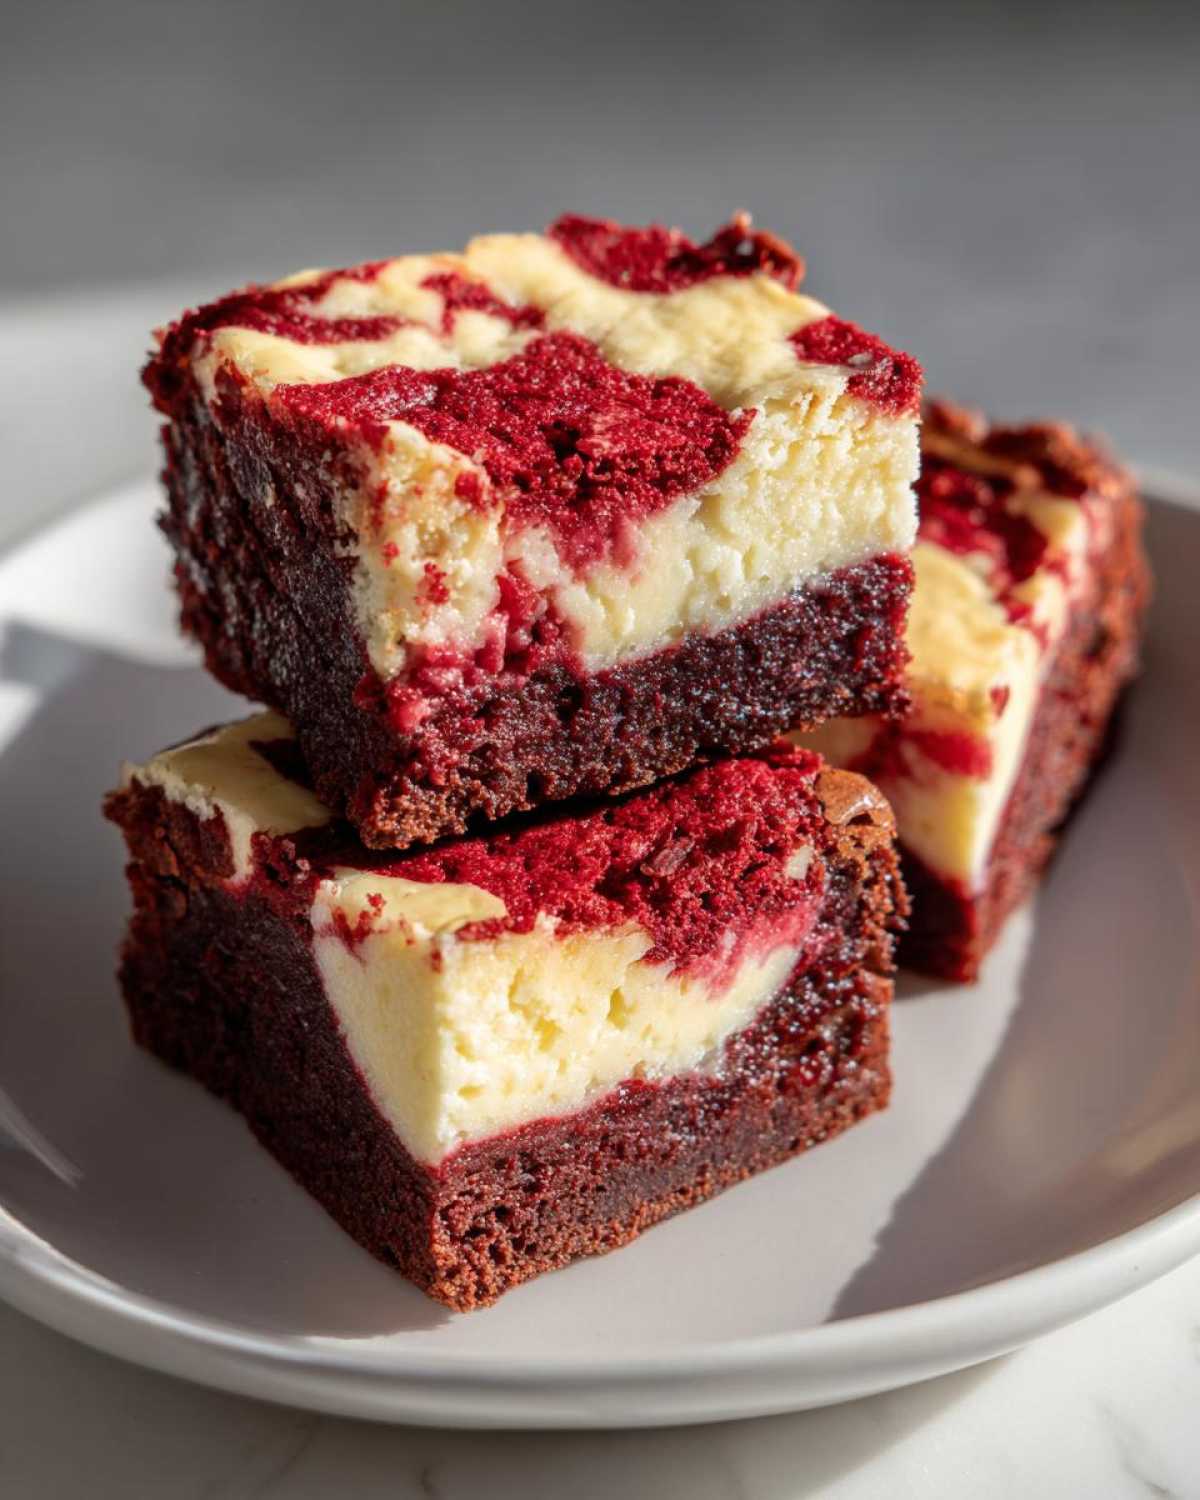
When you go in with that knife or skewer to marble, keep it gentle! You only want to make one or two passes across the top, just enough to create those beautiful white and red rivers. If you over-swirl, everything blends into a muted purple-brown, and you lose that awesome contrast. Remember, we want definition!
For cleaning your knife between passes, just wipe it on a paper towel—don’t wash it, or you bring too much moisture into the layers. This simple marbling technique is the key to making these showstopping baked goods look like they came straight from a bakery case!
Serving Suggestions for these Layered Dessert Bars
Okay, so your gorgeous red velvet cheesecake brownies are finally cool and cut into perfect squares. Now what? These bars are already super decadent on their own, but sometimes you want to dress them up for company or just make a Tuesday night feel like a celebration. The beauty of this recipe is how well it plays with simple, high-contrast toppings.
If you’re serving these after a big holiday meal, I often skip the heavy frosting because the cheesecake layer already adds so much richness. A simple dusting of powdered sugar using a fine-mesh sieve looks incredibly elegant and really makes that deep red color pop. It’s my favorite presentation trick for these sweet and tangy treats.
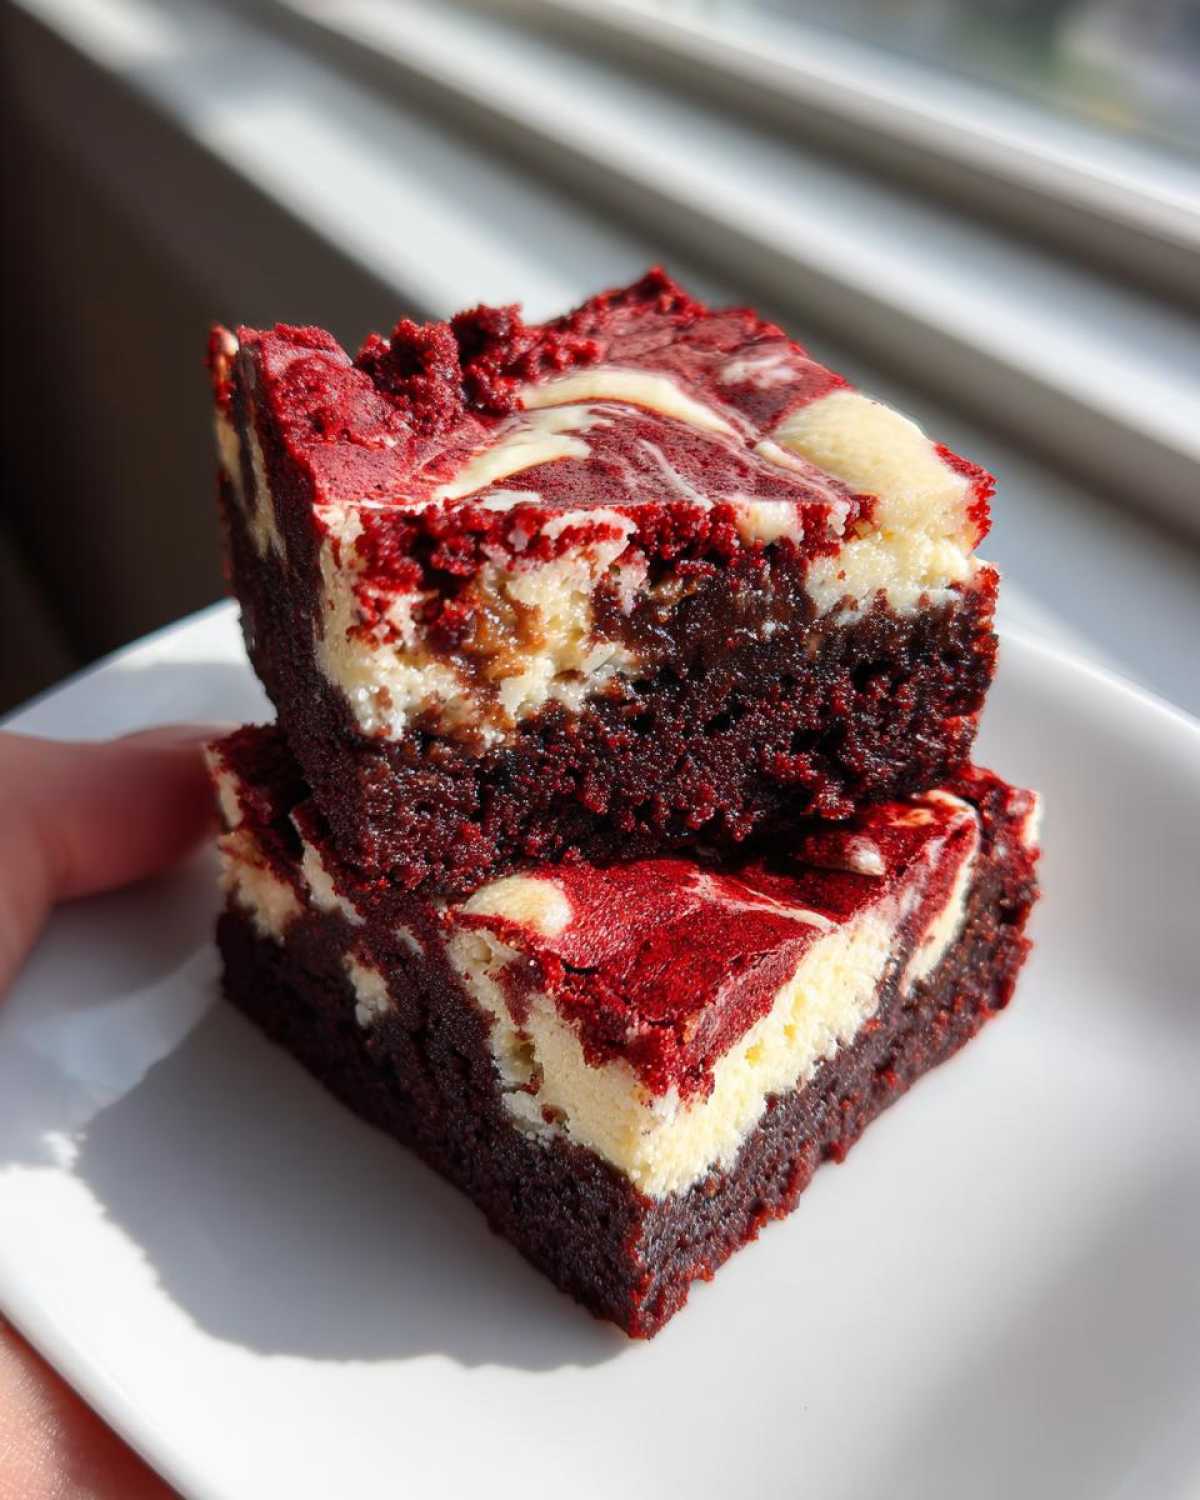
If you want to take it up a notch—and why wouldn’t you?—here are my go-to pairings:
- A Cool Counterpoint: Seriously, nothing beats a small scoop of high-quality vanilla bean ice cream melting slowly against the fudge layer. The hot/cold contrast is divine.
- A Tart Pop: A few fresh raspberries or thinly sliced strawberries placed right on top adds a lovely, bright acidity that cuts through the sweetness perfectly. They look beautiful next to the red!
- A Chocolate Drizzle: If you happen to have some leftover melted dark chocolate, a delicate zigzag drizzle over the swirl adds another layer of luxury without overpowering the red velvet flavor.
These are definitely showstoppers, whether they are served plain alongside coffee or elevated with a scoop of ice cream. They are truly versatile!
Storage and Make-Ahead for your red velvet cheesecake brownies
So, you made a huge pan of these incredible cream cheese dessert bars, and now you have leftovers—which is a great problem to have, if you ask me! Because these have that lovely cheesecake layer, storage is a little different than for a simple, plain brownie. You can’t just leave them on the counter for three days, sweetie, we have cream cheese in there!
The best way to keep these fudgy treats fresh and fantastic is in the refrigerator. Pop them into an airtight container. I try to line the bottom with a small sheet of parchment paper first, just to prevent them from sticking to each other if you stack the layers. They should stay perfectly good for about four to five days chilling in the fridge. They taste especially amazing cold, too, almost like a rich, dense fudge!
If you are planning ahead—which is smart, especially if these are for a party or holiday bake exchange—definitely make them the day before you need them. The key to the cleanest presentation that really shows off that beautiful swirl is chilling them until they are completely firm. I like to give mine at least four hours in the fridge after they cool down to room temperature, maybe even overnight.
When it’s time to slice them up, pull out the parchment overhang, and use a long, sharp knife that you wipe clean between cuts. If you cut them when they are still a little soft, the cheesecake just smears. But when they are cold and firm, you get those gorgeous, sharp edges that make these look like high-end bakery treats. It’s worth the wait, I promise!
Frequently Asked Questions about red velvet cheesecake brownies
I get so many questions whenever I post pictures of these babies online! They are the definition of gourmet brownie variations, so naturally, people want to know the secrets. Here are the biggest things folks ask about when they try to nail these layered dessert bars.
Can I use natural coloring instead of artificial dye for the red velvet flavor?
This is such a good question, especially if you are trying to keep things cleaner! You absolutely *can* try to use natural coloring, like beet powder or other vegetable-based dyes, but here’s the honest scoop: you won’t get the same dramatic look as you see in my photos. Natural colorings, while healthy, usually tint things more pinkish-brown rather than that intense, vivid scarlet red that screams “Red Velvet!”
Also, be careful with beet powder! It’s a powder, so adding too much can change the texture of your cream cheese dessert bars by adding too much dry filler, which might make them a bit crumblier. Using a good quality gel food coloring, just a tiny bit, gives you that gorgeous visual pop without impacting the fudgy texture we worked so hard for.
What makes these different from regular Cheesecake Swirl Brownies?
That’s easy! A regular cheesecake swirl brownie usually has a straight-up, rich chocolate brownie base. These decadent chocolate treats are different because of two key things:
- The Base Flavor: We add cocoa powder to the red velvet batter, but the overall flavor profile leans on that classic red velvet tang, usually enhanced by the vanilla and that tiny bit of vinegar we put in there. It’s not pure dark chocolate; it’s richer and slightly different!
- The Color: The bright red color gives it that immediate holiday or special occasion look, which sets it apart from a standard marbled brownie. It’s just more festive!
You get the fudgy texture of a great brownie but with the distinctive sweet and tangy flavor notes we associate with red velvet cake.
Estimated Nutritional Data for these Decadent Chocolate Treats
Look, these red velvet cheesecake brownies are definitely an indulgence—they are rich, fudgy, and packed with that creamy cheesecake goodness! They aren’t exactly a skinny snack, but when you are ready for a serious treat, you gotta go all in, right?
I pulled together the estimated nutrition facts below based on my standard batch yields. Please remember, these are just good ballpark figures! If you use extra chocolate chips or a different brand of cream cheese, your numbers will shift a little bit. These give you a decent idea of what you are diving into when you grab one of these amazing squares.
- Serving Size: 1 brownie square
- Calories: 280
- Sugar: 28g (Yes, sugar is high because these are built for decadence!)
- Fat: 16g (That’s the butter and cream cheese doing their delicious work!)
- Saturated Fat: 10g
- Carbohydrates: 32g
- Protein: 4g
- Cholesterol: 65mg
So, there you have it! Enjoy every single bite of these homemade indulgent snacks when you are ready to treat yourself. You absolutely deserve the richness of these squares!
Share Your Baking Success
Whew! You made it! You conquered the swirl, you timed the bake perfectly, and now you have these stunning showstoppers cooling on your counter. Seriously, I am so proud of you for tackling these amazing red velvet cheesecake brownies! Now that you’ve tasted the glorious fruits of your labor, it’s time to spread the joy and let the community know how they turned out!
Baking is so much better when we can share the results, right? I absolutely live for seeing your creations pop up across the internet. Knowing that my recipe brought a little moment of fudgy, sweet-and-tangy happiness into your week truly makes all the testing worth it.
So please, hop down below and tell me everything! Did the swirl come out perfectly? Did you pair it with ice cream? Did you manage to save any for tomorrow? Drop your thoughts, your ratings, and any little tweaks you came up with in the comments section. We all learn from each other!
And if you took a photo of your perfectly cut squares—and I bet you did!—snap a picture and share it on Instagram or Facebook. Tag me so I can oooh and ahhh over your beautiful marbled brownies tutorial! Seeing your finished baked goods is the best reward a recipe developer could ask for. Happy baking, friend!
PrintFudgy Red Velvet Cheesecake Brownies
Make rich, fudgy red velvet brownies topped with a creamy, tangy cheesecake swirl. This recipe produces a decadent bar perfect for parties or holidays.
- Prep Time: 20 min
- Cook Time: 35 min
- Total Time: 55 min
- Yield: 24 servings
- Category: Dessert
- Method: Baking
- Cuisine: American
- Diet: Vegetarian
Ingredients
- 1 cup (2 sticks) unsalted butter, melted
- 2 cups granulated sugar
- 4 large eggs
- 1 teaspoon vanilla extract
- 1 teaspoon white vinegar
- 1 teaspoon red food coloring (gel preferred)
- 1 1/4 cups all-purpose flour
- 1/2 cup unsweetened cocoa powder
- 1/2 teaspoon salt
- 8 ounces cream cheese, softened
- 1/4 cup granulated sugar (for cheesecake layer)
- 1 large egg (for cheesecake layer)
- 1/2 teaspoon vanilla extract (for cheesecake layer)
Instructions
- Preheat your oven to 350°F (175°C). Line a 9×13 inch baking pan with parchment paper, leaving an overhang for easy removal.
- In a large bowl, whisk together the melted butter and 2 cups of sugar until combined.
- Whisk in the 4 eggs one at a time until the mixture is smooth.
- Stir in the vanilla extract, white vinegar, and red food coloring until the batter is uniformly red.
- In a separate bowl, whisk together the flour, cocoa powder, and salt. Gradually add the dry ingredients to the wet ingredients, mixing just until combined. Do not overmix.
- Prepare the cheesecake layer: In a medium bowl, beat the softened cream cheese with the 1/4 cup sugar, 1 egg, and 1/2 teaspoon vanilla until smooth and creamy.
- Spread two-thirds of the red velvet batter into the prepared pan.
- Dollop spoonfuls of the cheesecake mixture evenly over the brownie batter.
- Spread the remaining one-third of the red velvet batter over the cheesecake dollops.
- Use a knife or skewer to gently swirl the layers together to create a marbled effect.
- Bake for 30 to 35 minutes, or until a toothpick inserted near the center comes out with moist crumbs attached, not wet batter.
- Let the brownies cool completely in the pan on a wire rack before lifting them out using the parchment overhang and cutting into squares.
Notes
- Use gel food coloring for the most intense red color without thinning the batter.
- For the best swirl, alternate small dollops of the cheesecake mixture rather than large patches.
- Chill the brownies for at least 2 hours before slicing for clean, neat cuts.
Nutrition
- Serving Size: 1 brownie square
- Calories: 280
- Sugar: 28g
- Sodium: 110mg
- Fat: 16g
- Saturated Fat: 10g
- Unsaturated Fat: 6g
- Trans Fat: 0.5g
- Carbohydrates: 32g
- Fiber: 1g
- Protein: 4g
- Cholesterol: 65mg