

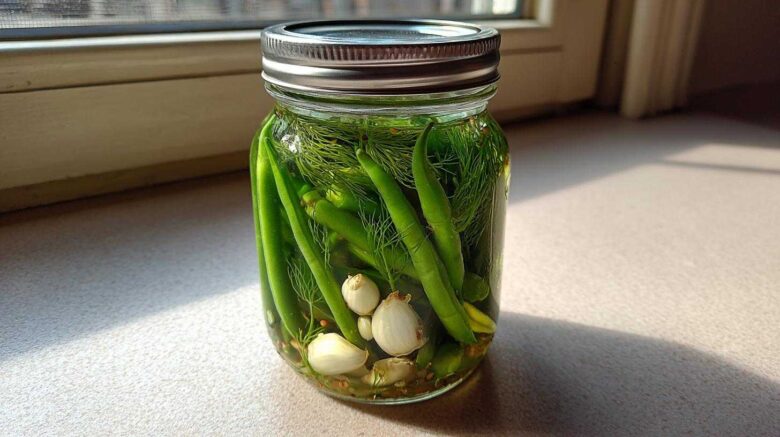
Oh, the joy of a good pickle! It’s something that has always brought a smile to my face. I remember back in Kyoto, my grandmother would spend days, sometimes weeks, preparing all sorts of pickled vegetables. Her dedication was amazing, but honestly, as a busy home cook, sometimes I just don’t have that kind of time. That’s where the magic of quick pickling comes in.
There’s this wonderful feeling when you make something truly delicious with minimal fuss. For me, that feeling comes alive with these amazing refrigerator dilly beans. They’re crisp, tangy, and so incredibly easy to make. I started making these when our children were small. It was a way to get fresh, vibrant flavors on the table without hours of work.
Kenji, my husband, always says these are his favorite snack. They have become a staple in our home, especially now that we are in New York. They add a bright, zesty crunch to any meal. If you’re new to pickling, this recipe is for you. It’s a perfect starting point. You’ll be amazed at how simple it is to create such a flavorful treat. No special equipment needed, just a few ingredients and a little patience. You’ll have delicious dilly beans ready in just a few days.
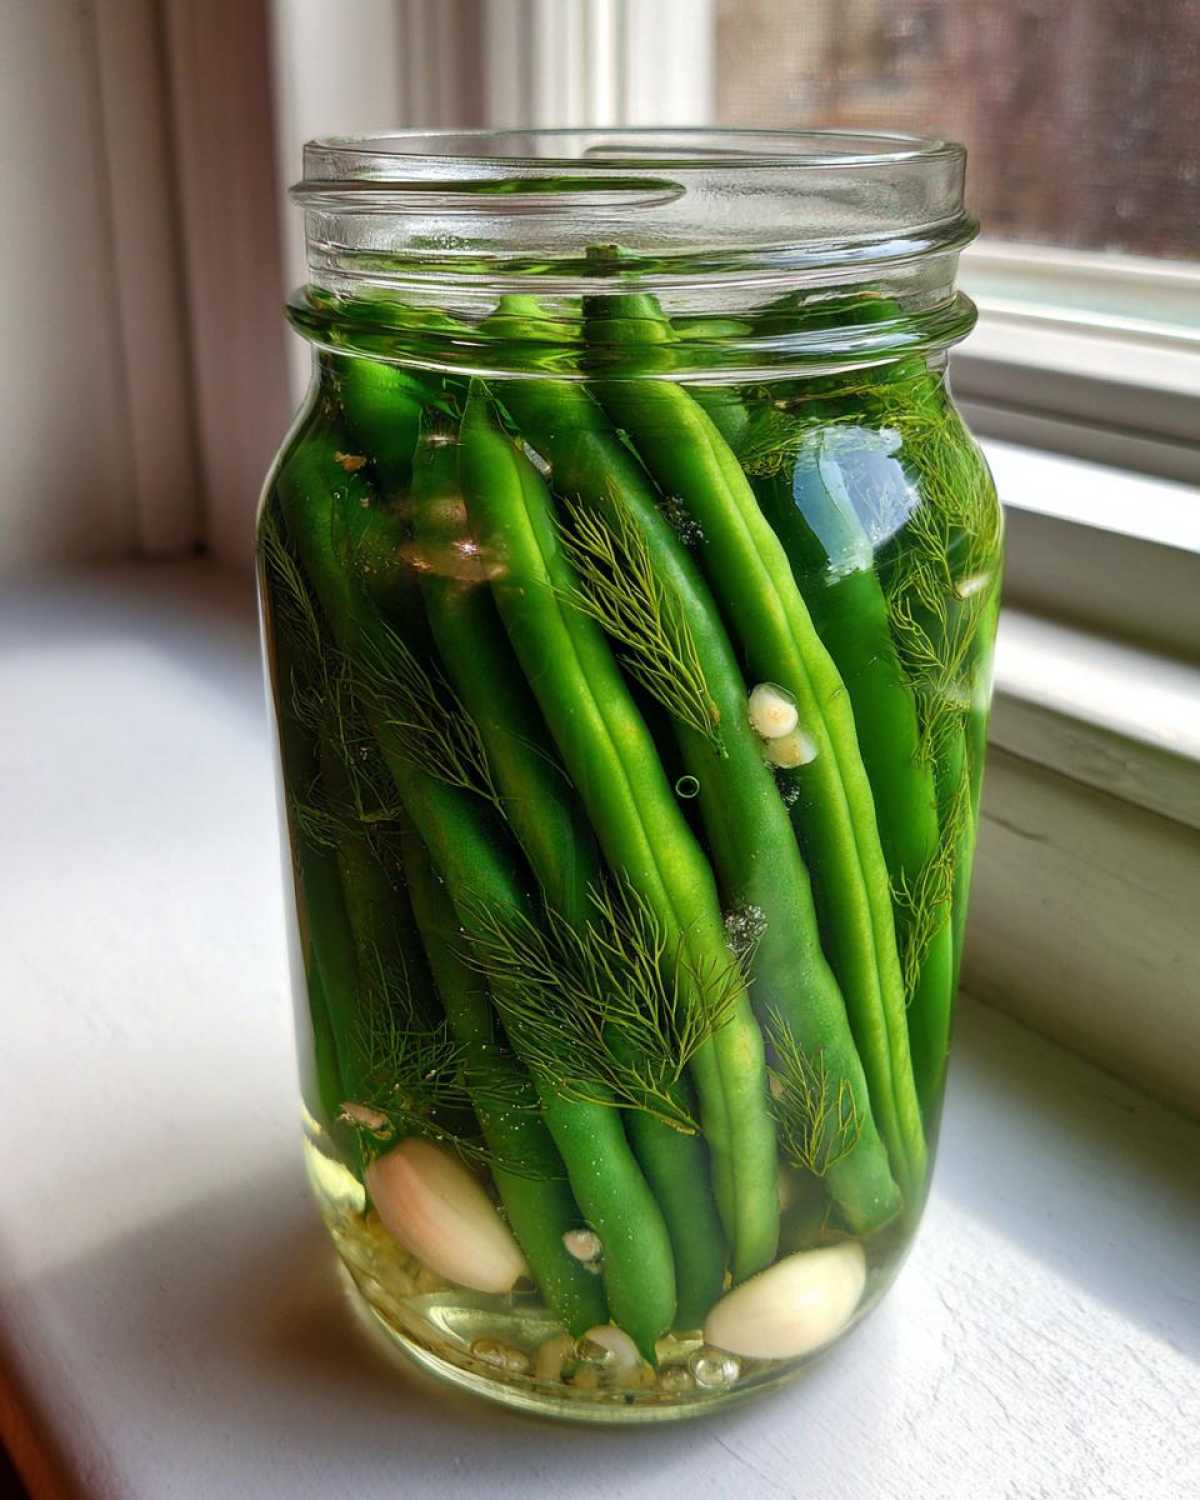
Why You’ll Love These Refrigerator Dilly Beans
I just know you’ll fall in love with these refrigerator dilly beans. They are a game-changer for quick, flavorful snacks. Forget about complicated canning; this recipe keeps it simple. You get amazing results with so little effort. Here’s why I cherish this recipe:
- They are super quick to prepare.
- You get crisp, tangy results every time.
- These beans are perfect for small batches.
- They make a fantastic, healthy snack.
- No special equipment is needed.
They truly embody ease and deliciousness. This recipe is a keeper!
The Pure Joy of Refrigerator Dilly Beans
There’s such pure joy in making these dilly beans. It’s incredibly simple, yet so rewarding. The fresh, tangy flavor is just wonderful. These pickles add a bright crunch to any meal. They are perfect as a snack too. You will love how easy they are.
Essential Ingredients for Refrigerator Dilly Beans
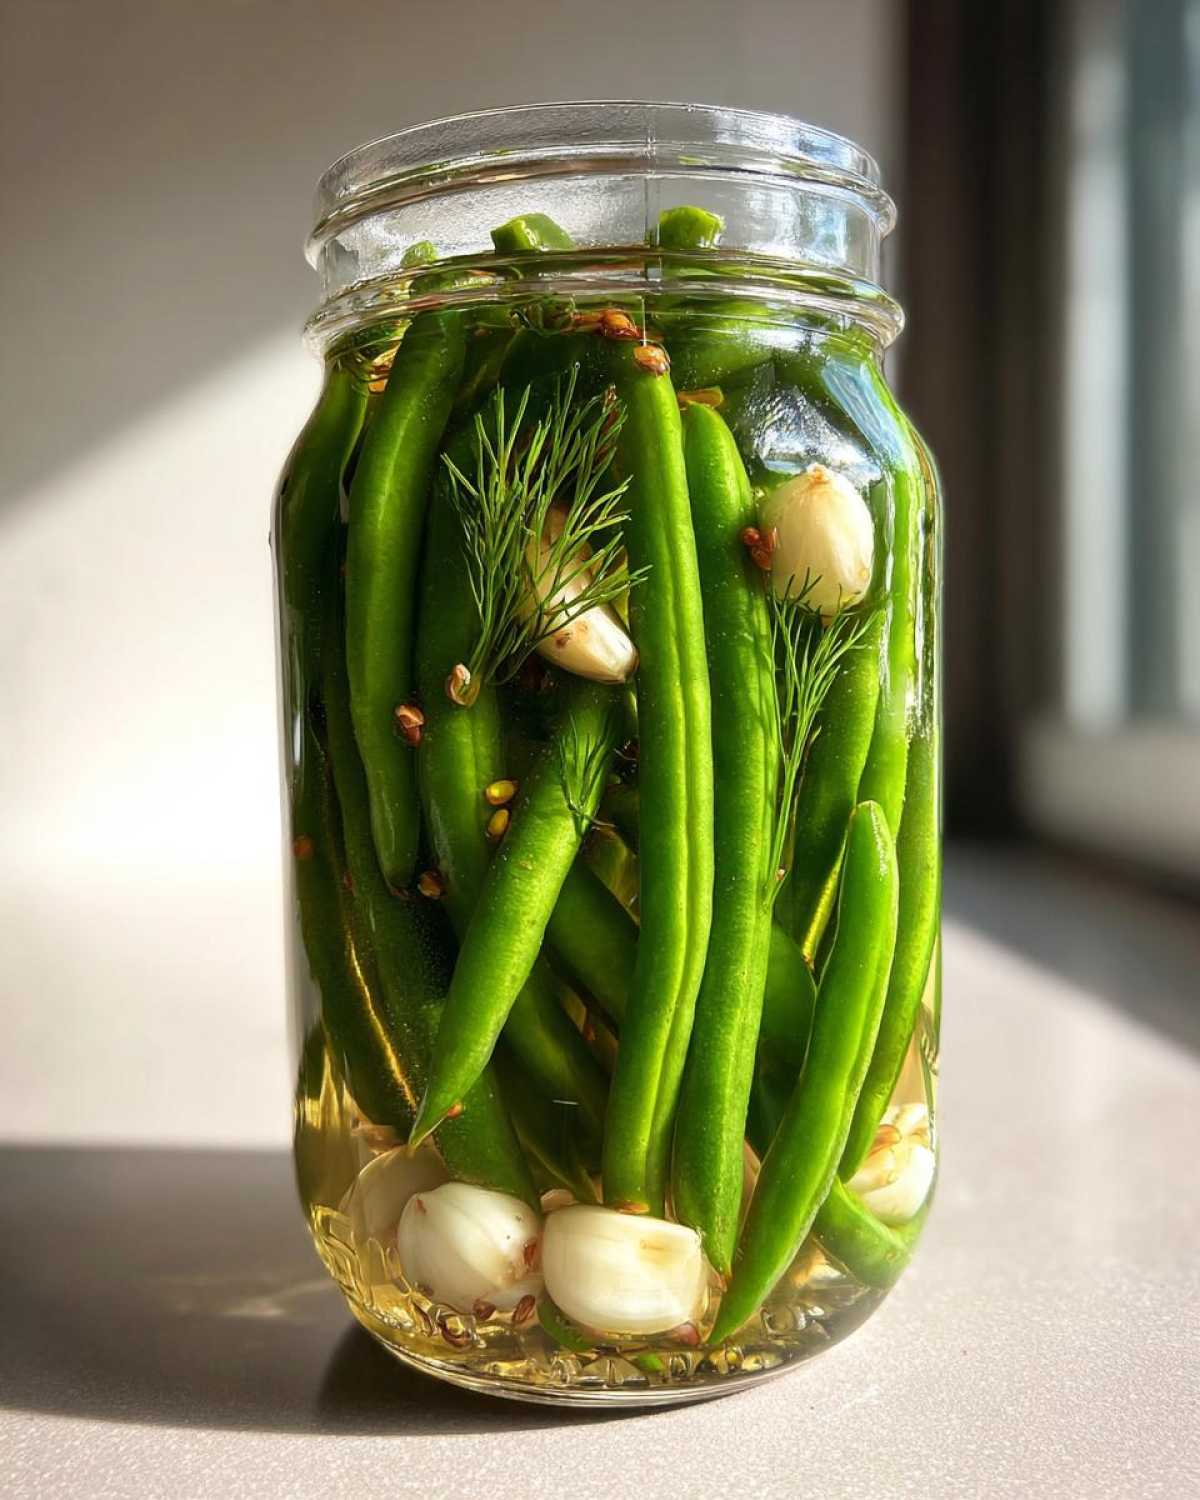
To make truly delicious refrigerator dilly beans, starting with great ingredients is key. I always say, the better your raw materials, the better your final dish. For this recipe, you will need:
- 1 pound fresh green beans, trimmed
- 2 cups white vinegar
- 2 cups water
- 2 tablespoons pickling salt or kosher salt
- 1 tablespoon sugar
- 4 cloves garlic, peeled and smashed
- 4 heads fresh dill or 4 teaspoons dried dill seeds
- 1 teaspoon red pepper flakes (optional)
I always look for the freshest, firmest green beans I can find. They make all the difference in crispness. Using pickling salt helps keep your brine clear. Regular table salt can make it cloudy. Fresh dill gives a wonderful aroma. Dried dill seeds work perfectly too, if fresh is not available.
Step-by-Step Guide to Making Refrigerator Dilly Beans
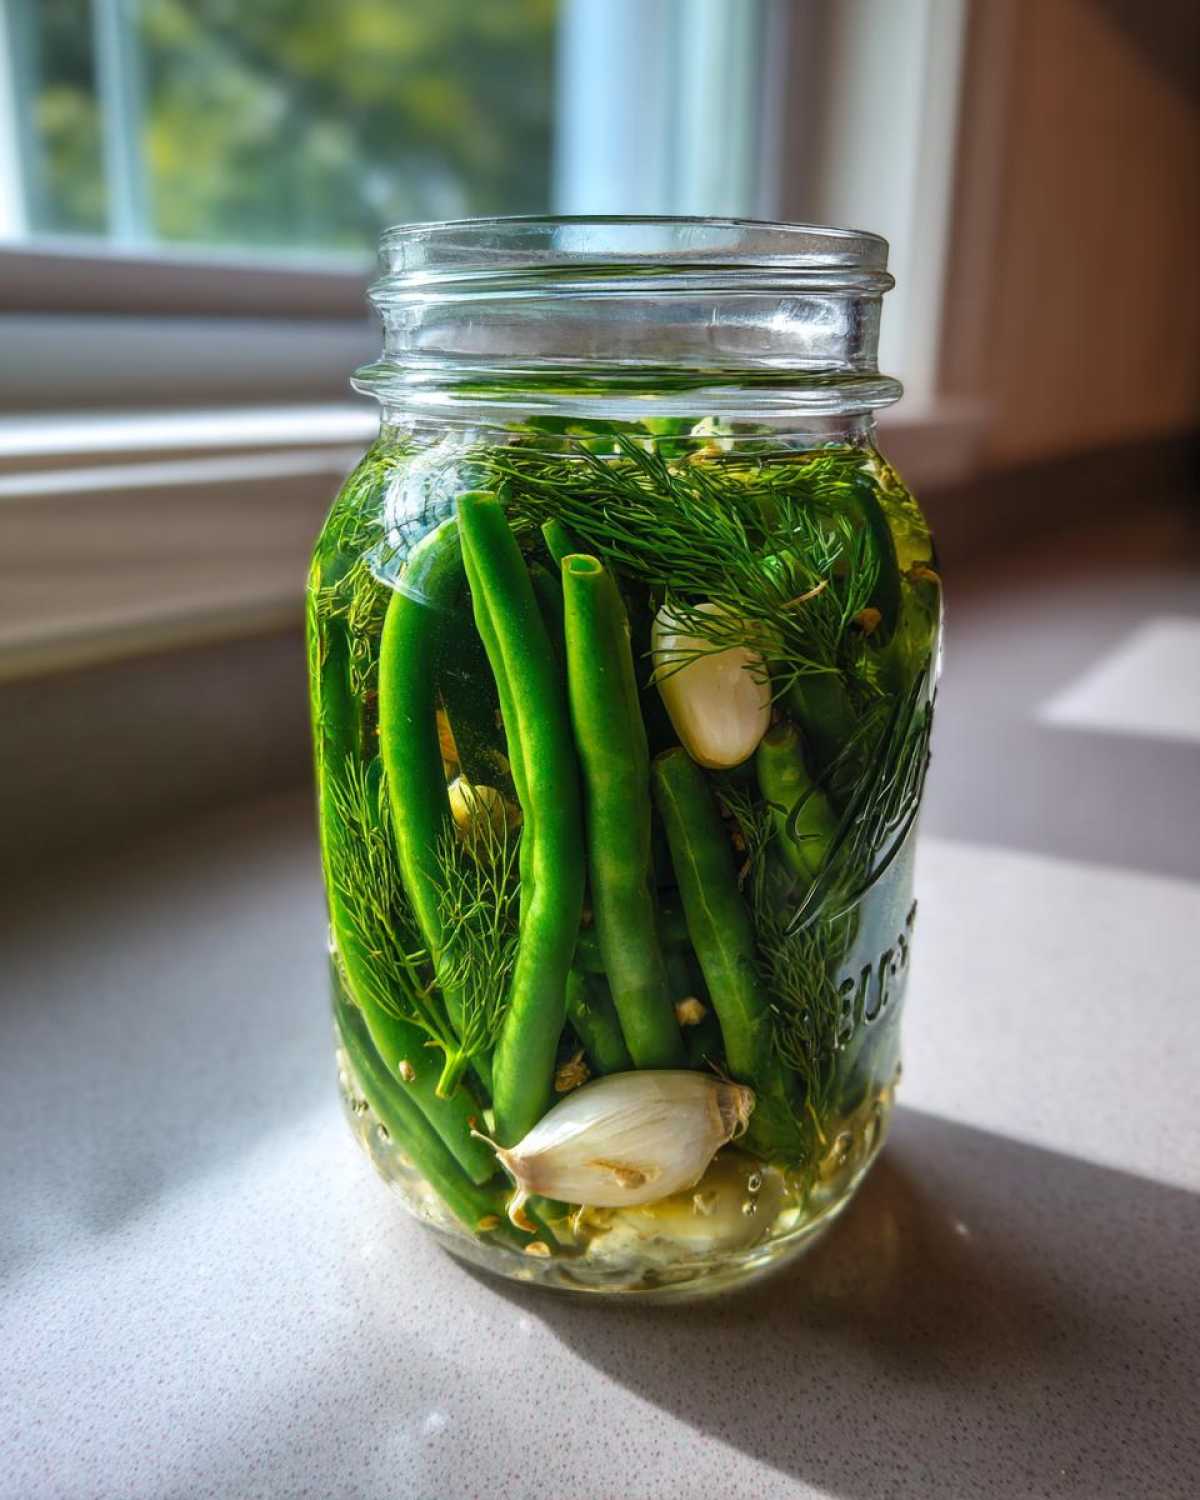
Making these refrigerator dilly beans is a breeze. I promise you, each step is simple. Just follow along, and you’ll have jars of deliciousness. This process is truly straightforward. You will be so proud of your homemade pickles.
Preparing Your Green Beans for Refrigerator Dilly Beans
First, wash your green beans well. Then, trim off the tough ends. I like to snap them by hand. Now, pack them tightly into clean pint jars. Stand them upright if possible. This helps them stay crisp. Fill each jar as much as you can.
Crafting the Perfect Brine for Refrigerator Dilly Beans
Next, let’s make that wonderful brine. Grab a saucepan. Combine white vinegar, water, salt, and sugar in it. Stir all these ingredients together. Bring this mixture to a rolling boil. Keep stirring until the salt and sugar fully dissolve. This ensures every bean gets flavor.
Assembling and Storing Your Refrigerator Dilly Beans
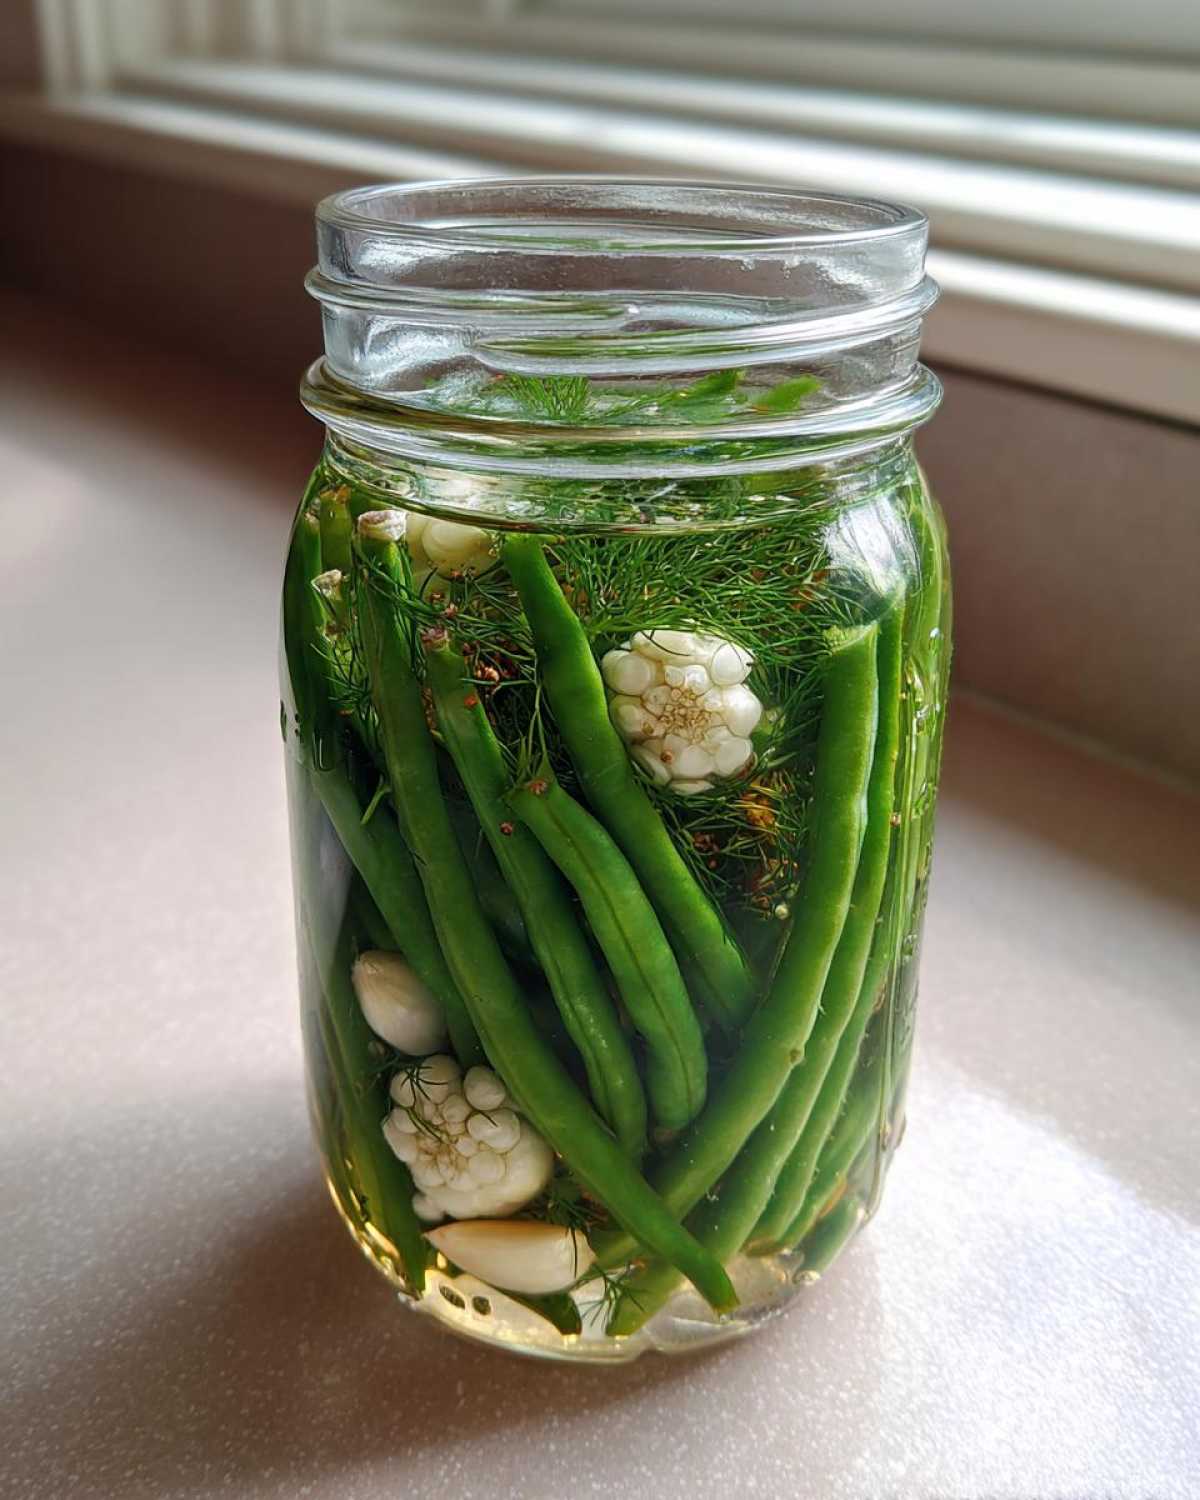
Now, for assembly! Add one smashed garlic clove to each jar. Toss in a dill head or a teaspoon of dill seeds. If you like a little kick, add some red pepper flakes. Carefully pour the hot brine over the beans. Make sure they are fully covered. Leave about half an inch of space at the top. This is called headspace. Tap the jars gently to release any air bubbles. Add more brine if needed to keep that headspace. Seal the jars with their lids. Let them cool down completely on your counter. Once cool, move them to the refrigerator. Wait at least 3 to 5 days before enjoying them. This lets the flavors blend beautifully.
Tips for Perfect Refrigerator Dilly Beans
I have a few little tricks for truly perfect refrigerator dilly beans. First, always choose the freshest green beans. They should be firm and snap easily. This makes for the crispiest pickles. I often find the best ones at our local farmers’ market. Don’t be afraid to add more red pepper flakes. If you love a spicy kick, go for it! For extra flavor, you can add a pinch of mustard seeds. Make sure all beans are submerged in the brine. This keeps them safe and tasty. Enjoy your homemade dilly beans!
Common Questions About Refrigerator Dilly Beans
I get a lot of questions about these quick refrigerator dilly beans. It’s lovely to see so much curiosity! Here are some common ones I hear. I hope these answers help you feel more confident. Making your own pickled green beans is so rewarding. Don’t hesitate to experiment.
How Long Do Refrigerator Dilly Beans Last?
Once made, your refrigerator dilly beans last for several weeks. Keep them in an airtight jar. Always store them in the refrigerator. Their crispness and flavor hold up well. They are perfect for snacking.
Can I Reuse the Brine for More Refrigerator Dilly Beans?
You can reuse the brine, but I don’t always recommend it. For the best flavor and safety, fresh brine is ideal. Reused brine loses some potency. It might also not preserve as well. Making a fresh batch is simple.
Estimated Nutritional Information
Please note that the nutritional values provided are estimates. They can vary quite a bit. Different brands of ingredients may change these numbers. Also, how much you fill your jars affects servings. For precise dietary needs, it’s always best to calculate based on your specific ingredients.
Your Feedback on Refrigerator Dilly Beans
I hope you love these refrigerator dilly beans as much as I do! Your thoughts truly matter to me. Did you try them? How did they turn out? Please share your experience in the comments below. I’d love to hear your ideas. Don’t forget to rate the recipe too. Your feedback helps our little community grow!
PrintAmazing Refrigerator Dilly Beans: Enjoy 15-Minute Tangy Perfection
Make quick and easy refrigerator dilly beans. These crisp, tangy pickled green beans are ready in a few days. They are a small-batch, minimal-effort recipe.
- Prep Time: 15 minutes
- Cook Time: 10 minutes
- Total Time: 3-5 days (refrigeration)
- Yield: 4 pint jars
- Category: Appetizer
- Method: Pickling
- Cuisine: American
- Diet: Vegetarian
Ingredients
- 1 pound fresh green beans, trimmed
- 2 cups white vinegar
- 2 cups water
- 2 tablespoons pickling salt or kosher salt
- 1 tablespoon sugar
- 4 cloves garlic, peeled and smashed
- 4 heads fresh dill or 4 teaspoons dried dill seeds
- 1 teaspoon red pepper flakes (optional)
Instructions
- Wash and trim green beans. Pack them tightly into clean pint jars.
- In a saucepan, combine vinegar, water, salt, and sugar. Bring to a boil, stirring until salt and sugar dissolve.
- Add 1 smashed garlic clove, 1 dill head (or 1 teaspoon dill seeds), and 1/4 teaspoon red pepper flakes (if using) to each jar.
- Pour hot brine over the green beans, ensuring they are fully submerged. Leave 1/2 inch headspace.
- Tap jars gently to release air bubbles. Add more brine if needed to maintain headspace.
- Seal jars with lids. Let cool to room temperature.
- Refrigerate for at least 3-5 days before eating for best flavor.
Notes
- For extra spice, add more red pepper flakes.
- These dilly beans last for several weeks in the refrigerator.
- Use fresh, firm green beans for the best texture.
- You can reuse the brine for another batch if you wish, but it’s best to make fresh brine for optimal flavor and safety.
Nutrition
- Serving Size: 1/2 cup
- Calories: 25
- Sugar: 2g
- Sodium: 300mg
- Fat: 0g
- Saturated Fat: 0g
- Unsaturated Fat: 0g
- Trans Fat: 0g
- Carbohydrates: 5g
- Fiber: 2g
- Protein: 1g
- Cholesterol: 0mg