

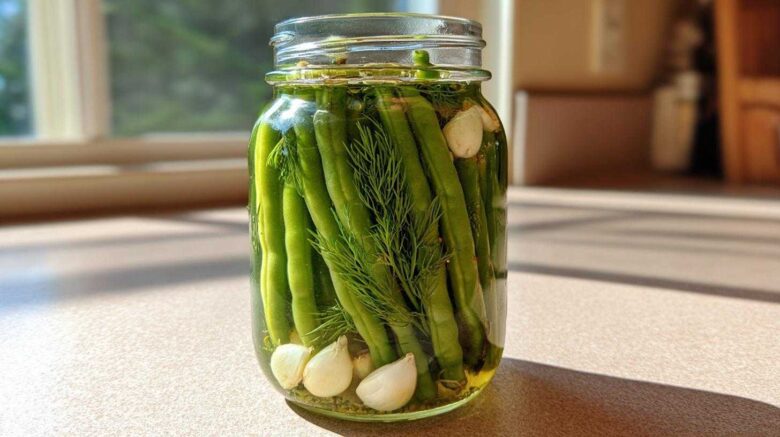
There’s something truly magical about turning a garden’s bounty into shelf-stable treasures. I remember my grandmother, back in Kyoto, always had jars lining her pantry. Each one held a story. When Kenji and I moved to New York, I missed those familiar pantry shelves. It inspired me to bring that tradition here.
One of my absolute favorite things to preserve is green beans. Fresh, crisp green beans, transformed into tangy, garlicky delights. That’s where my recipe for Canning Dilly Beans comes in. It’s a classic for a reason.
This isn’t just any recipe. It’s one I’ve perfected over many seasons. It gives me crunchy, flavorful dilly beans every single time. They keep beautifully in the pantry too, ready for whenever a craving hits.
My family loves them as a snack. They are also great on a charcuterie board. This recipe is super reliable. It’s perfect for long-term storage. And it makes sure your dilly beans stay wonderfully crunchy. I’m so excited to share it with you!
Why You’ll Love This Canning Dilly Beans Recipe
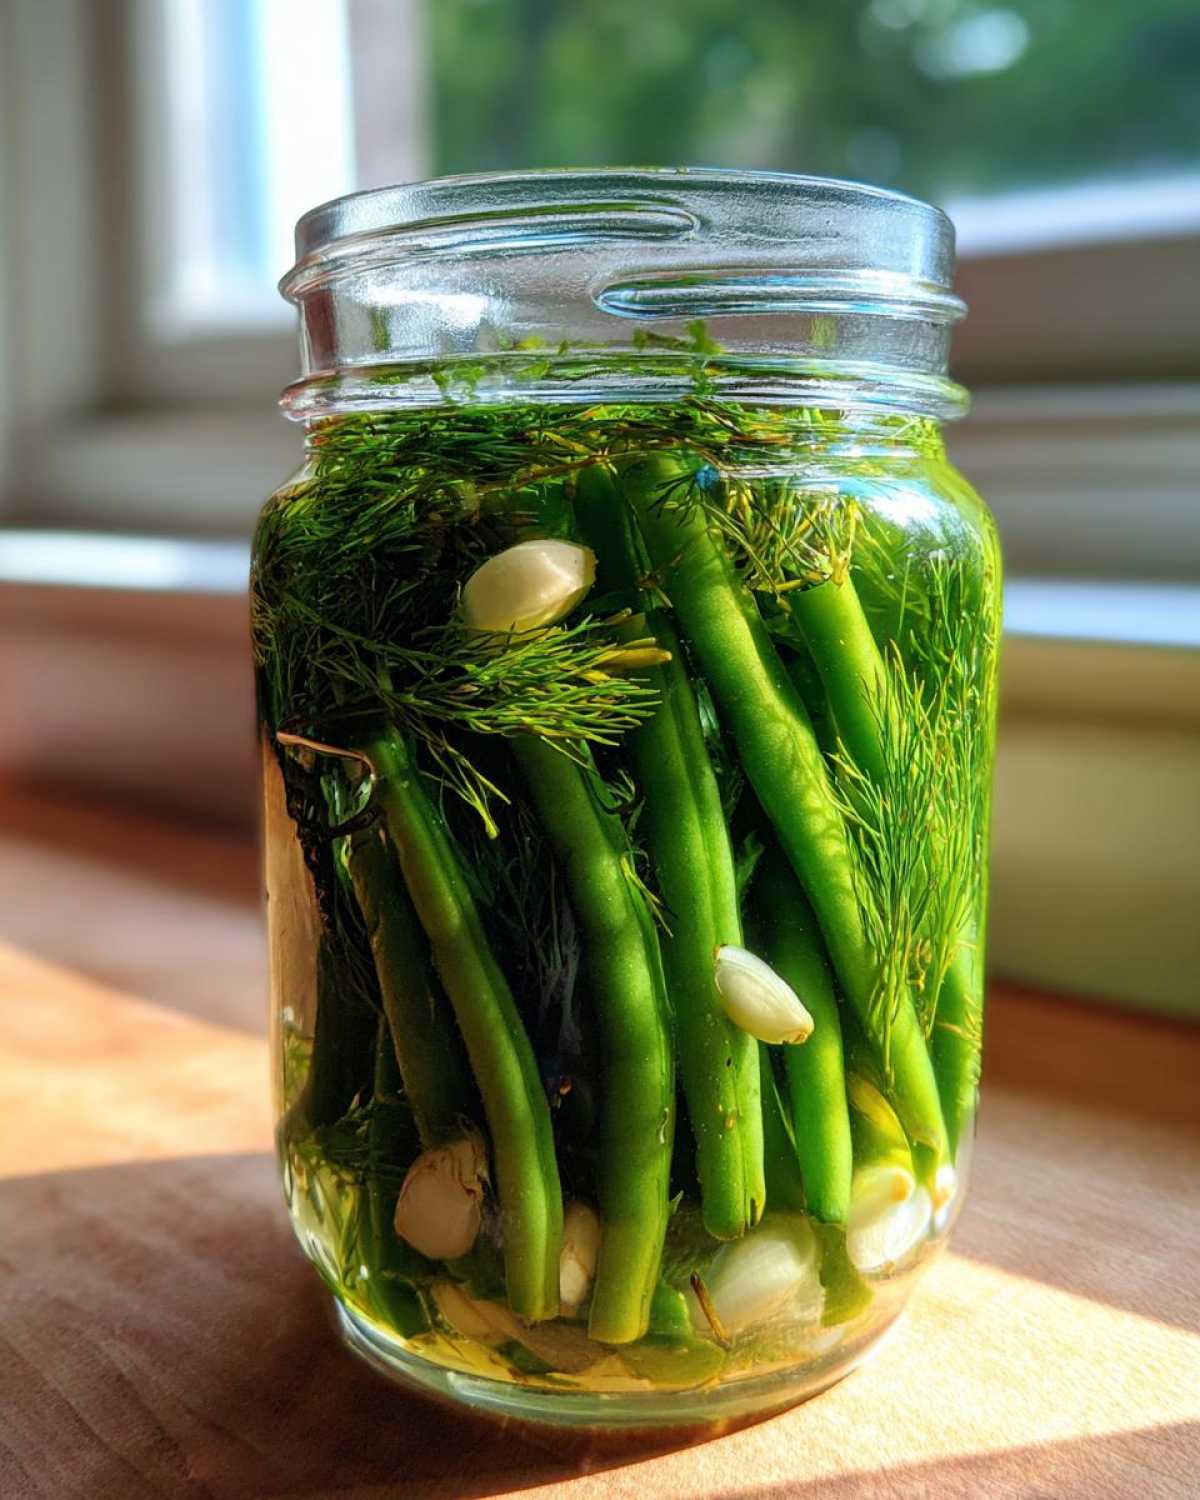
There’s a simple joy in knowing you’ve preserved summer’s goodness. This recipe for canning dilly beans is so easy. It takes fresh green beans and turns them into a tangy, crunchy snack. The flavor is bright and zesty. It’s perfect for adding a pop to any meal.
I love how practical it is too. Having these jars in my pantry feels so comforting. It’s a taste of homemade goodness whenever I want it. Plus, it’s a wonderful way to use up extra beans from the garden.
The Joy of Canning Dilly Beans
Making your own preserves is incredibly satisfying. With this canning dilly beans recipe, you get perfect results. Each jar holds crunchy, flavorful beans. There’s nothing quite like opening one. It feels like a small victory. You’ll truly taste the quality.
Essential Equipment for Canning Dilly Beans
Having the right tools makes all the difference. For successful canning, you need a few key items. These aren’t fancy gadgets, but they are very important. They help keep things safe and efficient. I’ve used these tools for years. They give me perfect results every time.
You’ll need a large pot. This is for your boiling water bath. A jar lifter is a must-have too. It helps you safely move hot jars. Funnels and headspace tools are also super helpful. They make filling jars much easier. A good set of canning jars is also key. Make sure they are designed for canning.
Tools for Perfect Canning Dilly Beans
A boiling water canner is essential. It’s a large pot with a rack. This rack keeps jars off the bottom. It ensures even heat. A jar lifter protects your hands. It grips hot jars firmly. This prevents burns and drops. These tools make canning dilly beans simple and safe.
Ingredients for Flavorful Canning Dilly Beans
Gathering your ingredients is the first step. For truly delicious dilly beans, quality matters a lot. Here’s what you’ll need to make four pints of these tangy treats:
- 2 pounds fresh green beans, trimmed
- 4 cups white vinegar (5% acidity)
- 4 cups water
- 1/4 cup pickling salt
- 4-8 cloves garlic, peeled
- 4-8 sprigs fresh dill, or 4 teaspoons dill seed
- 1 teaspoon red pepper flakes (optional)
I always choose the freshest, crispest green beans I can find. This makes a big difference in the final crunch. The garlic and dill really give these beans their signature flavor. Don’t be shy with them if you love a strong taste!
Selecting the Best Ingredients for Canning Dilly Beans
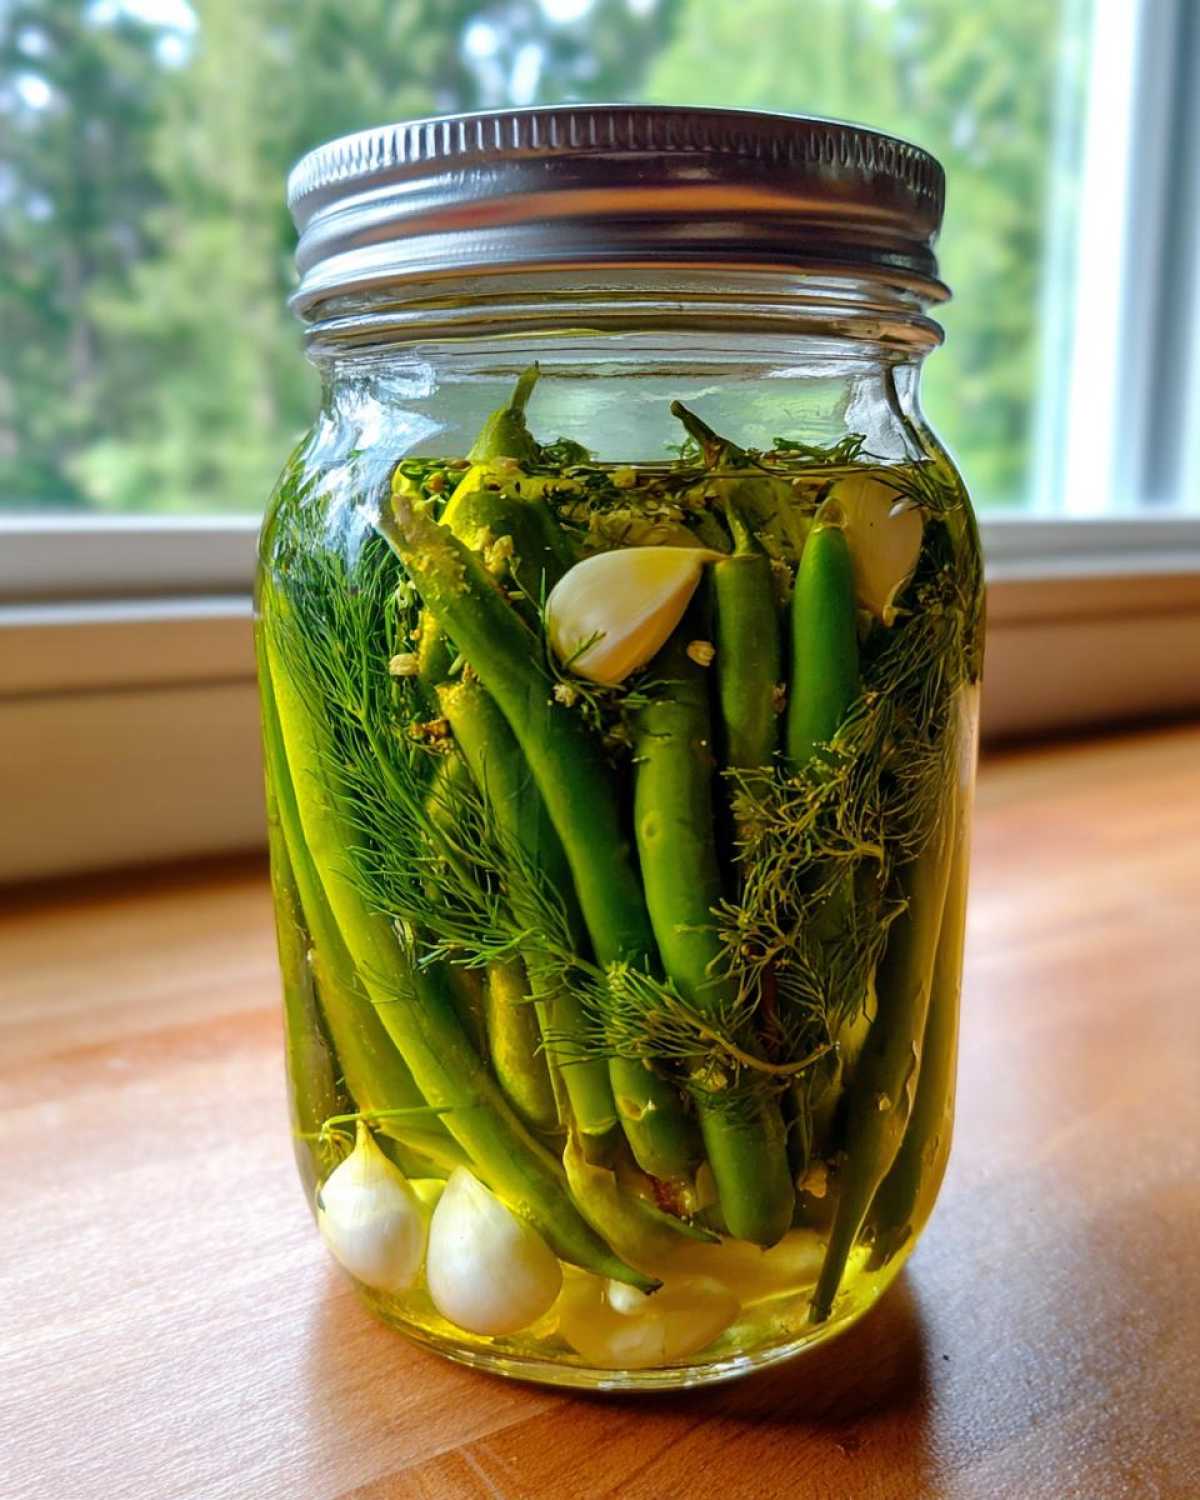
For the best canning dilly beans, always pick vibrant green beans. They should snap easily. Avoid any that look limp or bruised. Use white vinegar with 5% acidity. This is important for safety and flavor. Pickling salt is also key. It’s pure salt without anti-caking agents. These can make your brine cloudy. Fresh dill sprigs add a bright, herbaceous note. Dill seeds work wonderfully too.
Step-by-Step Guide to Canning Dilly Beans
Now, let’s get to the fun part: making these amazing dilly beans! This process is straightforward. Just follow these steps carefully. You’ll have beautiful, shelf-stable jars in no time. It’s truly rewarding to see them all lined up. Remember, safety first when canning!
- Wash and trim your green beans. Make sure they are super clean.
- Prepare your canning jars and lids.
- In a large pot, combine vinegar, water, and pickling salt.
- Bring this mixture to a boil. Stir until the salt completely dissolves.
- Place garlic, dill, and red pepper flakes (if using) into each hot jar.
- Pack the green beans tightly into each jar. Leave ½ inch headspace.
- Pour the hot brine over the beans. Make sure they are fully covered.
- Remove any air bubbles. Gently tap the jars.
- Wipe the jar rims clean.
- Center the lids and screw on the bands. Make them fingertip tight.
- Process the jars in a boiling water canner for 10 minutes.
- Carefully remove jars. Let them cool completely.
- Check seals after 12-24 hours.
Preparing Your Jars for Canning Dilly Beans
Cleanliness is key in canning. First, wash all jars and lids in hot, soapy water. Rinse them very well. Then, sterilize your jars. You can boil them for 10 minutes. Or use your dishwasher’s sterilize cycle. This step ensures your canning dilly beans are safe. It also helps create a strong seal. Always be careful with hot jars.
The Brine and Packing for Canning Dilly Beans
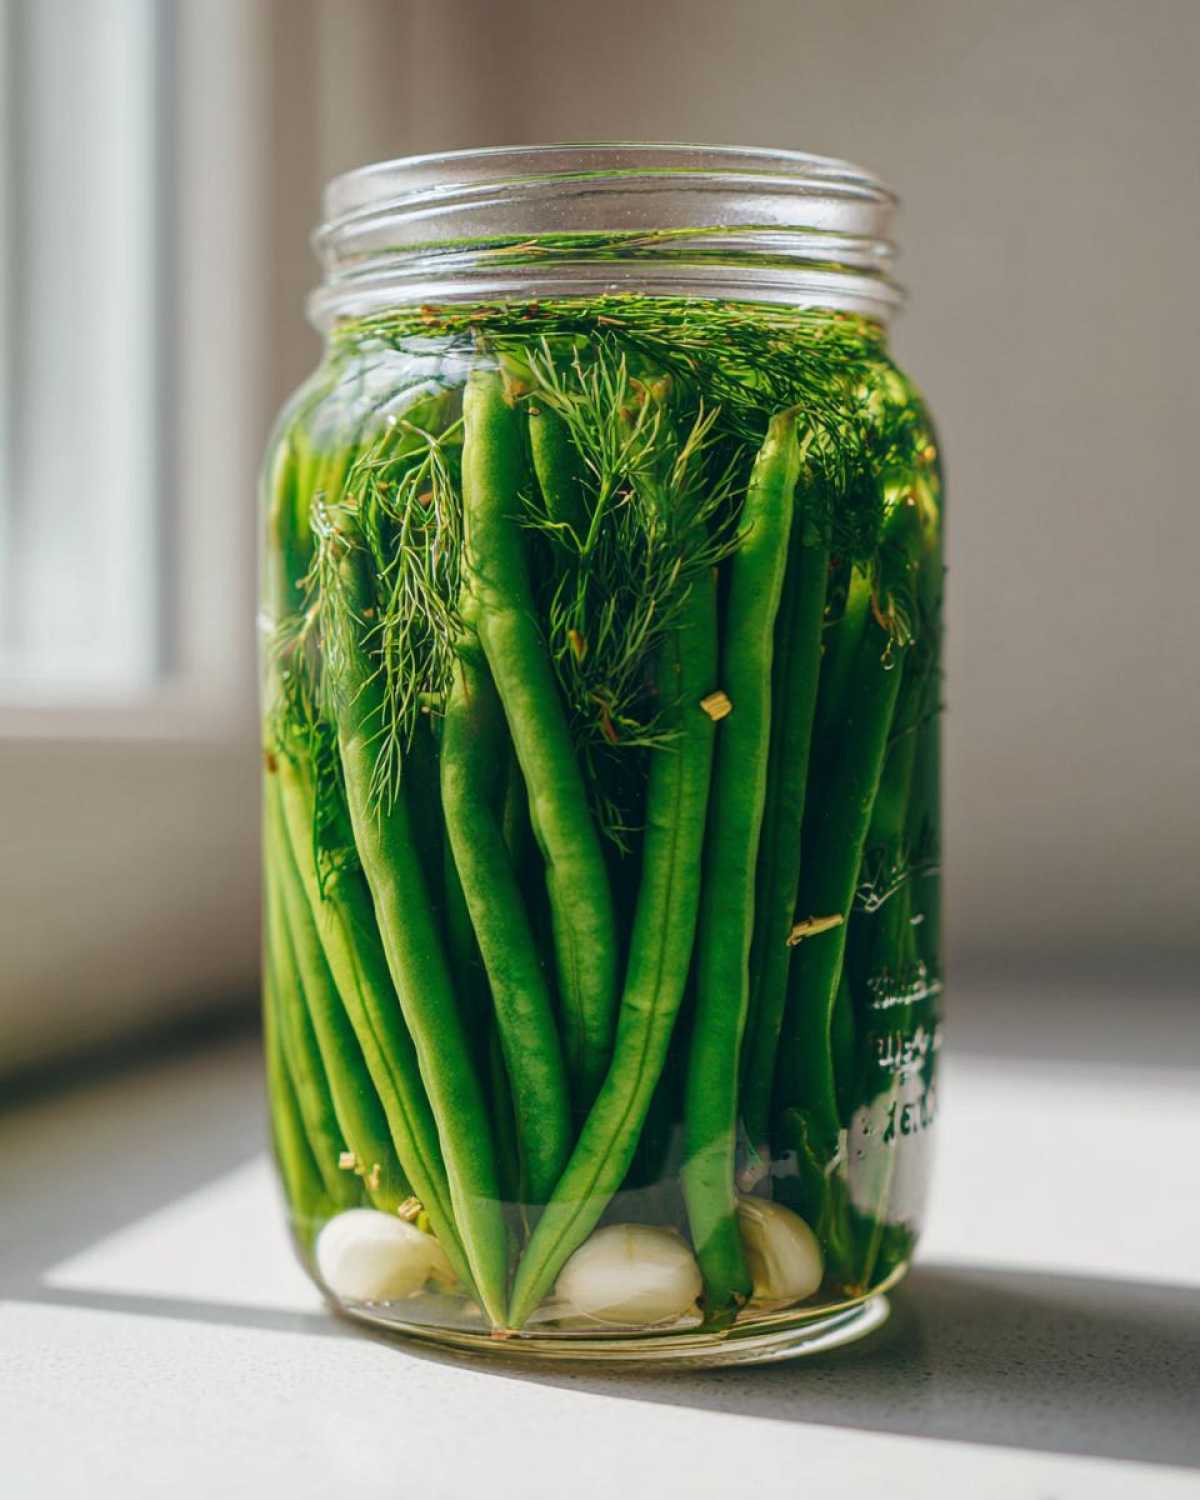
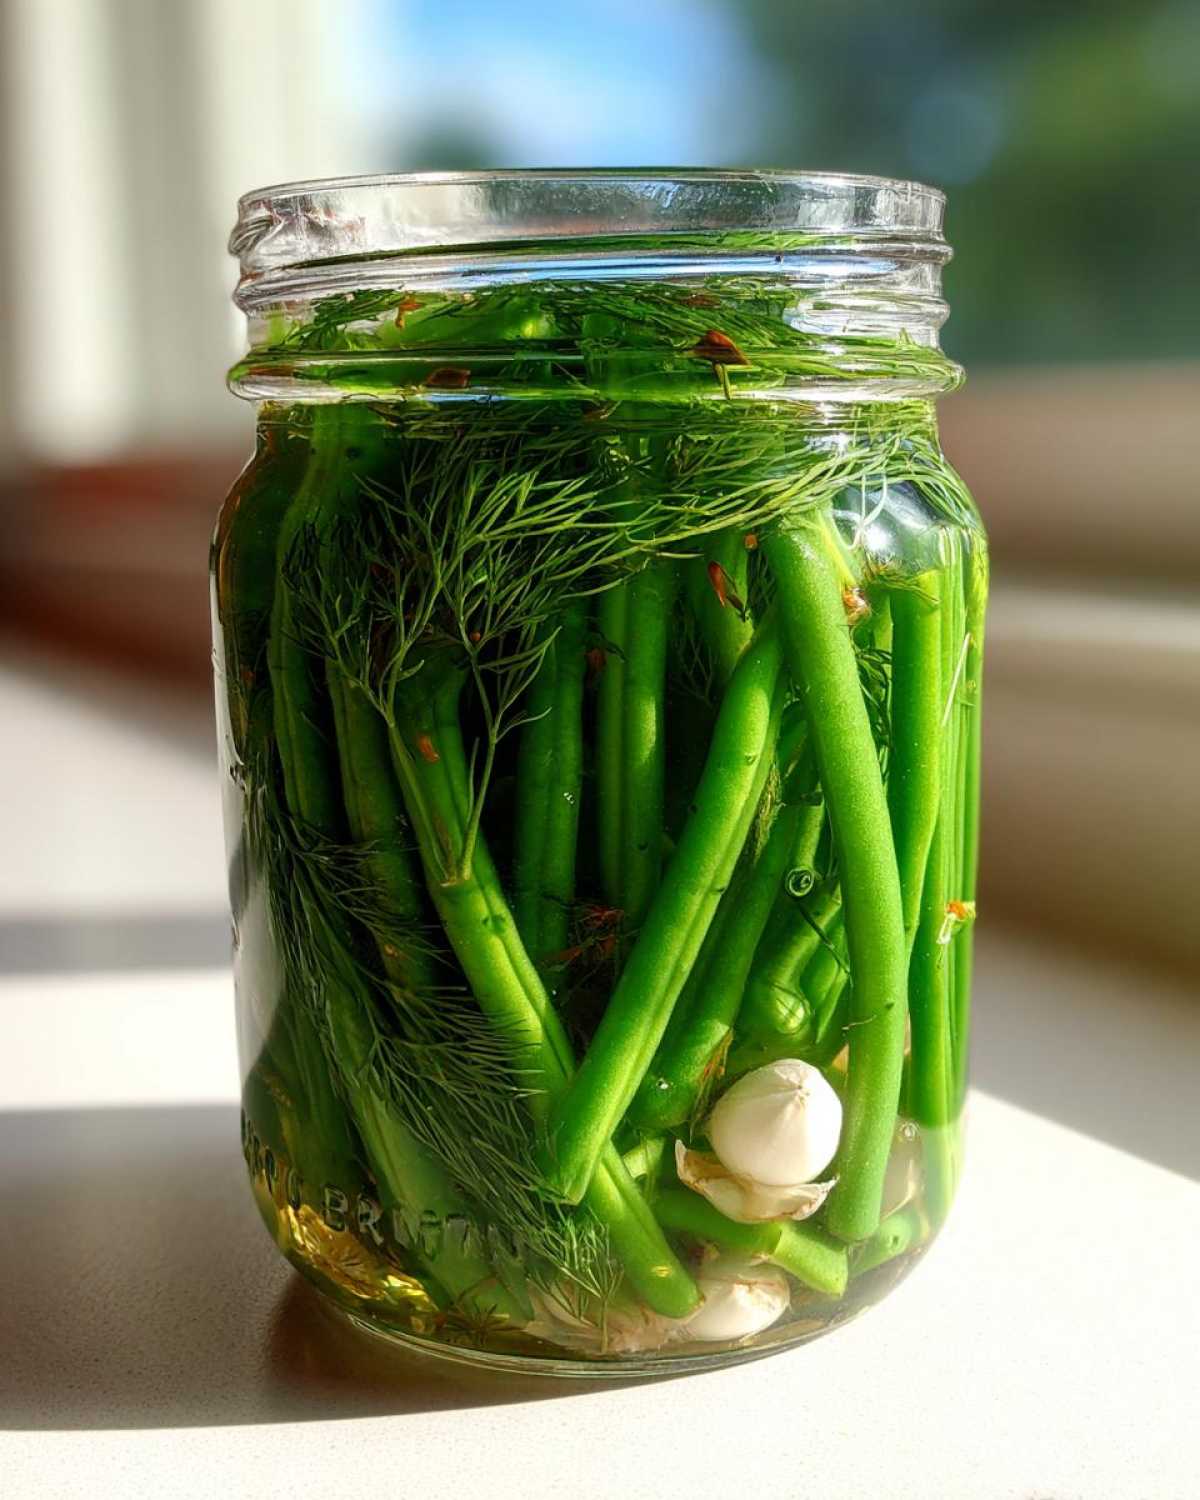
The brine is what gives your dilly beans their tang. Combine white vinegar, water, and pickling salt in a large, non-reactive pot. Bring it to a rolling boil. Stir until the salt dissolves completely. Next, place garlic and dill into your hot jars. Pack the trimmed green beans in tightly. Leave about ½ inch of space at the top. This is called headspace. It’s important for proper sealing.
Processing and Sealing Your Canning Dilly Beans
Once filled, pour the hot brine over your beans. Ensure they are fully submerged. Maintain that ½ inch headspace. Remove any air bubbles by gently tapping. Wipe the jar rims clean. Center your lids and screw on the bands until fingertip tight. Process jars in a boiling water canner for 10 minutes. After processing, carefully remove jars. Place them on a towel to cool. Check seals after 12-24 hours. The lids should be concave.
Tips for Success with Canning Dilly Beans
Making great dilly beans is simple. But a few tips can make them truly outstanding. First, always use the freshest green beans. They should be firm and snap easily. This is key for a crisp final product. Don’t rush the process either.
Once canned, let them sit. They need time to cure. At least two weeks is ideal. This lets the flavors blend beautifully. Store your jars in a cool, dark place. This keeps them at their best. Following these steps ensures delicious canning dilly beans every time.
Ensuring Crunchy Canning Dilly Beans
Nobody likes a soft dilly bean. For maximum crunch, start with fresh, firm beans. Don’t overcook them during packing. The processing time in the canner is important. Stick to the recommended 10 minutes. Over-processing can lead to mushy beans. A small grape leaf in each jar can also help. It contains tannins that keep them crisp.
Storing Your Canning Dilly Beans
Once your dilly beans are sealed and cooled, proper storage is simple. Keep them in a cool, dark place. A pantry or basement works perfectly. Avoid direct sunlight or extreme temperature changes. Stored correctly, your homemade canning dilly beans can last up to one year. This means you can enjoy that fresh, tangy taste for months to come. Just imagine opening a jar in the middle of winter!
Common Questions About Canning Dilly Beans
I often get questions about canning. It’s natural to wonder about shelf life or ingredient swaps. Here are some common questions. I hope these answers help you feel more confident. Making canning dilly beans should be fun, not stressful. Remember, I’m always here to help. Just ask!
Many ask about variations. Others want to know about troubleshooting. I’ve learned a lot over the years. These tips come from my own kitchen experiences. I want your dilly beans to be perfect too!
Can I Use Different Beans for Canning Dilly Beans?
Yes, absolutely! While green beans are traditional, yellow wax beans work wonderfully. They give a similar texture and absorb the flavors well. You could even try slender asparagus spears. Just make sure they fit in your jars. Adjust processing time if needed. The key is fresh, firm produce.
Troubleshooting Issues with Canning Dilly Beans
Sometimes, things don’t go as planned. If your dilly beans aren’t crunchy, they might have been over-processed. Or, your beans weren’t fresh enough. If a jar doesn’t seal, just refrigerate it. Enjoy those beans within a few weeks. Cloudy brine might mean your salt wasn’t pure pickling salt. Don’t worry, it’s usually harmless.
Estimated Nutritional Information for Canning Dilly Beans
I know many of you like to keep track of what you eat. So, here’s an estimate for our canning dilly beans. Please remember, these values are approximate. They can vary based on ingredients. A ½ cup serving has about 25 calories. It contains 0g fat, 5g carbohydrates, and 1g protein. This makes them a light, flavorful snack.
Share Your Canning Dilly Beans Story
I absolutely love hearing from you! There’s nothing more rewarding than seeing your kitchen creations. Have you tried this canning dilly beans recipe? What did you think? Did you add your own special touch? Maybe a pinch more garlic or a different spice?
Please share your experiences in the comments below. Your stories and tips inspire me and our whole community. Don’t be shy! Let me know how your dilly beans turned out. I can’t wait to read about them.
PrintAmazing Canning Dilly Beans in Just 10 Minutes
This recipe guides you through making crunchy, tangy dilly beans perfect for long-term storage using a canning method.
- Prep Time: 30 minutes
- Cook Time: 15 minutes
- Total Time: 2 days (includes curing time)
- Yield: 4 pints
- Category: Preserves
- Method: Canning
- Cuisine: American
- Diet: Vegan
Ingredients
- 2 pounds fresh green beans, trimmed
- 4 cups white vinegar (5% acidity)
- 4 cups water
- 1/4 cup pickling salt
- 4-8 cloves garlic, peeled
- 4-8 sprigs fresh dill, or 4 teaspoons dill seed
- 1 teaspoon red pepper flakes (optional)
Instructions
- Wash and trim green beans.
- Prepare canning jars: wash jars and lids in hot soapy water, rinse well. Sterilize jars by boiling them for 10 minutes or using a dishwasher’s sterilize cycle.
- In a large non-reactive pot, combine vinegar, water, and pickling salt. Bring to a boil, stirring until salt dissolves.
- Place 1-2 cloves of garlic and 1-2 sprigs of dill (or 1 teaspoon dill seed) into each hot, sterilized pint jar. Add 1/4 teaspoon red pepper flakes to each jar, if using.
- Pack green beans tightly into each jar, leaving 1/2 inch headspace.
- Pour hot brine over the beans, ensuring beans are fully submerged and maintaining 1/2 inch headspace. Remove air bubbles by gently tapping jars or using a non-metallic utensil.
- Wipe jar rims clean. Center lids on jars and screw on bands until fingertip tight.
- Process jars in a boiling water canner for 10 minutes (adjust time for altitude if necessary).
- Carefully remove jars from canner and place on a wire rack or towel to cool completely. Do not disturb for 12-24 hours.
- Check seals: lids should be concave and not flex when pressed. If a lid does not seal, refrigerate and consume within a few weeks.
Notes
- Use fresh, crisp green beans for best results.
- Adjust garlic and dill to your taste.
- Store sealed jars in a cool, dark place for up to one year.
- Allow dilly beans to cure for at least 2 weeks before eating for optimal flavor.
Nutrition
- Serving Size: 1/2 cup
- Calories: 25
- Sugar: 1g
- Sodium: 300mg
- Fat: 0g
- Saturated Fat: 0g
- Unsaturated Fat: 0g
- Trans Fat: 0g
- Carbohydrates: 5g
- Fiber: 2g
- Protein: 1g
- Cholesterol: 0mg