

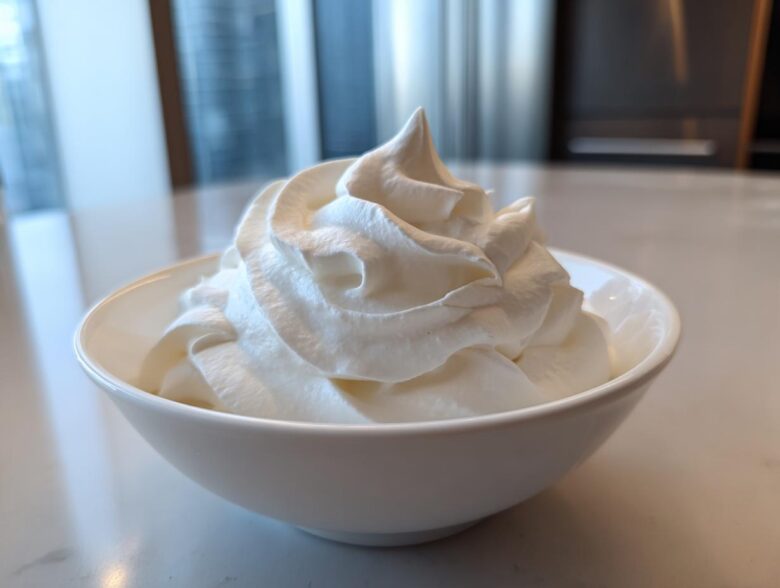
Oh, the heartbreak of decorating cookies, right? You spend hours on the perfect sugar cookie base, and then comes the icing. Most recipes give you something that cracks, something that stays sticky forever, or something that looks like gritty paste. I’ve been there! I once made an entire batch of Christmas cookies where the icing just immediately melted right off the cookie—it was a sugary disaster zone.
But listen to me: you don’t need to be a pastry chef to get that smooth, professional look on your cookies. This foolproof royal icing recipe is the one that finally gave me confidence. It’s easy for beginners, trust me, because we use meringue powder which stabilizes everything, guaranteeing a finish that dries rock hard and gets that gorgeous, glossy sheen we all want for our holiday treats.
This batch is super generous, too! It yields enough cookie decorating icing to cover about two dozen average-sized sugar cookies, which is perfect for getting yourself set up without running out halfway through your flood work.
If you’re serious about getting professional results without the raw egg white worry, this is where you need to be. We’re going to look at how to get the right texture for outlining and flooding too, so get your mixer ready!
You can check out my ultimate guide on how to get firm, smooth results here: The secret to perfect cookie icing.
Why This Royal Icing Recipe Works for Beginners
Okay, let’s talk about why this isn’t just another messy icing attempt. The biggest difference, honestly, is the meringue powder. I know, you’ve likely seen the old-school methods using raw egg whites, and honestly, the risk just isn’t worth the hassle when you’re decorating cookies for gifts or the holidays. This formula gives you absolutely fail proof royal icing because the powder contains stabilizers that do all the heavy lifting for us.
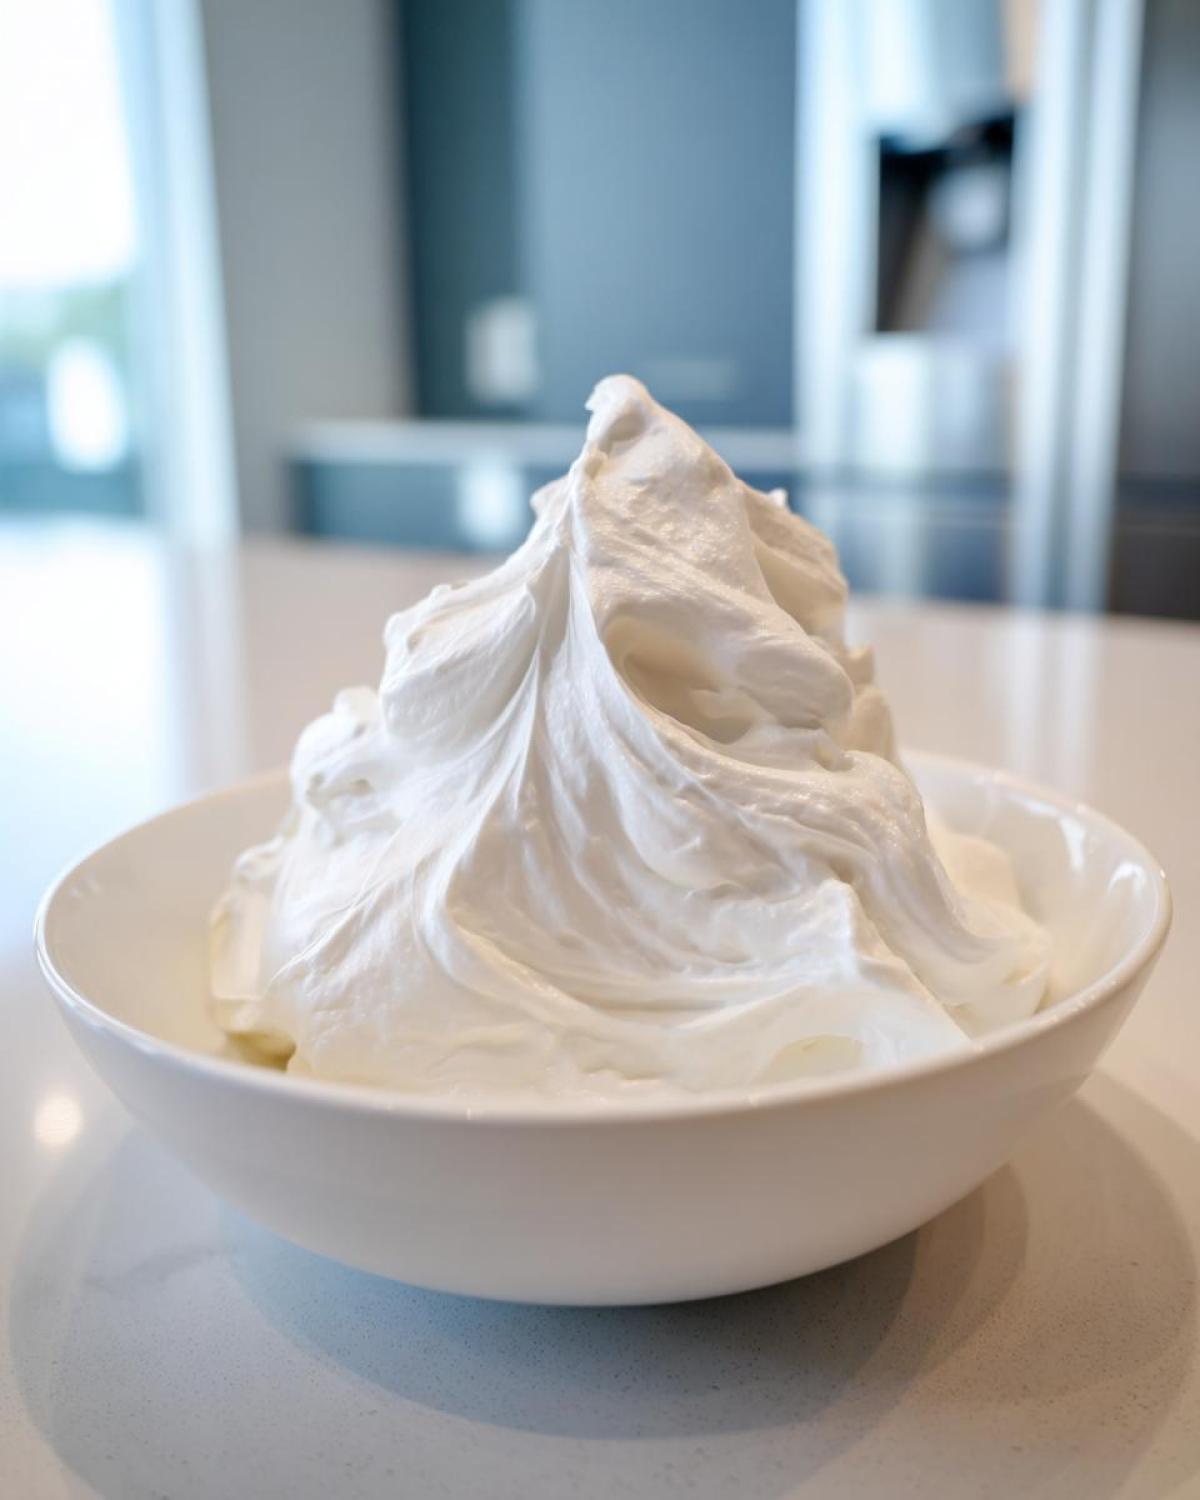
The result after beating is the best royal icing you’ll ever use—it gets incredibly stiff, snow-white, and when it dries, it has that hard, almost porcelain shine. That means no smudging when you stack your cookies, and your intricate designs won’t droop mid-day. Plus, this specific royal icing recipe cuts down on prep time beautifully, which is a massive win when you’re making dozens of treats!
You should read up on how to make sure your icing hardens perfectly every time—it’s a game-changer: Tips for sugar cookie icing that sets hard.
Achieving the Best Royal Icing Consistency
When you first finish mixing, this icing is going to be super stiff. That’s intentional! We need that base for sharp outlining, which is the first technique most new decorators learn. If you try to flood cookies with this stiff mix, you’ll just end up with thick mounds that won’t spread.
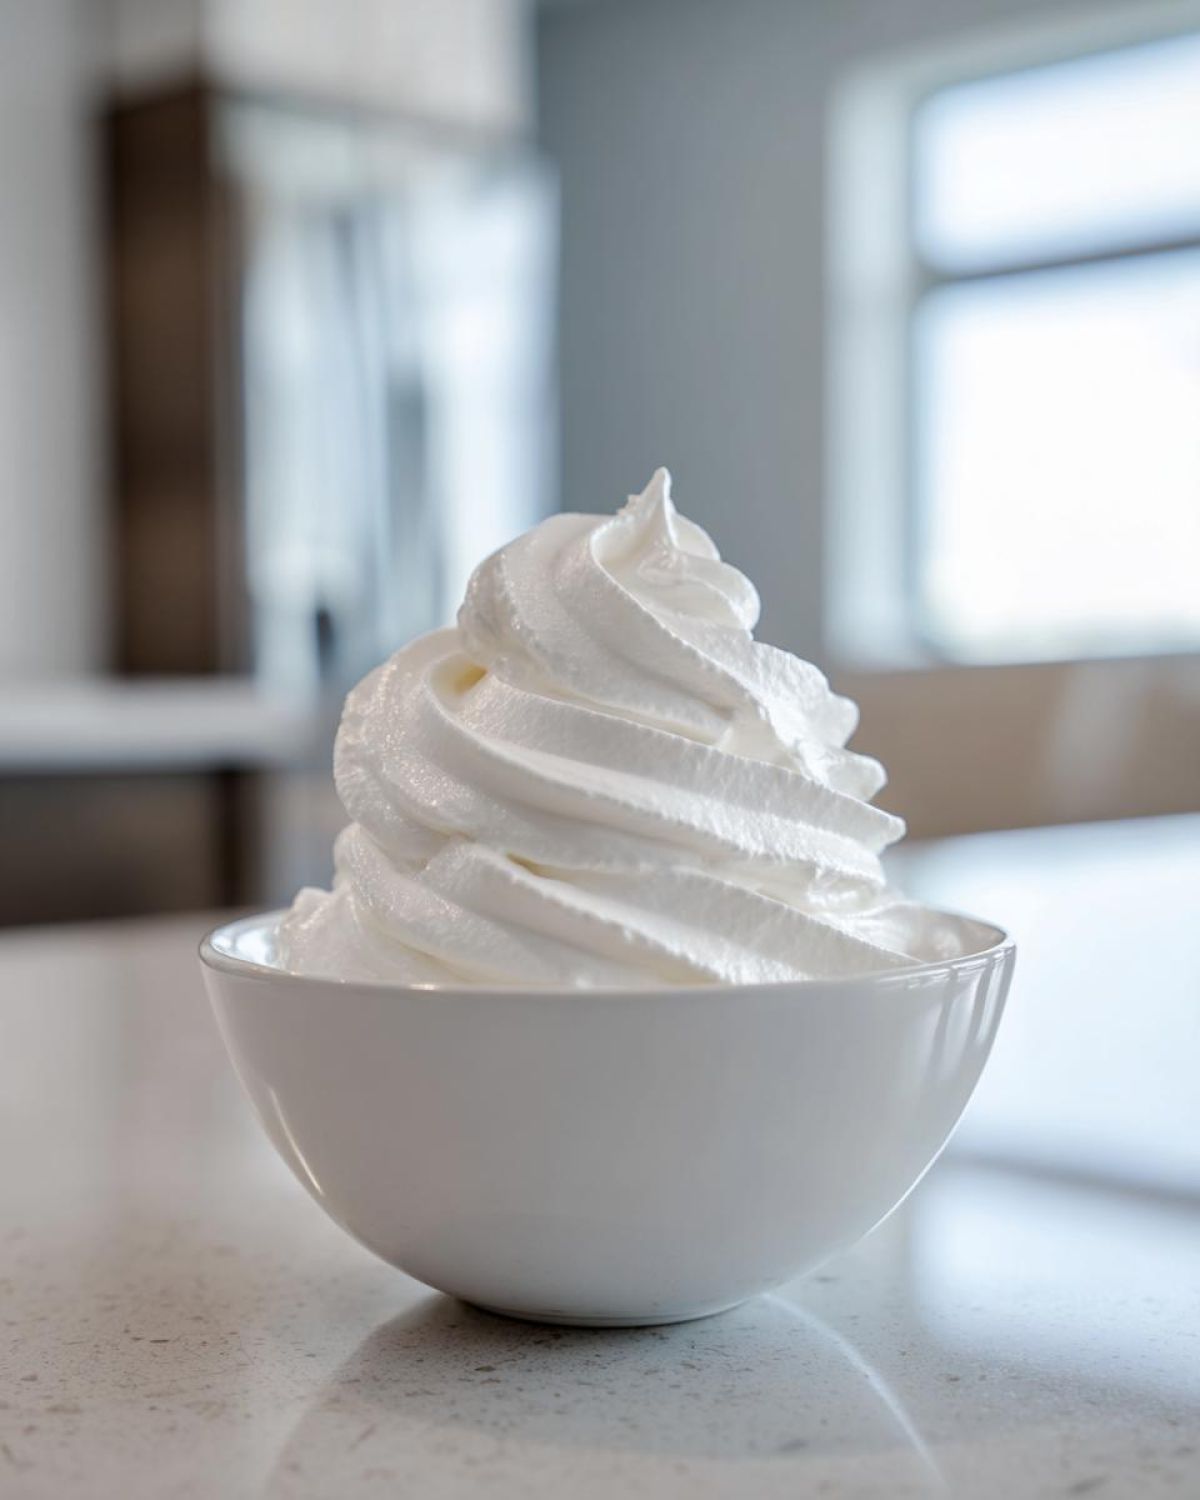
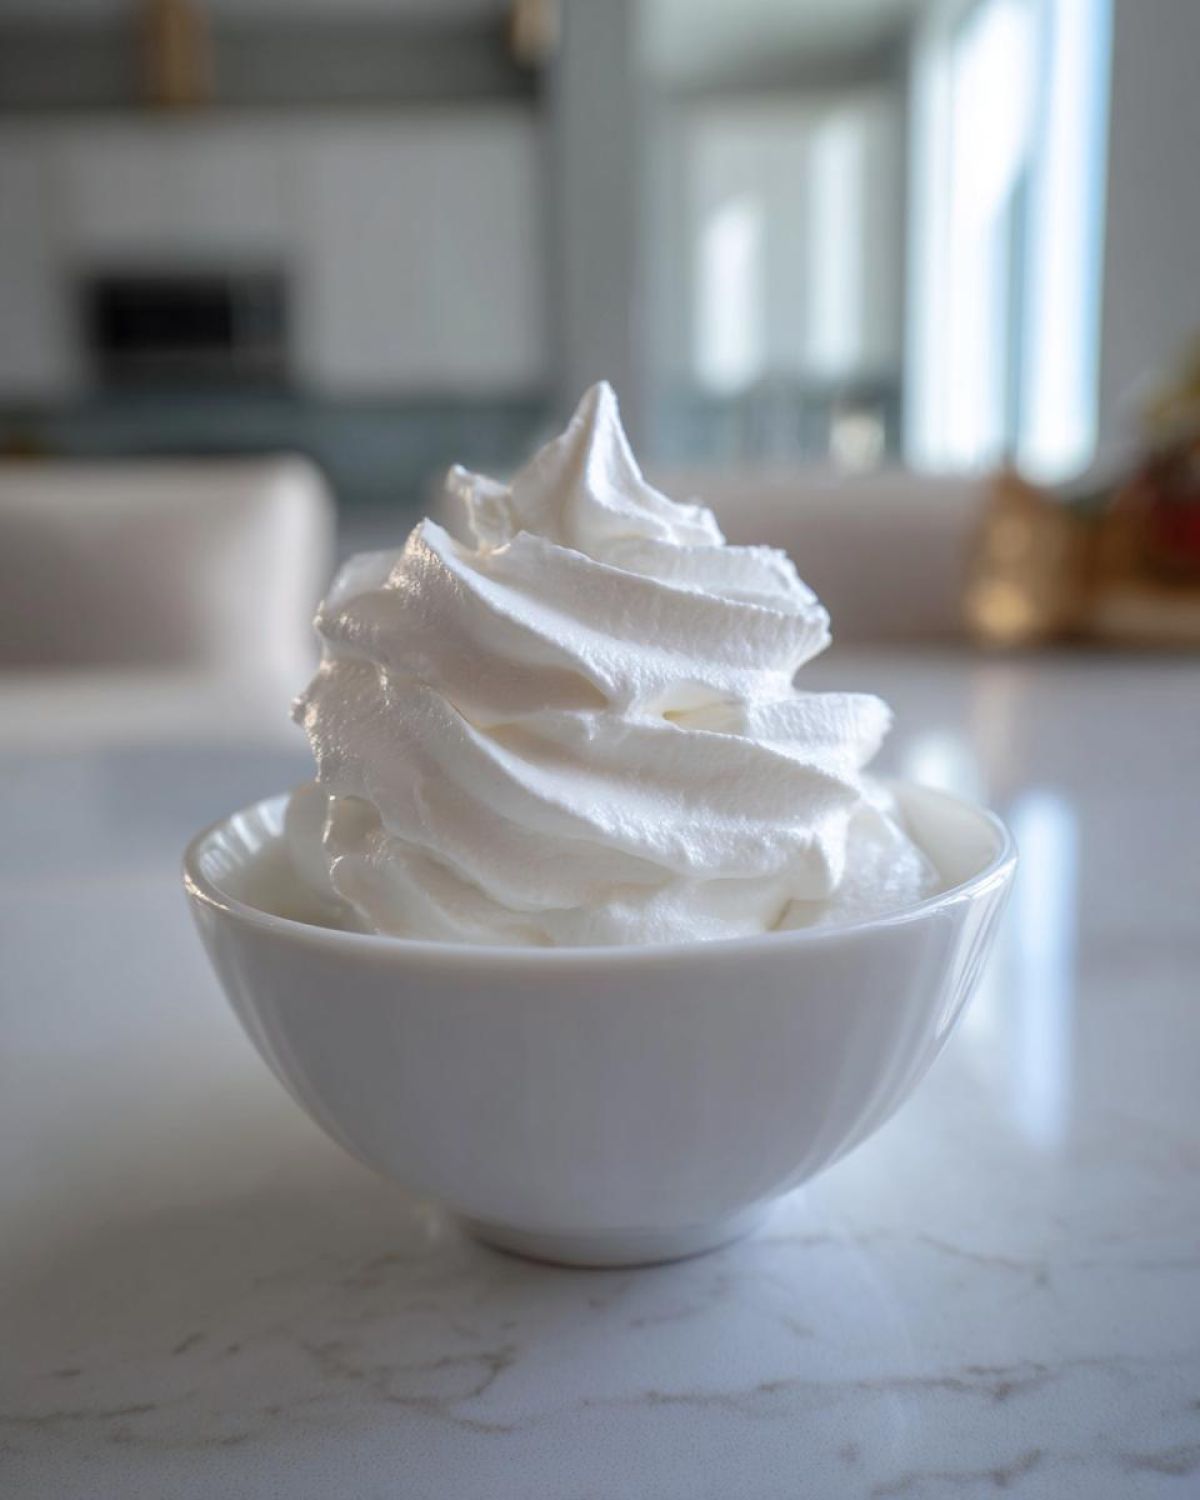
So, you always need two primary textures for royal icing consistency: stiff and flood. Stiff is what comes right out of the mixer—it should look like soft-serve ice cream and hold its shape on a spatula. To thin it down for flooding, you just add water, maybe a half teaspoon at a time, until you hit that slow, ribbon-like flow. Getting this part right is 90% of the battle when decorating.
Ingredients for Your Foolproof Royal Icing Recipe
Okay, let’s get down to the bare bones. The secret to this easy royal icing isn’t complicated at all, but you have to use the right things, or you’ll end up with gloppy frosting that won’t behave. We need precision here so the final product is this amazing hard icing recipe we’re aiming for.
You will need three cups of confectioners’ sugar, and I mean *sifted* confectioners’ sugar. Don’t try to skip that step; those lumps will throw off your smooth finish! Next, you absolutely need the meringue powder—two tablespoons. This is what gives us that bakery-style finish. And finally, for flavor, use one teaspoon of *clear* vanilla extract. If you use regular vanilla, your beautiful white icing will turn slightly yellow, and who wants that for holiday cookies?
Ingredient Notes and Substitutions
First off, you cannot substitute granulated white sugar for the confectioners’ sugar (also called powdered sugar). If you use granulated sugar, you will just end up with crunchy icing, which is only good if you like sparkly rocks on your cookies! This absolutely needs to be powdered because it dissolves instantly.
Now, about the meringue powder. If you’re in a bind and truly can’t find it, you can substitute it with about 3 tablespoons of pasteurized liquid egg whites. I prefer the powder for this royal icing recipe, though, because it makes measuring easier and keeps the recipe a little more shelf-stable before you mix in the water. But if you use the whites, make sure you whip them until they are very foamy before adding them to the sugar. Safety first, always check that those egg whites are pasteurized!
Simple Royal Icing Steps: How to Make Royal Icing
Alright, let’s finally put this gorgeous royal icing recipe together! The instructions are simple, but don’t rush the mixing—that’s where the magic happens. Grab a big bowl because we need room to whip air into this mixture. You start by combining your sifted powdered sugar and the meringue powder right in the bowl. Whisk them together dry first; this prevents clumps later on, which saves you headaches down the road.
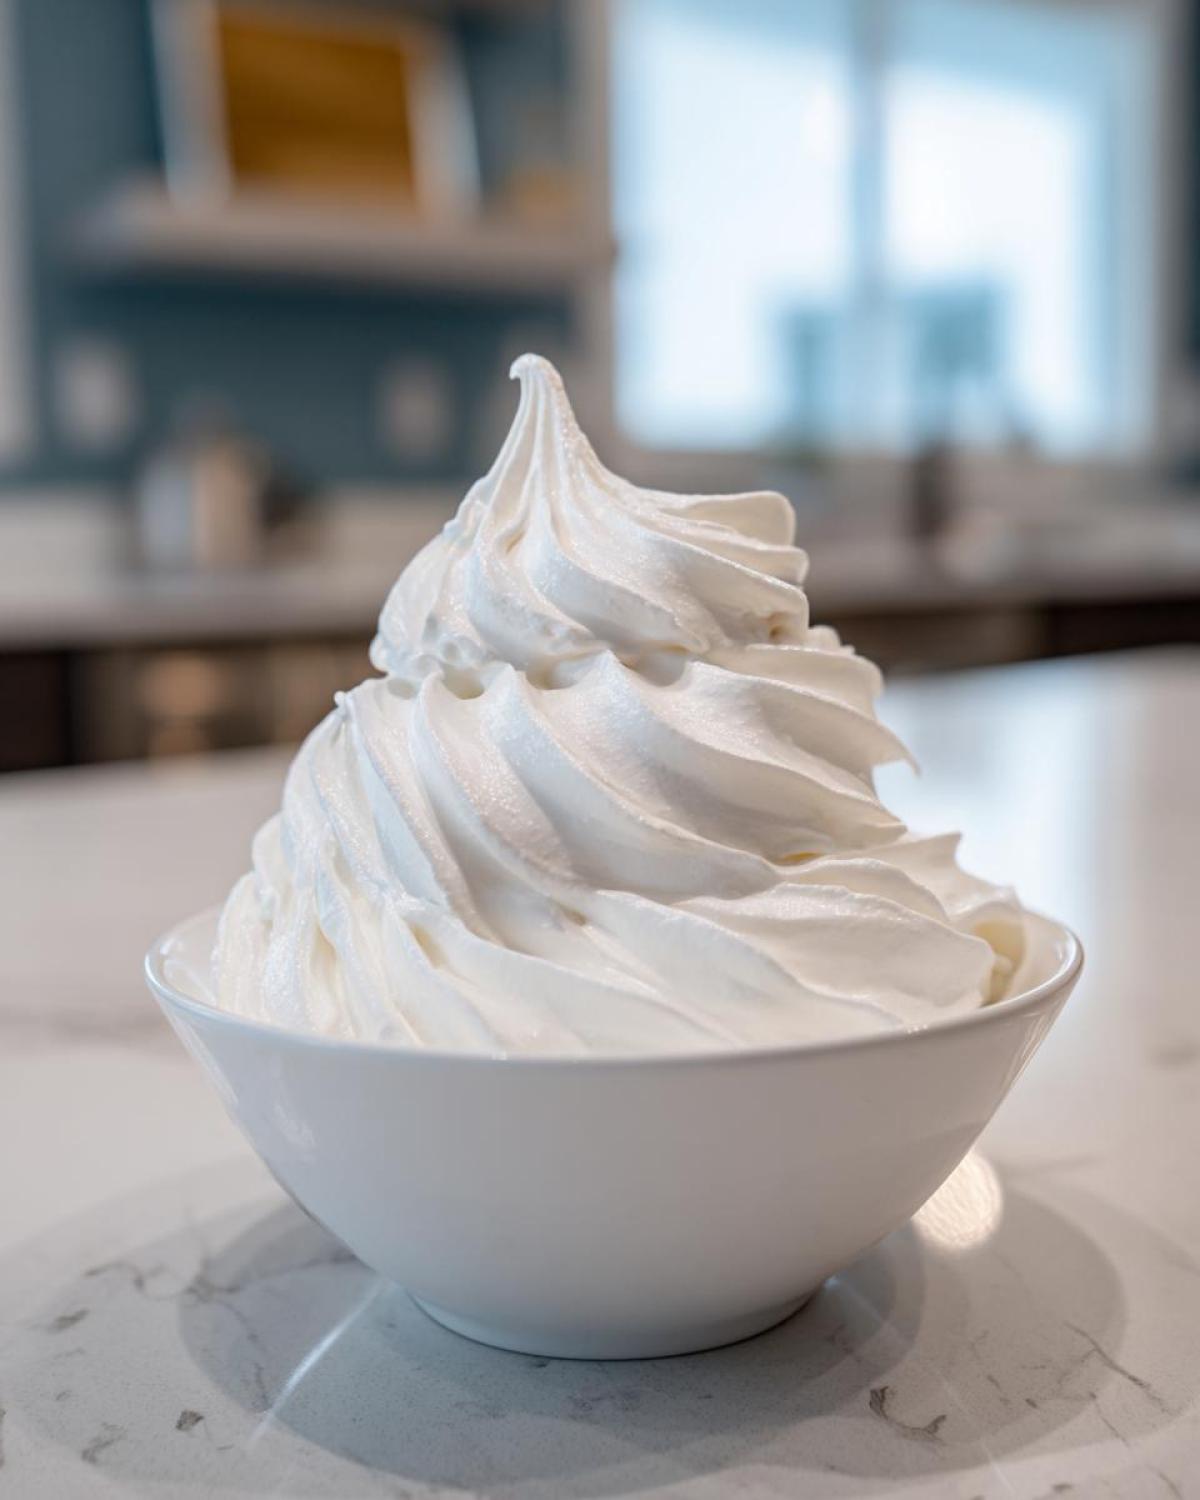
Next, add your warm water and that teaspoon of clear vanilla. Don’t worry if it looks like a thick, lumpy mess at first. That’s totally normal! We’re going to use an electric mixer for this part. Start it on low just until everything pulls together, maybe a minute. Then, power it up to medium-high. You need to let that mixer run for a solid five to seven minutes. Seriously, set a timer. This long whipping time is what incorporates the air needed to make sure your icing dries incredibly stiff and that bright, beautiful white color really pops. When it’s done, it should look glossy and hold firm peaks when you lift the whisk.
For more details on getting that initial mix just right, this guide breaks down the whole process: My guide to easy royal icing.
Tips for Perfect Piping Icing Recipe Results
When this icing comes out of the mixer, it’s already perfect for outlining patterns—we call this stiff consistency. You want to test it by grabbing a spoonful and letting it drizzle back into the bowl. If it piles up on itself and the peak sticks straight up without drooping, you have fantastic piping icing recipe consistency. If that peak immediately flops over to the side, you probably need another minute on high speed!
If you need it even stiffer for structural work or very fine details, just mix in a tiny whisper more of sifted powdered sugar. But generally, that 5-7 minute whip gets us 99% of the way there for crisp outlines.
Adjusting for Flooding Icing Tutorial
Now for the part that makes sugar cookies look professional: flooding! You want the icing to spread smoothly across the cookie without puffing up or leaving messy trails. To get this perfect flow, we carefully add water, usually just a few drops at a time. I mean it—teaspoon by teaspoon.
Once you add some water, mix it on low speed just until incorporated. You’re aiming for that point where if you draw a line through the icing with a spoon, the trail smooths itself out completely within about 10 to 15 seconds. That’s the magic number for a successful flooding icing tutorial—it lets you flood quickly, but it’s thick enough so the color doesn’t bleed right off the edge of your cookie. If you go too thin, it’s a soggy nightmare!
Troubleshooting Common Royal Icing Recipe Issues
Even with the best formula, sometimes things go sideways, right? Don’t panic if your icing acts up! If your finished cookies have icing that cracks badly after drying, it usually means you added too much water during the thinning stage. You need that pure, stiff base to hold up. For a beautiful, hard icing recipe result, always err on the side of slightly too thick when thinning for flooding.
If your icing just refuses to dry hard—I mean, you come back the next day and it’s still gummy—it’s almost always humidity, or possibly you added too much glycerin or corn syrup thinking it was a substitute for water. This recipe relies on the sugar mixture hardening itself. If it’s too runny, just leave it on the counter uncovered for 30 minutes and gently stir every 10 minutes. If your batch is too stiff, don’t try to use it right away; just stir in water one drop at a time until it flows right.
If you need more tips on fixing drying issues, I’ve written all about encouraging that glossy, hard finish on my site: How to get icing that dries hard.
Storage and Keeping Your Cookie Decorating Icing Fresh
This beautiful cookie decorating icing needs to be treated right if you aren’t using it all immediately. The biggest enemy here is air, which dries this stuff out faster than you can say “Christmas cookie.” If you have leftover icing, put it in a sturdy, airtight container immediately. But here is the real secret: you must press a piece of plastic wrap directly onto the surface of that icing before you even put the lid on.
This prevents that skin from forming on top, which is impossible to mix out later! If you have to keep it for a few days—say, up to three—the fridge is fine, but remember you need to let it come to room temperature and then remix it really well before trying to pipe or flood again. It might seem like a pain, but keeping it sealed ensures your next batch is as perfect as the first!
Variations for Your Holiday Cookie Icing
While the clear vanilla flavor in this royal icing recipe is classic for a reason—it keeps the icing bright white—you absolutely can play around with flavor, especially when you’re making up a big batch for holiday cookie icing. Just promise me you stick to clear extracts! Almond extract is fabulous, especially if you’re decorating gingerbread or spiced cookies because it adds just a hint of cozy warmth.
Lemon extract works wonders too, though the zest isn’t recommended unless you’re using a very stiff outline consistency, as too much liquid can ruin your flow. You’ll only need about a half teaspoon of these, as those extracts are potent!
Now, for color! If you want pink Santas or green wreaths, you have to use gel food coloring—never the standard liquid drops you find in the grocery aisle. Those liquid ones are primarily water, and adding too much water will ruin your carefully measured royal icing consistency, turning your piping icing into a soupy mess.
Gel colors are ultra-concentrated. Start with a toothpick dipped in the gel, swirl it into a small portion of icing, and then mix it in completely. You might be surprised how much color you need to get that vibrant look, but take it slow! You can always add more color, but you can’t easily take it away once it’s too runny. You should see my favorite chocolate chip cookie guide for flavor inspiration, even though it’s a different treat: My absolute favorite chocolate chip cookies.
Serving Suggestions for Royal Icing for Sugar Cookies
This royal icing recipe is truly built for decorating! It sings when paired with classic cut-out sugar cookies—you know, the ones that are sturdy enough to handle flooding without warping. It’s also my absolute go-to icing for gingerbread cookies during the holidays. The clean white background really makes the gingerbread colors pop!
But listen up: patience is key before you show off those gorgeous creations. I know you’re excited, but you *must* let them dry completely before you even think about stacking them or putting them in bags. If you rush it, you’ll end up with a beautiful, sticky mess of ruined designs. A full overnight rest is always the safest bet for rigid storage.
If you need the perfect base cookie to test this icing on, grab my soft and chewy cutout recipe right here: The best sugar cookie recipe for cutouts.
Frequently Asked Questions About This Royal Icing Recipe
I get so many questions about this icing because once you master it, you’ll never go back to thin, runny stuff. Here are the few things people always ask me about making this easy royal icing work perfectly for them.
If you’re looking for totally different frosting recipes, I have a wonderful vanilla buttercream recipe too, but honestly, for that perfect hard shell finish, this meringue-based one is the champ!
Can I use this as a gingerbread house glue?
Yes, absolutely! This is actually one of the major perks of having an icing that dries rock hard. It works great as “glue” for holding those gingerbread walls together. However, I strongly suggest you make a slightly stiffer batch than normal for structure.
Remember when we talked about thinning for flooding? For gluing, you want to use even *less* water than you used for your stiff piping consistency, or maybe even none at all! It needs to be so stiff that if you put a dollop on a piece of wax paper, it doesn’t spread out at all—it just sits there, waiting to build a cozy gingerbread fortress.
What makes this the best royal icing?
For me, what separates this from everything else is the reliability, especially because we are using meringue powder. It gives you that beautiful, high-shine finish, which contributes to that glossy royal icing look you see in bakeries. It’s the stability it offers for decoration that seals the deal.
You get that perfect contrast between the thick lines you outline with and the smooth surface you flood with, and crucially, it sets up firm every single time. That lack of guesswork is why I call it the best royal icing recipe available!
How long does the icing take to dry hard?
This is the million-dollar question, and the answer, unfortunately, depends on your environment! If you live somewhere dry and cool, and you’ve only applied a thin flood layer to your cookies, you might be good to stack or package them in about 6 hours. But if it’s humid outside—like a rainy summer day—you better be patient.
For a fully flood-covered cookie, I always recommend waiting 10 to 12 hours, or even better, just let them sit out overnight on a cooling rack before you box them up. That ensures they are completely hard and you won’t smudge all your beautiful work when you move them!
Share Your Success with This Easy Royal Icing
Honestly, nothing brings me more joy than seeing your kitchen creations! I put so much heart into making sure this easy royal icing works perfectly for you, whether you’re piping names onto wedding favors or just making fun designs for the kids.
Once you’ve whipped up the batch and decorated those cookies, please come back and let me know how it went! Drop a rating below—five stars if it dried hard and glossy like it promised! I want to see those gorgeous, perfectly flooded designs!
If you managed to make some amazing holiday cookie icing masterpieces, please share a picture in the comments so we can all ooh and aah over your work. Your feedback isn’t just nice; it helps everyone else reading the post know that this recipe truly is reliable. I love seeing your photos so much!
If you want to browse what other fun baking projects I’ve been up to lately, you can always check out my latest posts here at the blog: What I’ve been baking this week.
PrintFoolproof Royal Icing Recipe: Easy for Beginners, Dries Hard & Glossy

Make perfect royal icing for decorating sugar cookies. This recipe uses meringue powder for a stable, hard-drying finish suitable for outlining and flooding.
- Prep Time: 10 min
- Cook Time: 0 min
- Total Time: 10 min
- Yield: Enough to cover 2 dozen cookies
- Category: Baking Decoration
- Method: Mixing
- Cuisine: American
- Diet: Vegetarian
Ingredients
- 3 cups confectioners’ sugar, sifted
- 2 tablespoons meringue powder
- 6 tablespoons warm water
- 1 teaspoon clear vanilla extract (or other clear flavoring)
Instructions
- In a large bowl, whisk together the sifted confectioners’ sugar and meringue powder.
- Add the warm water and clear vanilla extract to the dry ingredients.
- Beat the mixture with an electric mixer on low speed until combined, about 1 minute.
- Increase the speed to medium-high and beat for 5 to 7 minutes until the icing is very stiff, bright white, and holds firm peaks.
- To achieve a thinner consistency for flooding, add water one teaspoon at a time, beating well after each addition, until the desired flow is reached.
- Use immediately or cover tightly with plastic wrap pressed directly onto the surface to prevent drying.
Notes
- For outlining consistency, the icing should hold its shape when drizzled from a spoon.
- For flooding consistency, the icing should flow smoothly and the surface should settle back into itself within 10 to 15 seconds after drawing a line through it.
- If the icing becomes too thick while working, thin it with a few drops of water.
- Store unused icing in an airtight container in the refrigerator for up to 3 days; remix before use.
Nutrition
- Serving Size: 1/4 cup prepared icing
- Calories: 380
- Sugar: 98
- Sodium: 5
- Fat: 0
- Saturated Fat: 0
- Unsaturated Fat: 0
- Trans Fat: 0
- Carbohydrates: 100
- Fiber: 0
- Protein: 2
- Cholesterol: 0