

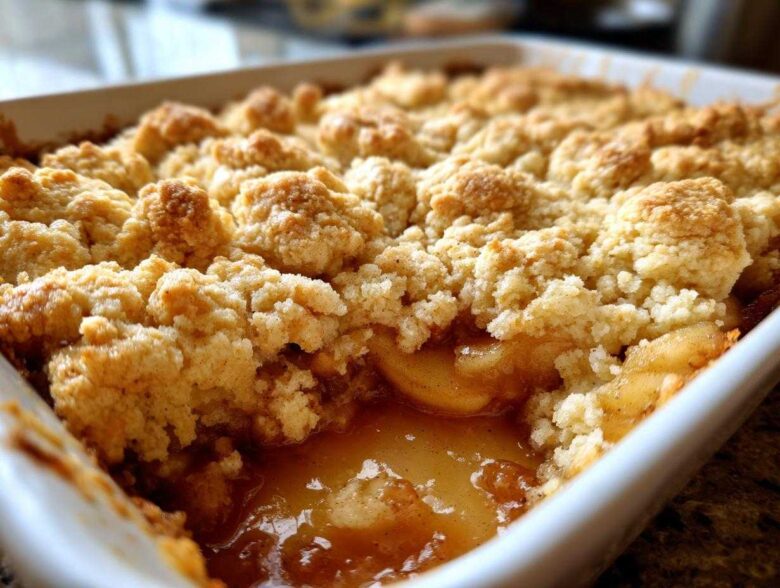
Oh, there is simply nothing better than the smell of warm, spiced apples baking. When Kenji and I first moved to New York City, I immediately knew I needed a reliable, deeply comforting dessert recipe ready for those chilly evenings. Forget those fancy baked goods sometimes; my heart always goes back to the simple joy of baking from scratch. That’s why I’m sharing what I truly believe is The Ultimate Easy, Buttery apple cobbler recipe with Cinnamon Biscuit Topping. I’ve taken the traditional simplicity I learned back in Kyoto and perfected the rich, tender filling and the golden, crisp topping right here in our new American kitchen. If you want to know more about our journey from Kyoto to NYC, you can read all about Kenji and me over on our story page. Trust me, this easy apple cobbler will be your new favorite warm apple dessert.
Why This is the Best Apple Cobbler Recipe You Will Make
When I call this the “Ultimate” recipe, I truly mean it. You don’t need fancy skills or hours of fussing. This homemade apple cobbler delivers pure comfort without the effort. Why should you save this recipe right now?
- It really is an easy apple cobbler. Everything comes together faster than you think!
- The biscuit topping is unbelievably rich—totally buttery cobbler topping perfection.
- We guarantee tender apple filling that never gets mushy, thanks to Granny Smiths.
- It’s the perfect simple fall baking project that fills your whole house with the smell of cinnamon.
If you love this kind of simple, wonderful topping, you must also look at my recipe for fluffy buttermilk scones. They use just the right amount of cold butter!
Gathering Ingredients for Your Apple Cobbler Recipe
To make the best apple cobbler recipe, you need to treat your ingredients with respect! I always lay everything out first; it saves so much panic later when things are bubbling hot. We have two main groups here: the sweet, spiced apples and that wonderful biscuit topping. Make sure your butter is very cold for the topping—it’s essential for that flaky bite!
For the filling, we need six medium Granny Smith apples, sliced thinly—about 1/4 inch thick is perfect for tenderness. We coat those with sugar, flour, cinnamon, nutmeg, lemon juice, and just a touch of water to get things started.
For that beautiful, tall biscuit topping, you’ll gather flour, sugar, baking powder, salt, the coldest butter we can find cut into tiny cubes, and buttermilk. Don’t forget the egg wash and coarse sugar for sprinkling on top; that’s how we get that gorgeous golden crust dessert look!
If you ever need a refresher on making amazing biscuits, check out my technique for flaky, tender buttermilk biscuits. The topping procedure is very similar!
Tips for the Perfect Tender Apple Filling in Your apple cobbler recipe
The apples are the star here, absolutely! If they turn out mushy or taste too sweet, the whole experience fails. I promise you, paying attention to this first step transforms your dessert from good to that perfect old fashioned apple dessert memory.
The secret to preventing soggy apples is twofold: choosing the right apple and making sure we coat them evenly before they bake. We toss them with just enough flour mixed with the sugars—this coating thickens the juices as they cook, giving you that luscious sauce rather than thin, watery syrup underneath your biscuits. Kenji often helps me with this part, making sure not one slice misses its coating!

Choosing the Right Apples for a Great apple cobbler recipe
I know some people use Honeycrisp or Gala, but for a true balance in your apple cobbler recipe, you need tartness! That’s why I insist on Granny Smith apples. Their firmness holds up beautifully against the heat, and their acidity cuts through the richness of our buttery topping. They give you that wonderfully satisfying chew.
If you want to practice your apple skills beforehand, try making my simple homemade applesauce—it teaches you how to handle apple breakdown, but remember, for the cobbler, we want them firm!
Making the Buttery Cobbler Topping for this apple cobbler recipe
Now for the part that puts this recipe way above any old crisp or crumble—the buttery cobbler topping! This isn’t a cakey layer; it’s more like a soft, rich biscuit dropped right on top of those warm apples. The key word here is COLD. You absolutely must use butter that is straight from the refrigerator and cut it into small, tiny cubes.
When you mix the dry ingredients—flour, sugar, baking powder, and salt—you want to whisk them well so everything is evenly distributed. Then you cut in that cold butter. I use my fingertips for this part because the heat from my hands travels quickly, and we don’t want to melt that butter before it hits the oven!
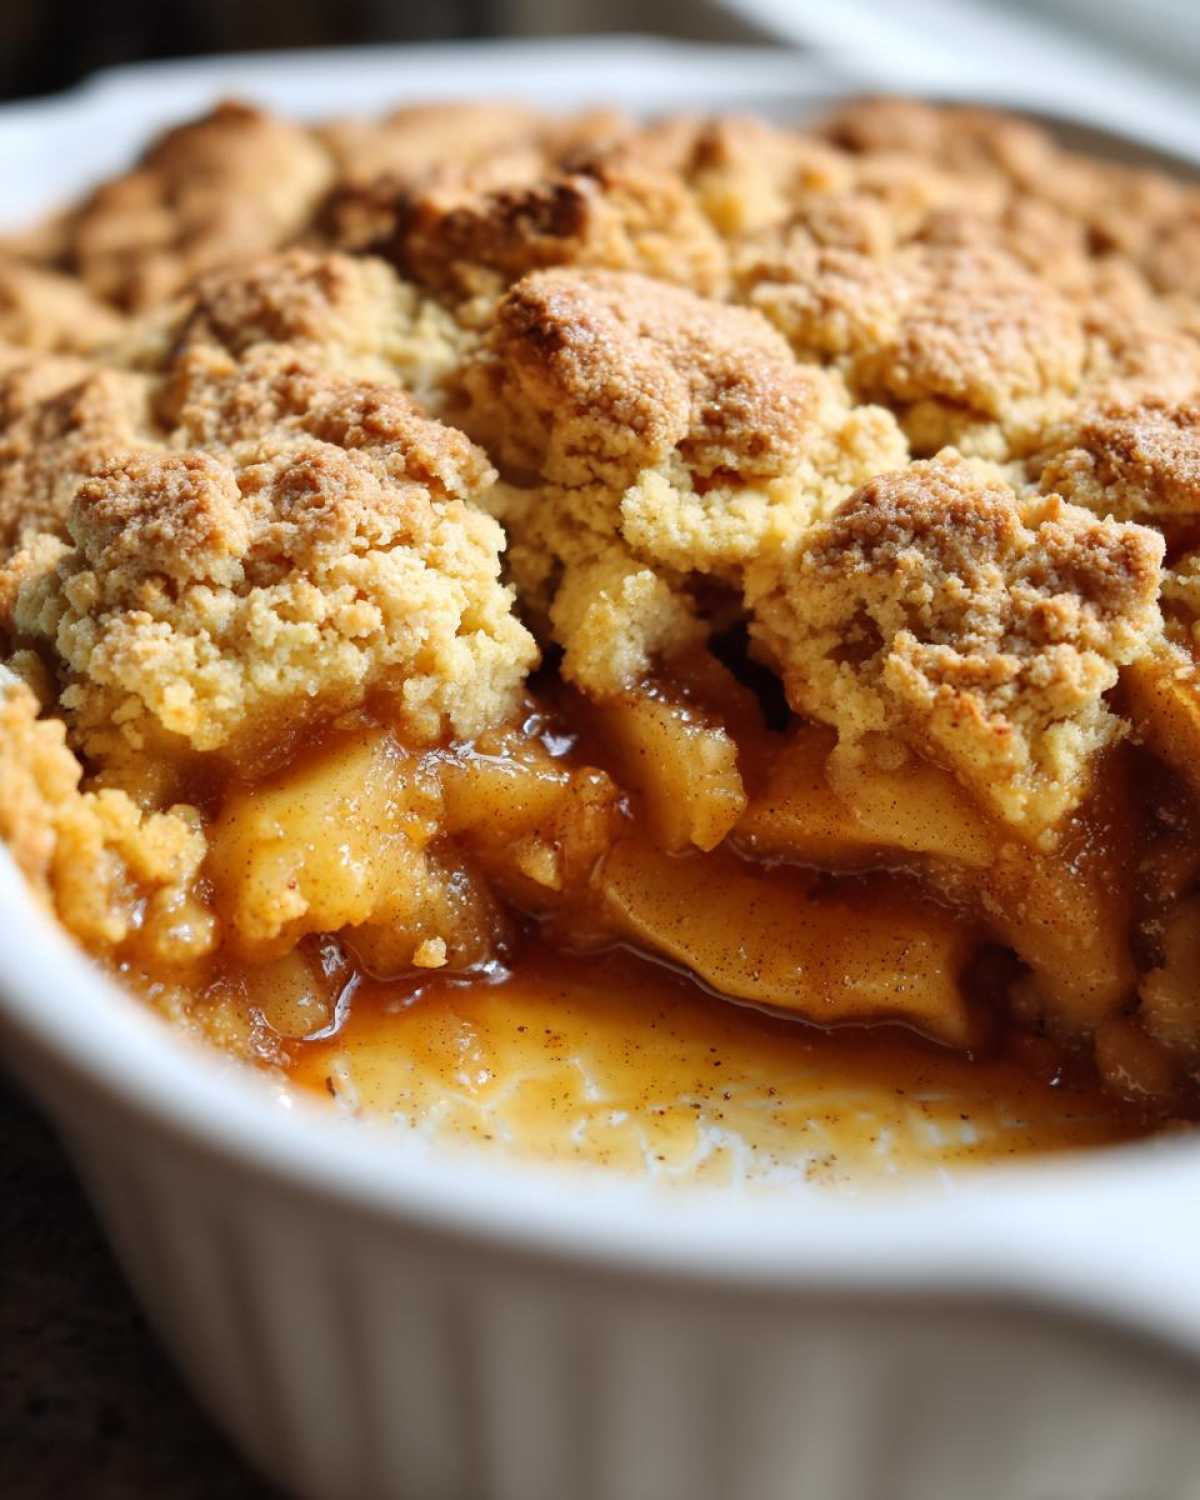
Once the butter looks like coarse crumbs with some pea-sized chunks still visible, dribble in the buttermilk. Now, stop working the dough! You mix just until the flour disappears. Seriously, if you overmix this topping, it’ll turn tough, and we want soft indulgence. We love the simple, sweet flavor this topping brings to our homemade apple cobbler.
If you’re looking for other ways to use buttermilk in fluffy doughs, you have to try my pancakes recipe. The science of keeping things cold is consistent!
Step-by-Step Instructions for Your Easy Apple Cobbler
Alright, here is where the magic really starts! First thing first: get your oven heating up to 375°F (190°C). I always grease my 8×8 inch dish right away. Now, take that beautiful apple mixture we tossed earlier—the one smelling sweetly of cinnamon—and pour it right into that prepared dish. You want an even layer across the bottom. Kenji always insists on making sure the apples are evenly spread so every single bite gets covered in that warm fruit mixture!
Next, we work on the topping. Remember the shaggy dough we just mixed? You don’t want to knead it at all. Instead, just use two spoons or even your hands—carefully!—to drop spoonfuls of that buttery biscuit dough right over the apples. Don’t worry if you don’t cover every bare spot. Honestly, those little gaps showing the bubbling apples are the best part! We want those pockets of bright fruit showing through.
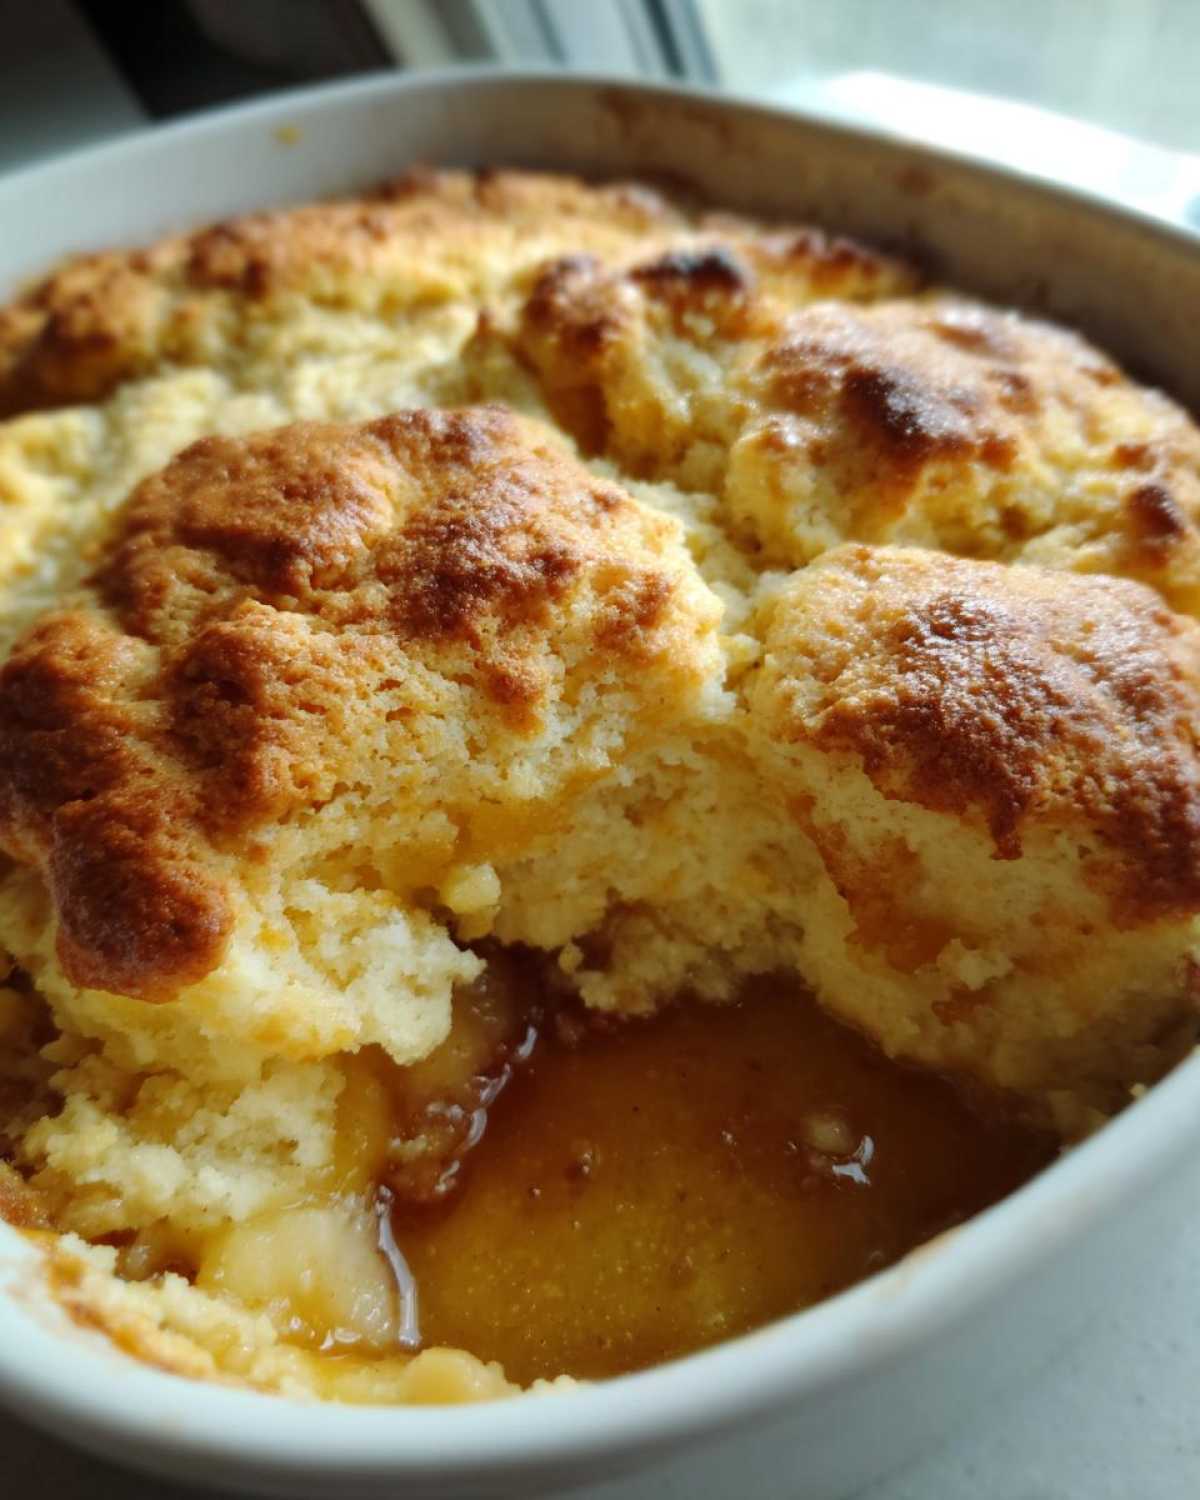
Finally, for your golden finish, gently brush the tops of those biscuit mounds with the beaten egg—just a light coat! Then, sprinkle generously with that coarse sugar. This is important for that crunch! We bake this lovely thing for about 35 to 45 minutes. You are looking for the topping to be golden brown and, most importantly, for the apple filling to be bubbling thickly around the edges. You can find more tips on cakes and quick baking projects like this one over on my sour cream coffee cake post!
Baking and Resting: Achieving the Golden Crust Dessert
Getting that perfect look takes patience, but it’s worth it! When you slide your apple cobbler recipe into the oven, watch it closely after about 30 minutes. You are looking for two main things—the biscuit topping should turn a deep, beautiful golden brown, and you should see the apple filling bubbling up thickly around the edges of your pan. That thick bubbling means the thickening agent (the flour we added) has activated!
But please, don’t slice into it immediately! This is crucial, my friends. You must let this glorious golden crust dessert rest for at least 15 minutes after it comes out. If you serve it right away, that beautiful, syrupy filling will just run everywhere. Resting lets the juices settle and thicken up just right. It’s almost as delicious to watch it cool down as it is to eat it warmed up later with some rich, homemade pudding, like the one I shared here for our chocolate pudding!
Serving Suggestions for This Warm Apple Dessert
Oh, I know you’re excited to dig in the moment this beautiful dish comes out of the oven, but just hold that thought! This warm apple dessert is truly at its peak when served slightly warm, not piping hot. The absolute classic pairing, and my favorite way, is with a big, glorious scoop of good vanilla ice cream. Seriously, the cold cream melting into that hot, spiced apple filling is pure heaven.
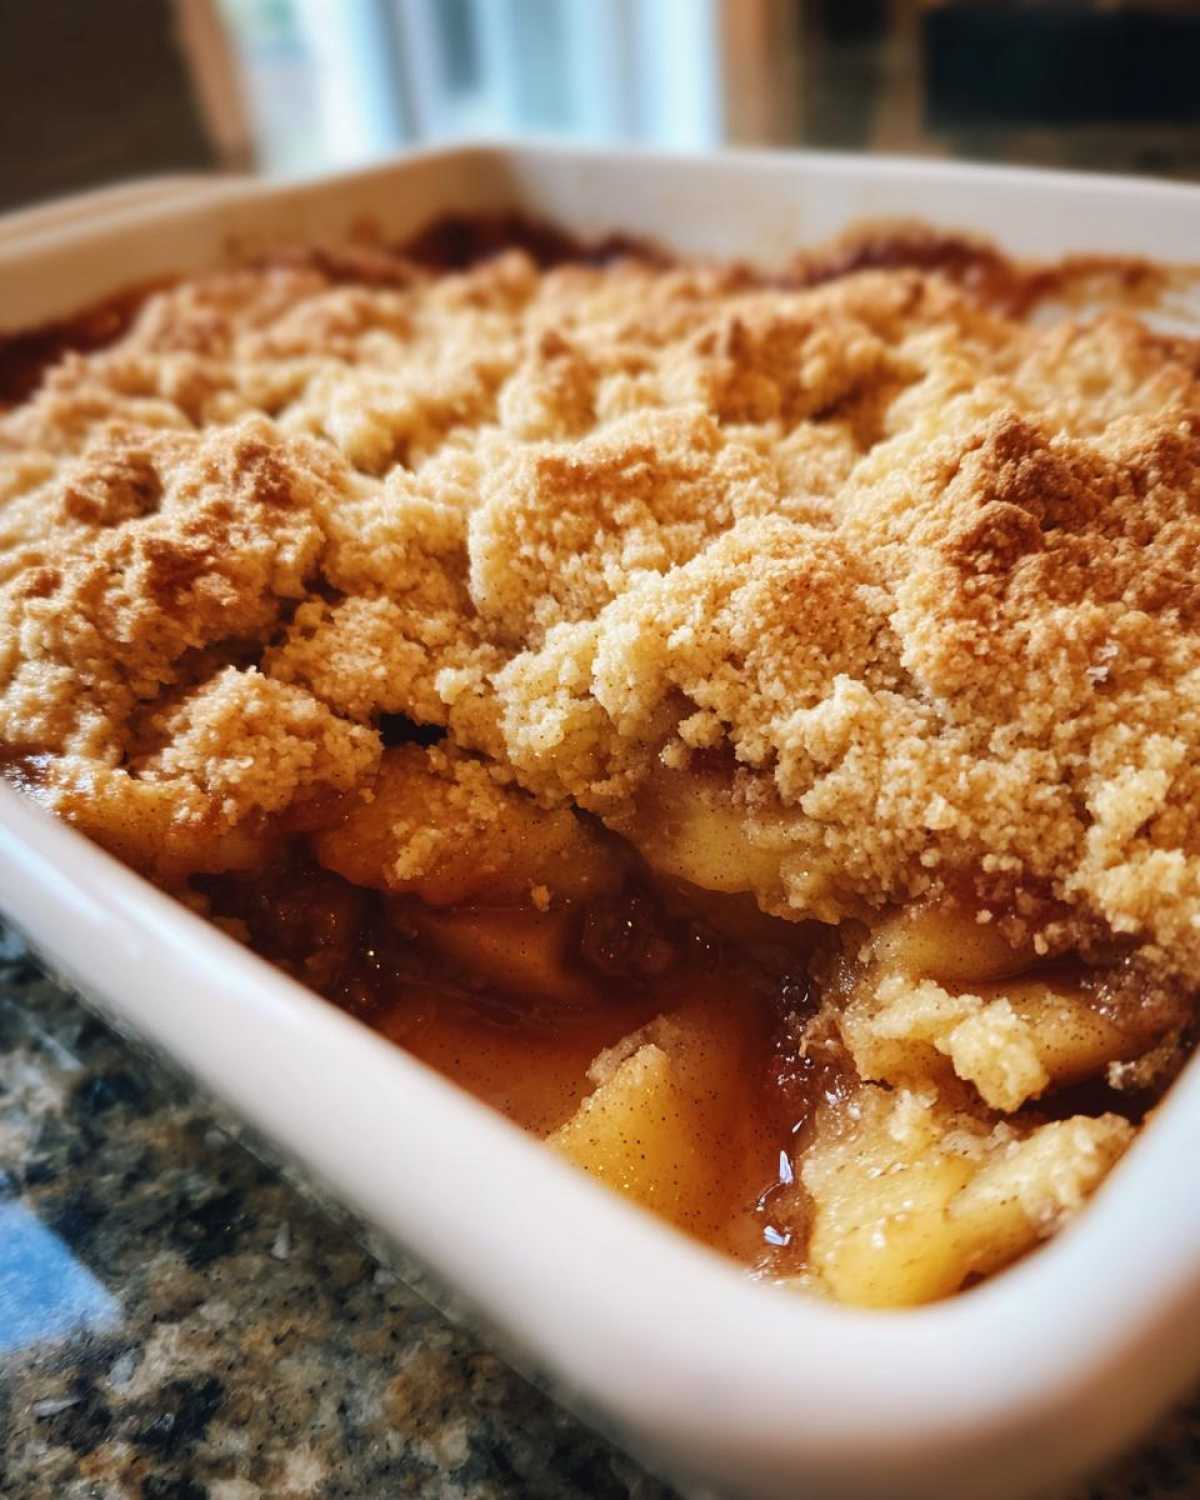
It’s one of our favorite additions to our collection of Cozy Night In Recipes. Sometimes, if we are feeling extra indulgent, I’ll make a simple drizzle of caramel sauce over the top. But honestly, the buttery biscuit topping and the sweet apples need very little help to shine!
Troubleshooting Common apple cobbler recipe Issues
Even the best apple cobbler recipe has an off-day sometimes! Don’t let a little baking hiccup spoil your mood. The most common worry I hear is the dreaded soggy bottom. Usually, this happens because the apples released too much liquid too fast. Next time, make sure you are tossing those apples with the tablespoon of flour right away—that flour needs to coat everything before it hits the oven so it can grab that moisture!
If your biscuit topping seems tough or chewy instead of tender, it means you mixed the buttermilk in for too long. Remember, we want shaggy dough! Stop stirring the moment the flour disappears. If you want a guaranteed great outcome next time, look at my notes on date nut bread; the mixing technique for the wet dough is very similar!
If your topping isn’t browning, go ahead and brush it with that egg wash; the coarse sugar needs something sticky to cling to for that beautiful golden finish.
Storage and Reheating Your Homemade Apple Cobbler
Don’t you hate when leftovers aren’t as good as the first day?
If you are lucky enough to have any of this glorious dessert left, cover the dish tightly with foil or plastic wrap. This easy apple cobbler is fine sitting on the counter for about a day, especially if it’s cool. If you have more than that, tuck it into the refrigerator.
The trick to reheating is beating the microwave! Don’t use it unless you absolutely must, because it makes the topping soggy. I highly recommend reheating individual servings in a toaster oven or air fryer for a few minutes—that brings back the perfect crunch on top. You can also use a regular oven at 300°F until warmed through. If you need a great topping base for later, my classic cream cheese frosting recipe keeps wonderfully!
Frequently Asked Questions About This apple cobbler recipe
It’s natural to have questions—baking should feel like a joy, not a chore! I’m happy to share what I’ve learned over the years to make sure your homemade apple cobbler turns out perfectly, just like an old fashioned apple dessert should! You can find even more of our culinary adventures over on the main Whisk Daily blog.
Can I make this apple cobbler recipe ahead of time?
You certainly can prepare the apple filling mixture a day ahead and keep it covered in the fridge. That makes this a wonderfully quick apple dessert recipe for weeknights! However, I strongly recommend making the buttery biscuit topping right before you bake it. Cold butter is essential for that tender texture, and it doesn’t hold up well sitting around once the buttermilk is added.
What is the secret to a tender apple filling?
The key to tender apples that aren’t mushy is twofold, as we discussed! First, use firm apples like Granny Smith. Second, make sure you are tossing the slices thoroughly with the dry mixture—that little bit of flour and sugar acts like armor, helping to thicken the juices as they cook, resulting in a luscious sauce instead of watery puddles.
PrintThe Ultimate Easy, Buttery Apple Cobbler Recipe with Cinnamon Biscuit Topping
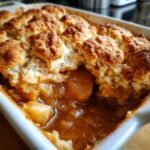
You will love this easy apple cobbler recipe. It features tender, cinnamon-spiced apples covered with a rich, buttery biscuit topping. This comforting dessert is perfect for fall or any cozy night in.
- Prep Time: 20 min
- Cook Time: 40 min
- Total Time: 60 min
- Yield: 6 servings
- Category: Dessert
- Method: Baking
- Cuisine: American
- Diet: Vegetarian
Ingredients
- 6 medium Granny Smith apples, peeled, cored, and sliced about 1/4 inch thick
- 1/2 cup granulated sugar (for apples)
- 1/4 cup packed light brown sugar (for apples)
- 1 tablespoon all-purpose flour (for apples)
- 1 teaspoon ground cinnamon
- 1/4 teaspoon ground nutmeg
- 1 tablespoon lemon juice
- 1/4 cup water
- 1 cup all-purpose flour (for topping)
- 1/4 cup granulated sugar (for topping)
- 1 tablespoon baking powder
- 1/2 teaspoon salt
- 1/2 cup (1 stick) cold unsalted butter, cut into small cubes
- 1/2 cup buttermilk
- 1 large egg, beaten (for egg wash)
- 1 teaspoon coarse sugar (for sprinkling)
Instructions
- Preheat your oven to 375°F (190°C). Lightly grease an 8×8 inch baking dish or a 9-inch pie plate.
- In a large bowl, combine the sliced apples, 1/2 cup granulated sugar, brown sugar, 1 tablespoon flour, cinnamon, nutmeg, lemon juice, and water. Toss gently until the apples are evenly coated.
- Pour the apple mixture into the prepared baking dish and spread it into an even layer.
- Prepare the biscuit topping: In a separate medium bowl, whisk together the 1 cup flour, 1/4 cup sugar, baking powder, and salt.
- Cut in the cold butter using a pastry blender or your fingertips until the mixture resembles coarse crumbs with some pea-sized pieces of butter remaining.
- Stir in the buttermilk until just combined. Do not overmix; the dough will be shaggy.
- Drop spoonfuls of the biscuit dough evenly over the apple filling. You do not need to cover the entire surface; gaps are fine.
- Brush the tops of the biscuits lightly with the beaten egg and sprinkle with coarse sugar.
- Bake for 35 to 45 minutes, or until the topping is golden brown and the apple filling is bubbling thickly around the edges.
- Let the apple cobbler cool on a wire rack for at least 15 minutes before serving. Serve warm with vanilla ice cream.
Notes
- For the best texture, use firm, tart apples like Granny Smith.
- If you do not have buttermilk, mix 1/2 cup regular milk with 1/2 teaspoon of white vinegar or lemon juice and let it sit for 5 minutes before using.
- This homemade apple cobbler tastes best served warm.
Nutrition
- Serving Size: 1 serving
- Calories: 380
- Sugar: 35
- Sodium: 250
- Fat: 18
- Saturated Fat: 11
- Unsaturated Fat: 7
- Trans Fat: 0.5
- Carbohydrates: 55
- Fiber: 3
- Protein: 5
- Cholesterol: 55