

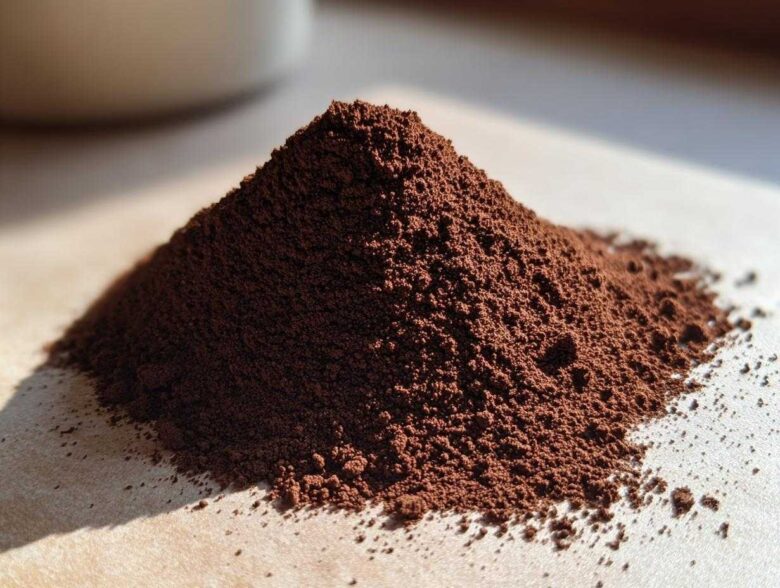
Oh, friends, as the air turns crisp and the cozy sweater collection comes out, there is only one flavor that truly signals winter has arrived for my Kenji and me: deep, satisfying chocolate. Forget those dusty packets you keep in the back of the cupboard; we are making the real deal today! I’m sharing my secret for the absolute best Big Batch Homemade Hot Cocoa Mix, made right here in our New York kitchen with pantry staples. Trust me, this rich, velvety drink mix is so simple to prepare in bulk—perfect for stocking up or wrapping up as a thoughtful homemade gift.
Why This Big Batch Hot Cocoa Mix is Your New Winter Staple
When I make this big batch homemade hot cocoa mix, I’m not just making powder; I’m preparing happiness for the next two months! It’s truly wonderful because it satisfies that craving for quality without needing a trip to the store every time someone asks for cocoa. Kenji loves how much we save by making it in bulk, and I love that I control every bit of the flavor profile.
- It’s incredibly rich, using high-quality cocoa so it’s never thin or watery.
- You can whip up nearly 30 servings in about ten minutes—just one mixing session!
- It is absolutely perfect for dividing up and turning into thoughtful, personalized presents. I’ve already planned three jars for my new neighborhood friends this year.
Achieving That Velvety, Creamy Hot Cocoa Recipe Texture
The secret to that velvety smoothness we all adore in a wonderful creamy hot cocoa recipe is twofold: using the right sugar and making sure your cocoa powder is premium quality. Kenji insists on using Dutch-processed cocoa because it dissolves better and provides that deep, non-bitter chocolate foundation. It truly makes a difference in the final sip!
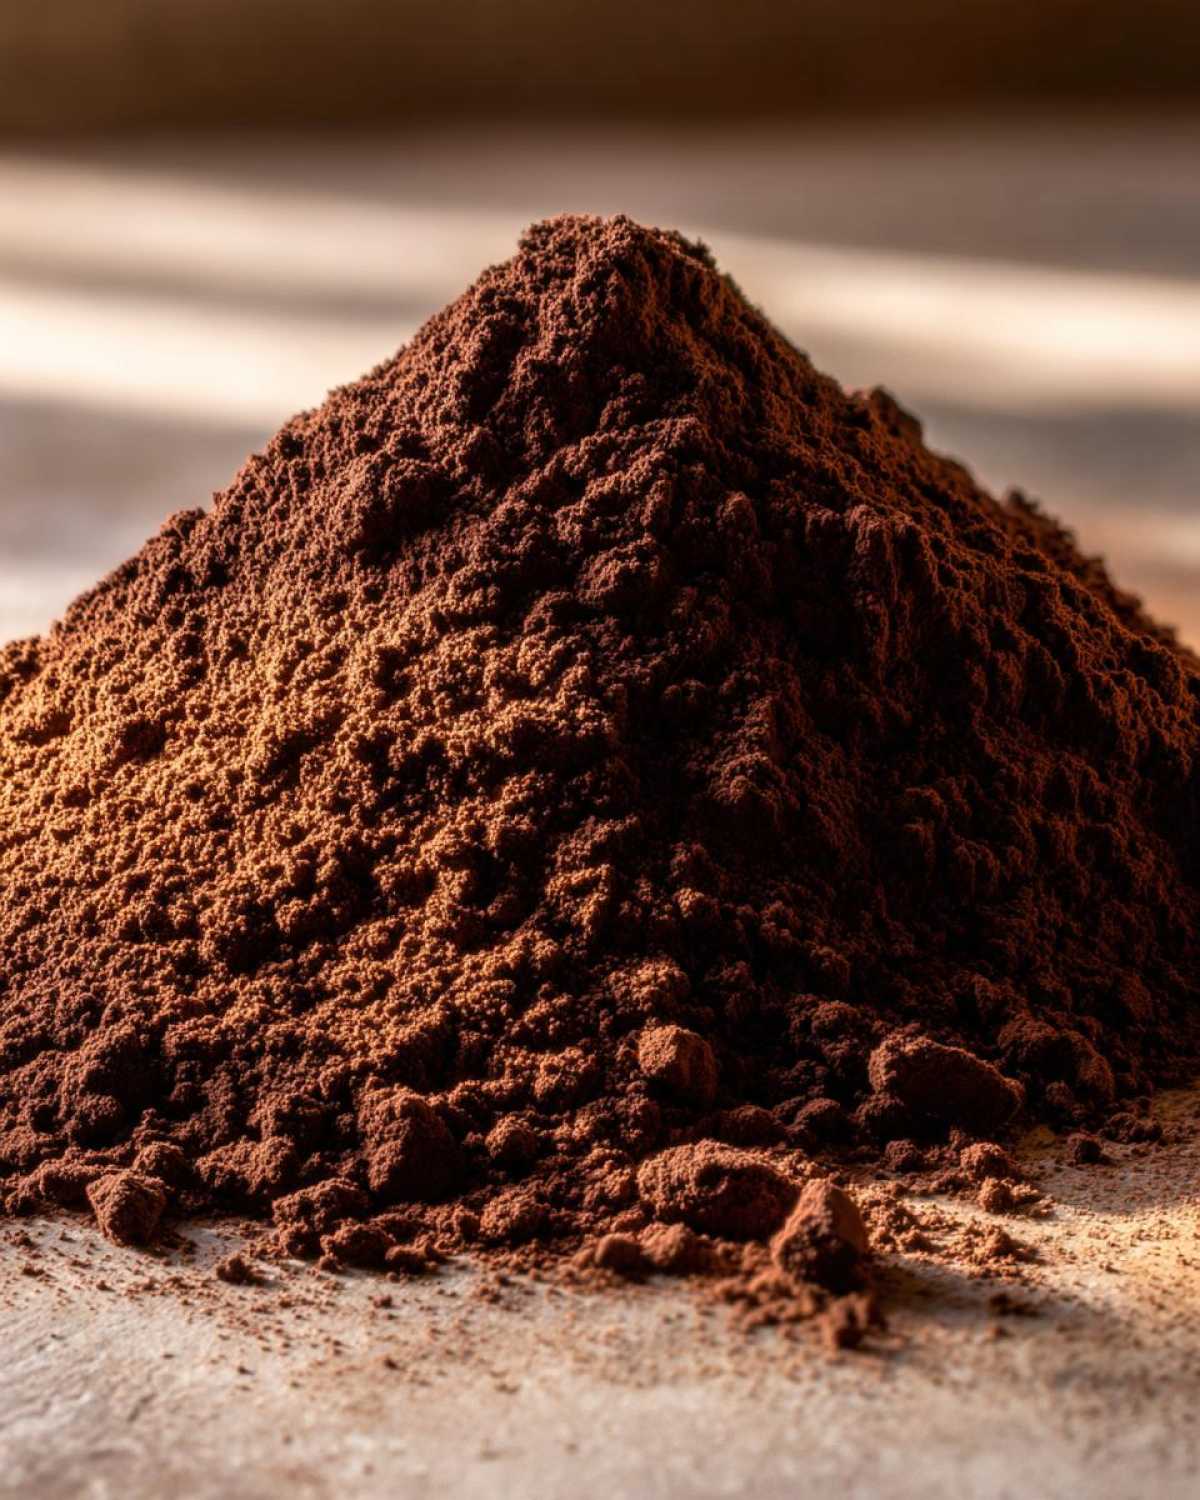
The Best Hot Cocoa Mix Recipe for Homemade Gift Food Ideas
If you’re looking for that perfect, easy-to-package item for teachers, neighbors, or mail carriers, this recipe is it. Because it’s a big batch, you simply divide it out. It’s such a thoughtful, cozy thing to give. When I package this hot cocoa mix, I always attach a little tag explaining the best way to serve it—it makes the gift feel complete!
You can see how popular this idea is from others who love making big batch hot cocoa for the holidays. It’s a tried-and-true method for easy, heartwarming gifts!
Ingredients for Your Pantry Staple Hot Cocoa Mix
Gathering these five components is the easiest part of the whole process, I promise! Because this is a no-cook recipe, the quality of what goes in really dictates the quality of what comes out. Don’t skimp on the cocoa! I like to have everything measured into small bowls before I start, just like Kenji does when he’s cooking his favorite Japanese dishes.
- 4 cups Granulated Sugar
- 2 cups Unsweetened Cocoa Powder (This is where the richness comes from!)
- 1 cup Powdered Milk (Optional, we’ll talk about this next)
- 1 teaspoon Salt (Trust me, this is crucial!)
- 1 teaspoon Instant Espresso Powder (Oh, this is my little secret for depth!)
Ingredient Notes and Substitutions for Hot Chocolate Mix Without Powdered Milk
Now, about that powdered milk—it’s optional, which is wonderful if you need a dairy-free option or simply don’t keep it on hand. If you leave it out, you are making a truly lovely DIY hot chocolate powder! The main difference, however, is the final texture of the drink. The milk solids give that special, luxurious creaminess when you add hot liquid.
If you skip it for a dairy-free mix, I highly recommend using actual hot milk—whole milk is best—instead of water when you make your personal cup. That way, you still bring back some of that creamy flavor and texture to your final beverage. It’s a simple switch that makes a big difference!

How to Prepare Your Big Batch Hot Cocoa Mix
Putting this big batch homemade hot cocoa mix together is so fast; it’s really just a matter of combining and mixing! Since everything is dry and we aren’t baking anything, the instruction set is very straightforward. The real key here is the stirring—don’t rush that part, or you’ll end up with pockets of pure salt in your mug later, and that is never fun!
- First things first, get a very large bowl. I mean big! You need room to work and whisk without spilling your ingredients everywhere.
- Start by dumping the 4 cups of sugar and the 2 cups of cocoa powder right in. Whisk them together first, gently, to break up any clumps hiding in that cocoa. This pre-mixing step is so important for smooth results.
- Now, add the powdered milk (if you are using it for that extra creamy texture), the salt, and my secret weapon—the instant espresso powder.
- Here is where the magic happens: You need to whisk everything together for a full two minutes. Yes, two minutes! This thoroughly distributes that small amount of salt and the espresso evenly throughout the sugar. If you just stir it for 20 seconds, you won’t get the consistent flavor you deserve in every single cup of your DIY hot chocolate powder.
- Once it looks uniform, the job is done! You can’t over-mix dry ingredients, so just mix until you’re sure it’s blended, like the lovely bulk recipes you see other cooks are making. Transfer the finished mix into your storage jars, or get ready to scoop some out for immediate sipping. I always check my finished product against the gorgeous results people get when following recipes like those from I Am Baker—it’s that rich looking!
Tips for Success When Making DIY Hot Chocolate Powder
When I first started making this at home, I learned a few little tricks that make the process even cleaner and ensure perfect distribution.
- If your cocoa powder is clumpy—and it often is!—run it through a fine-mesh sieve into the big bowl first, just before you mix it with the sugar. This smooths it out before you even start whisking.
- Use a whisk that has thin wires. A big wooden spoon tends to just push the powders around rather than actually aerating and mixing them properly, which is what we need for this dry recipe.
- Always clean your mixing tools immediately! Cocoa powder holds onto everything, and you don’t want leftover chocolate dust interfering with your next baking project.

Serving Your Rich Chocolate Powder Recipe
Now that you have this amazing, flavorful mix ready to go, the best part is tasting the fruits of your labor! Making a single, perfect cup of hot cocoa is incredibly simple. You only need about 1/4 cup of this dry mix for every 1 cup of hot liquid you use.
When preparing your serving of this rich chocolate powder recipe, you have a choice between water or milk. If you use hot water, you will get a slightly lighter, perhaps more traditional (and definitely dairy-free!) cup of hot chocolate. It dissolves beautifully, but the flavor is a bit more intense on the chocolate notes.
However, if you want that luxurious, decadent hug in a mug—which Kenji and I usually prefer—you absolutely must use hot milk! Whole milk works best for richness, but even 2% gives you a much creamier mouthfeel than water does. Just pour your measured liquid slowly over the powder in your mug and stir gently! The high sugar content we used ensures it dissolves quite easily, leaving you ready to sip in just a moment.
Storage & Make-Ahead Tips for Your Homemade Hot Cocoa Mix
Since we made such a glorious big batch homemade hot cocoa mix, you need to know how to keep it fresh! This is a dry mix, which is the best part—it keeps wonderfully as long as you treat it right. Store your finished powder in clean, dry, airtight containers. If you keep it sealed up and away from humidity (so, not right next to the steamy kettle!), this mix will happily sit in your pantry for months. It’s such a comfort knowing I can just dip into this batch anytime I need a cozy winter night setup!
Creating Beautiful Hot Cocoa Mix in a Jar Gifts
Oh, this is my favorite use for this dry mix, really! If you’re making this as a tangible present, you absolutely must turn it into a beautiful hot cocoa mix in a jar. Find a pretty mason jar—the half-pint or full-pint sizes look lovely. You need to carefully spoon the dry mix into the jar until it’s about three-quarters full.
Now for the fun flair! You can layer things right on top of this dry mix. I highly recommend topping it off with a layer of small, fun-colored marshmallows, or maybe even some chopped up dark or white chocolate chips that will melt into the drink later. Make sure you seal the lid tightly on the jar!
The most important step when gifting is attaching the instructions. You don’t want your loved ones guessing how much to use! I always tie a sweet little tag around the neck of the jar—maybe with some raffia or a pretty ribbon—that tells them exactly: ‘Mix 1/4 cup of powder with 1 cup of hot milk for the best, creamiest results!’ It makes the presentation so much more thoughtful, don’t you think?
Customizing Your Cozy Winter Drink Mix
While this hot cocoa mix truly shines on its own—rich, pure, and comforting—I absolutely adore tinkering with flavors! After all, cooking is about putting a little bit of your own spirit into the food, isn’t it? Since we made such a huge batch of the base powder, we have plenty left over to try out some fun variations. It’s so easy to personalize your cozy winter drink mix!
A little something I learned from Kenji’s mother, who loved a bit of spice in everything, is adding a tiny pinch of cayenne pepper to the dry mix. It doesn’t make it blazing hot, but it gives the chocolate such a wonderful, warming depth that is perfect for a truly cold evening. It’s like a little secret kick!
Another fantastic twist involves mint. If you want a peppermint version, wait until you dissolve the mix in the hot milk. Adding a drop or two of pure peppermint extract right before serving is much better than mixing it into the bulk powder, as the extract can sometimes clump up the dry ingredients over time. You can find some delicious inspiration on how to add those little extra flavors over at Secret Ingredient Hot Cocoa’s site!
Here are a few ways I like to customize:
- Spiced Cocoa: Add 1 teaspoon extra ground cinnamon and that tiny pinch of cayenne to every batch of the main recipe.
- Mocha Magic: Since we already put espresso powder in the base recipe, just use coffee instead of milk when you prepare your serving for an immediate mocha treat!
- White Chocolate Swirl: Melt a tablespoon of good quality white chocolate with your hot milk before mixing in the cocoa powder. Oh, it is so decadent!
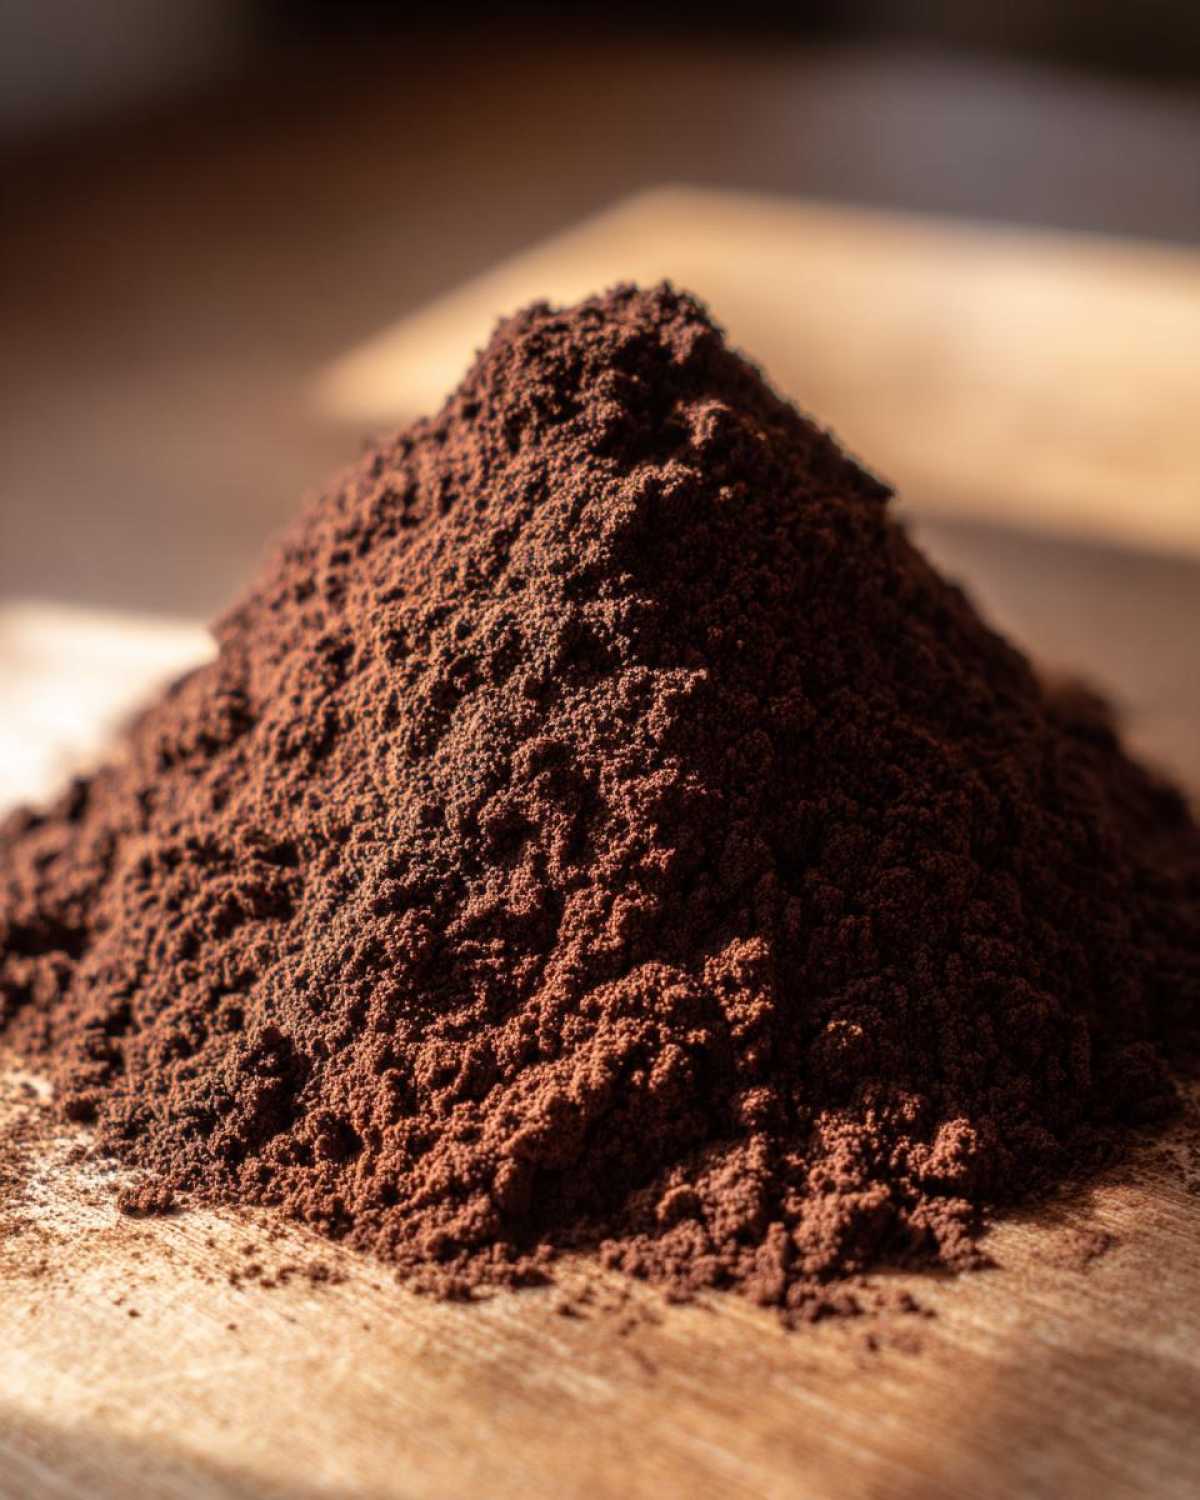
It’s amazing how just adding a little extra something turns your perfectly made homemade hot cocoa mix into a specialty drink every single time. Enjoy experimenting!
Frequently Asked Questions About This DIY Hot Chocolate Powder
I know when you make a big batch of anything, one or two questions always pop into your head right away! I’ve gathered some of the things people ask me most often about this DIY hot chocolate powder. If you’re making this for the first time, these little bits of advice should help you feel totally confident!
Can I use regular milk powder instead of powdered milk in this hot cocoa mix?
That’s an excellent question about ingredients! When the recipe calls for powdered milk, we mean that fine, dry powder made from evaporated milk—it helps give that wonderful body to the final beverage. If you meant using liquid milk instead of the powder, that would completely change the recipe, as we are making a dry mix here! If you are hoping for that truly creamy hot cocoa recipe texture, please stick to using the powdered form in the mix, and then use liquid hot milk when you brew your individual cup. That combination is unbeatable!
How long does this homemade hot cocoa mix last when stored correctly?
Because this is a truly no-cook hot cocoa powder made entirely of dry pantry staples, it lasts a wonderfully long time! As long as you keep it sealed up tight in a completely airtight container and store it somewhere cool and dry—away from steam or humidity—your mix should stay perfectly fresh and flavorful for six months, easily. Sometimes I think it even tastes better after a few weeks because the flavors settle together!
If you’re curious about making substitutions, you can certainly check out the great tips on why some cooks skip the milk powder altogether, but for this specific recipe, keeping it dry is key for shelf life!
If you made your batch following this lovely recipe from Organized Island, these general storage rules should apply to their versions as well. It’s all about keeping the air and moisture out!
Nutritional Estimate for This Hot Cocoa Mix
I always look at these numbers, but honestly, when I’m drinking something this comforting, I remind myself that it’s just for the soul! Kenji likes to keep track of this stuff, so I’ve jotted down the basic estimates here for you. Remember, because this is a big batch homemade hot cocoa mix, these numbers reflect a serving size of just 1/4 cup of the dry powder itself.
If you use hot water, the nutrition will be lower (as you’re not adding the calories from milk), but if you use whole milk, you’ll definitely see those numbers climb. Think of this as the ‘baseline’ nutritional look at our pure, rich chocolate powder recipe!
- Serving Size: 1/4 cup dry mix
- Calories: About 170
- Sugar: Roughly 30 grams (It’s mostly from the granulated sugar!)
- Total Fat: Around 3 grams
- Saturated Fat: About 2 grams
- Carbohydrates: 35 grams
- Protein: Approximately 2 grams
It’s fascinating to see how controlling the ingredients in your homemade hot cocoa mix recipe allows you to know exactly what you are consuming. Enjoy your wonderful, perfectly portioned cup of warmth!
Share Your Cozy Creations
Kenji and I truly hope sharing this big batch homemade hot cocoa mix brings as much warmth to your home as it does ours here in New York City. Making something delicious from simple pantry staples always makes me feel so connected to my roots, and I hope trying out this rich chocolate powder recipe does the same for you!
Please, if you try blending up your own batch, I would be so grateful if you would leave a star rating right here on the recipe card, just let us know what you thought! Knowing that you are enjoying this fantastic DIY hot chocolate powder means the world to us.
And oh, when you package up those beautiful little jars for gifting, please snap a picture! We love seeing how you present your creations. You can share photos of your perfectly creamy homemade hot cocoa mix on Instagram or Facebook and tag us—I promise Kenji and I will be peering over each other’s shoulders to see the lovely gifts you share with your friends and family. We always look forward to seeing what you whip up!
Happy sipping, dear friends! Come back soon to see what else we are cooking up on Whisk Daily.
With love from our kitchen to yours,
Amaya
PrintBig Batch Homemade Hot Cocoa Mix: The Ultimate DIY Giftable Recipe
Whip up this big batch of homemade hot cocoa mix using simple pantry staples for a rich, velvety chocolate drink. It is perfect for stocking your pantry or creating thoughtful holiday gifts.
- Prep Time: 10 min
- Cook Time: 0 min
- Total Time: 10 min
- Yield: About 7 cups of mix (approximately 28 servings)
- Category: Beverage
- Method: Mixing
- Cuisine: American
- Diet: Vegetarian
Ingredients
- 4 cups Granulated Sugar
- 2 cups Unsweetened Cocoa Powder (use high quality for best flavor)
- 1 cup Powdered Milk (optional, omit for dairy-free)
- 1 teaspoon Salt
- 1 teaspoon Instant Espresso Powder (optional, deepens chocolate flavor)
Instructions
- Gather all your dry ingredients: sugar, cocoa powder, powdered milk (if using), salt, and instant espresso powder (if using).
- In a very large bowl, combine the sugar and cocoa powder first. Whisk them together thoroughly to break up any lumps in the cocoa.
- Add the powdered milk, salt, and espresso powder to the bowl.
- Whisk all ingredients together for at least two minutes. You need to mix well to distribute the salt and cocoa evenly throughout the sugar, which ensures a consistent flavor in every cup.
- Transfer the finished big batch hot cocoa mix to clean, airtight containers for storage. This mix is ready to use immediately.
Notes
- To make one serving, mix 1/4 cup of the dry mix with 1 cup of hot milk or hot water. Stir until completely dissolved.
- For a richer, creamier beverage, use whole milk or half-and-half instead of water.
- To prepare this as a hot cocoa mix in a jar gift, layer the dry mix in a clean mason jar and top with mini marshmallows or chocolate chips. Attach a tag with the preparation instructions.
- If you omit the powdered milk, the mix will still create a delicious drink when mixed with hot milk, but it will not have the same creamy texture as mixes containing milk solids.
Nutrition
- Serving Size: 1/4 cup dry mix
- Calories: 170
- Sugar: 30
- Sodium: 15
- Fat: 3
- Saturated Fat: 2
- Unsaturated Fat: 1
- Trans Fat: 0
- Carbohydrates: 35
- Fiber: 3
- Protein: 2
- Cholesterol: 0