

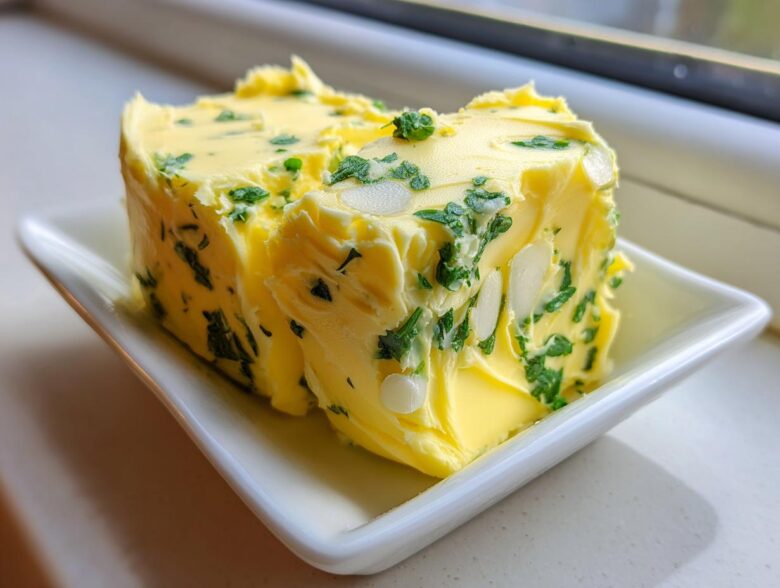
Listen, you can have the fanciest steak or the most perfectly toasted bread, but if you don’t have killer flavor ready to go, what are you even doing? That’s why I swear by my five-minute recipe for the ultimate homemade garlic butter spread. It’s the secret weapon I keep stocked in the fridge constantly. Seriously, you just need butter, garlic, and some herbs, and suddenly everything tastes gourmet. I’ve been whipping up this foundational compound butter for years—it’s my go-to for jazzing up weeknight meals ranging from simple bread dipping to finishing off a big sear on a ribeye.
Forget those dull, store-bought tubs, because making your own garlic butter by hand is ridiculously easy and so much better. You’re only five minutes away from that amazing, savory flavor! If you want to see some of my other favorite basic flavor boosters, check out some tips over at the main blog page.
Why You Need This Easy Garlic Butter Spread Recipe
I know, I know, you think, “I can just melt butter and throw some garlic in it.” But trust me, this compound butter is different. This garlic butter is designed to stay perfect even after chilling, which is why it’s so much better for nearly everything you cook. It’s the easiest way to make a weeknight dinner feel like a fancy weekend meal, and you can’t beat the flavor!
- It’s truly fast! We are talking five minutes of active work, max.
- The texture is incredibly luxurious, perfect for spreading or melting without separating weirdly.
- It’s the ultimate flavor multitasker—perfect for bread, tossing with veggies, or putting directly on a hot steak.
- Making your own means you control the quality of the garlic and herbs, which makes a massive difference. You can even check out how I use simple flavor boosters in my rice pilaf recipe for more inspiration!
Ingredients for the Ultimate Homemade Garlic Butter Recipe
The beauty of this homemade garlic butter recipe is how few things you actually need. Forget five obscure items; we are sticking to the basics to let the fresh flavors shine through. These measurements make the perfect log of compound butter, which should keep you in delicious garlic seasoning for ages!
Here is exactly what you need to gather up:
- 1 cup unsalted butter, softened (This MUST be softened! Not melted, soft.)
- 6 cloves fresh garlic, minced finely (Don’t even think about using the jarred stuff here, okay?)
- 2 tablespoons fresh parsley, chopped (Fresh is non-negotiable for that bright green pop!)
- 1 teaspoon salt
- 1/2 teaspoon black pepper
If you are pairing this with something great, you should definitely check out my recipe for homemade naan bread—perfect for scooping up any extra melted butter!
How to Prepare Quick Garlic Butter at Home
This is where the magic happens, and honestly, I time this process just for fun sometimes. I can usually get the mixing done in under three minutes, making this the ultimate quick garlic butter for when dinner is already on the table and shouting for flavor! The most important thing here is having butter that is perfectly softened. It shouldn’t be liquidy at all; it should give way easily when you press a finger into it. If it’s too cold, you’ll end up struggling to mix it, and if it’s too melty, your final spread will be soupy. You want that room-temperature malleability!
We are using simple numbered steps because, in five minutes, we don’t have time for complicated language! You’ll follow these precise steps, and trust me, you will have the best savory compound butter ever. If you need this instantly for dipping bread, you can use it right away, but it’ll work best after chilling. It’s the perfect finish for warm copycat breadsticks!
Mixing the Garlic Herb Butter Base
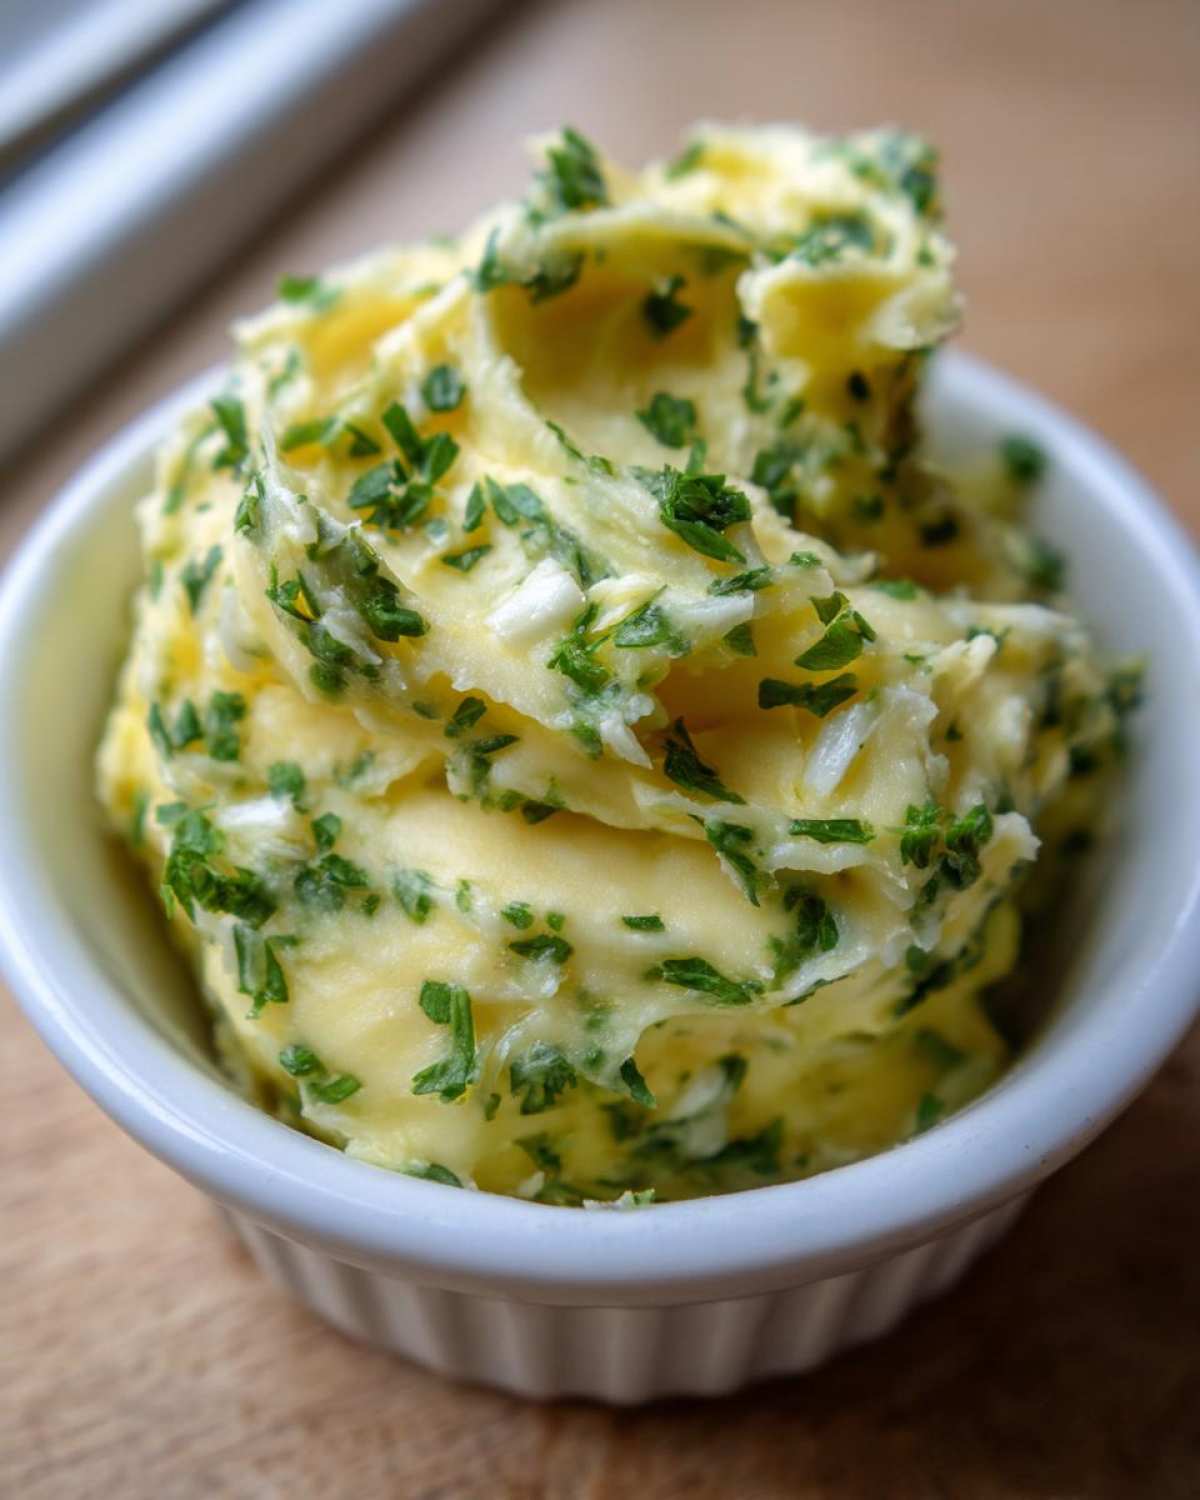
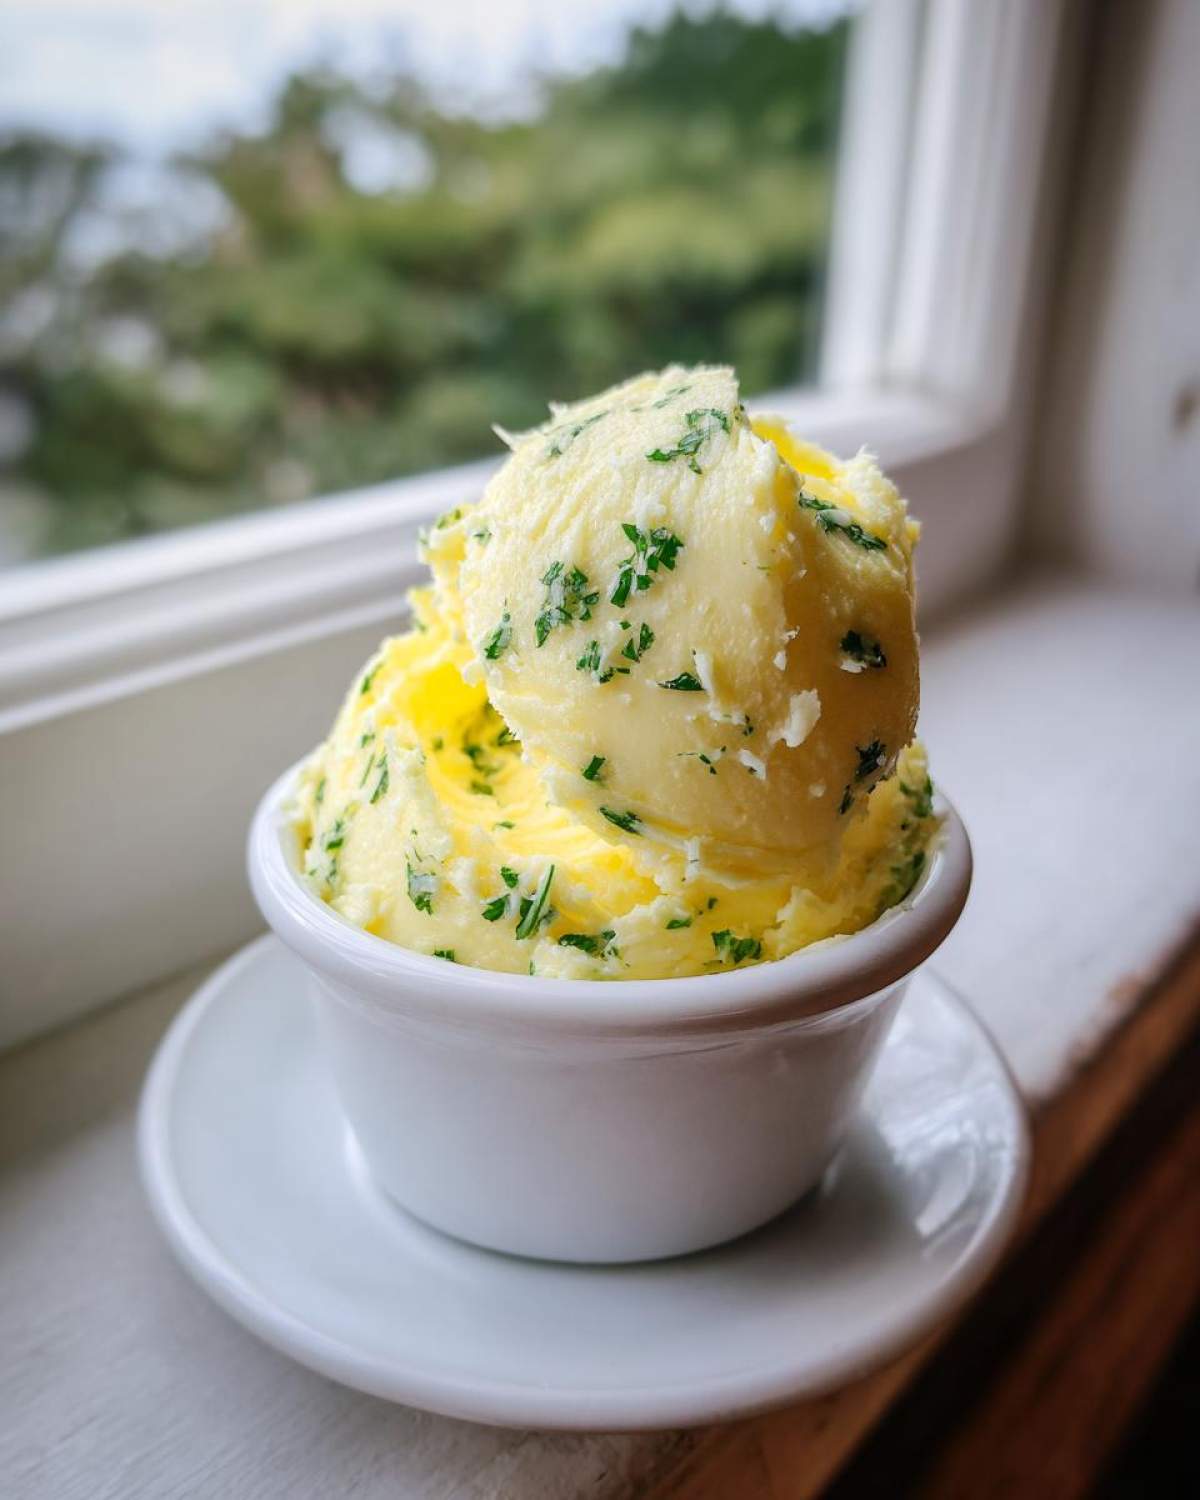
First things first: get all your flavor elements together right near your bowl of softened butter. Dump that finely minced garlic and the chopped parsley right on top. This combination is what gives us that vibrant punch—it’s why I love making garlic herb butter instead of just plain garlic butter every time. Grab a sturdy fork or, if you’re feeling strong, a rubber spatula and just get to work mixing everything together. You really have to work it in. Stop stirring only when every speck of green and every bit of minced garlic has disappeared, and the whole mixture is one uniform creamy yellow color. No streaks allowed!
Shaping and Chilling the Garlic Butter Spread
Once it’s uniform, this step is what turns your bowl of mush into a beautiful, sliceable ingredient. Scrape the entire contents of the bowl onto a sheet of plastic wrap or parchment paper—parchment is often sturdier if you’re planning on freezing it later. Now, use the wrap to help you roll the mixture into a nice tight log shape. Twist the ends up just like a giant piece of candy! This tight seal is crucial. Then, it has to chill out in the fridge for at least half an hour. That cooling time lets the butter firm up, giving you the perfect solid garlic butter spread you can slice right onto hot food. Don’t skip that chill time, or you’ll just have garlicky butter soup!
Expert Tips for Perfect Garlic Butter Success
Okay, you’ve made your batter, and it tastes amazing already, but here are a few things I’ve learned over the years that really push this recipe from “good” to “I need to brag about this.” The texture is everything, right? If you want it a little richer, which I sometimes do when I’m making it for a fancy dinner, try swapping out just one tablespoon of the butter for softened cream cheese. It gives it this slightly tangy, ultra-creamy mouthfeel that’s unbelievable. It’s my little secret for a more decadent feel!
Also, we all have different garlic preferences. If you take a bite of the raw mix and think, “Needs more punch,” don’t be shy! Add another clove. Since this is garlic butter you made yourself, you get to decide the intensity level. That’s the best part of making your own fresh garlic butter. And since you made a whole cup of this amazing stuff, make sure you wrap that log up tightly—like, really tight—and toss it in the freezer. It keeps perfectly for up to three months! Imagine always having homemade butter ready for when you bake a crusty loaf, like the one in my easy Italian bread recipe.
Versatile Uses for Your Easy Garlic Butter Spread
Once you’ve got this glorious, vibrant garlic butter spread chilling in the fridge, you’ll wonder how you ever lived without it. It’s the easiest way to instantly upgrade any meal without dirtying a ton of pans or spending extra time measuring things out. It melts beautifully over hot items, but it’s firm enough to spread straight from the fridge, which is just genius!
The Best Garlic Butter for Steak and Meats
This is my number one use, hands down! When you pull a beautiful steak or a chicken breast off the grill or out of the skillet, don’t just let it rest—top it immediately with a generous coin of this compound butter. As it melts down, it bastes the meat in garlic, parsley, and salt. You don’t need any other sauce. That sliver of butter is the best garlic butter for steak you could ever ask for, creating this incredible, savory crust.
Transforming Pasta Dishes with Garlic Butter
Oh, pasta night just got a major upgrade! If you’re making a simple spaghetti or tossing angel hair with some shrimp, you can use this as the base instead of plain olive oil. Just melt a couple of tablespoons into your pan while you drain the pasta. It emulsifies slightly with the starchy water and coats everything gorgeously. This is the starting point for a great garlic butter for pasta sauce base. You can toss some roasted veggies from my garlic broccoli recipe right in there too!
Elevating Bread and Vegetables
If you don’t immediately devour this on a slice of warm bread, you’re stronger than I am! Just let the log sit out for ten minutes so it’s easy to spread. This is the ultimate garlic butter for bread. For veggies, think about steamed green beans or asparagus. A spoonful melted over those hot guys is perfection. Honestly, it makes even boring steamed carrots taste like something you’d order at a fancy restaurant. Don’t forget to check out my cookie recipe later, because every great meal needs a great dessert!
Variations: Making Gourmet Garlic Butter
Just because this recipe is quick doesn’t mean it can’t feel absolutely luxurious! Once you master the basic amount of fresh garlic, you can start tweaking things to make it truly gourmet garlic butter. People often ask me if they can change the texture or deepen the garlic flavor without adding more raw garlic punch. Absolutely! That’s when you get creative with how you prepare the ingredients before you mix them in.
Creating Whipped Garlic Butter Texture
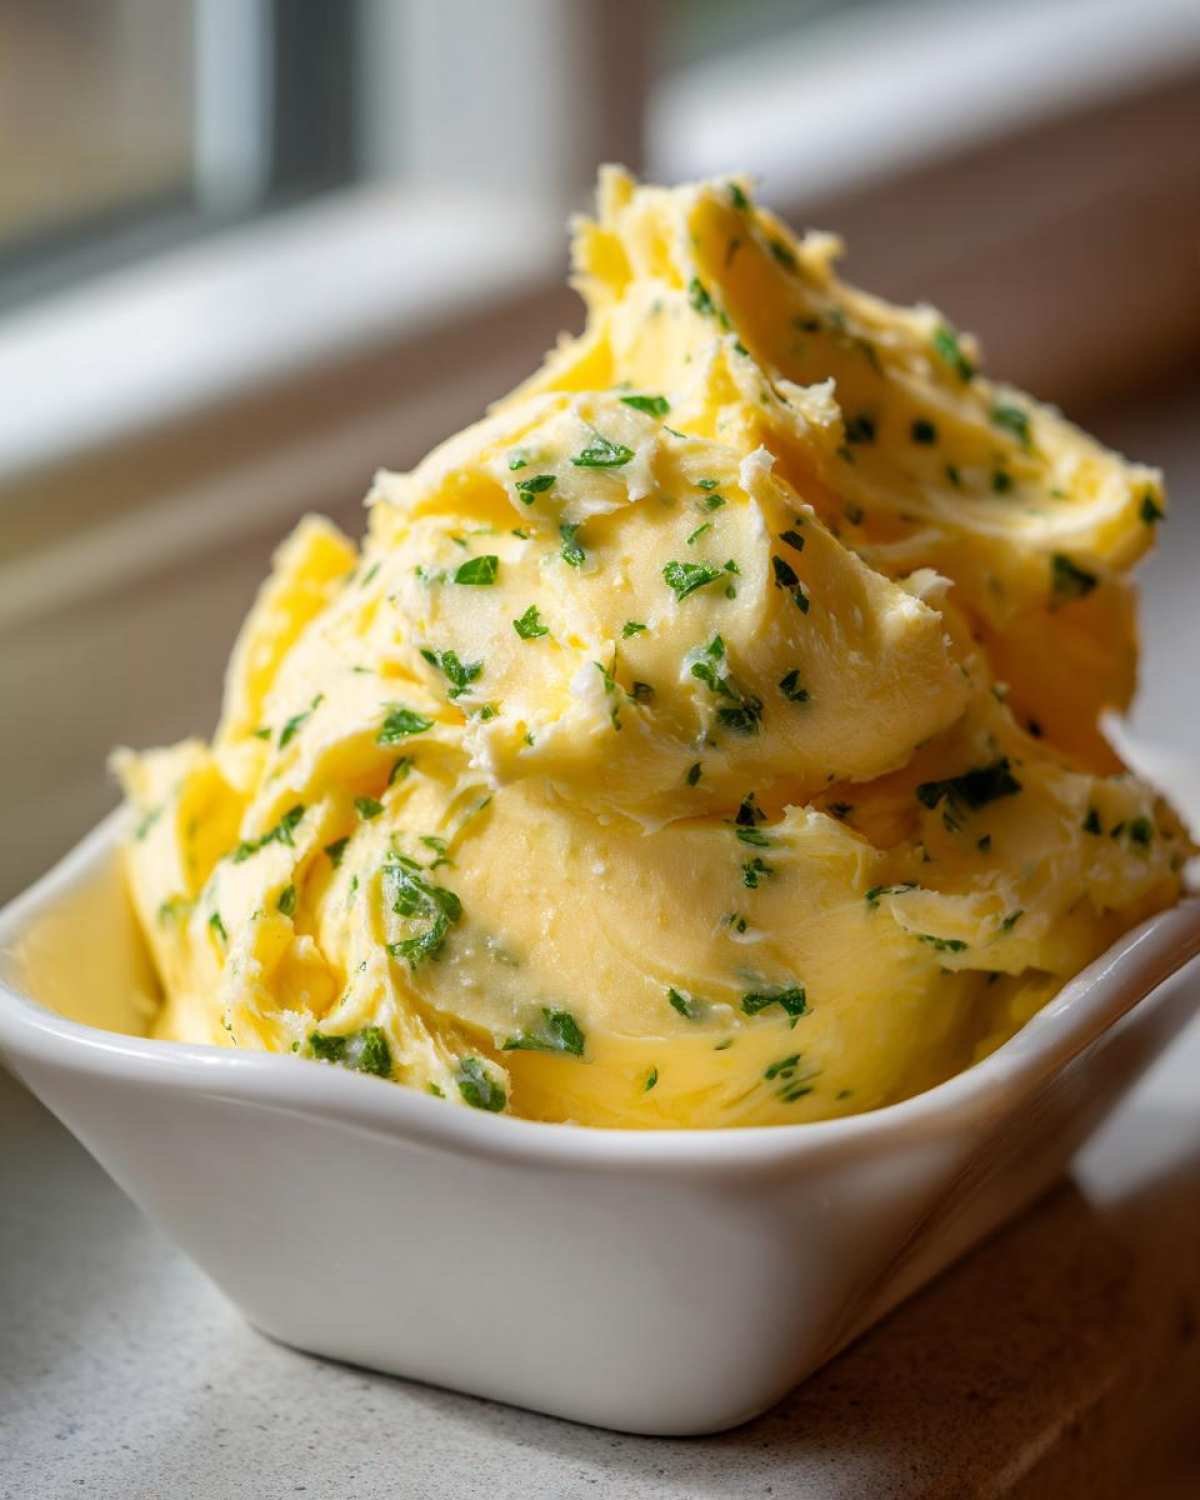
If you want something lighter and spreadable—maybe you’re planning to serve this as a fancy appetizer spread instead of just a finisher—you need to whip it! The key is starting with soft butter, just like before. But instead of mixing the garlic in immediately, you beat that butter alone until it gets really pale and fluffy. It traps a ton of air. Once it’s airy like a cloud, you gently fold in your garlic and herbs. This makes a spectacular whipped garlic butter that’s so light on the tongue!
Incorporating Roasted Garlic Butter Flavor
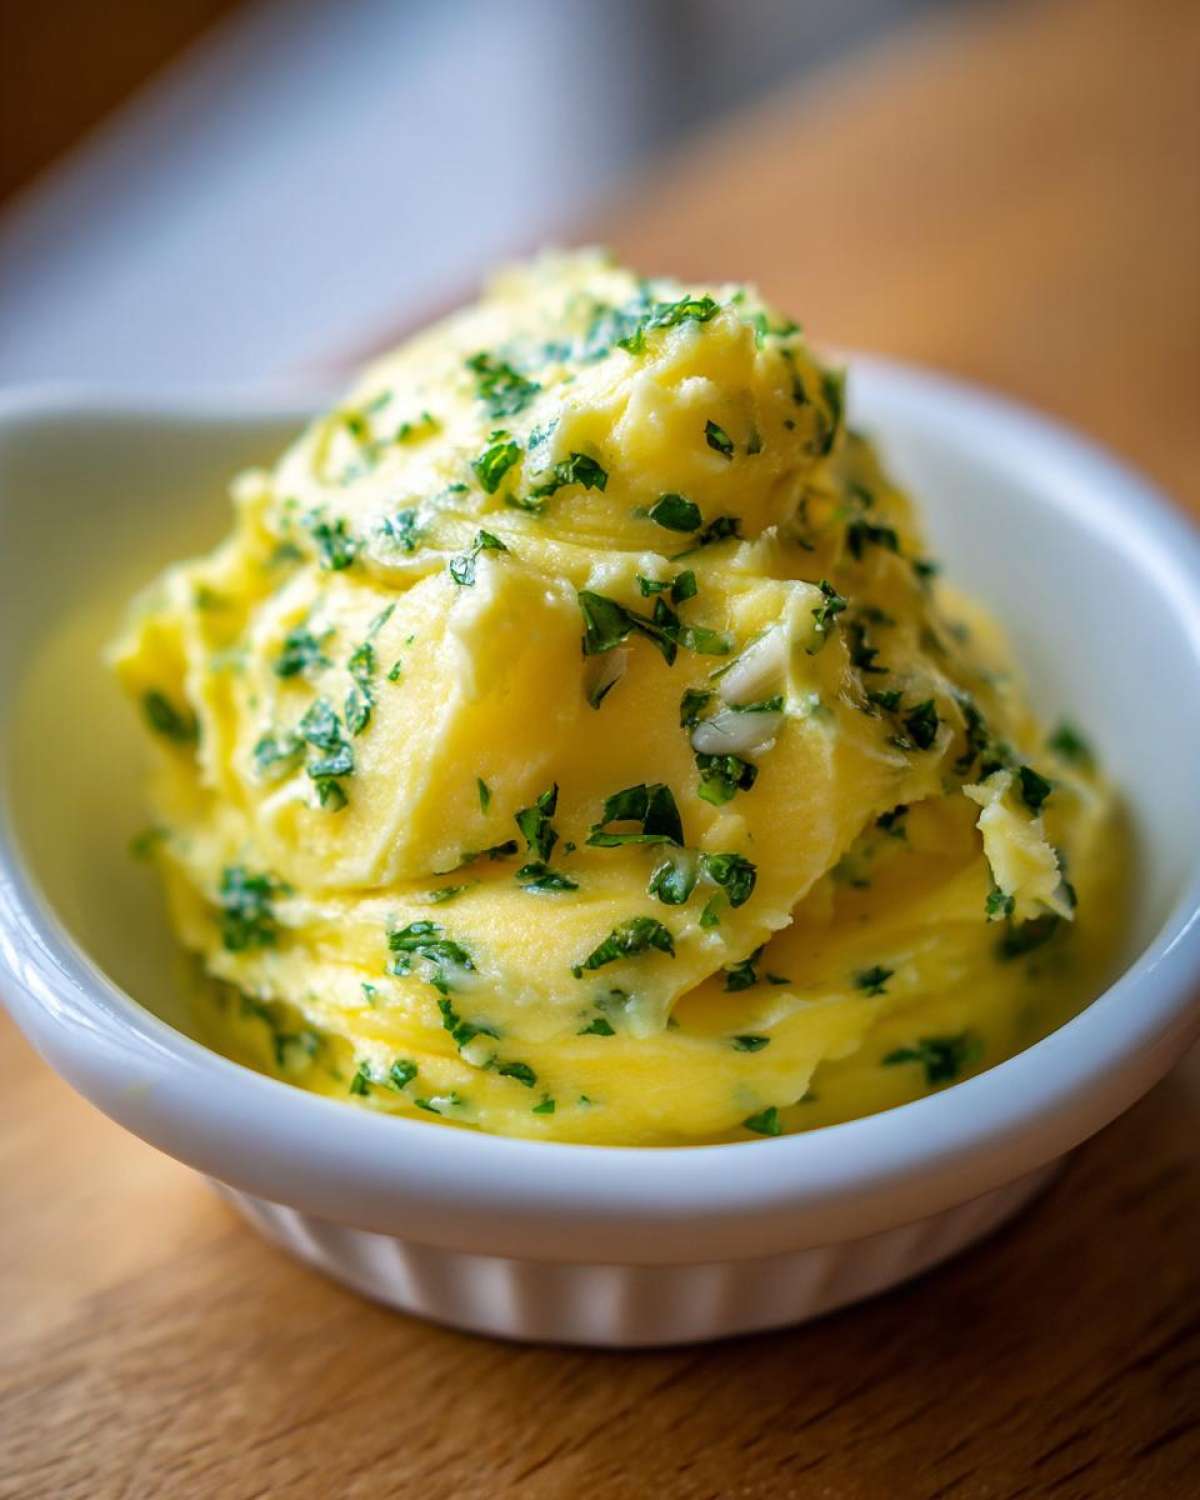
For a sweeter, deeper, almost caramelized garlic note, you absolutely have to go the roasting route. You just take whole heads of garlic, drizzle them with oil, wrap them in foil, and bake them until they are super soft and golden. Then, you squeeze the paste out and mix that into your butter instead of the raw minced stuff. It makes an incredible difference, especially if you are using this butter on baked potatoes or fish. Trust me, that roasted garlic butter recipe variation is a game-changer and totally worth the extra 30 minutes of oven time. You can check out my tips for roasting veggies, which uses a similar technique, over here on my sweet potato recipe page!
Frequently Asked Questions About Garlic Butter
I get so many questions once people realize how easy this stuff is to make! Since this simple butter flavor booster can seem complicated because it’s so versatile, I wanted to clear up the most common things folks ask me before they even start mixing. It truly covers all bases, whether you’re looking for a quick topping or a base for a sauce! If you’re using this butter to make a quick sauce, check out my chicken sausage pasta recipe for timing!
Can I use salted butter instead of unsalted butter for this garlic butter recipe?
Yes, you totally can! Unsalted is my preference because I like to control the exact amount of salt that goes into my homemade garlic butter recipe—that one teaspoon is exactly what I think balances the fresh garlic perfectly. If you only have salted butter on hand, just leave out the extra teaspoon of salt we call for in the recipe. Then, taste it before you roll it up, and add a tiny pinch more if it needs it. Remember, salt is powerful, so start low!
How long does homemade garlic butter last in the refrigerator?
Because we are using fresh ingredients like parsley, this isn’t going to last forever, but it lasts plenty long for regular use! Stored tightly sealed, just like I showed you in the shaping step, this savory butter spread stays great in the fridge for up to two weeks. I try to use it within 10 days for the best, brightest flavor from the parsley and garlic, but it definitely keeps longer. If you follow my freezing instructions, that’s when you get that three-month window!
What is the difference between compound butter and melted garlic butter?
Oh, that’s a great distinction! What we’re making here is technically a compound butter—it means we mixed in herbs, spices, or garlic into the soft butter to create a stable, flavorful solid. You can slice it, serve it cold, or let it melt slowly. A melted garlic butter, on the other hand, is usually made by heating butter until it’s liquid and then stirring in garlic and herbs right before drizzling. Both are delicious, but compound butter is great because it holds its structure, making it perfect for topping steak!
Storage and Reheating Instructions for Savory Butter Spread
So you’ve got this incredible log of savory butter spread, and now you have to store it, right? This is the best part about making compound butter—it lasts so long! Since everything is packed tightly and sealed up, we can keep that fresh garlic flavor around for quite a while. I usually make a double batch just so I never run out, especially before a big grilling weekend.
For the fridge storage, remember that tight plastic wrap or parchment paper roll we made? That’s your best friend. Keep that log nestled in the coldest part of your refrigerator. In the fridge, you are generally good to go for about two weeks, sometimes a little longer if your fridge stays consistently cold and clean. If you notice any surface drying out, just trim off the very outer layer, but usually, that tight seal protects it perfectly. It’s ready to go whenever you need a quick pat of flavor on a hot side dish, like some steaming veggies from my chicken noodle soup topping perhaps!
Now, for the long haul, chilling isn’t enough—we freeze! If you know you won’t get through that whole cup in a couple of weeks, wrap that log super tightly, maybe even double-wrap it with foil after the plastic, and toss it right in the deep freeze. I always make sure to label the outside with the date (I’m terrible at guessing how old things are!). That way, you know exactly when you packed it. This garlic butter freezes beautifully; I’ve pulled out rolls that were three months old, and they tasted like I just made them yesterday. No reheating needed for frozen butter, either! You just slice off the disc you need while it’s still mostly frozen, and toss it right on top of your hot food, where it will melt perfectly over your steak or bread just like magic.
Nutritional Estimate for Garlic Butter
Now, I know some folks check this stuff, and I always like to give everyone the best idea of what they are diving into when they make something this delicious! Since this is basically just butter and fresh flavorings, the totals are pretty straightforward. Remember, these numbers are just an estimate—I always say that the exact brand of butter you use or how much parsley you pack in can change things slightly. But for the majority of the recipe, this is what you are looking at for a standard serving size.
This calculation is based on a two-tablespoon serving. We made enough for about eight servings in total, so if you are using it more generously (which I often do on roasted potatoes!), you’ll want to adjust!
- Serving Size: 2 tablespoons
- Calories: 200
- Fat: 22g (That’s the good stuff, mostly unsaturated!)
- Saturated Fat: 14g
- Trans Fat: 0g (Hooray for no fake fats!)
- Cholesterol: 55mg
- Carbohydrates & Fiber: 0g
- Protein: 0g
- Sodium: 150mg
- Sugar: 0g
You can see here that we’re keeping it low-carb and sugar-free, which is fantastic when you are pairing this amazing garlic butter with, say, a big green salad or some of the amazing breads I share recipes for, like this date nut bread. It’s just pure flavor, folks!
PrintEasy 5-Minute Homemade Garlic Butter Spread

Make this simple compound butter at home in five minutes. Use this fresh garlic butter for bread, steak, pasta, or vegetables.
- Prep Time: 5 min
- Cook Time: 0 min
- Total Time: 5 min
- Yield: 1 cup
- Category: Condiment
- Method: Mixing
- Cuisine: American
- Diet: Vegetarian
Ingredients
- 1 cup unsalted butter, softened
- 6 cloves fresh garlic, minced finely
- 2 tablespoons fresh parsley, chopped
- 1 teaspoon salt
- 1/2 teaspoon black pepper
Instructions
- Place the softened butter in a medium bowl.
- Add the minced garlic, chopped parsley, salt, and pepper to the bowl.
- Use a fork or a rubber spatula to mix all ingredients together until they are completely combined and uniform in color.
- Place the butter mixture onto a sheet of plastic wrap or parchment paper.
- Roll the mixture into a log shape, twisting the ends to seal it.
- Refrigerate for at least 30 minutes to firm up before slicing or serving.
Notes
- For a richer flavor, substitute 1 tablespoon of the butter with softened cream cheese for a creamier texture.
- If you prefer a stronger garlic flavor, add one more clove of minced garlic.
- This butter freezes well; wrap the log tightly before freezing for up to three months.
Nutrition
- Serving Size: 2 tablespoons
- Calories: 200
- Sugar: 0
- Sodium: 150
- Fat: 22
- Saturated Fat: 14
- Unsaturated Fat: 8
- Trans Fat: 0
- Carbohydrates: 0
- Fiber: 0
- Protein: 0
- Cholesterol: 55