

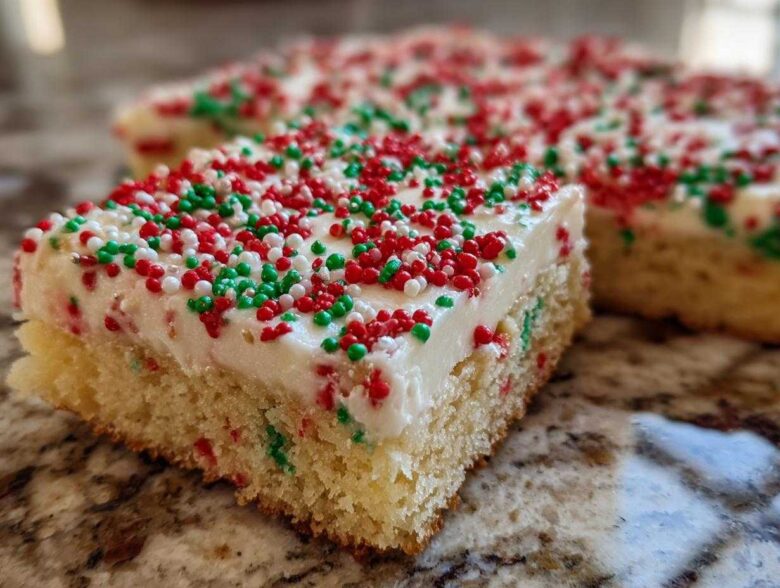
Oh, the holidays! Between the endless shopping and finding the perfect festive sweaters, sometimes you just run out of time for those gorgeous, high-effort cut-out sugar cookies. Trust me, after years of trying to get every star and snowman perfectly uniform, I created this solution just for us busy bakers. These christmas sugar cookie bars are my secret weapon for bringing that classic, buttery, vanilla-kissed sugar cookie flavor to every party, but baked together in one pan. You get all the joy and none of the frustration of rolling and cutting! Honestly, these bars have saved my sanity during the busiest December weeks. You can see more of my favorite quick holiday baking tips over on my blog archives. They are quick, thick, and always the first thing gone on the dessert platter.
Why These Christmas Sugar Cookie Bars Are Your Holiday MVP
Why mess with tradition when you can streamline it? These bars are designed to be your holiday hero because they hit all the right notes without any fuss. They are guaranteed to be a hit at any holiday gathering.
- They deliver that perfectly Soft Frosted Sugar Cookie Recipe texture—buttery and chewy right through the middle!
- Forget fussy decorating; they are truly Easy Holiday Dessert Bars that polish up beautifully with just a quick sprinkle application.
- They stack and travel perfectly, making them ideal for Holiday Cookie Swaps or potlucks.
- Prep is incredibly fast, leaving you more time for wrapping presents. Seriously, check out my thoughts on my favorite cookie bases for comparison!
Gathering Ingredients for Your Christmas Sugar Cookie Bars
Okay, let’s talk about building these amazing, Buttery Christmas Cookies. Because this is a bar, we are skipping the rolling pin drama, but we absolutely need high-quality ingredients to nail that fantastic flavor we all expect from a classic sugar cookie. Don’t grab anything questionable from the back of your pantry; this one relies on simple things done right!
For the cookie base, you’ll need:
- 1 cup unsalted butter, softened (Room temperature is key here!)
- 1 cup granulated sugar
- 2 large eggs, straight from the fridge is fine
- 1 teaspoon vanilla extract. Use the good stuff, please!
- 3 cups all-purpose flour
- 1 teaspoon baking powder (not soda—we want lift, not spread)
- 1/2 teaspoon salt
- 1/2 cup milk (any kind works great)
We’ll address the frosting ingredients in the next section, but grabbing all of this means you are ready to mix up a batch of the best butter cookies you’ve ever baked in bar form. Gather everything, and let’s get mixing!
Step-by-Step Guide to Making Thick Sugar Cookie Bars
Now that we have our ingredients ready, it’s time to actually bake! The process moves super fast once you start mixing, so have your pan ready right away. This is where we lock in that amazing flavor profile while keeping things super simple. If you are looking for an even heartier treat, remember that you can always use a 9×9 inch pan instead of the 9×13 inch specified here. Just keep an eye on the baking time, as it will need a few extra minutes to set up beautifully in that denser format. Check out my thoughts on my favorite base recipes for context!
Preparing and Baking the Cookie Base
First things first: grab that 9×13 inch pan and line it with parchment paper, making sure you leave a good overhang on the sides. That overhang is your built-in cookie lifter later on! Preheat your oven to 350°F (175°C). Get that lovely cup of softened butter and the full cup of sugar into your main bowl. You need to cream them until they look lightened up and fluffy—don’t rush this; it starts building the air pockets we need for softness. Then, beat in those two eggs, one at a time, followed by that teaspoon of vanilla. In a separate bowl, whisk your flour, baking powder, and salt together.
This next part is crucial to prevent overmixing! Add your dry ingredients and the milk alternately, starting and ending with the dry. Mix only until you see the flour streaks disappear. That’s it! Press that gorgeous dough evenly into your prepared pan. It bakes for about 20 to 25 minutes until the edges look just barely golden and you get near-perfection in the center.
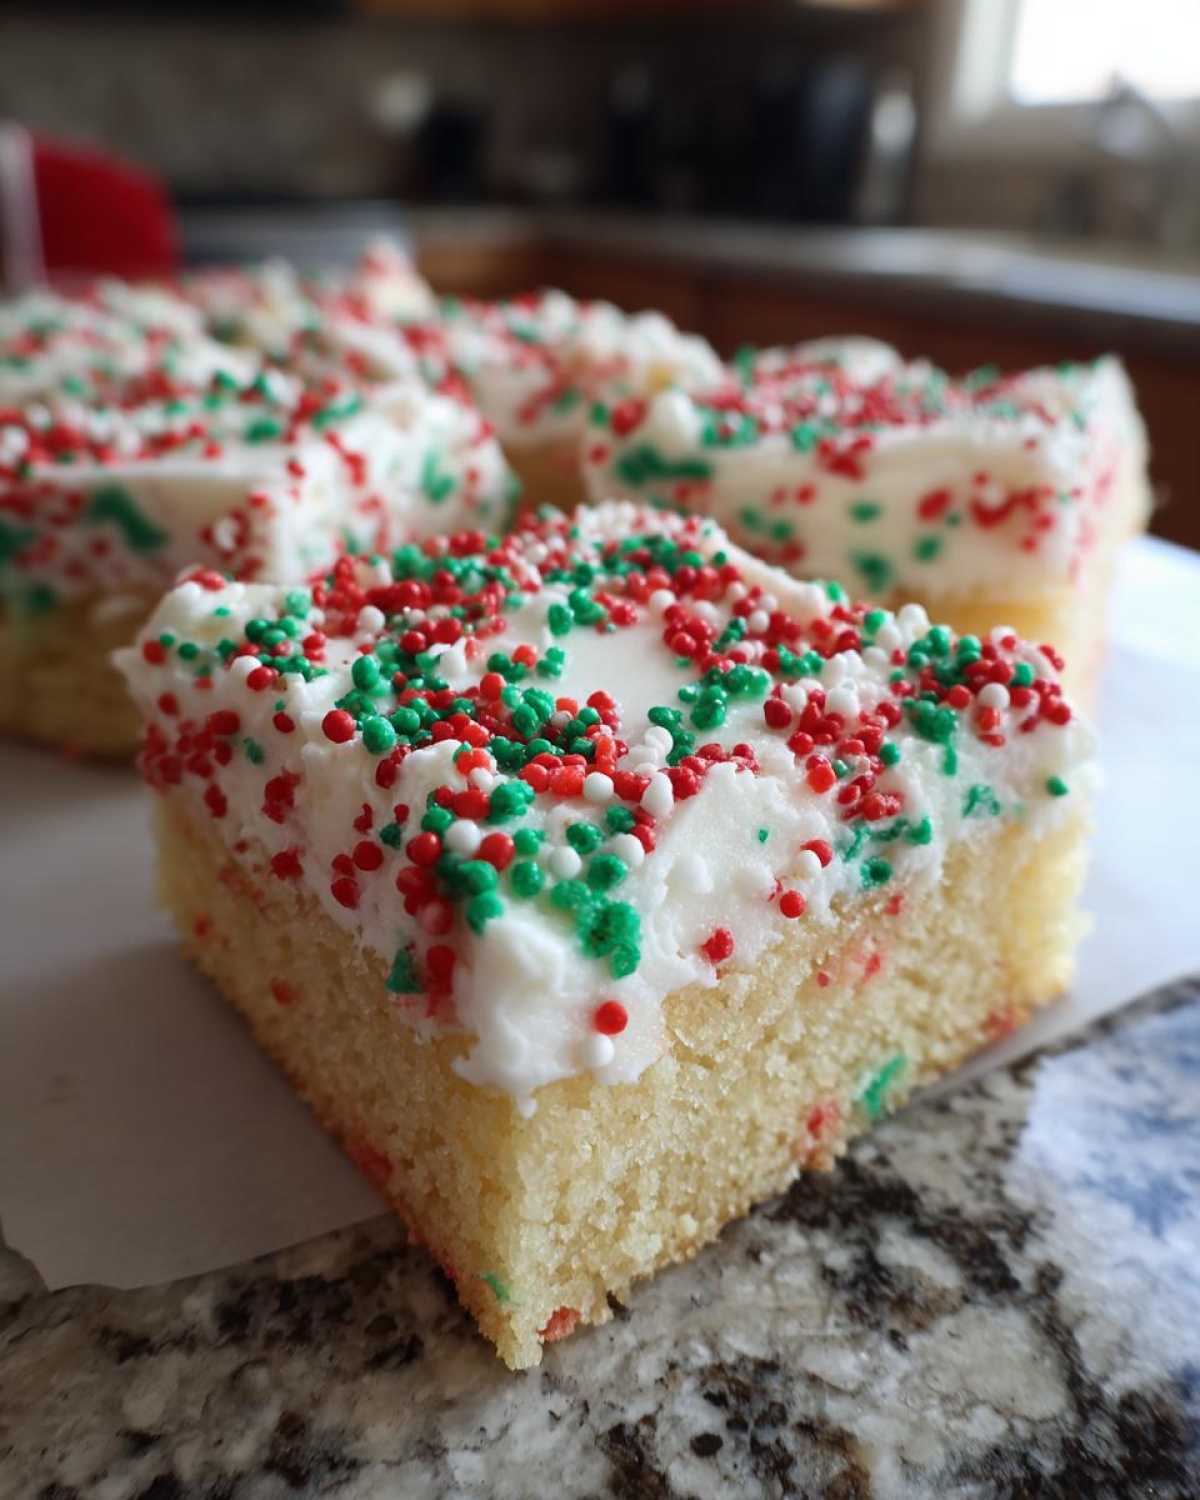
Achieving the Perfect Soft Texture in Your Christmas Sugar Cookie Bars
We want soft, not crunchy, right? When you think the bars are done, test them. A toothpick inserted into the center should come out with moist crumbs clinging to it—not wet batter, but definitely not bone dry. That slight dampness guarantees you get the perfect soft texture in your Christmas Sugar Cookie Bars when they cool down.
Once they look right, pull them out and let them cool completely right there in the pan on a wire rack. If you try to frost them warm, I promise you’ll end up with a melted, sad puddle of frosting clinging to your spatula. Patience wins here!
Crafting the Vanilla Buttercream Cookie Bars Frosting
Now that our cookie base has cooled completely—and I mean completely, we don’t want any melting disasters—we move onto the part that officially makes these Christmas Sugar Cookie Bars look festive: the frosting! This simple vanilla buttercream is rich, buttery, and so much easier to spread than trying to manage individual cookie cutouts. If you want to get your technique down perfectly, check out my notes on the easiest way to make buttercream.
Grab that stick of softened butter (the second stick you set aside, not the one you used in the dough!) and beat it until it’s totally smooth. Then, and this is important, start adding the three cups of powdered sugar slowly, maybe a cup at a time. If you dump it all in, I guarantee you’ll wear half of it! Once it looks crumbly, start hitting it with that teaspoon of vanilla extract. You’ll need to add milk, just a tiny splash (a tablespoon) at a time, until you get that perfect, dreamy spreadable consistency. You want it thick enough to stand up slightly on the bar, but soft enough to glide across the surface easily.
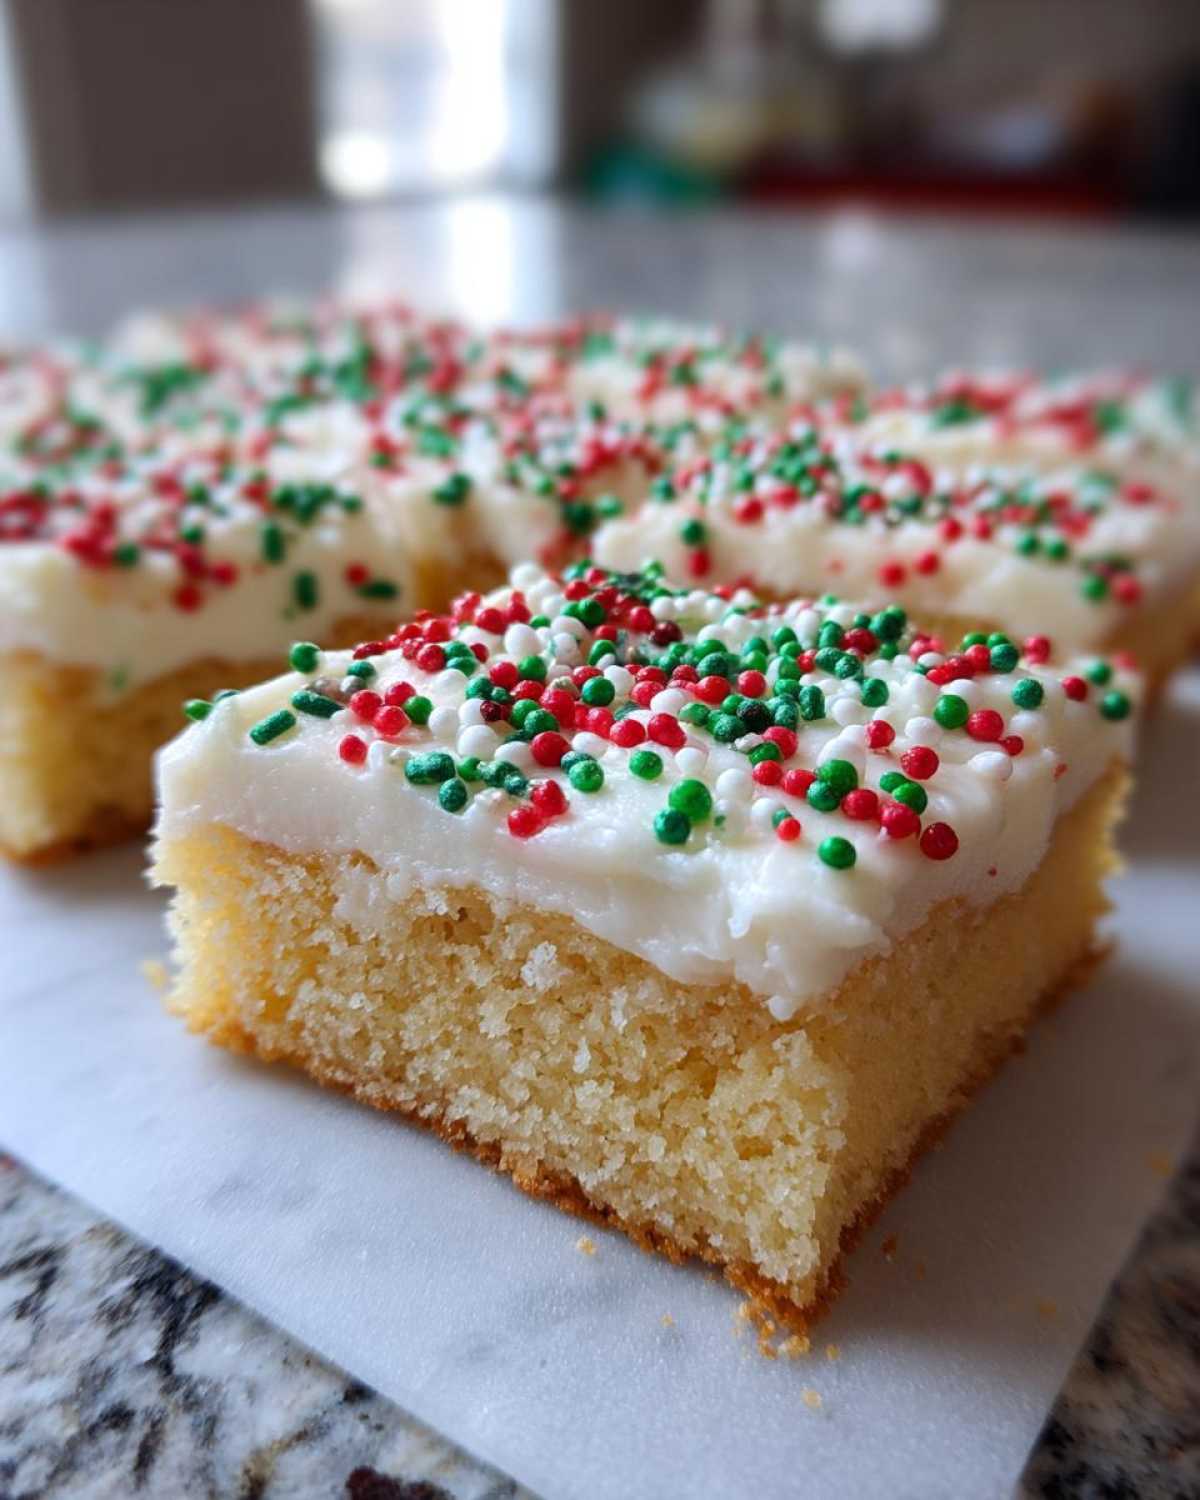
As soon once that buttercream is perfect, get it over those cooled bars and smooth it out evenly. This is the magic moment for applying our festive decorations! Cover the entire surface with your favorite Christmas sprinkles immediately before the frosting starts to set. This is how you turn simple bars into stunning Festive Bar Cookies!
Decorating Your Christmas Sugar Cookie Bars for the Holidays
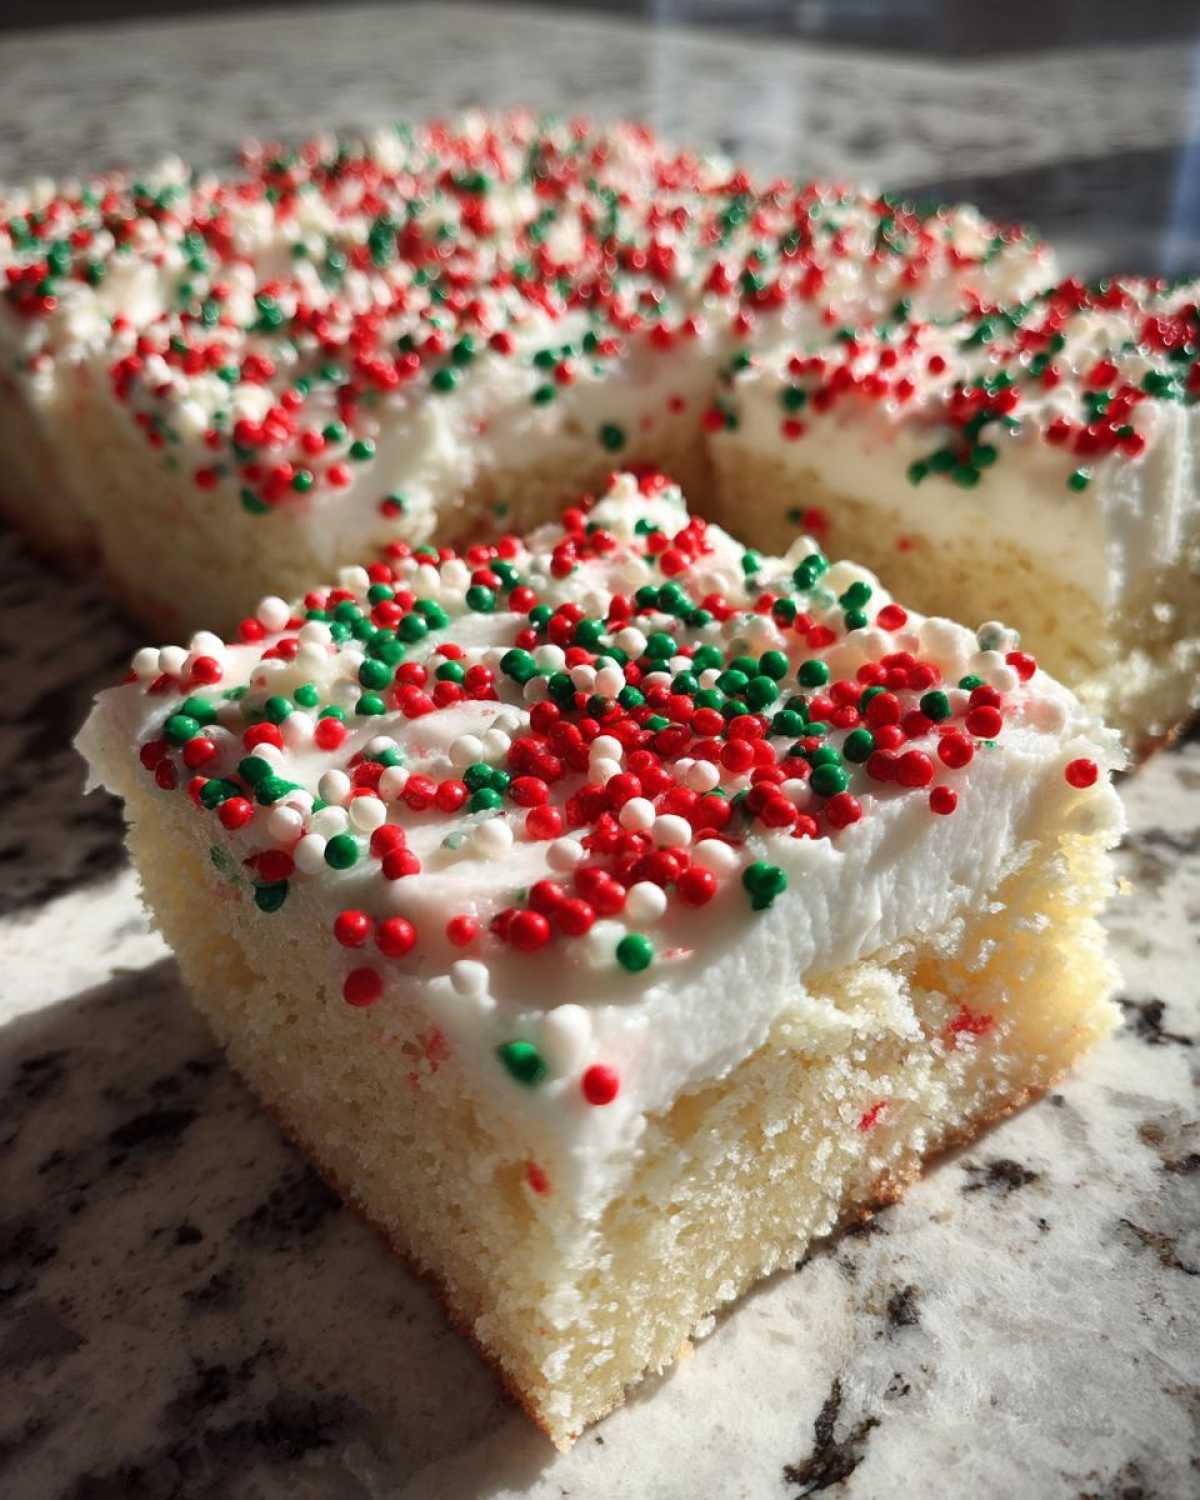
This is honestly my favorite part because it’s where the bars fully transform into holiday showstoppers! Look, if I needed 50 perfectly iced edge-to-edge snowflakes, I’d lose my mind. That’s why these Decorated Christmas Cookie Bars are brilliant—we get all the visual impact with minimal stress. As soon as that lovely vanilla buttercream is smoothed across the top, grab your holiday sprinkle mixes!
I love using a mix of bright reds and greens, maybe some white nonpareils, or even those fancy sanding sugars for a little sparkle. Just toss them on generously across the top while the frosting is wet. They stick instantly! This technique is so much faster than trying to pipe intricate designs on individual cookies. It makes these bars perfect for any large presentation, like a big holiday dessert spread. You get a beautifully decorated, celebratory look in about two minutes flat!
Tips for Making Christmas Sugar Cookie Bars Ahead of Time
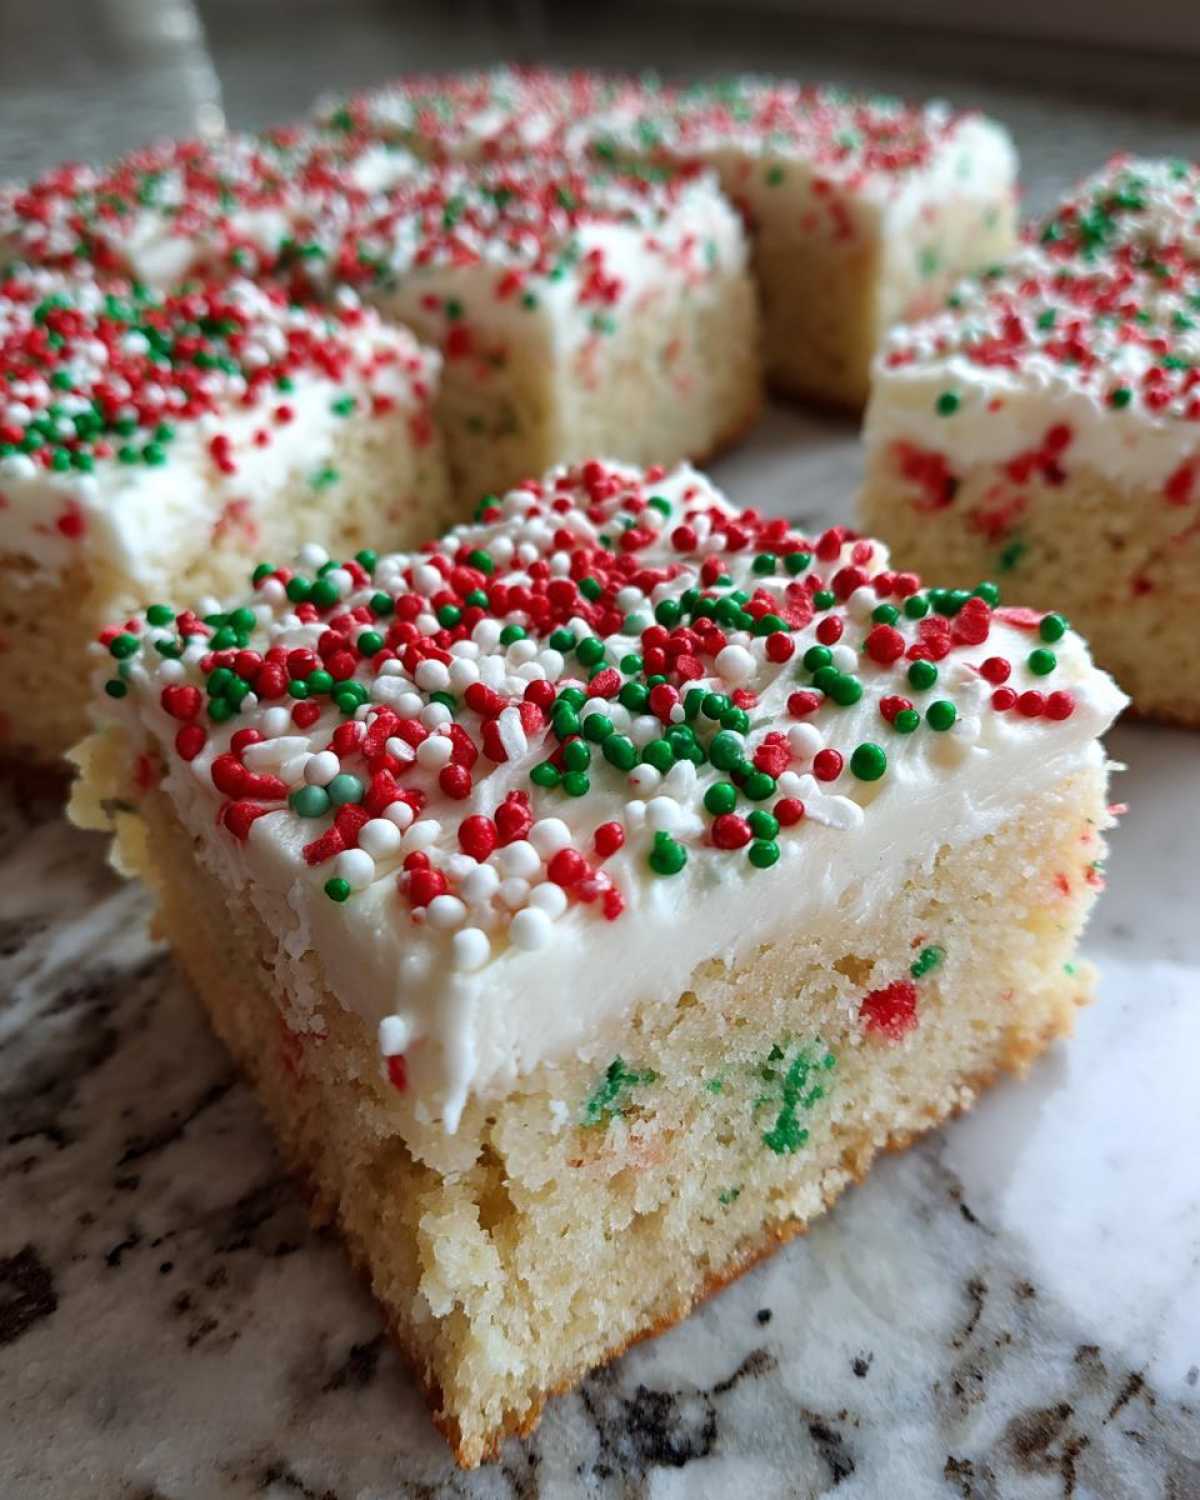
When the holidays get hectic, make-ahead recipes are lifesavers, and these are perfect for that! You absolutely can prepare the base ahead of time for your Christmas Sugar Cookie Bars. Just wrap that cooled, unfrosted cookie layer tightly in plastic wrap and foil, and it will stay perfectly fresh at room temperature for up to two days. I often bake the base on Wednesday, and then I’m ready for frosting assembly on Friday!
Now, for the finished product—the bars with the frosting and sprinkles—they are best stored in a single layer in an airtight container at room temperature for about two to three days. If you refrigerate them, the cookie part can get a little too firm. Because we’re using a sturdy vanilla buttercream, they stand up beautifully on their own. I love bringing these out when I need something quick for impromptu holiday visits. It’s just like having fresh-baked cookies ready to go, thanks to this quick baking concept!
Ingredient Substitutions for Festive Bar Cookies
We love keeping things classic, but I know sometimes you need to pivot based on what’s in the pantry or if you want to add a little twist to these Festive Bar Cookies. Don’t worry, this recipe is super forgiving!
If you want to switch up the frosting flavor, definitely try my note about substituting cream cheese. Just swap out half of the butter in the frosting recipe (so use 1/4 cup butter and 4 ounces of cream cheese). It gives the topping a wonderful, slight tang that cuts the sweetness perfectly. You can see more ideas on frosting flavors when I talk about cookie variations.
Another simple swap is in the vanilla. If you happen to have almond extract on hand, swapping half the vanilla for almond extract actually gives the bar a really lovely, subtle cherry-like note that pairs wonderfully with the buttery base. It’s a subtle change, but it makes them feel extra special for the holidays!
Serving and Storing Your Christmas Sugar Cookie Bars
The moment of truth! You’ve done the hard work, they’ve cooled perfectly, and now you have this gorgeous slab of sweet perfection. Remember how I told you to leave that parchment paper overhang? Now you pull on those edges gently, and the whole block—frosting and all—lifts right out of the pan! It makes slicing so much cleaner. Transfer the big block onto a cutting board before you start cutting them into squares.
I usually aim for 24 nice, thick servings, but if you’re serving a huge crowd for your Christmas Dessert Table Ideas, aim for 30 smaller pieces. For storing, keep any leftovers in a single layer in an airtight container at room temperature. Honestly, these Christmas Sugar Cookie Bars are best eaten within three days, but they rarely last that long in my house! They stay incredibly soft even after a day or two. If you want to learn about storing other holiday favorites, check out my tips on keeping my coffee cake fresh right here!
Common Questions About Easy Holiday Dessert Bars
Since these Easy Holiday Dessert Bars are based on a cut-out cookie, I get a lot of questions before people dive in! It’s smart to ask; baking should be fun, not frustrating, especially during the holidays. Here are the main things folks always ask me about these soft bars.
Can I use cookie cutters on these bars?
That’s the big question! You absolutely can, but you have to be organized. The recipe is written for bars, but if you want shapes, you need to chill the dough for at least an hour after pressing it into the pan. Once it’s super firm, you can use cutters, bake it a little longer (maybe 5 or 6 minutes extra), and then frost *after* they cool. This changes it from a quick bar recipe to a slightly more involved process, but it works beautifully for Holiday Cookie Swaps!
Why did my bars come out a little dry?
If your Buttery Christmas Cookies aren’t as soft as you hoped, it almost always comes down to two things: oven time or fat temperature. Did you overbake them? Check for moist crumbs, not dry ones! Also, make sure that initial cup of butter was genuinely soft but not melted when you creamed it with the sugar. Undermixed butter means less air, which can lead to a slightly tougher result, even in bars.
How do I get my vanilla buttercream frosting perfectly smooth?
Smooth frosting is all about patience and speed! Make sure your half-cup of butter for the frosting is softened almost to the point of being almost glossy, but not greasy. Beat the butter alone until it looks like whipped white fluff first. Then, add the powdered sugar very slowly, scraping down the bowl after every half-cup addition. If your frosting looks gritty or too stiff, just add milk—a half teaspoon at a time—until it loosens up. If it gets too thin (oops!), add a tiny bit more powdered sugar. When I’m teaching people about frosting, I always point them to the basics I cover in my simple mixing tutorials!
PrintEasy Frosted Christmas Sugar Cookie Bars
Make soft, buttery sugar cookie bars with a simple vanilla buttercream frosting for a festive holiday treat.
- Prep Time: 20 min
- Cook Time: 25 min
- Total Time: 45 min
- Yield: 24 servings
- Category: Dessert
- Method: Baking
- Cuisine: American
- Diet: Vegetarian
Ingredients
- 1 cup unsalted butter, softened
- 1 cup granulated sugar
- 2 large eggs
- 1 teaspoon vanilla extract
- 3 cups all-purpose flour
- 1 teaspoon baking powder
- 1/2 teaspoon salt
- 1/2 cup milk
- 1/2 cup (1 stick) unsalted butter, softened (for frosting)
- 3 cups powdered sugar
- 1 teaspoon vanilla extract (for frosting)
- 2-4 tablespoons milk (for frosting)
- Christmas sprinkles
Instructions
- Preheat your oven to 350°F (175°C). Line a 9×13 inch baking pan with parchment paper, leaving an overhang on the sides.
- In a large bowl, cream together 1 cup softened butter and 1 cup granulated sugar until light and fluffy.
- Beat in the eggs one at a time, then mix in 1 teaspoon vanilla extract.
- In a separate bowl, whisk together the flour, baking powder, and salt.
- Gradually add the dry ingredients to the wet ingredients, alternating with the 1/2 cup milk, mixing until just combined. Do not overmix.
- Press the dough evenly into the prepared baking pan.
- Bake for 20 to 25 minutes, or until the edges are lightly golden and a toothpick inserted in the center comes out clean.
- Let the bars cool completely in the pan on a wire rack.
- To make the frosting, beat the 1/2 cup softened butter until smooth. Gradually add the powdered sugar, mixing until combined.
- Beat in 1 teaspoon vanilla extract and 2 to 4 tablespoons of milk until the frosting is smooth and spreadable.
- Spread the vanilla buttercream evenly over the cooled cookie bars.
- Immediately decorate with Christmas sprinkles before the frosting sets.
- Once the frosting is set, lift the bars out using the parchment paper overhang and cut into squares.
Notes
- For a thicker bar, use a 9×9 inch pan instead of a 9×13 inch pan and adjust baking time accordingly, checking around 30 minutes.
- You can make the cookie base one day ahead and store it wrapped at room temperature. Frost just before serving.
- If you prefer a cream cheese frosting, substitute 4 ounces of softened cream cheese for half of the butter in the frosting recipe.
Nutrition
- Serving Size: 1 bar
- Calories: 280
- Sugar: 35g
- Sodium: 110mg
- Fat: 14g
- Saturated Fat: 8g
- Unsaturated Fat: 6g
- Trans Fat: 0.3g
- Carbohydrates: 37g
- Fiber: 0.5g
- Protein: 3g
- Cholesterol: 45mg