

Hello friends, Kenji here!
Amaya and I are so thrilled you joined us.
We are sharing a dessert close to our hearts.
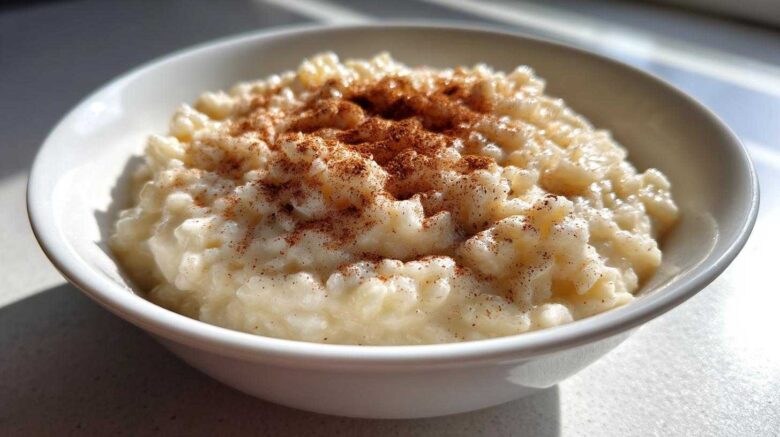
This is our Ultimate Creamy Old-Fashioned Stovetop Rice Pudding recipe.
It tastes just like home for us.
Think of cozy evenings in Kyoto.
This simple, comforting rice pudding brings back memories.
It is wonderfully rich and incredibly creamy.
We perfected this stovetop version over many years.
It requires just a few pantry staples.
Get ready for the best bowl you have ever tasted.
Why You Will Make This Creamy Old-Fashioned Rice Pudding Again and Again
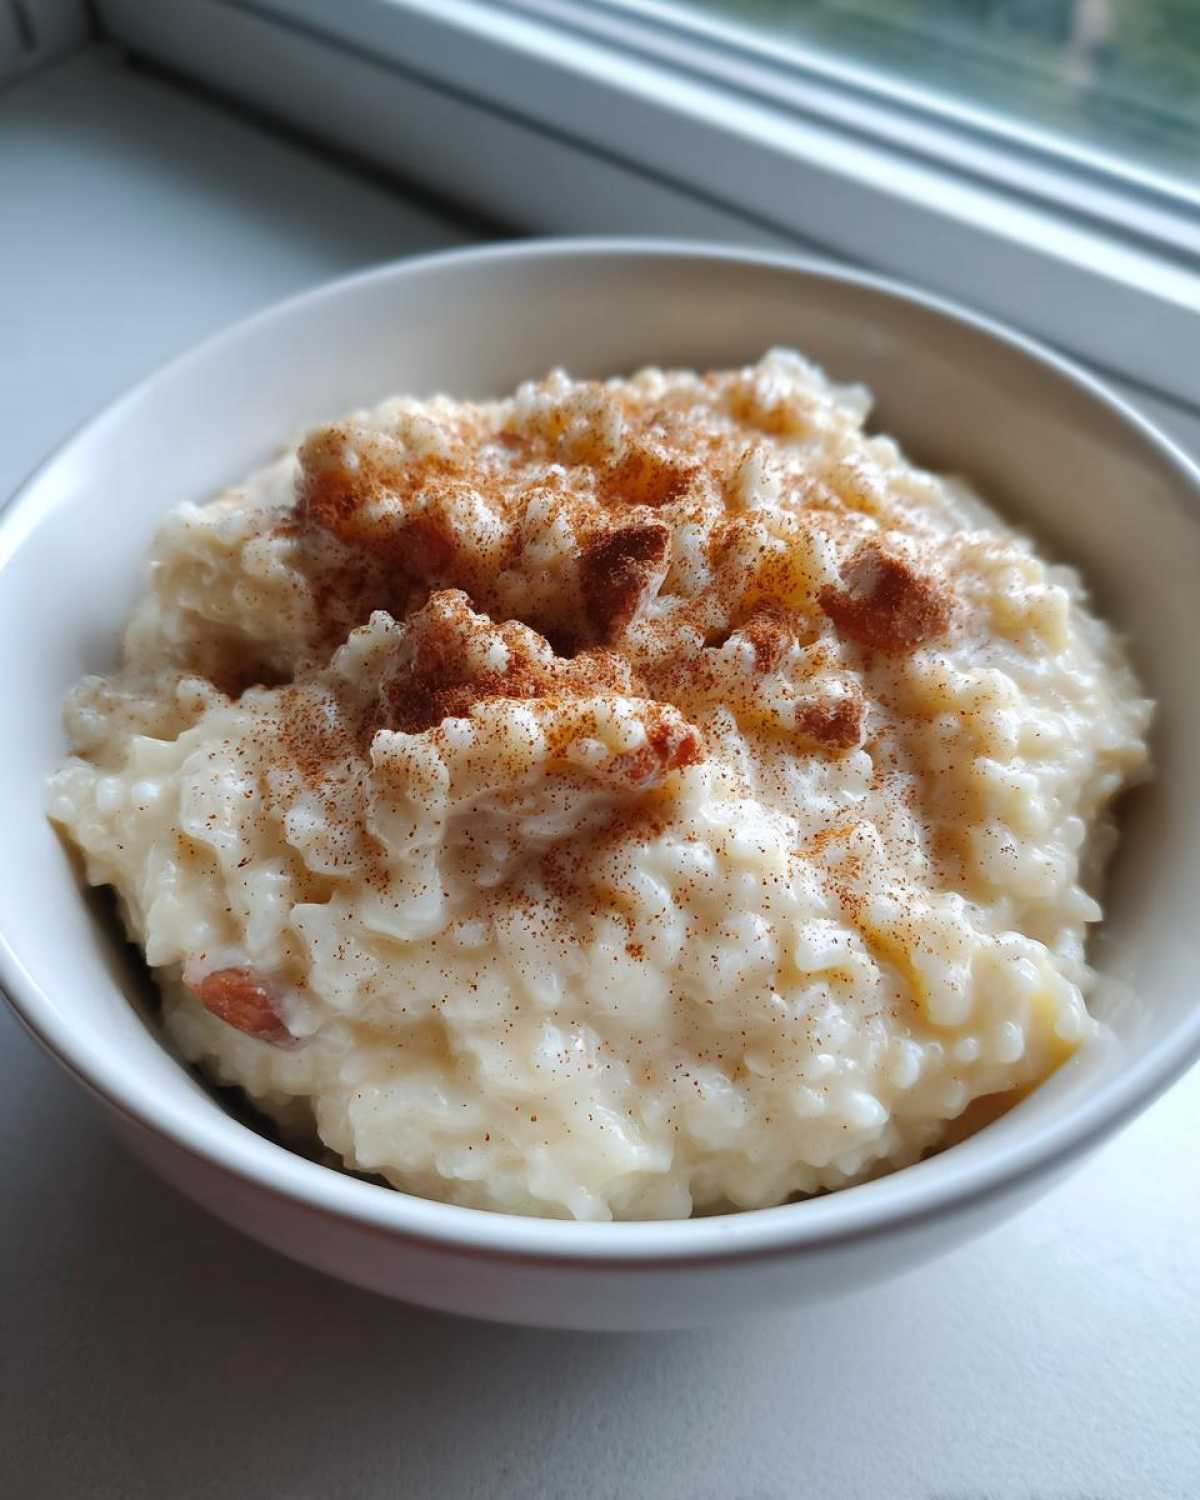
This recipe isn’t just food. It’s a warm hug in a bowl.
Amaya and I promise you will love this dessert.
It delivers that comforting, classic flavor we grew up with.
Here is why this particular rice pudding became our family’s favorite:
- It has a truly luxurious, creamy mouthfeel.
- The ingredient list stays wonderfully simple.
- It brings that old-fashioned, nostalgic feeling back.
Quick Preparation Time
You only need about five minutes to gather everything.
Seriously, prep is super fast for this dish.
The magic happens during the slow cooking time.
That hour on the stove rewards your patience greatly.
It’s easy to start while you clean dinner plates.
Unmatched Texture: Achieving the Perfect Creamy Rice Pudding
Texture is everything in a great rice pudding.
We skip the heavy cream here.
Using only whole milk makes it so rich.
Slow cooking lets the starches release slowly.
This slow process creates the best creamy rice pudding ever.
It’s the secret to that perfect texture.
Equipment Needed for Perfect Stovetop Rice Pudding
Making this stovetop rice pudding is easy.
You only need a few simple kitchen tools.
The most important item is your saucepan.
You must use a heavy-bottomed pan.
This prevents the milk from scorching badly.
Scorched milk ruins the flavor of the rice pudding.
You will also need a good wooden spoon or whisk.
Stirring frequently requires a sturdy tool.
Simple Ingredients for Classic Rice Pudding
The beauty of this old-fashioned dessert is its short list.
You likely have most things already.
We believe great flavor starts with good components.
This traditional rice pudding needs just a few items.
They combine to make something truly special.
No fancy, hard-to-find items here, I promise.
Ingredient Notes and Substitutions
Let’s talk about getting that creamy texture.
Whole milk is non-negotiable for us.
It gives the best body to our rice pudding.
Lower fat milk makes the final result thin.
For the rice, stick to short-grain white rice.
It releases starch better than long-grain varieties.
This starch is what makes the pudding thick.
Do not skip the vanilla extract at the end.
It adds that warm, sweet background note.
It rounds out the flavor perfectly.
How to Prepare Your Old-Fashioned Stovetop Rice Pudding
Now for the fun part, the actual cooking!
This stovetop method is very hands-on, but easy.
Stirring is your main job here.
It guarantees a smooth, creamy result for your rice pudding.
Follow these steps closely for success.
Starting the Simmer: Combining Basics
First, grab your heavy saucepan.
Add the short-grain rice, salt, and whole milk.
Put the pan over medium heat on the stove.
Your goal is a gentle simmer, not a rolling boil.
Stir often as it starts to warm up.
This constant movement stops the rice from sticking.
The Slow Cook: Developing Creaminess
Once it simmers, lower the heat right down.
Cook this mixture for 45 to 60 minutes total.
Stir every five to seven minutes, no less!
The rice needs to become very tender now.
The liquid will thicken up quite a bit.
This slow cooking builds the creamy base.
Tempering the Egg for Richness
This next step adds incredible richness.
Remove the pan completely from the heat source.
Take a small ladle of the hot pudding mixture.
Slowly whisk that hot liquid into your beaten egg.
This is called tempering the egg.
It stops the egg from scrambling suddenly.
Once tempered, pour the egg mixture back in.
Stir constantly while you pour it all back.
Then, stir in your vanilla extract right away.
Finishing and Setting Your Rice Pudding
Stir for two more minutes off the heat.
The pudding will thicken slightly more now.
Do not put it back on the heat after adding egg.
It sets up a lot more as it cools down.
Serve this wonderful rice pudding warm if you wish.
Chilling it makes the final texture firmer.
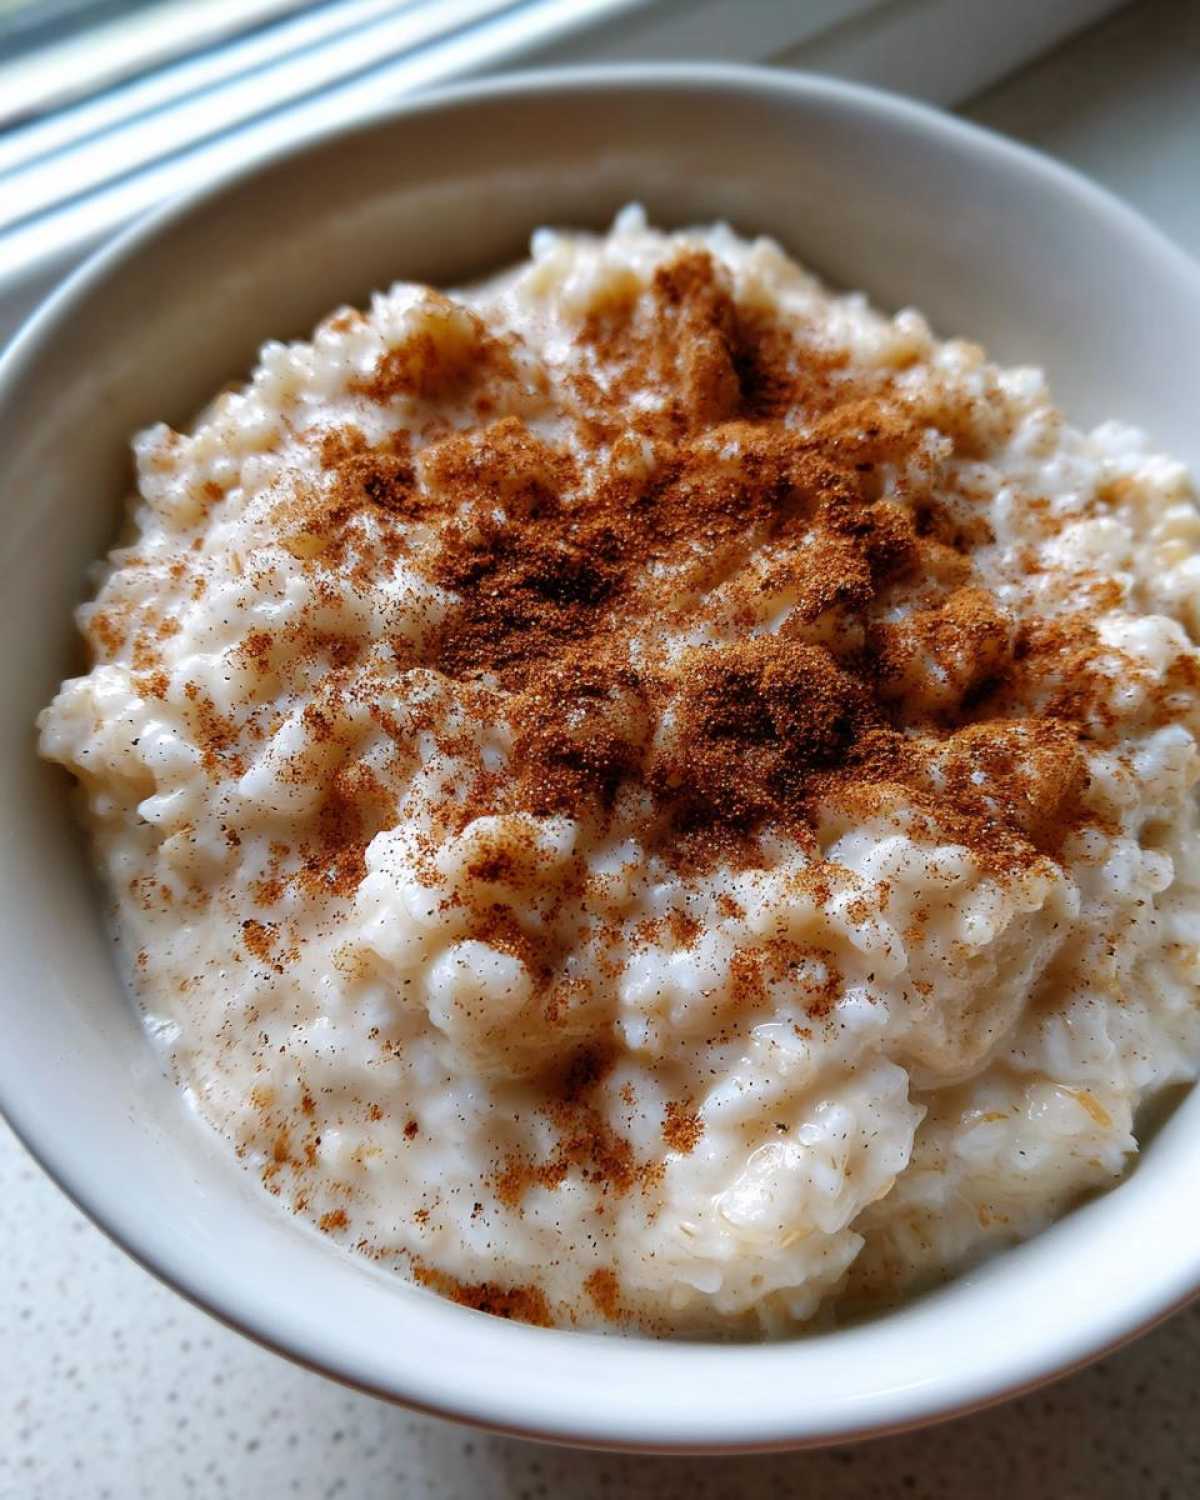
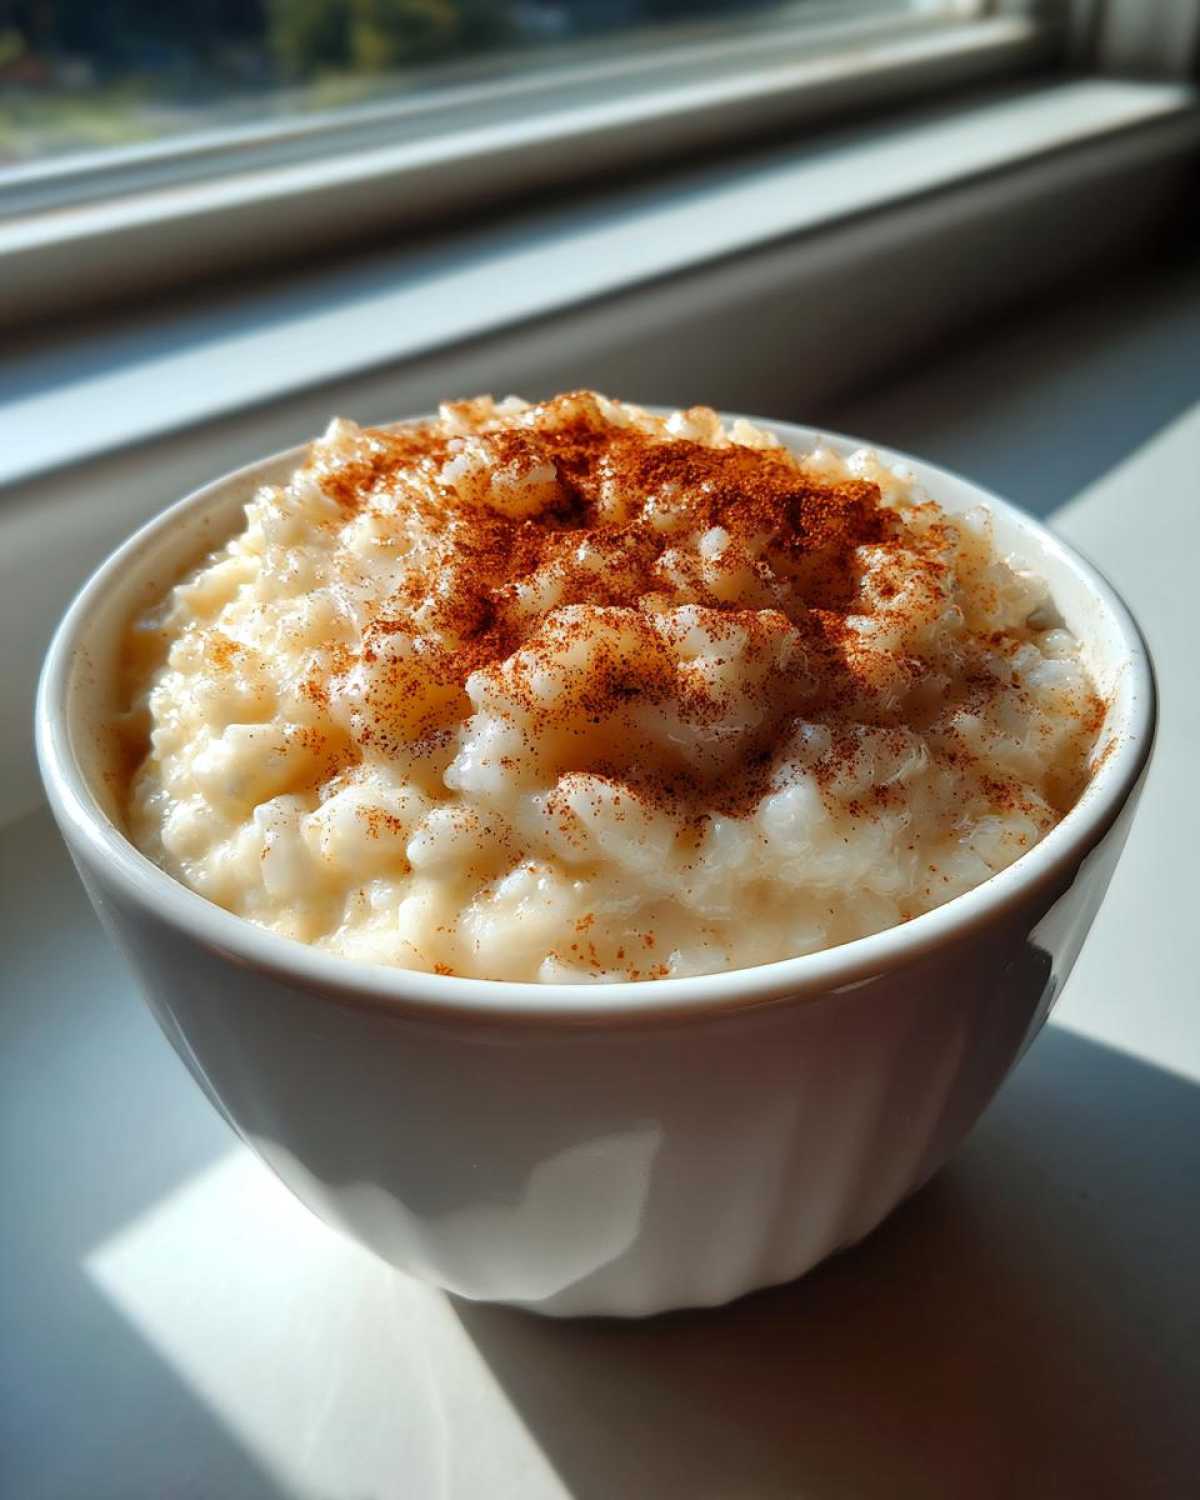
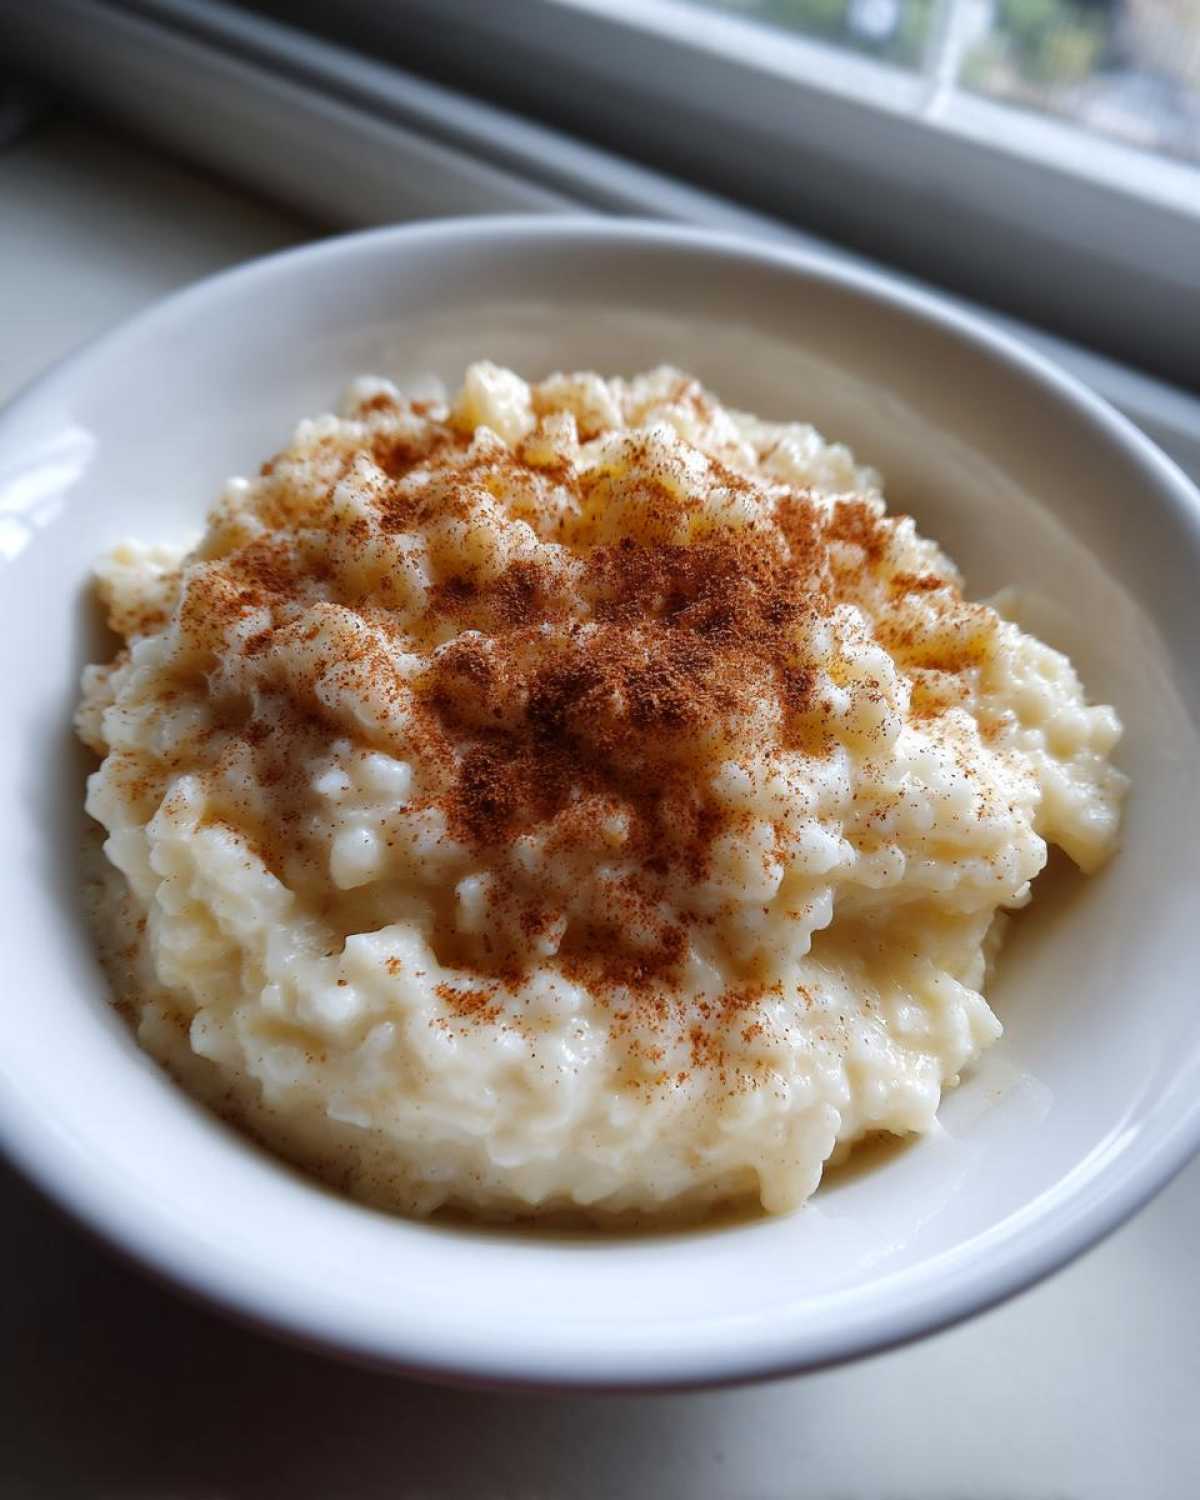
A dusting of cinnamon finishes this classic dish.
Tips for Success with Your Creamy Rice Pudding
I want your stovetop experience to be perfect.
Follow these tried-and-true tips for great results.
These pointers come from years of making this dessert.
They help guarantee a smooth, creamy rice pudding.
- Always use a thick-bottomed pan.
- Stir often during the long simmering stage.
- Do not rush the low-and-slow cooking time.
- Remember it thickens a lot when cold.
If you reheat leftovers, add a splash of milk.
This brings back the perfect consistency.
Enjoying this classic rice pudding is simple!
Serving Suggestions for This Comfort Dessert
How you serve this dish matters.
A simple dusting of ground cinnamon is key.
It adds warmth to our creamy rice pudding.
Amaya loves a swirl of maple syrup sometimes.
Fresh berries pair beautifully with this dessert.
Try a spoonful of tart apricot jam on top.
Warm or chilled, this rice pudding is perfect.
Storing and Reheating Leftover Rice Pudding
What about leftovers? We always have some!
This creamy dessert keeps well in the fridge.
Store your extra rice pudding in an airtight container.
It should last about four days refrigerated.
Be warned, it gets very thick when cold.
It sets up almost like a soft cake.
To reheat, stir in a splash of whole milk.
Heat gently on the stovetop or microwave.
This loosens it right back up again.
Frequently Asked Questions About Making Rice Pudding
I know you might have a few cooking questions.
It is normal when trying a new recipe.
Here are answers about making perfect rice pudding.
Can I speed up the cooking time for this rice pudding?
Please don’t try to rush this process.
The long, slow simmer is essential for texture.
It allows the rice starches to release fully.
Rushing it results in gummy, uneven rice pudding.
What if I don’t have short-grain rice?
Short-grain rice is best for creaminess.
Arborio rice works as a decent substitute.
It is designed to be creamy, like risotto.
Avoid using standard long-grain white rice.
It just won’t give you that classic texture.
Can I make this dairy-free?
You can try substitutions here, but it changes things.
Use full-fat oat milk or cashew milk.
It will still be tasty comfort dessert.
However, the classic creamy rice pudding relies on whole milk.
Why did my pudding stick to the bottom?
That usually means the heat was too high.
Or you did not stir often enough.
Use your heavy-bottomed pan always.
Stirring constantly prevents scorching on the bottom.
Share Your Classic Rice Pudding Experience
We poured our hearts into this recipe for you.
Now, it’s your turn to share your joy!
Did you make this classic rice pudding?
Tell us how it turned out in the comments below.
Amaya and I love reading your stories.
Rate this recipe and let our community know!
Print5-Minute Prep Creamy Old-Fashioned Rice Pudding

This is Kenji and Amaya’s Ultimate Creamy Old-Fashioned Stovetop Rice Pudding, a recipe passed down and perfected through generations. You achieve a rich, comforting texture using simple ingredients right on your stove.
- Prep Time: 5 minutes
- Cook Time: 60 minutes
- Total Time: 65 minutes
- Yield: 4 servings
- Category: Dessert
- Method: Stovetop
- Cuisine: American/Classic
- Diet: Vegetarian
Ingredients
- 1/2 cup short-grain white rice
- 4 cups whole milk
- 1/2 cup granulated sugar
- 1 large egg, lightly beaten
- 1 teaspoon vanilla extract
- 1/4 teaspoon salt
- Ground cinnamon, for serving
Instructions
- Combine the rice, milk, and salt in a heavy-bottomed saucepan.
- Bring the mixture to a gentle simmer over medium heat, stirring often to prevent sticking.
- Reduce the heat to low. Cook, stirring frequently (every 5-7 minutes), for 45 to 60 minutes, or until the rice is tender and the pudding has thickened considerably.
- Remove the saucepan from the heat. Slowly temper the beaten egg by whisking a small amount of the hot pudding mixture into the egg, then pour the tempered egg mixture back into the saucepan, stirring constantly.
- Stir in the vanilla extract.
- Continue to stir for 2 more minutes off the heat until the pudding thickens slightly more. Do not boil after adding the egg.
- Serve warm, or chill completely for a firmer texture. Sprinkle with ground cinnamon before serving.
Notes
- Use whole milk for the creamiest result.
- Stirring frequently is key to preventing scorching on the bottom of the pan.
- This pudding thickens significantly as it cools. Adjust liquid if reheating later.
- This recipe tastes wonderful served chilled with a dusting of cinnamon.
Nutrition
- Serving Size: 1 cup
- Calories: 350
- Sugar: 30g
- Sodium: 150mg
- Fat: 9g
- Saturated Fat: 5g
- Unsaturated Fat: 4g
- Trans Fat: 0g
- Carbohydrates: 58g
- Fiber: 1g
- Protein: 10g
- Cholesterol: 75mg