

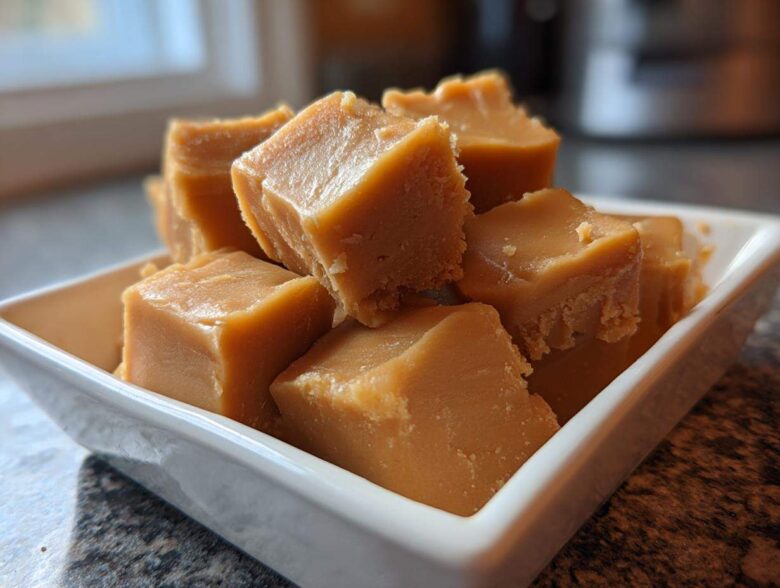
Oh, stop what you are doing right now and smell that incredible aroma! Forget chocolate for five minutes because we are diving headfirst into the sweetest, most nostalgic candy that your grandma probably snuck you when you weren’t looking: penuche fudge! This isn’t just any sugar candy; this is the true taste of old-fashioned goodness. I spent years messing this up—getting grainy batches that tasted like sand—but trust me, I finally figured out the secret to that incredibly creamy, melt-in-your-mouth texture. This recipe is pure magic, relying on good quality brown sugar and a little bit of patience to get that perfect buttery finish. If you’re looking for a classic confection that truly melts on your tongue, this is it!
Why This Old-Fashioned Penuche Fudge Recipe Works (Creamy Fudge Secrets)
Listen, making any sugar candy can feel like you’re waiting for a science experiment to finish correctly, right? But that’s exactly why this specific Old Fashioned Fudge technique is my absolute go-to for penuche fudge. The secret isn’t just the brown sugar; it’s the delicate dance with heat and cooling. You absolutely must hit that soft-ball stage—234°F is the magic number—and then, and this is vital, you must let it cool completely until it hits 110°F without touching it!
If you agitate the sugar crystals too soon, you end up with gritty fudge, and nobody wants that. By letting it rest undisturbed, you stabilize the candy base. Then, when you beat it—vigorously, like you mean it—you force the crystals to form tiny, almost microscopic ones that give you that unbelievably Creamy Fudge texture that dissolves in your mouth. It’s precision timing, but once you nail this rhythm, you’ll have the smoothest penuche fudge every single time. I use this guide for all my holiday candy making now. If you want to see another recipe where temperature control is king, check out how I make my creamy rice pudding!
Benefits of Making Homemade Brown Sugar Candy
Why bother with this method when you can buy store-bought? Because homemade means superior flavor, that’s why! This is rich, intensely Buttery Fudge, deeply flavored with molasses notes that can’t be replicated by cheap substitutes.
- You get that incredible, deep Caramel Fudge Flavor that tastes exactly like the old general store candies.
- It’s customizable! Feeling nutty? Throw in pecans!
- It makes fantastic, impressive Gifts in a Jar Candy that everyone swoons over.
- Truly, nothing beats the melt-in-your-mouth quality when it’s made perfectly at home.
Gather Ingredients for Your Penuche Fudge Recipe
Okay, get your measuring cups ready! Since this is such a pure recipe—it’s basically just sugar, fat, and milk—the quality of what you use matters immensely for excellent penuche fudge. You’ll need two full cups of light brown sugar, and pack that cup tight! The molasses in that brown sugar is what gives us the signature color and deep, complex sweetness we are chasing. Don’t even think about using margarine; we need four tablespoons of good, unsalted butter for that rich mouthfeel.
Ingredient Notes and Substitutions for Brown Sugar Fudge
Pay attention here; this is where we protect the texture. I insist on whole milk—no 2% or skim! You need the fat content from the whole milk to help the mixture reach the correct temperature without scorching or breaking down too soon. That dash of salt isn’t just for flavor balance; it actually helps control the sugar crystals, which is essential for our penuche fudge to turn out perfectly smooth. Stick to the recipe, friend; it’s built on time-tested ratios!
Step-by-Step Instructions for Perfect Penuche Fudge
Alright, grab your heaviest saucepan because this is where the old magic happens! First things first, line that 8×8 pan with parchment paper and make sure you leave plenty hanging over the sides—this is how we’ll lift the finished candy out later so we don’t mangle our masterpiece. Trust me, struggling to pry penuche fudge out of a pan is never fun!
Now, in that heavy pan, combine your sugars, milk, butter, and salt. Turn the heat to medium and stir constantly until everything melts and dissolves. My little trick here, which is essential for that Smooth Fudge Texture Guide, is getting the thermometer clipped on *before* it gets too hot. Once it hits a rolling boil—and I mean a proper boil, not a simmer—stop stirring the mixture itself! If you stir the sides now, you invite those pesky crystals to form. You’re just waiting for it to hit 234°F.
When it reaches that crucial temperature, yank it off the heat right away and stir in that beautiful vanilla extract. Then comes the hardest part mentally: you just have to wait! For now, let it sit completely still on the stovetop until it cools down to 110°F. I know it feels slow, but stirring too early ruins everything. If you want to check out a recipe where temperature might be less fussy, take a peek at how I make my chocolate chip cookies!
The Crucial Cooling Phase for Smooth Fudge Texture
This cooling period is non-negotiable for achieving that premium, Melt in Your Mouth Candy finish. When the temperature dips to 110°F, the solution has changed chemically; it’s now primed for beating. If you try to beat it when it’s too hot, it will stay soft and pourable—which is not fudge! If you try it when it’s too cool, it will be rock hard before you even start mixing. That 110°F mark creates the perfect semi-stable structure for success. Don’t rush this, friend; this resting time is what separates the good Brown Sugar Fudge from the great!
Beating the Penuche Fudge to Perfection
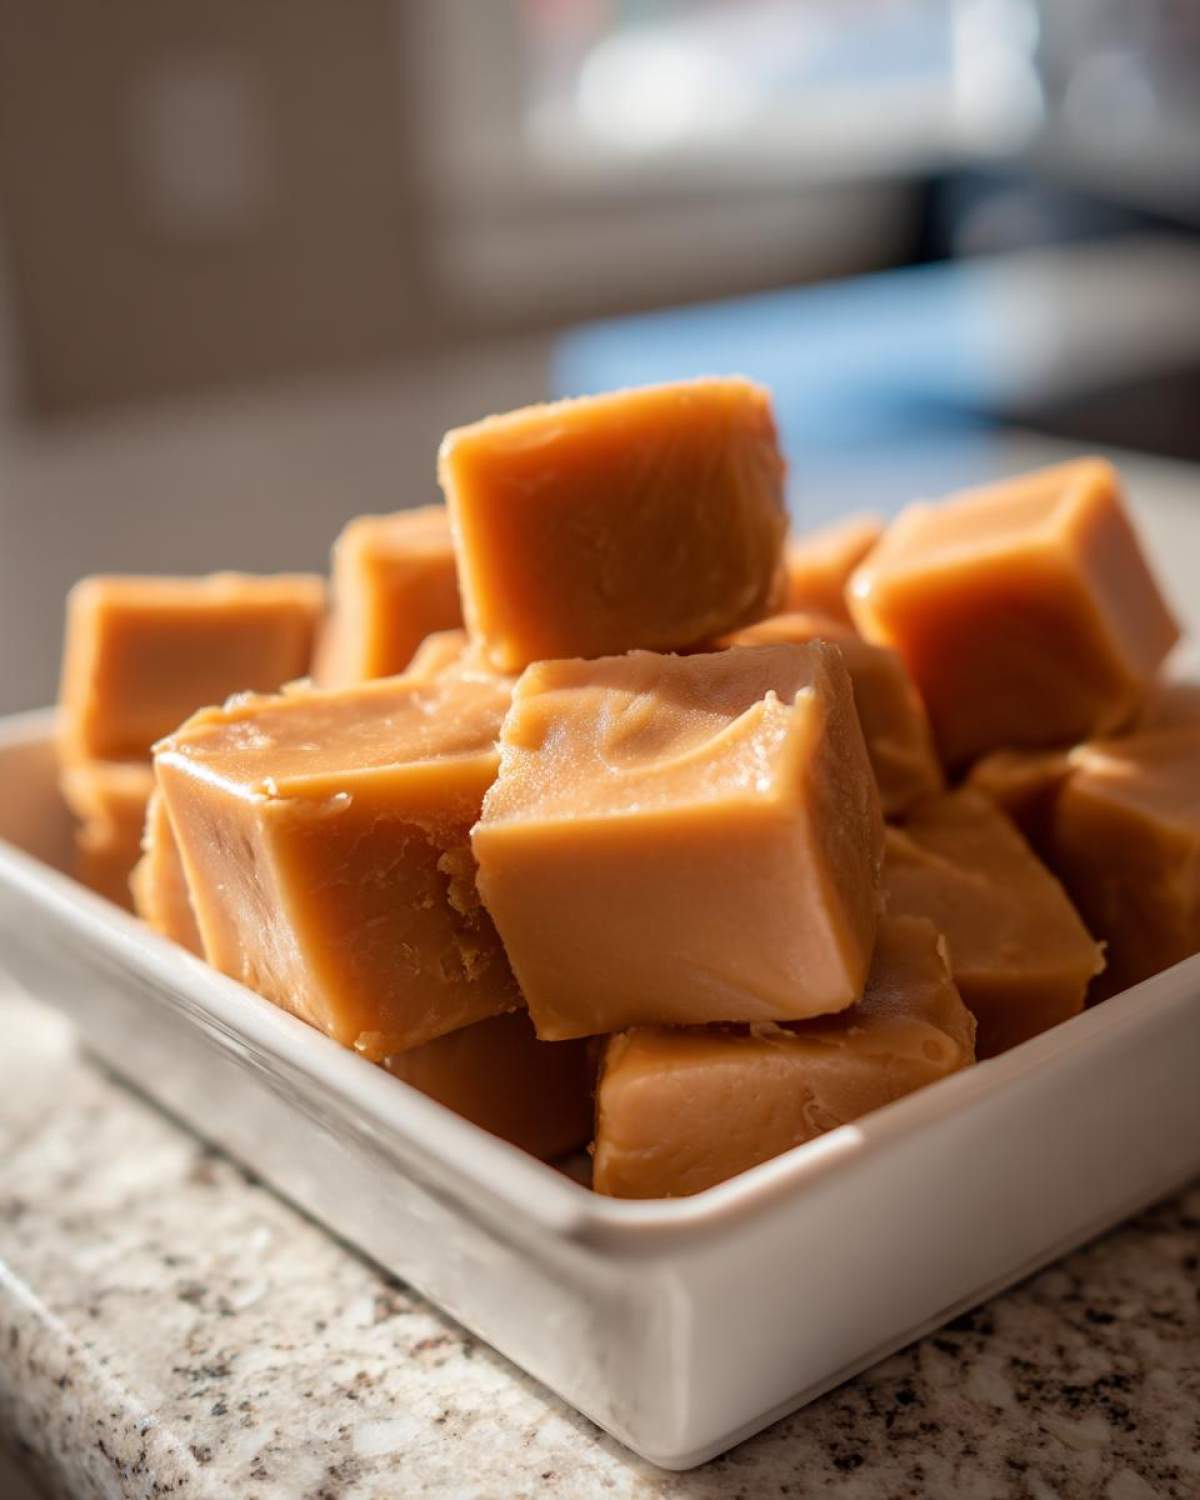
Once it’s cooled, get ready to work! You need to beat this fudge vigorously. I usually start with a sturdy wooden spoon, but honestly, an electric hand mixer on medium speed does the heavy lifting faster. You’re beating until the gloss disappears entirely, and the mixture changes texture—it gets thick, dull, and starts looking sort of grainy itself, but don’t worry, that’s the sign it’s working! It takes a good five to ten minutes of continuous beating. Once it starts holding peaks loosely and you can barely stir it, that’s it! Scrape it immediately into that prepared pan and smooth the top fast, because once it stops beating, it sets up quick!
Tips for Success When Making Classic Confectionery
You’ve mastered the heating and the cooling, but sometimes the environment fights back, right? Especially when you are working with delicate sugar candies like this beautiful penuche fudge. If you live somewhere really humid, you might find that the water in the air tries to sabotage your smooth texture. This is the classic fight of Traditional Candy Making!
If it’s a damp day, you need to be extra diligent when brushing down the sides of the saucepan while it’s boiling. Remember that reminder about the little sugar crystals forming above the liquid line? If you see any white crust forming, grab a pastry brush, quickly dip it in some warm (not hot!) water, and gently swish away those potential culprits before they have a chance to fall back into the boiling mass and kickstart crystallization.
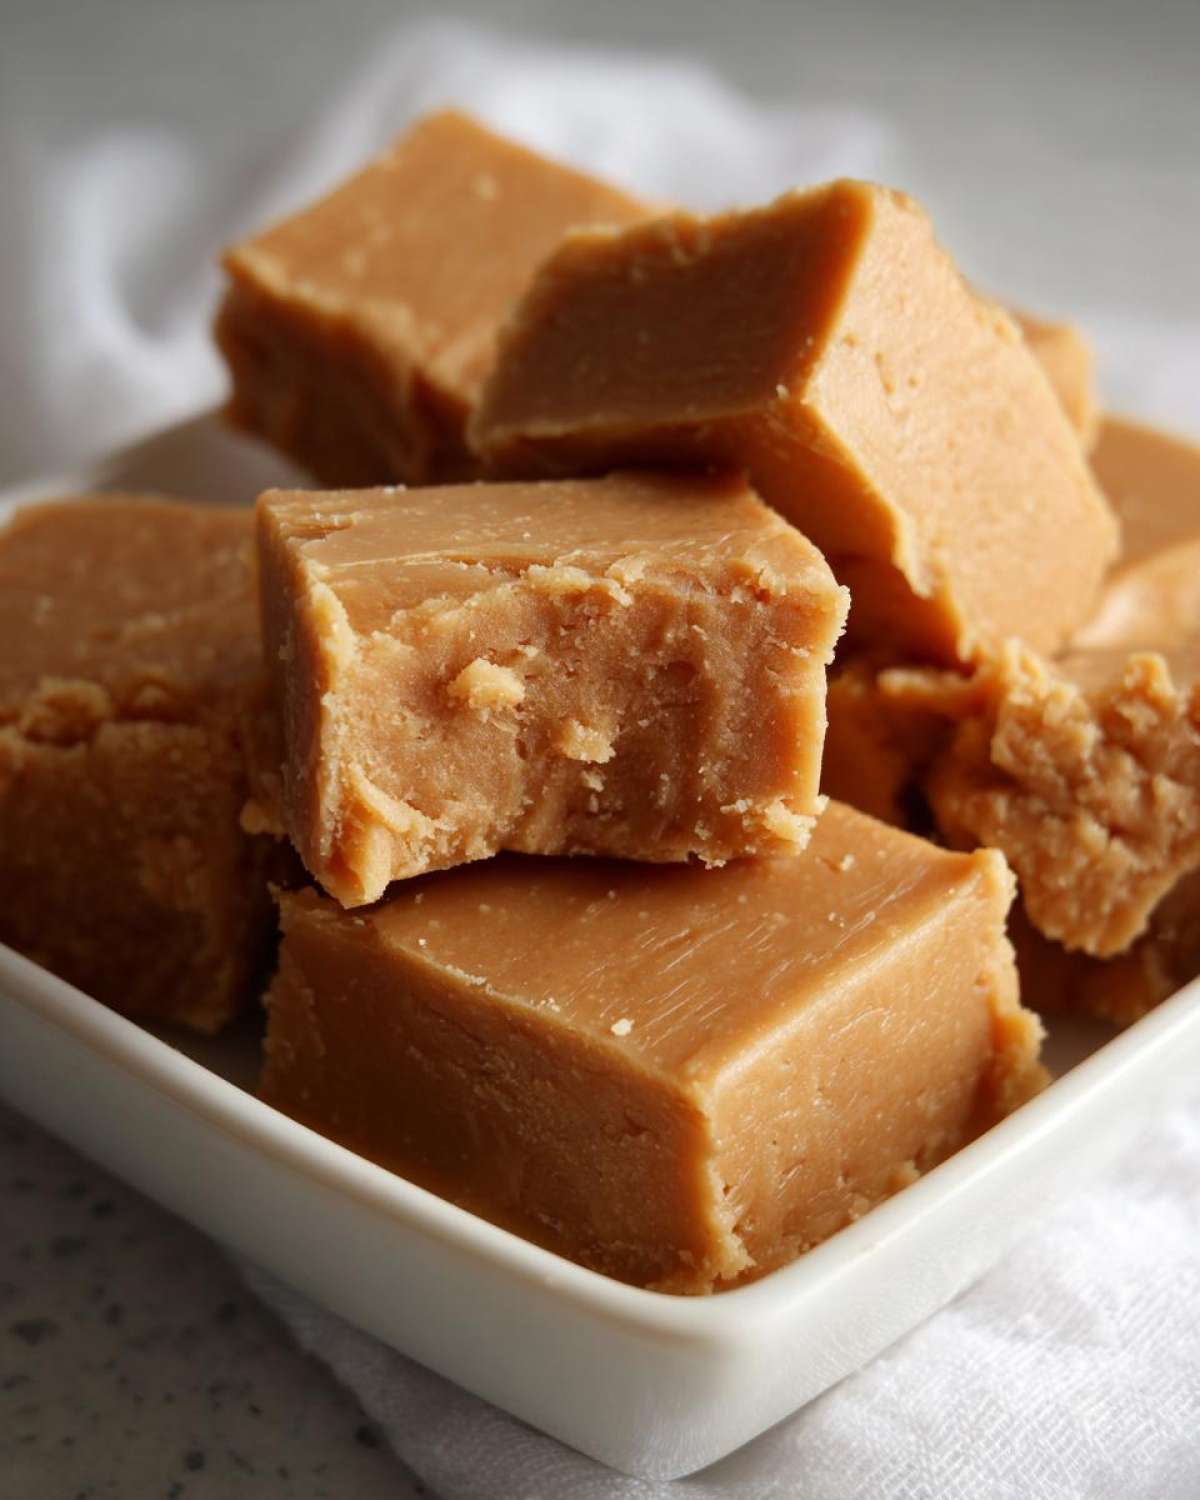
Also, please don’t be tempted to pour the whole cooling pot’s contents onto the counter to speed up cooling! That is a recipe for disaster and usually results in super grainy chunks. We want that perfectly set, smooth, brown-sugar-based dream. Seriously, if you struggle with keeping moisture out of baked goods, you might want to try my amazing date nut bread recipe; it handles moisture so well, unlike fudge!
Another crucial thing for that perfect texture is speed at the end. Once that fudge starts beating and turns dull, you have mere seconds before it seizes up and becomes impossible to spread. Have your parchment-lined pan right next to your mixer. Remember, the goal here isn’t just making candy; it’s making the best penuche fudge possible, and that requires a bit of focused effort in those final moments!
Variations on Traditional Penuche Fudge
Now that you’ve mastered the wonderfully pure base recipe for penuche fudge—that gorgeous, buttery fudge without a hint of chocolate in sight—you might be wondering how we can jazz this classic up a little bit? I love keeping the core structure completely untouched because that’s what gives us that melt-in-your-mouth experience, but we can certainly sneak in a few extra goodies to change the scenery!
My favorite way to play around with this is to lean into that inherent Caramel Fudge Flavor. Since we’re already working with brown sugar, adding things that complement that molasses note makes perfect sense. Don’t go overboard, though; remember, we don’t want to disrupt the sugar structure we worked so hard to set correctly!
Here are a few simple additions that I often stir in right at the very end, just before I pour the mixture into the pan (after the beating starts to thicken it up):
- Nuts, Nuts, Nuts: About a cup of lightly toasted pecans or walnuts, chopped medium-coarse, works wonders. Toasting them briefly in a dry skillet really wakes up their flavor before you toss them in.
- A Touch of Maple: If you want a deeper, richer flavor profile—almost like a butterscotch ribbon—replace half a teaspoon of your vanilla extract with pure, good quality maple extract. It blends seamlessly with the brown sugar.
- Marshmallow Swirl: This one is a bit more complex, but so worth it for that extra chew! After you pour half the fudge into the pan, melt down about a cup of mini marshmallows with a teaspoon of butter until smooth, then dot the top of the first layer. Pour the remaining fudge over that and swirl gently with a knife. It makes for stunning-looking Simple Dessert Squares!
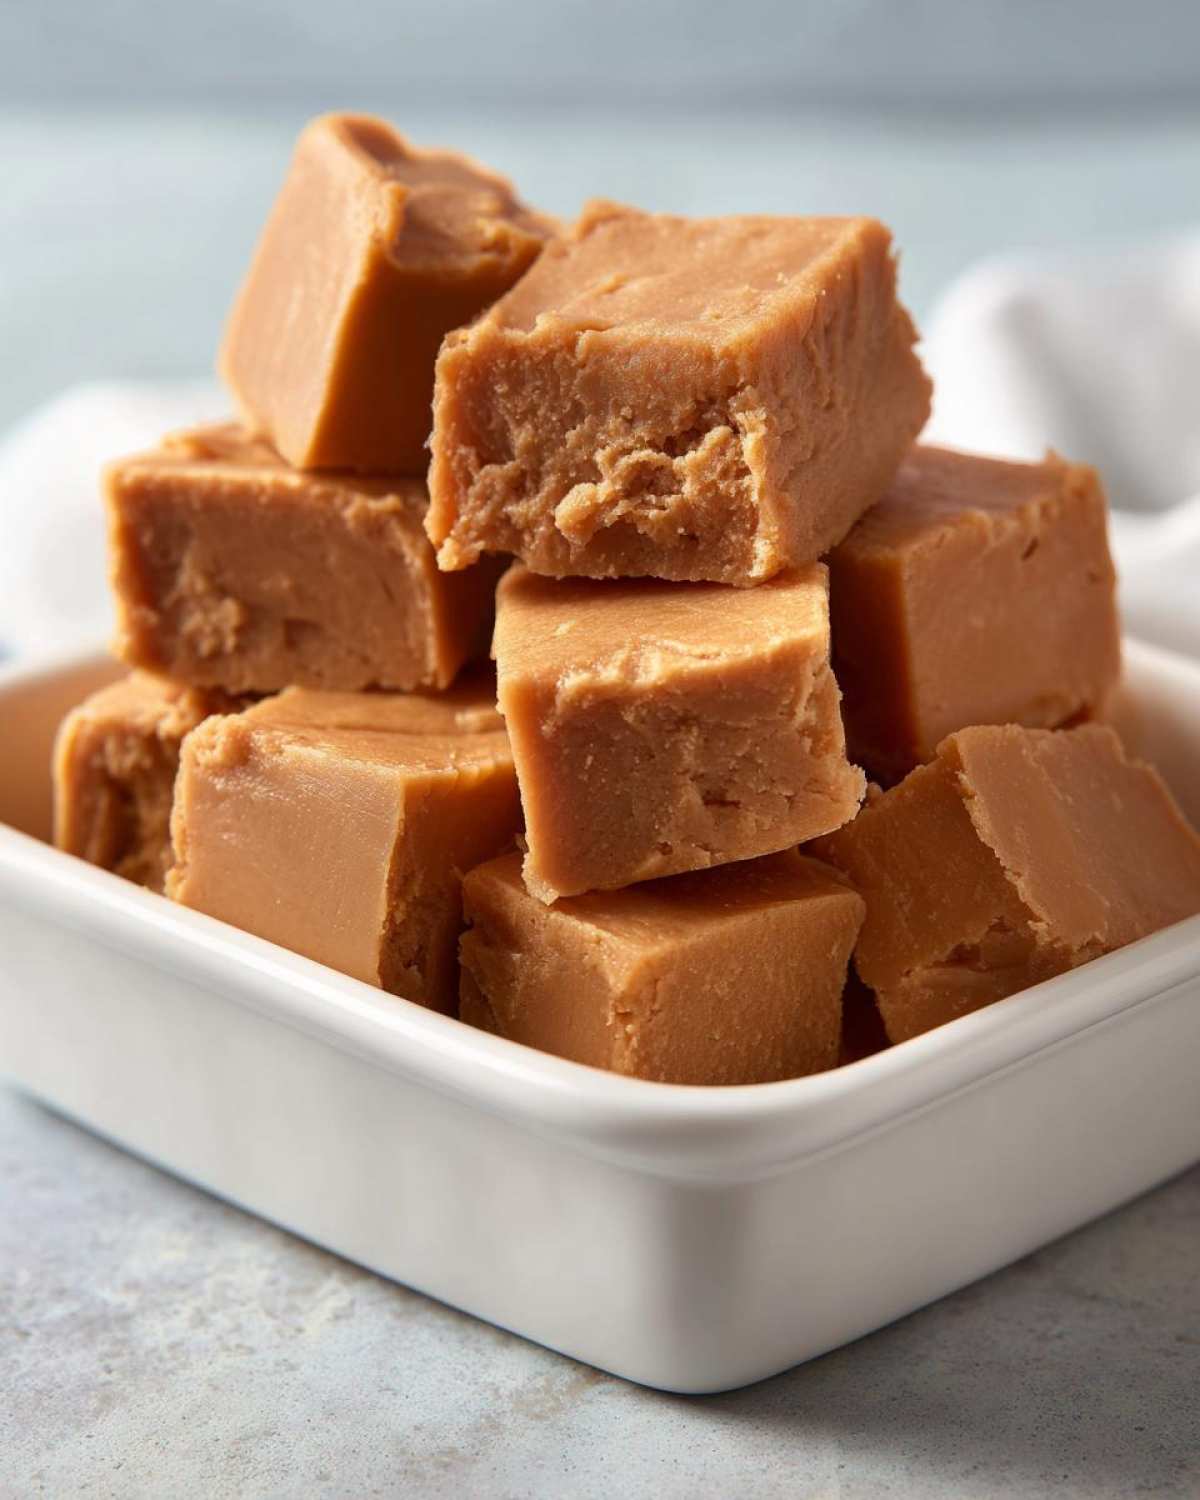
These little tweaks keep the soul of the Old Fashioned Fudge alive while giving you a slightly different treat every time you make a batch. It’s still easy, and it’s still incredibly delicious. If you enjoy these kinds of classic American sweets, you should absolutely try my recipe for buttermilk pie next time you’re baking!
Storage and Serving Suggestions for Your Penuche Fudge
Okay, the hardest part is over, and you’ve got this beautiful, creamy penuche fudge cooling in the pan. Resist the urge to touch it! While you might be tempted to slice into it while it’s still slightly warm, you really need to let it set completely. When I use my parchment paper sling to lift it out, I usually leave it sitting on the counter, covered loosely with plastic wrap, for at least four hours—but honestly, overnight is way better.
This Brown Sugar Fudge is best when it sets slowly at room temperature. Putting it in the fridge can sometimes make it overly firm or even slightly dull the flavor, and we want maximum melt-in-your-mouth action right out of the gate! Once it’s fully set, you can slice it into those neat, perfect Simple Dessert Squares. Make sure you use a big, sharp slicing knife and clean the blade between cuts—that helps keep the edges looking sharp and professional, not ragged!
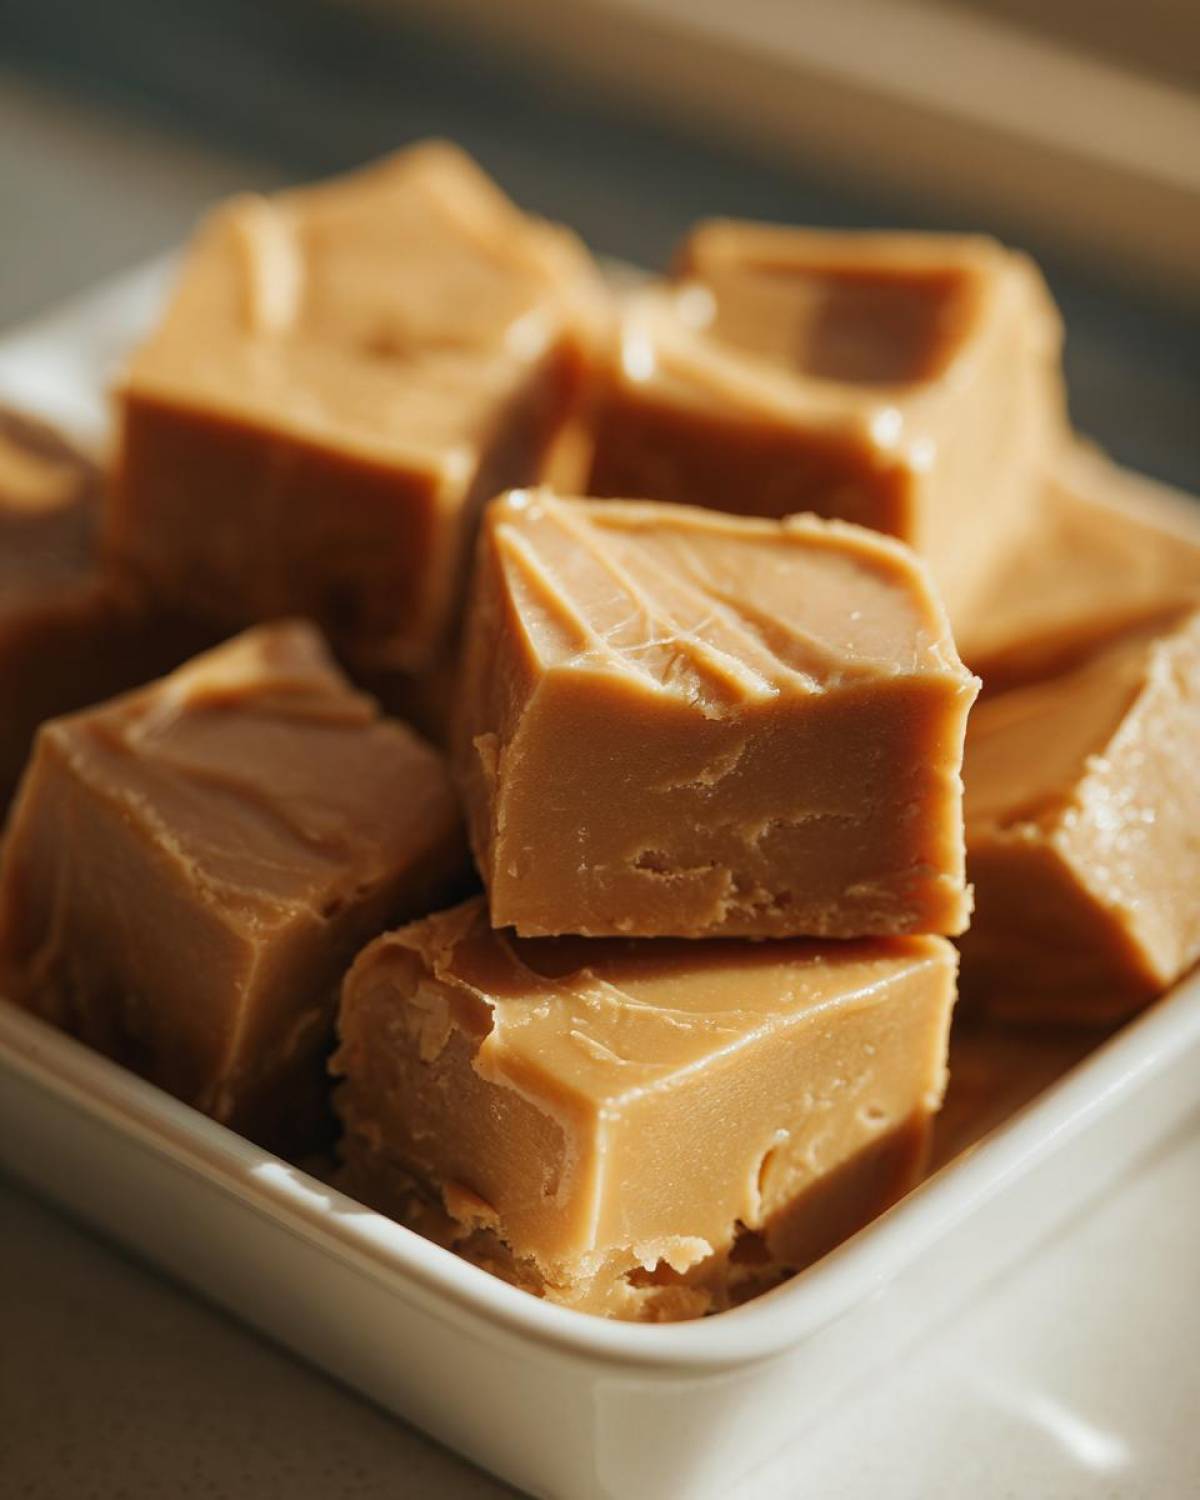
Now, how do you keep this treasure around? Well, if you can manage to not eat it all in one sitting, good for you! Store your cut squares in an airtight container. I usually put down a sheet of parchment paper on the bottom, then layer the fudge with more parchment between rows, just so the pieces don’t stick to each other. It keeps beautifully at cool room temperature for about a week. If your house is super warm, the fridge is a last resort, but let it sit on the counter for 20 minutes before serving to soften up properly.
These little squares are amazing just as they are, maybe with a dusting of powdered sugar, but they also look fantastic stacked up in cute little cellophane bags tied with a ribbon for holiday gifting. If you’re looking for another crowd-pleaser that travels well, you absolutely need to check out my foolproof seven-layer dip for your next gathering!
Frequently Asked Questions About Penuche Fudge Recipe
I know candy making can feel a little intimidating, especially when it involves hitting that perfect temperature, but don’t you worry! We’ve all had lumps and grainy messes, but that’s why I spent so much time perfecting this technique. Here are the questions I get asked most often about making truly great penuche fudge.
Can I make this Penuche Fudge without a candy thermometer?
Oh, I really, really wish I could tell you yes, but for this Brown Sugar Fudge, you absolutely cannot! Temperature is the single most important factor determining the texture. If you aren’t spot on 234°F when you pull it off the heat, you are gambling with your setting time—it will either never set or it will turn rock hard. If you absolutely, positively cannot find a thermometer, you can try the ice water ‘soft-ball’ test, but honestly, trust me on this: buy a cheap candy thermometer. It’s the only way to guarantee that smooth, Buttery Fudge finish! For a good low-fuss bake, check out my easy Italian bread recipe!
Why did my Brown Sugar Fudge turn grainy?
That dreaded graininess is usually caused by large sugar crystals forming, and there are two major culprits that cause this in penuche fudge. First, if you stirred the mixture while it was boiling up to temperature, you probably knocked sugar crystals from the sides back into the solution. Second, if you didn’t let the mixture cool completely and undisturbed down to 110°F before starting to beat it, you agitated the mixture too early. That cooling phase is what sets up those micro-crystals; if you beat it while it’s too hot, you break the chemistry, and boom—grainy texture!
Is Penuche Fudge the same as Caramel Fudge?
That’s a fantastic question! They taste related because they both rely on cooked sugar, but they aren’t exactly the same. Penuche is specifically defined by its primary ingredient being brown sugar, giving it a deeper, more intense molasses or butterscotch-like depth. It’s the rich flavor you get when you cook down those dark sugars. Traditional fudge recipes rely on white granulated sugar, making it richer but less complex in flavor. So, while our penuche fudge has a terrific Caramel Fudge Flavor, it’s distinct because it’s completely No Chocolate Fudge, giving it that unique, old-fashioned profile.
Nutritional Estimates for Homemade Brown Sugar Candy
Now, let’s talk just a brief moment about what you’re actually eating, though let’s be honest, we aren’t making this brown sugar fudge for our health benefits, are we? It is a rich, decadent confection, and it’s important to know what’s in that square of heaven.
Based on the ingredient ratios in this penuche fudge recipe—using light brown sugar, whole milk, and butter—the estimates break down roughly like this per single square:
- Calories: Around 210
- Total Fat: About 5 grams
- Saturated Fat: Roughly 3 grams
- Carbohydrates: A good 40 grams here, most of which is sugar
- Sugar Content: Closer to 38 grams (this is where the flavor comes from!)
- Protein: A small 1 gram contribution from the milk solids
Remember, this is all calculated based on yielding 16 perfect squares from an 8×8 pan. If you cut them smaller, the numbers shift! Please take these figures as a friendly guideline rather than a gospel truth. Since we are using real butter and different brands of brown sugar can vary in molasses content, every batch will be slightly different. This is just a general idea so you know what you’re enjoying in your decadent, melt in your mouth candy treat!
Share Your Experience Making Penuche Fudge
Whew! I am absolutely thrilled you made it through the whole process with me. Seriously, seeing those beautiful, creamy squares of homemade penuche fudge cooling on the counter is one of the best feelings in the kitchen, right? It really makes you appreciate that Old Fashioned Fudge technique.
I would be so excited if you could stop back by after you’ve cut into your candy to let me know how it went! Did it set up perfectly? Did you get that desired mouthfeel? You know I want to hear all the details. Please, leave a star rating right below this section—it helps me know which recipes the readers are loving the most!
If you ran into any little hiccups, or if you have a question about the cooling or beating stage, drop it in the comments too. I try my best to answer every single one because I want you to have success with this Easy Fudge Recipe!
And listen, if you loved this velvety rich treat, please share this guide with your friends and family—especially anyone who thinks candy-making is too hard. They need to know that getting that perfect Buttery Fudge texture is totally achievable with this method. Maybe one day they’ll be making this for their own family gatherings! If you’re already looking for your next savory win after all that sugar, check out my recipe for tender crockpot steak bites!
PrintOld-Fashioned Brown Sugar Penuche Fudge
Make creamy, melt-in-your-mouth Penuche Fudge using brown sugar for a rich, buttery flavor without chocolate.
- Prep Time: 15 min
- Cook Time: 20 min
- Total Time: 4 hours 35 min
- Yield: 16 squares
- Category: Dessert
- Method: Stovetop Cooking
- Cuisine: American
- Diet: Vegetarian
Ingredients
- 2 cups light brown sugar, packed
- 1 cup granulated sugar
- 1 cup whole milk
- 4 tablespoons unsalted butter
- 1 teaspoon vanilla extract
- 1/4 teaspoon salt
Instructions
- Line an 8×8 inch pan with parchment paper, leaving an overhang for easy removal. Lightly grease the paper.
- Combine the brown sugar, granulated sugar, milk, butter, and salt in a heavy-bottomed saucepan.
- Stir the mixture constantly over medium heat until the butter melts and the sugar dissolves. Do not let it scorch.
- Attach a candy thermometer to the side of the pan. Bring the mixture to a rolling boil without stirring the sides of the pan.
- Continue to cook, stirring occasionally to prevent scorching, until the mixture reaches 234°F (soft-ball stage). This usually takes 10 to 15 minutes after boiling starts.
- Remove the pan from the heat immediately. Stir in the vanilla extract.
- Let the mixture cool undisturbed on the stovetop until it reaches 110°F. Do not rush this cooling step; this is key for a smooth texture.
- Once cooled to 110°F, begin beating the fudge vigorously with a wooden spoon or an electric mixer on medium speed.
- Beat continuously until the fudge loses its glossy appearance, thickens significantly, and starts to lose its shape and become dull. This process takes about 5 to 10 minutes.
- Quickly pour the thickened fudge into the prepared pan. Do not scrape the sides of the pot.
- Let the fudge set completely at room temperature for several hours or overnight before cutting into squares.
Notes
- For the smoothest texture, ensure you do not stir the sugar mixture while it is boiling up to the soft-ball stage.
- If you see sugar crystals forming on the sides of the pan above the liquid line, brush them down with a pastry brush dipped in warm water.
- If the fudge becomes too stiff to beat, you can gently reheat it slightly, but this risks graininess.
Nutrition
- Serving Size: 1 square
- Calories: 210
- Sugar: 38
- Sodium: 45
- Fat: 5
- Saturated Fat: 3
- Unsaturated Fat: 2
- Trans Fat: 0
- Carbohydrates: 40
- Fiber: 0
- Protein: 1
- Cholesterol: 15