

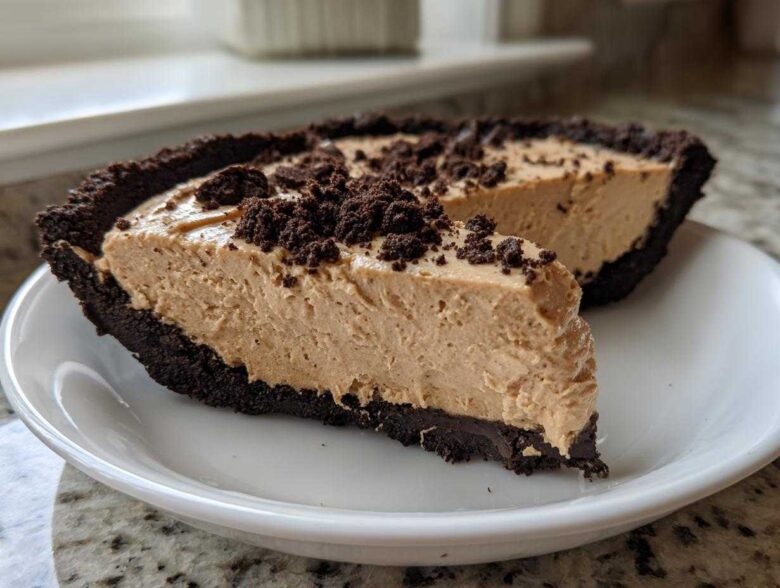
Oh, sometimes you just need that intensely rich, salty-sweet flavor without turning on the oven, don’t you? Kenji and I love having something decadent ready for a quick Sunday treat, and that’s why this **Easy No-Bake Creamy Peanut Butter Pie** is always in heavy rotation here at Whisk Daily. Forget fussy pastry; this recipe uses a buttery Oreo crust that sets up perfectly in the freezer. Seriously, if you need the best peanut butter pie that disappears the second you put it on the table, this is the one. It’s just so gloriously gooey and calls for simple ingredients!
Why This No Bake Peanut Butter Pie Recipe is Your New Favorite
Why do I keep coming back to this recipe? Because it delivers huge flavor payoff with almost zero effort. It’s the definition of a Quick Peanut Butter Dessert that stops everyone in their tracks.
- It’s completely no-bake, which saves my oven for other things, especially when I’m hosting.
- It immediately becomes a top-tier Crowd Pleaser Dessert—just mentioning peanut butter usually guarantees clean plates!
Effortless Preparation for the Creamy Peanut Butter Pie
Honestly, you can have the crust pressed and stick the whole thing in the freezer needing just 15 minutes of active work. That’s right, no oven time means less stress for all of us busy cooks. It’s just so fast to pull together!
Decadent Texture of the Best Peanut Butter Pie
That filling is thick, dreamy, and absolutely luxurious. It melts perfectly against the crisp, buttery crunch of that chocolate cookie crust. Trust me, when you need the absolute Best Peanut Butter Pie texture, this is the winning combination.
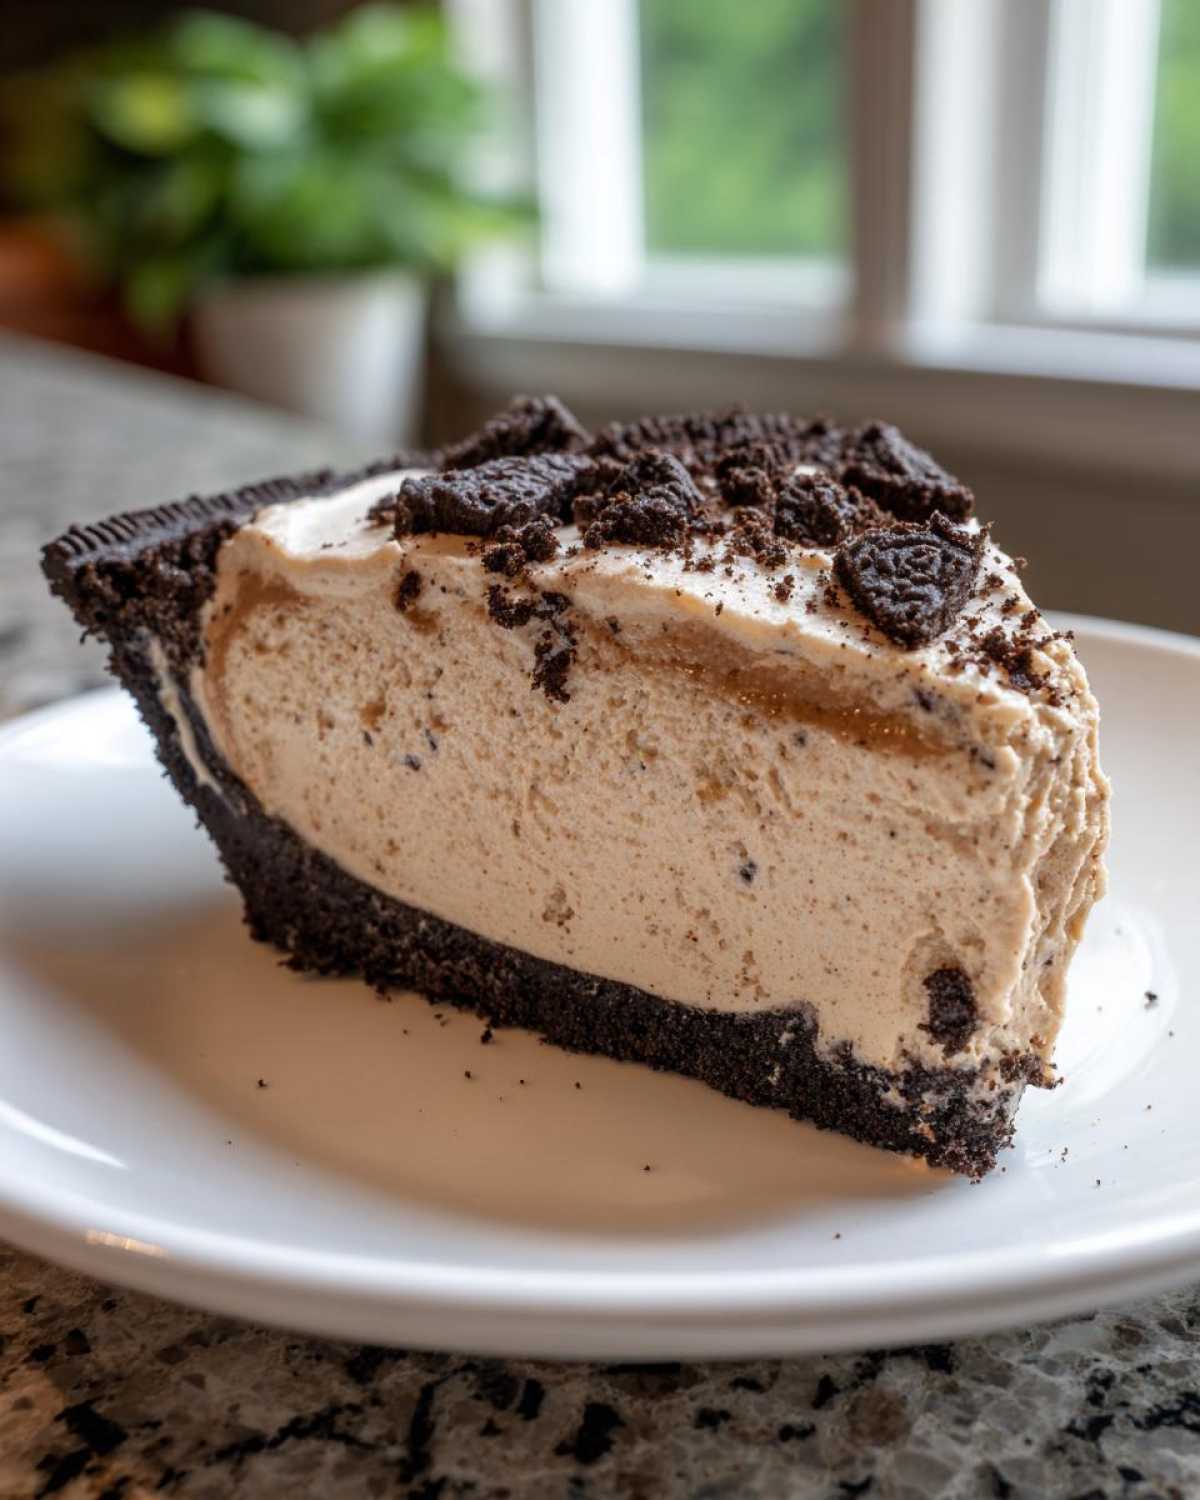
Gathering Ingredients for Your Peanut Butter Pie Recipe
Kenji always reminds me that even the simplest Peanut Butter Pie Recipe needs high-quality ingredients to truly sing. Since this is a no-bake wonder, the quality of the staples really shines through! We rely on standard pantry items here, but make sure your cream cheese is truly soft—that’s important for smooth mixing.
Here is exactly what you need to pull this show together:
- 1 1/2 cups chocolate sandwich cookie crumbs (If you’re using Oreos, don’t worry about cleaning off that filling, it adds flavor to the crust!).
- 6 tablespoons unsalted butter, and yes, it must be melted.
- 1 (8 ounce) package cream cheese—remember, this has to be fully softened before you start.
- 1 cup creamy peanut butter (I use the standard kind right out of the jar).
- 1 1/2 cups powdered sugar, we need this for that silky texture.
- 1 teaspoon vanilla extract for that classic dessert perfume.
- 1 (12 ounce) container frozen whipped topping, and please, make sure it’s completely thawed before you even think about mixing it in.
- Optional Topping: Have some whipped cream, chocolate syrup, or even tiny peanut butter cups ready for the grand finale!
If you ever need great bread to go alongside something, check out Kenji’s fluffy naan recipe—it’s a completely different kind of love, but just as satisfying! See how he masters the bread dough right here.
Expert Tips for the Oreo Crust Pie Base
Listen closely about the crust, because this is where many people rush things, and that results in a crumbly mess later. For this incredible Oreo Crust Pie, the mix of cookie crumbs and melted butter needs to be right. I’m talking about the texture of wet sand—just enough butter to hold it all tight, but not so much that it pools at the bottom.
When you press it into the pie plate, really commit! I use the bottom of a flat glass to press mine down hard, making sure I get the sides packed firmly up to the rim. It feels like you’re pressing too hard, but trust me, that structure is what holds up our decadent filling.
My little secret? I actually pulse *whole* Oreos—filling and all—in the food processor. Some folks scrape out the filling, but why waste that extra sweetness and fat? It just makes the crust richer and holds together better when it’s cold. Once that crust is packed tight, pop it into the freezer for at least 15 minutes (or longer!), as shown in the instructions. That intense chill is crucial before adding any cold filling. If you struggle with release later, you might want to peek at Kenji’s tips on handling delicate pie releases.
Making the Creamy Peanut Butter Pie Filling
Now we move onto the star of the show—that heavenly filling that turns this into a true Creamy Peanut Butter Pie experience! The order of operations here is not just suggestion; it’s the key to that perfect thick texture you’re hoping for.
Start by grabbing your electric mixer and giving that softened cream cheese a good, solo whipping until it’s completely smooth. Don’t leave any lumps lingering; we want this base flawless! Once you see it looking like fluffy clouds, you can add your peanut butter and beat it in well. It will get quite thick here, which is normal for this kind of Peanut Butter Cream Pie base.
Next, very slowly, start beating in the powdered sugar. If you just dump it all in, you’ll wear the sugar all over your kitchen, and trust me, I’ve learned that lesson the hard way! After the sugar is mixed through and the flavor is tasting salty-sweet just how I like it, we add the vanilla.
The final move is the most delicate: the whipped topping! This has to be thawed, but still cold. You must resist the urge to beat it in aggressively. Instead, use a spatula and gently fold it in until you just don’t see any white streaks left. Folding keeps all those precious air bubbles intact, making sure your pie sets up light and airy, not dense and heavy. Be patient here; it’s worth it!
Assembling and Chilling Your Easy Peanut Butter Pie
Okay, the filling is fluffy perfection, and that Oreo crust base is frosty cold. Now for the grand assembly of your Easy Peanut Butter Pie! Get that bowl of filling and gently spoon it all out into your chilled crust. Don’t just dump it in one spot; try to distribute it somewhat evenly across the base first.
Use an offset spatula or the back of a large spoon to smooth the top. You want it looking pristine right now because once it sets, that’s the surface you’ll see! Smooth it out nicely, but please, don’t overwork it trying to get it *too* perfect.
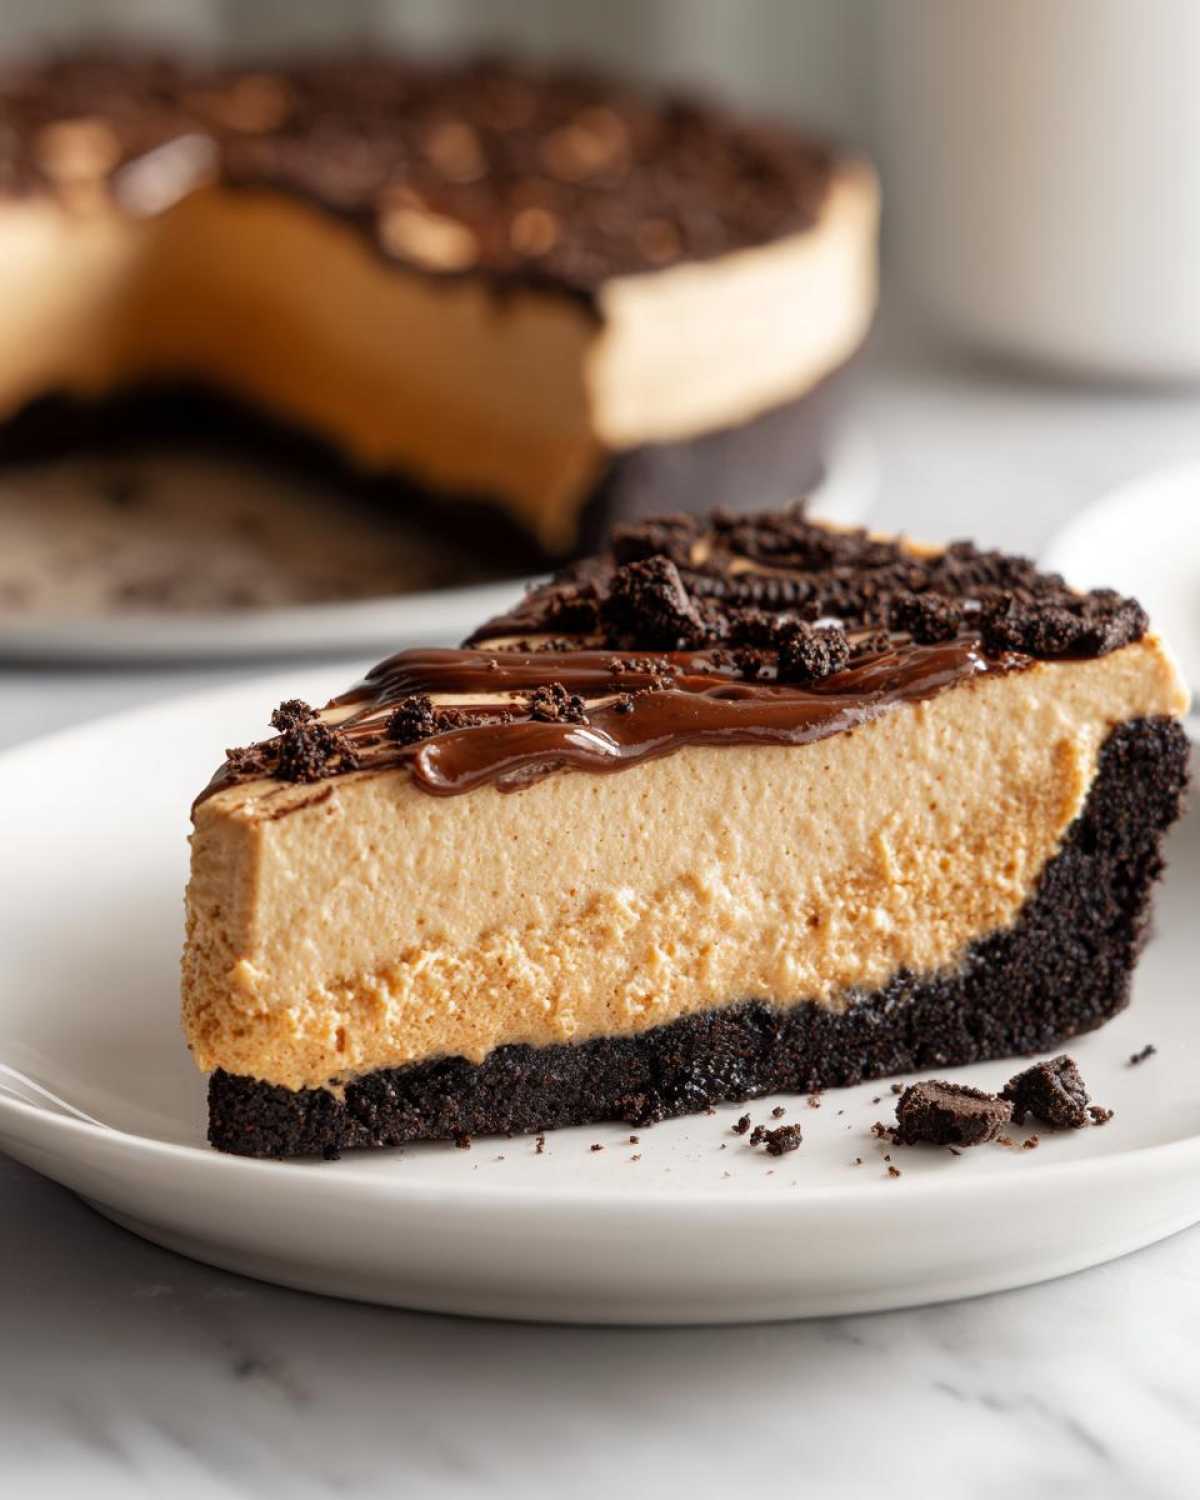
Now for the hardest part: waiting! This marvelous peanut butter pie needs serious chill time. The recipe calls for a minimum of four hours in the refrigerator. This isn’t just arbitrary waiting, though; those hours are when the fat in the cream cheese and whipping cream firms up, setting that filling so it holds its shape when you slice it. If you try to cut it early, you’ll have a lovely peanut butter soup on your plate! If you hurry it by putting it in the freezer, it gets too hard and icy. For the best texture, that slow chill is essential. For more inspiration on rich desserts like this, you might enjoy this take on a classic from another wonderful baker: see their technique here.
Simple Toppings for Your Decadent Peanut Butter Dessert
We’ve made the filling, we’ve chilled it until it’s firm, and now it’s time for the fun part—decorating our Decadent Peanut Butter Dessert! The recipe is wonderful all on its own, but a great topping really elevates this pie from delicious to spectacular.
I usually keep things simple, especially since the Oreo crust is already so chocolatey and rich. A generous cloud of freshly whipped cream is always lovely, giving you that light contrast to the thick filling. But if you truly want to lean into the rich side, you can’t go wrong sprinkling chopped peanut butter cups right on top!
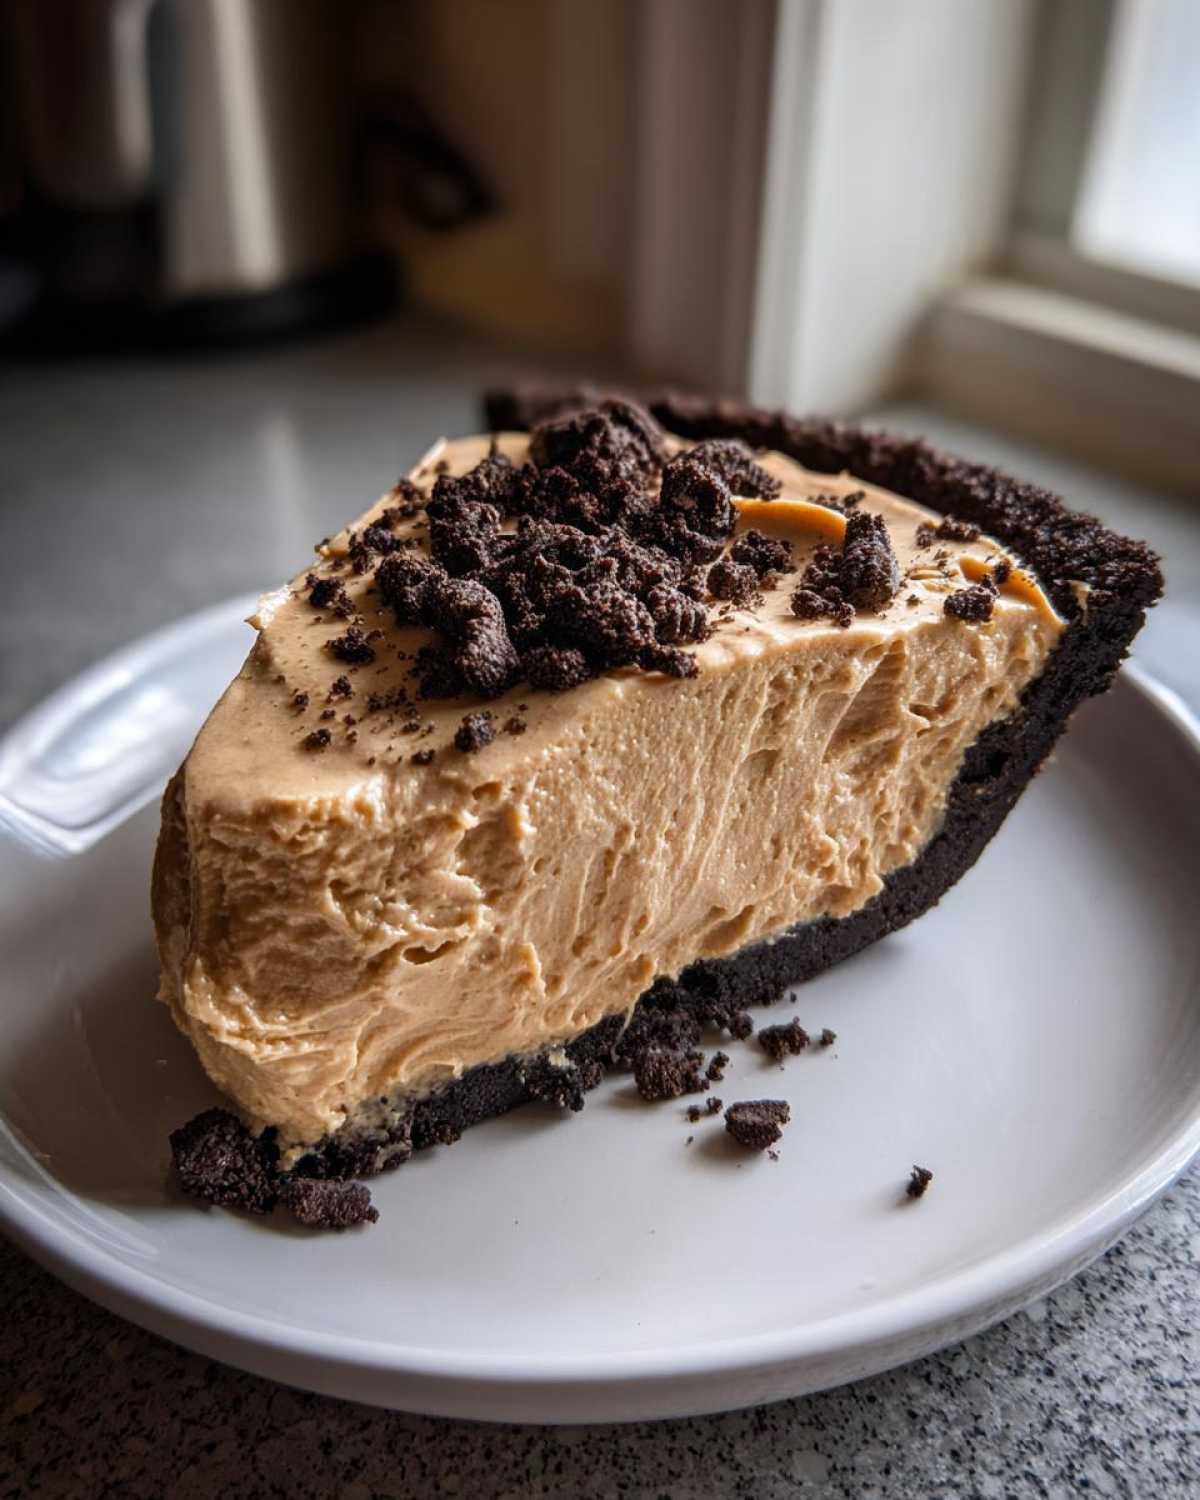
If you’re aiming for a true Chocolate Peanut Butter Pie experience, a chocolate drizzle is essential. You don’t need a fancy ganache, either. Here’s my quick trick for the easiest chocolate drizzle ever: take about a quarter cup of chocolate chips and melt them slowly with just one teaspoon of butter in a small microwave-safe bowl. Heat it in 15-second bursts, stirring well after each burst, until it’s smooth and pourable. It takes maybe 45 seconds total!
Once you have that drizzle ready, swirl it over the top of your pie. If you ever need a great base frosting for cakes that might pair nicely, Kenji has a wonderful recipe for vanilla buttercream that you can adapt with peanut butter, too, if you’re feeling adventurous!
Ingredient Notes and Graham Cracker Crust Pie Substitutions
I mentioned earlier that I adore the dark, rich crunch of the Oreo crust, but I know not everyone keeps chocolate cookies stocked, or maybe you just prefer that classic vanilla crunch! The good news is that this recipe is super flexible. If you want to switch gears and try a Graham Cracker Crust Pie instead, it’s a breeze.
You’ll need about 1 3/4 cups of graham cracker crumbs if you go that route, and you’ll need to bump up the melted butter just slightly—to about 8 tablespoons—to make sure it binds nicely. It’s a lovely swap, especially if you’re serving it alongside something heavily chocolatey.
Also, a quick word on the peanut butter itself: the recipe calls for regular creamy, which sets up best. If you try to use the totally natural, oily kind, your filling might end up a bit softer than you’d ideally like. Just keep that in mind when you’re doing your grocery run!
Storage and Serving Suggestions for the Peanut Butter Pie
Since this wonderful peanut butter pie has no eggs or baking involved, it stores beautifully in the refrigerator! You must keep it covered tightly, of course. I usually use plastic wrap right over the top of the pie, making sure it doesn’t touch the filling, though you can also transfer any leftovers to an airtight container.
It’s intended to be served cold! That chill is what keeps the filling firm and luscious, so never try to warm this one up—it’ll just melt into a puddle of deliciousness, which isn’t great for neat slicing when you’re serving a lot of people.
This really is the ultimate Dessert for a Crowd. If you are making one for a big gathering, you can refrigerate it for up to three days, though I doubt it will last that long! If you’re curious about other recipes that hold up well for big parties, you should check out Kenji’s tips on making those amazing cream cheese sausage balls; they are always the first thing to go!
Frequently Asked Questions About This Classic Peanut Butter Pie Recipe
It is so wonderful that you are making my husband Kenji and me so proud by tackling this dessert! We get a lot of questions about this specific Classic Peanut Butter Pie because folks want to make sure it sets up perfectly every time. Here are a few things I hear most often in the comments.
Can I make this Easy Peanut Butter Pie ahead of time?
Yes, absolutely! Since this is a no-bake recipe, making it ahead is almost required, right? I find that if you let it chill for at least 4 hours, it sets up beautifully. It holds wonderfully in the refrigerator for about two to three days, covered tightly. It’s a fantastic make-ahead dessert for holidays!
What is the best way to get a clean slice of peanut butter pie?
This is the best tip I can give you for looking professional when you serve up this amazing pie! Grab your sharpest, thinnest knife—the one your husband keeps hiding in the drawer—and dip the entire blade into a tall glass of very hot water. Wipe it gently with a paper towel, and then slice. The heat melts just the surface layer, giving you a perfect, scoopable slice every single time. Wipe and repeat for every cut!
What if I only have natural, runny peanut butter?
I mentioned this over in the notes, but it bears repeating! While you certainly *can* use natural peanut butter, be prepared for a much softer filling. Natural peanut butter lacks the stabilizers that keep the commercial kind firm. Your pie will still taste lovely, but it might need more time—maybe an extra hour or two in the fridge, or even a short stint in the freezer—to prevent slumping when slicing.
If you want to see what other tasty things we are discussing in the kitchen right now, you can always check out the main Whisk Daily blog page!
Estimated Nutritional Snapshot
Now, Kenji always reminds me that while we cook with love and focus on flavor first, it’s wise to have a general idea of what we’re enjoying! Please keep in mind that these numbers are just an estimate for our **Easy No-Bake Creamy Peanut Butter Pie**. The exact totals can change depending on the brands of cookies or peanut butter you use, of course.
This snapshot is based on serving 8 generous slices of pie, which is how we usually cut it when it’s a big crowd!
- Serving Size: 1 slice
- Calories: 450
- Sugar: 35g
- Sodium: 300mg
- Fat: 30g
- Saturated Fat: 12g
- Unsaturated Fat: 18g
- Trans Fat: 0g
- Carbohydrates: 40g
- Fiber: 2g
- Protein: 8g
- Cholesterol: 45mg
Share Your Homemade Peanut Butter Pie Experience
That’s it—you’ve made the most decadent, creamy, no-bake dream dessert! Now, I truly want to hear all about it. When Kenji and I developed this recipe, we did it to share joy, and seeing what you all create brings me such happiness.
Please, take a moment to leave a quick rating for the recipe. Just click the stars (or give it a number out of five!) right below this section. It helps other busy cooks know that this recipe is the real deal.
And don’t be shy in the comments below! I’m eager to know: What topping did you choose? Did you stick with the classic whipped cream, or did you break out the peanut butter cups? Maybe you tried a modification I haven’t even thought of yet! Share your secrets, your triumphs, or any little hurdles you overcame. We are all learning together here in the kitchen.
If you ever need to reach out directly with a specific question or a lovely photo of your pie, you can always send us a note through the contact page. Happy baking—or rather, happy *not* baking!
PrintEasy No-Bake Creamy Peanut Butter Pie with Oreo Crust
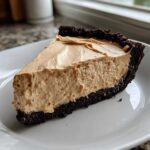
You will love this incredibly easy, no-bake peanut butter pie. It features a rich, decadent, creamy peanut butter filling set in a buttery Oreo crust. This crowd-pleaser dessert comes together quickly and is perfect for any gathering.
- Prep Time: 15 min
- Cook Time: 0 min
- Total Time: 4 hours 15 min
- Yield: 8 servings
- Category: Dessert
- Method: No-Bake
- Cuisine: American
- Diet: Vegetarian
Ingredients
- 1 1/2 cups chocolate sandwich cookie crumbs (like Oreos)
- 6 tablespoons unsalted butter, melted
- 1 (8 ounce) package cream cheese, softened
- 1 cup creamy peanut butter
- 1 1/2 cups powdered sugar
- 1 teaspoon vanilla extract
- 1 (12 ounce) container frozen whipped topping, thawed
- Optional Topping: Whipped cream, chocolate syrup, or mini peanut butter cups
Instructions
- Prepare the crust: In a medium bowl, mix the chocolate sandwich cookie crumbs and melted butter until the crumbs are evenly moistened. Press this mixture firmly into the bottom and up the sides of a 9-inch pie plate. Place the crust in the freezer while you prepare the filling.
- Make the filling base: In a large bowl, beat the softened cream cheese with an electric mixer until smooth. Add the peanut butter and beat until fully combined and creamy.
- Sweeten the filling: Gradually beat in the powdered sugar until fully incorporated. Mix in the vanilla extract.
- Lighten the mixture: Gently fold in the thawed whipped topping until no streaks remain. Do not overmix.
- Assemble the pie: Spoon the peanut butter filling evenly into the chilled Oreo crust. Smooth the top with a spatula.
- Chill: Cover the pie loosely with plastic wrap and refrigerate for at least 4 hours, or until the filling is firm.
- Serve: Before serving this decadent peanut butter dessert, top with your choice of whipped cream, a chocolate drizzle, or chopped peanut butter cups. Slice and enjoy your homemade peanut butter pie!
Notes
- For a graham cracker crust instead of Oreo, substitute 1 3/4 cups of graham cracker crumbs and increase the butter to 8 tablespoons.
- If you need this pie faster, you can chill it in the freezer for about 1 to 2 hours to firm it up quickly, though the texture is best after a longer refrigeration period.
- You can use natural peanut butter, but the texture of the filling may be slightly softer.
Nutrition
- Serving Size: 1 slice
- Calories: 450
- Sugar: 35g
- Sodium: 300mg
- Fat: 30g
- Saturated Fat: 12g
- Unsaturated Fat: 18g
- Trans Fat: 0g
- Carbohydrates: 40g
- Fiber: 2g
- Protein: 8g
- Cholesterol: 45mg