

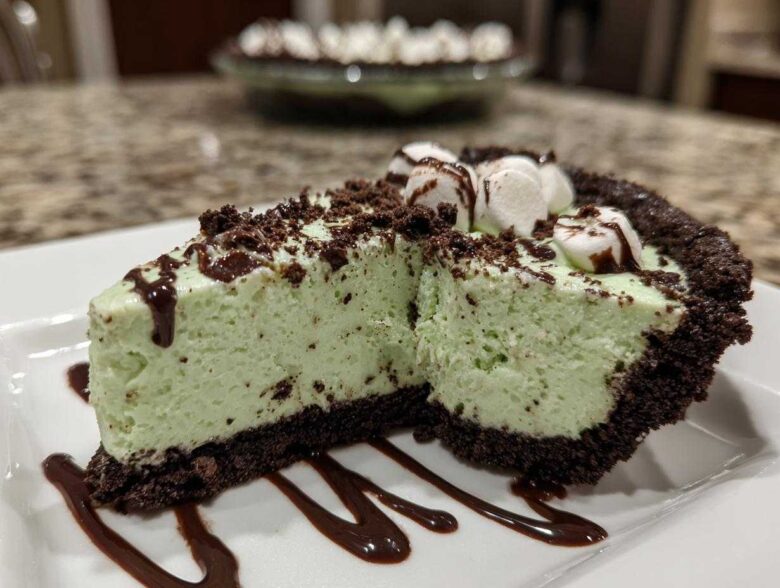
Oh my goodness, are you ready for a dessert that screams fun and tastes like Mom’s potluck recipes from the 70s? I live for those nostalgic treats that require zero oven time, especially when it involves two of my favorite flavors: mint and chocolate! This **No-Bake Creamy Grasshopper Pie** has been my absolute go-to for years. It’s light, it’s fluffy, and honestly, it’s the easiest way to wow a crowd without breaking a sweat.
The secret here is keeping it super simple—no complicated custards, no temperamental baking needed. We’re using a buttery, crumbly Oreo crust holding a filling that is just perfectly cool and creamy. My uncle always asks for this pie at every family BBQ, and he never believes me when I tell him it took me less than thirty minutes of actual work before it went into the fridge!
Why This No-Bake Grasshopper Pie Recipe Works So Well
Let’s be real, sometimes the oven is just too much, especially when it’s hot outside! That’s why this recipe is a champion: it’s totally an oven-free zone. You get that incredible, rich mint chocolate flavor without ever turning on the range. It truly is the perfect Cool and Creamy Pie for summer dinners or when you need a quick holiday fix.
Because we skip the baking, this becomes the ultimate Simple Make Ahead Dessert. I usually whip it up the day before a party, and it just firms up beautifully in the fridge. Plus, I make mine without any alcohol—it sticks to good old peppermint extract—so it’s totally family-friendly. Everyone loves it! Check out how I make my oreo dirt cake recipe easy no-bake because the crust technique is almost identical here!
Gathering Ingredients for Your Grasshopper Pie Recipe
Okay, let’s get organized! Even though this is a no-bake wonder, you still need all your ingredients prepped and measured. Trust me, when you’re folding in that whipped topping, you don’t want to be scrambling for the powdered sugar! Getting everything ready helps ensure you get that perfect texture for your filling. It’s all about having things set up perfectly before you even start mixing. For inspiration on other great crusts, take a peek at this oreo pie no bake creamy cheesecake guide!
For the Oreo Crust Pie Base
This crust sets up so beautifully firm, and it’s ridiculously easy. We are using Oreos because why use anything else, right? Make sure your cookies are crushed very finely so you don’t end up with big chunks that shift around when you press them in.
- 1 1/2 cups chocolate cookie crumbs (that’s about 30 cookies if you’re counting!)
- 6 tablespoons unsalted butter, melted
For the Creamy Grasshopper Filling
This is where the magic happens! The key to this luxurious, airy texture is using ingredients that are at the right temperature. Your cream cheese absolutely *must* be softened—I mean, really soft—and your heavy whipping cream needs to be straight out of the fridge and icy cold so it whips up into stiff, beautiful peaks.
Here’s my little tip: If you want that classic, fun green color, only use a quarter teaspoon of food coloring. You want it to hint at St. Patrick’s Day, not look like a traffic light! And always use good quality peppermint extract—it makes all the difference in the flavor!
- 1 package (8 ounces) cream cheese, softened
- 1 cup powdered sugar
- 1 teaspoon vanilla extract
- 1 teaspoon peppermint extract
- 1/4 teaspoon green food coloring (optional, but highly recommended for the look!)
- 1 cup heavy whipping cream, cold
- 1/2 cup mini marshmallows
- 1/4 cup chocolate syrup
Don’t forget the garnish, because presentation counts, even for a casual dessert!
Step-by-Step Instructions for the No Bake Mint Pie
This is the part where everything comes together so beautifully quickly! Since we are making a Non Alcoholic Grasshopper Pie, the steps are straightforward, but you have to respect the chilling times. That’s what keeps a no-bake dessert from turning into soup, right? I always get the crust ready first so it can start firming up while I work on the filling. It helps guarantee a solid base for our lovely dessert!
Preparing and Chilling the Chocolate Cookie Crust
First things first, get those crumbs and melted butter mixed until everything looks like wet sand. You won’t believe how much difference it makes if you press the mixture down firmly. I use the bottom of a measuring cup to really compact the base of my 9-inch pie plate—I mean really *press* it in there. You want that sturdy base for your Oreo Crust Pie! Once it’s packed in tight on the bottom and up the sides, pop that plate into the fridge for only about 15 minutes. That little chill time is just enough to set that butter while you get going on the star of the show.
Mixing the Fluffy Creamy Grasshopper Filling
Grab your stand mixer or your hand mixer! Start by creaming that softened cream cheese until it’s smooth as silk—no lumps allowed, seriously. Then, slowly beat in the powdered sugar until everything is just combined and creamy. Next, stir in your vanilla, the peppermint extract, and your optional green color. When it looks good, move on to the heavy cream. Whip that cold cream separately until you get stiff peaks. This is crucial for that fluffy texture! Now, take maybe a third of that whipped cream and stir it into the cream cheese base to lighten it up a bit. Then, gently fold in the remaining whipped cream, the mini marshmallows, and the chocolate syrup. You need to fold gently here so you don’t knock all that air out of the cream! If you’re looking for more tips on creamy textures, check out my guide on making oreo pie no bake creamy cheesecake.
Assembling and Setting the Grasshopper Pie
Once your filling is light, dreamy, and marbled with just the right amount of chocolate syrup swirl, dollop it right into your chilled crust. Use an offset spatula to smooth out the top nicely. Now comes the hardest part: waiting! You need to cover this loosely with plastic wrap—don’t let it touch the top, though—and chill it in the refrigerator for a minimum of 6 hours. Honestly, I prefer doing this the night before. Over time, the filling firms up beautifully and everything melds together, ensuring a perfect slice!
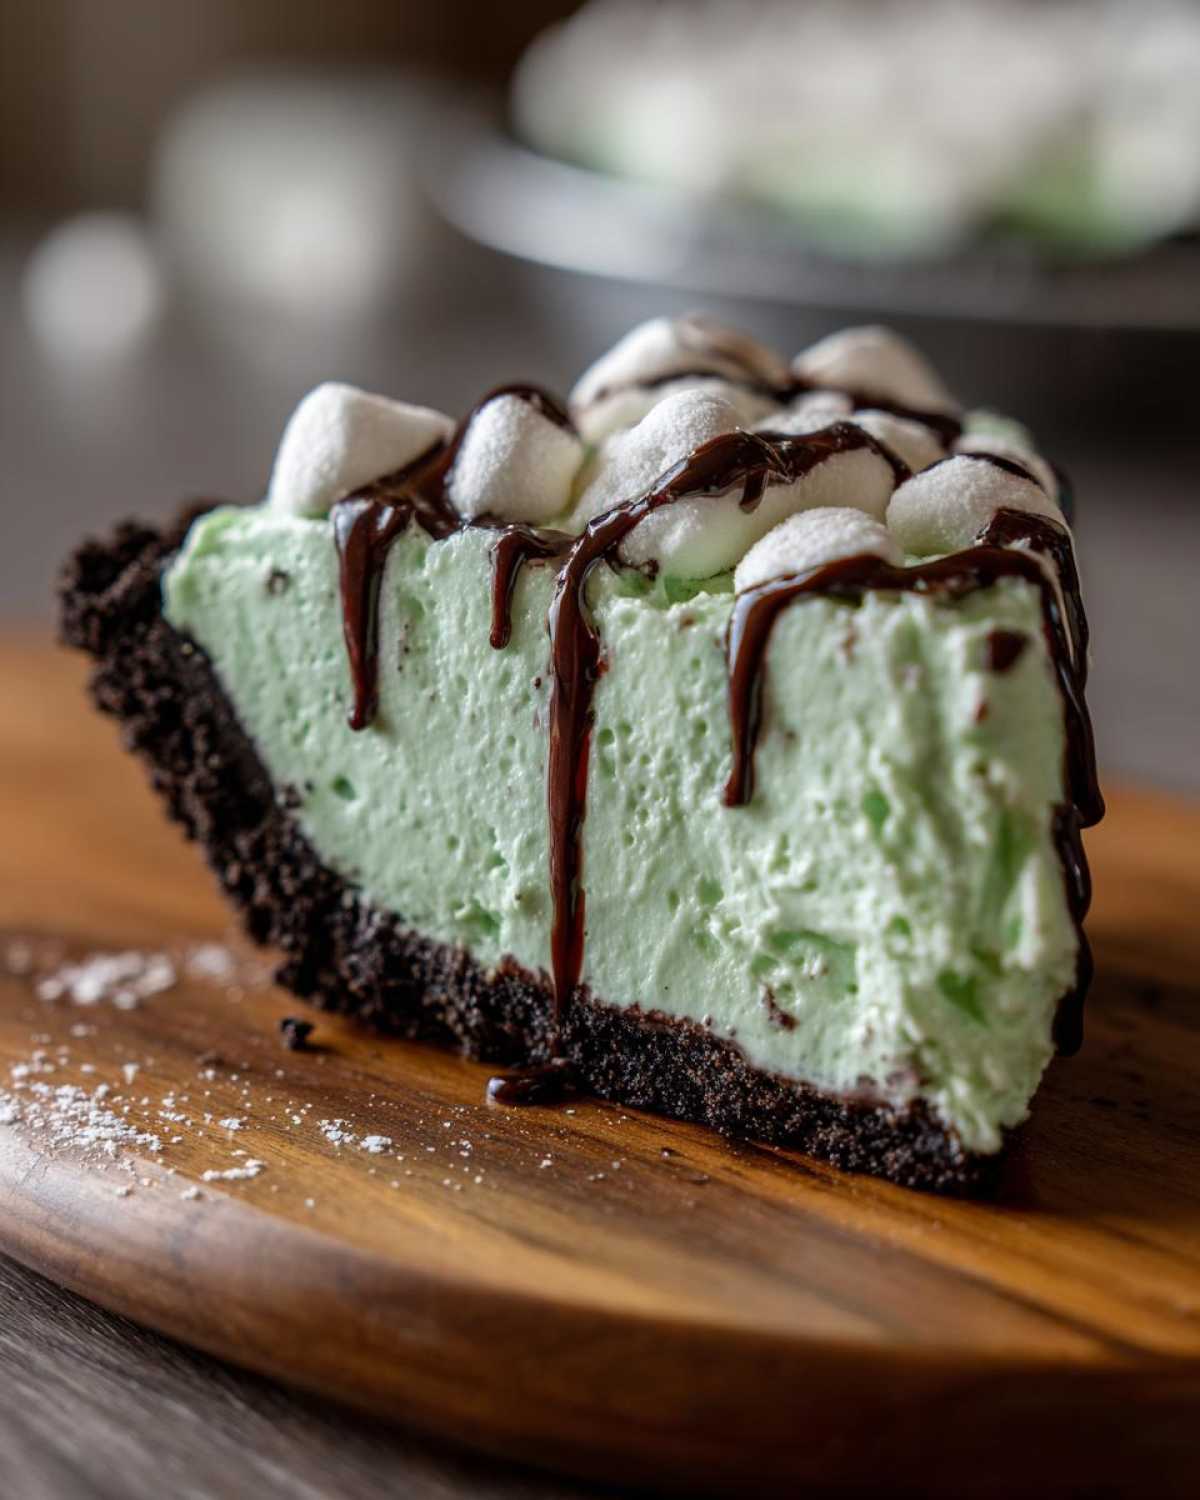
Tips for the Best Grasshopper Pie Success
Knowing the basic steps is great, but a few little secrets turn this good pie into the Best Mint Pie ever made! It’s all about watching the small details, especially when you aren’t using the oven to bake away your mistakes.
First tip for the crust: if you want an even richer chocolate flavor that matches the filling, don’t just use the crumbs! Mix about two extra tablespoons of unsweetened cocoa powder in with the crumbs and melted butter. It deepens that chocolate note so perfectly. Also, make sure that butter is fully incorporated; a loose crust will crumble when you try to slice it, and nobody wants that messy outcome on their plate!
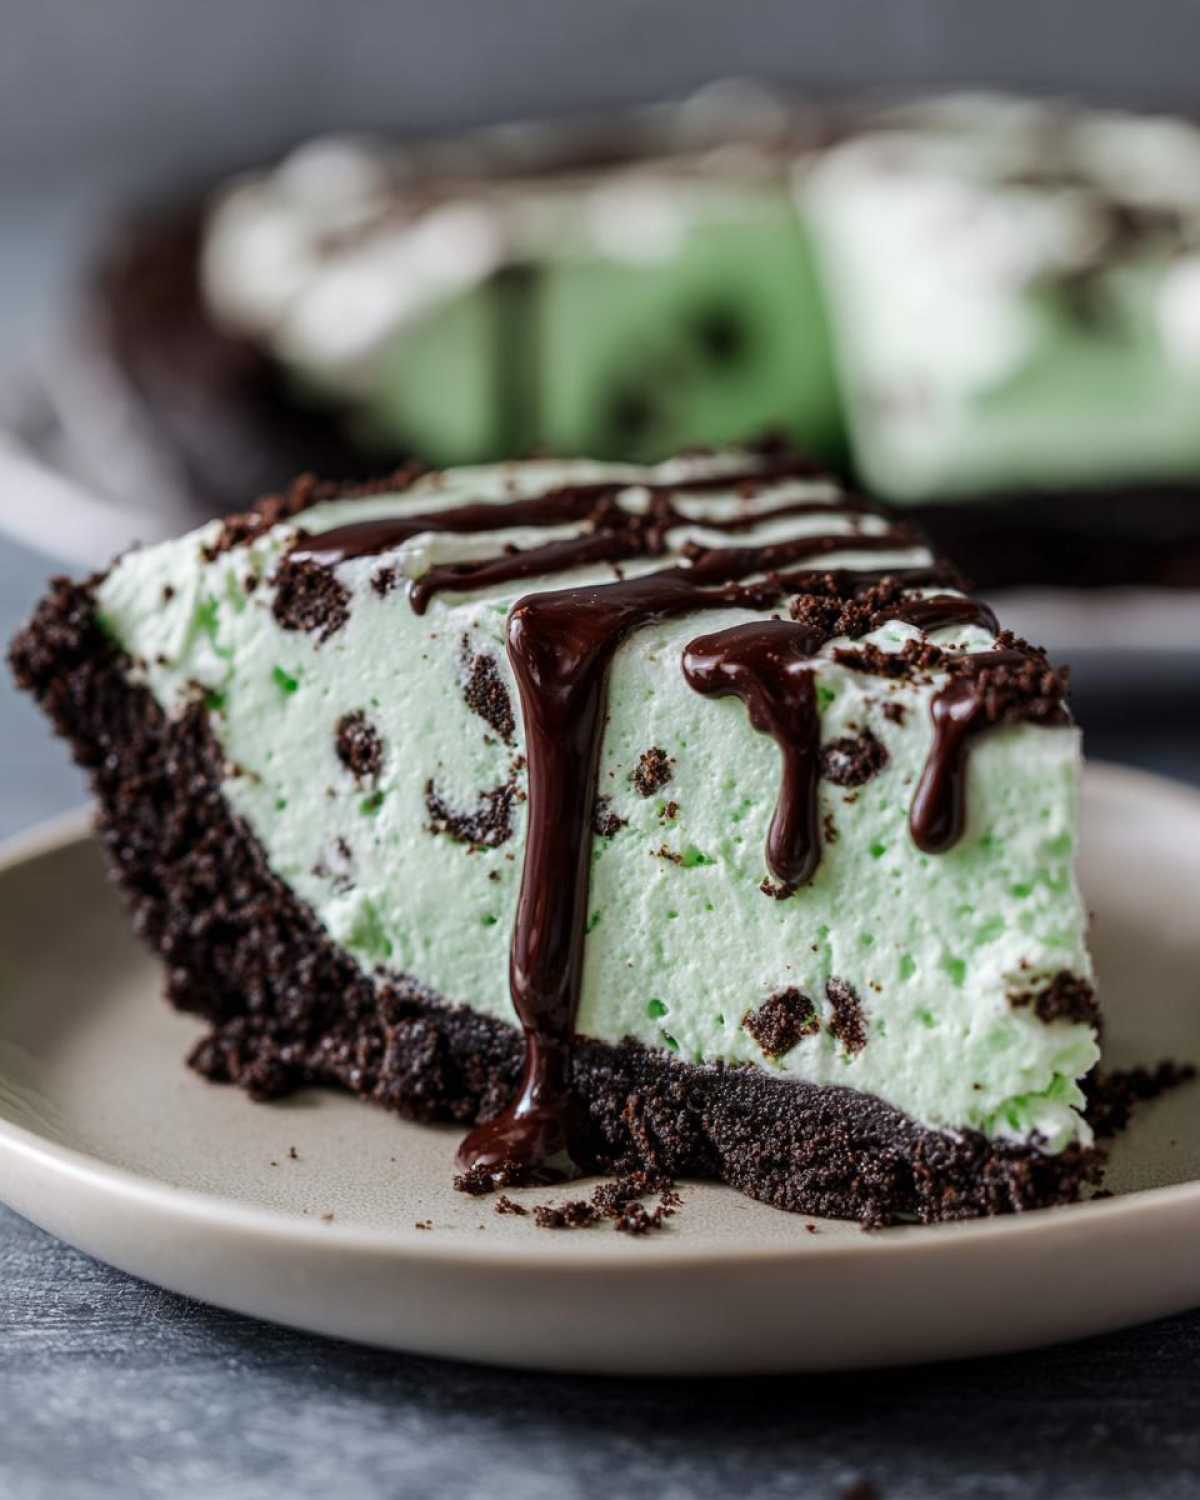
For the filling to set up firm enough for slicing—which is key for a Refreshing Summer Pie—don’t stop whipping your heavy cream too early! You really need those stiff peaks. If the cream is soft, your whole filling collapses when you add the marshmallows. If you’re worried about it not being firm enough, go ahead and pop it in the freezer for about two or three hours before serving, but don’t leave it longer than that unless you plan to serve it semi-frozen!
If you want some extra crunch without changing the main recipe texture, toss a handful of chopped chocolate chips in with the marshmallows. You can learn more about making other great make-ahead items like these easy no-bake protein bars at home for more quick treat ideas!
Ingredient Notes and Grasshopper Pie Variations
Now, I know everyone’s pantry looks a little different, and that’s okay! That’s why I love this recipe—it’s really flexible. Since this version is totally family-friendly, we stick to peppermint extract, which keeps that bright mint flavor shining through without any alcohol involved. But if you’re making this for an adult gathering and want to indulge a little, you absolutely can!
To make it boozy, just swap out about two tablespoons of the heavy cream right before whipping with two tablespoons of crème de menthe liqueur. Instant update! You get the depth of flavor from the liqueur, which pairs beautifully with the chocolate.
Another quick thought: you don’t have to stick only to Oreos for the crust, either. If you have chocolate wafers or even some thin chocolate graham crackers, those work just fine in a pinch. As long as you have enough crumbs to mix with that melted butter, you’re golden for achieving that perfect base!
Serving Suggestions for Your Easy Chocolate Mint Dessert
Once this pie is perfectly chilled and firm, presentation time is everything! While the whipped topping is lovely, you can really elevate this Easy Chocolate Mint Dessert. I always grab a vegetable peeler and shave a few curls of dark chocolate right over the top of the whipped topping just before serving. It looks so professional!
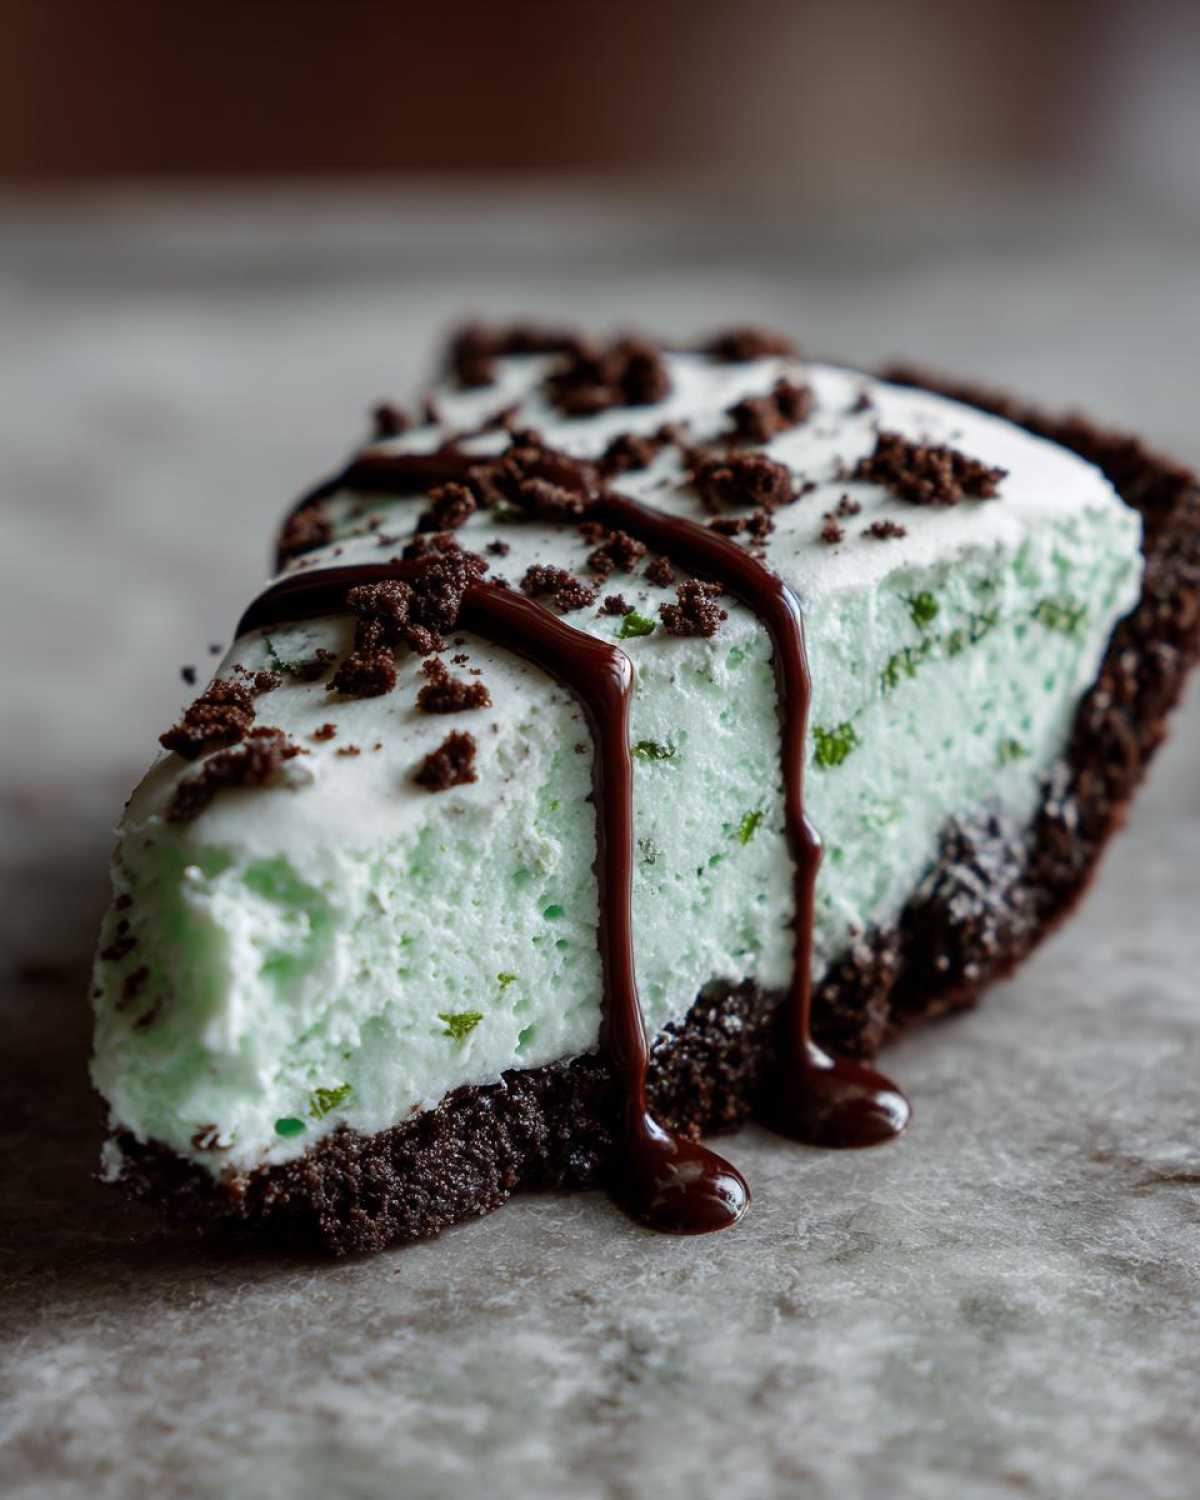
If I happen to have some fresh mint in the garden, a tiny sprig placed centrally makes it look incredibly elegant. Because this pie is so cool and rich, it’s the absolute perfect finale to something hearty and smoky, like a big summer BBQ. Or, honestly, it’s great after a light meal because it just cleans the palate. It’s a fantastic make-ahead choice when you’re serving up dishes like cowboy caviar recipe easy party dip!
Storage and Make-Ahead Tips for This Simple Make Ahead Dessert
This is truly the perfect Simple Make Ahead Dessert because it practically begs you to prepare it early! You absolutely have to keep this pie covered tightly in the refrigerator. It lasts great for about three to four days, though frankly, mine rarely makes it past day two!
It’s important that it stays covered so it doesn’t absorb any weird fridge smells. Because it relies on cream cheese and whipped cream, I don’t recommend leaving it out on the counter for more than an hour or so before serving. If you want it extra firm, you can definitely freeze it! Just pull it out of the freezer about 30 minutes before you plan to slice it so it softens up just enough to cut beautifully.
Frequently Asked Questions About Grasshopper Pie
I get so many questions about this pie because people often think it has to be difficult or alcoholic! Let’s clear up any confusion so you can serve up the Best Mint Pie with total confidence. I’m happy to share everything I’ve learned from making a hundred of these over the years.
Can I make this grasshopper pie recipe with crème de menthe?
Absolutely, you can! My recipe above is designed to be completely Non Alcoholic Grasshopper Pie, which is perfect for everyone, but if you want that classic boozy kick, it’s super easy to adjust. When you are whipping your heavy cream, instead of using the full cup of cream, use 1 cup minus 2 tablespoons, and swap those 2 tablespoons out for crème de menthe. It gives you that great depth of flavor! Just remember, the liqueur works best when added directly to the heavy cream before whipping to ensure it incorporates nicely.
How do I get the filling to be extra airy and fluffy?
The secret to that wonderfully Fluffy Marshmallow Pie texture you’re after is all in the heavy cream. You cannot rush whipping the cream! It must be very cold, and you need to beat it until you hit stiff peaks—meaning if you lift the whisk or paddle out, the cream stands straight up without drooping. Once you get those peaks, you have to switch to a rubber spatula when adding it to the cream cheese mixture. Gently fold it in, cutting down the middle and sweeping up the sides, just until no white streaks remain. That gentle mixing preserves all that beautiful incorporated air!
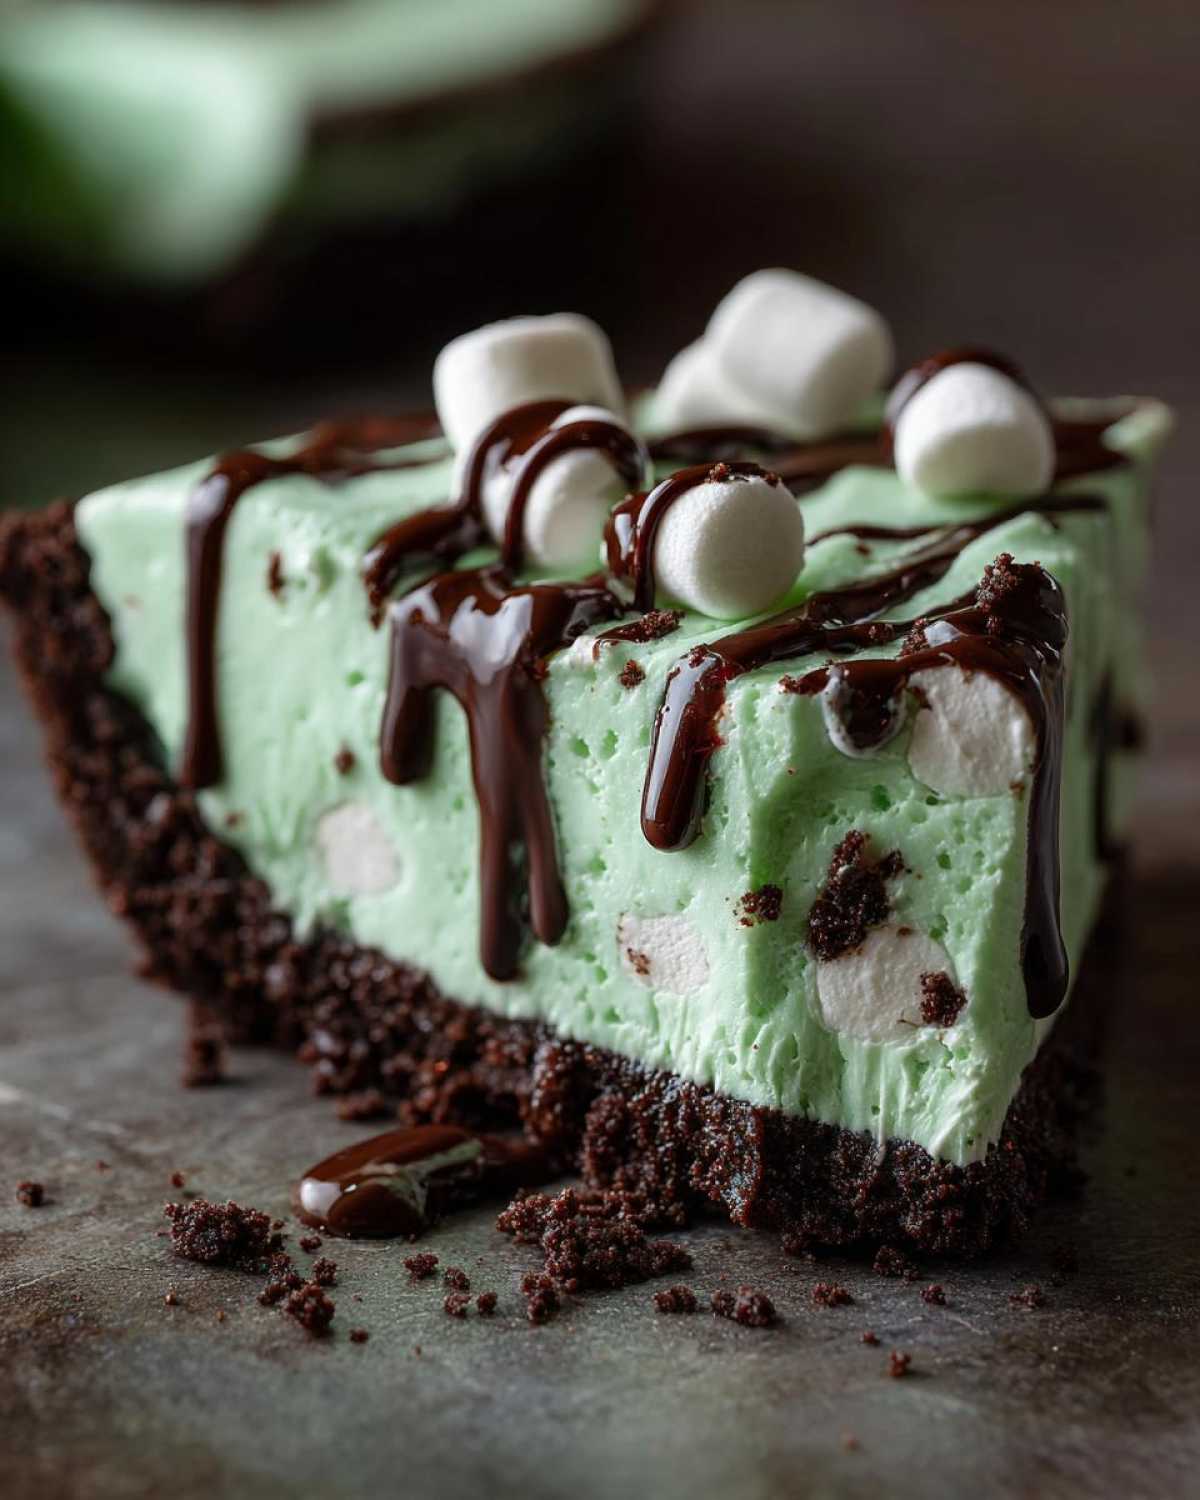
What is the best way to cut a clean slice of this No Bake Mint Pie?
Cutting a No Bake Mint Pie can sometimes result in a messy, smushed slice because the filling is so creamy. My trick for getting clean slices every time involves two steps. First, make sure the pie has chilled for the full 6 hours, or even better, overnight. When you are ready to serve, grab a large, sharp knife and dip it into a tall glass of very hot water. Wipe the knife completely dry with a towel—hot and dry is key!—and then slice. If the knife gets sticky between slices, just reheat it in the hot water and dry it again. It glides right through! For more reliable dip recipes, check out my seven layer dip foolproof recipe for comparison on making layers set properly!
Nutritional Estimates for This Retro Mint Dessert
I always feel a little bit bad sharing this because it tastes like pure heaven, but knowing the facts helps in moderation, right? This Retro Mint Dessert packs a lot of flavor! Keep in mind that these numbers are just estimates based on the ingredients I listed above, especially how much powdered sugar and butter you use.
If you are watching your sugar intake, you notice that number is pretty high, which is expected for a decadent, no-bake treat like this. But hey, it’s for a special occasion! And look how low the protein is—not exactly a health shake, but definitely a wonderful ending to a meal.
Here is a breakdown per slice (assuming eight perfect slices):
- Calories: 380
- Sugar: 35g
- Fat: 24g (with 14g being Saturated Fat)
- Carbohydrates: 38g
- Protein: 4g
When you cut your pie, try to aim for slightly smaller slices if you’re keeping a close eye on things. But honestly, my advice is to just enjoy that amazing minty bite!
PrintNo-Bake Creamy Grasshopper Pie
Make this easy, no-bake grasshopper pie featuring a creamy mint filling and a chocolate cookie crust. This version uses mint extract for a family-friendly flavor.
- Prep Time: 20 min
- Cook Time: 0 min
- Total Time: 6 hr 20 min
- Yield: 8 servings
- Category: Dessert
- Method: Chilling
- Cuisine: American
- Diet: Vegetarian
Ingredients
- 1 1/2 cups chocolate cookie crumbs (about 30 cookies)
- 6 tablespoons unsalted butter, melted
- 1 package (8 ounces) cream cheese, softened
- 1 cup powdered sugar
- 1 teaspoon vanilla extract
- 1 teaspoon peppermint extract
- 1/4 teaspoon green food coloring (optional)
- 1 cup heavy whipping cream, cold
- 1/2 cup mini marshmallows
- 1/4 cup chocolate syrup
- Whipped topping, thawed, for garnish
Instructions
- Combine the chocolate cookie crumbs and melted butter in a bowl. Press the mixture firmly into the bottom and up the sides of a 9-inch pie plate. Chill the crust for at least 15 minutes.
- In a large bowl, beat the softened cream cheese until smooth. Gradually beat in the powdered sugar until fully combined.
- Mix in the vanilla extract, peppermint extract, and green food coloring, if using. Beat until the mixture is smooth.
- In a separate bowl, whip the cold heavy cream until stiff peaks form. Gently fold the whipped cream into the cream cheese mixture until just combined.
- Fold in the mini marshmallows and chocolate syrup until they are evenly distributed throughout the filling.
- Spoon the filling evenly into the chilled crust. Smooth the top with a spatula.
- Cover the pie loosely with plastic wrap and refrigerate for at least 6 hours, or until firm.
- Before serving, top the pie with thawed whipped topping and extra chocolate syrup or shavings.
Notes
- For a richer chocolate flavor in the crust, add 2 tablespoons of unsweetened cocoa powder to the crumbs and butter mixture.
- If you prefer a firmer pie, you can freeze it for 2 to 3 hours before serving.
- If you want an alcoholic version, substitute 2 tablespoons of crème de menthe for 2 tablespoons of the heavy cream when whipping.
Nutrition
- Serving Size: 1 slice
- Calories: 380
- Sugar: 35
- Sodium: 250
- Fat: 24
- Saturated Fat: 14
- Unsaturated Fat: 10
- Trans Fat: 0.5
- Carbohydrates: 38
- Fiber: 1
- Protein: 4
- Cholesterol: 55