

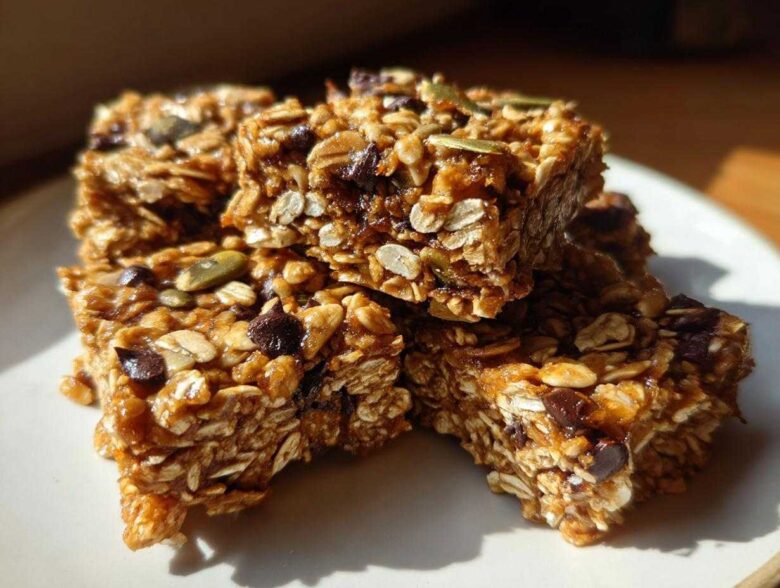
Honestly, sometimes I just crave that perfect, slightly gooey, chew in a snack bar, and everything in the grocery store aisle feels either too chalky or too sweet from weird syrups. I spent ages tweaking my recipe because I wanted something that tasted like real food, not a science experiment! That’s why I’m so thrilled to finally share what I genuinely believe are the best homemade granola bars you’ll ever taste. They hit that absolute sweet spot: perfectly chewy, naturally sweetened with pure maple syrup, and endlessly customizable based on whatever nuts and fruit I have lying around. Forget that dry, crumbly stuff; these actually stick together without tasting like concrete. Trust me, once you nail this base ratio, you’ll never look back.
Why These Are the Best Homemade Granola Bars You Will Ever Make
So, why bother making your own when you can grab a box? Because you get control over everything! These homemade granola bars beat the store-bought versions hands down on freshness and, most importantly, texture. I promise these won’t crumble into a million pieces the second you pick them up.
- We use maple syrup exclusively, giving a deep, rich sweetness without that weird artificial aftertaste.
- They hold together beautifully because of the careful binder-to-oat ratio.
- The active prep time is shockingly low—you’re basically just mixing ingredients!
If you need a quick, healthy snack that always works, this is your winner. Check out the no-bake protein bars recipe too, but baked just locks in that amazing flavor.
Perfect Chewy Texture Guaranteed in These Homemade Granola Bars
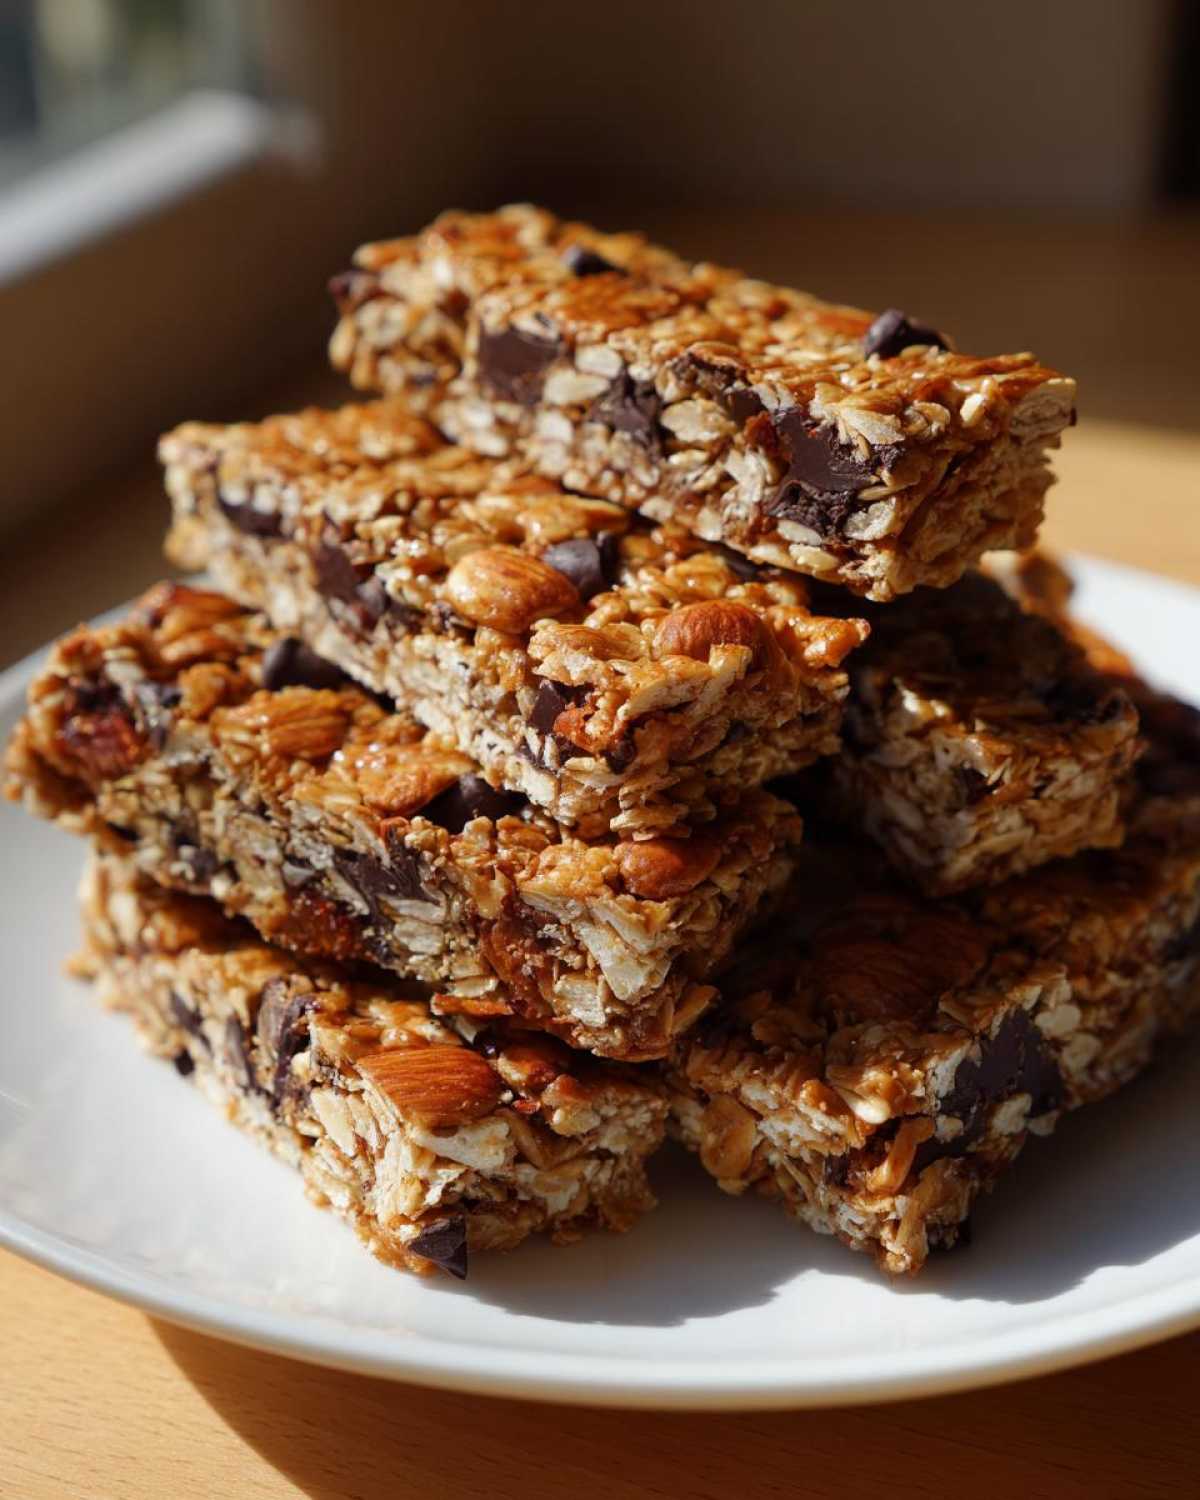
That dry, crumbly texture you hate? We are avoiding that! The secret to this fantastic chewy granola bars recipe really boils down to two things: the pure maple syrup and coconut oil blend acting as the glue, and then pressing them down *hard* into the pan before baking. Don’t be shy when you press! That firmness prevents air pockets that dry out the batch, ensuring every single bite has that satisfying, slightly soft chew that makes a great granola bar.
Quick Prep for Your Easy Homemade Granola Bars
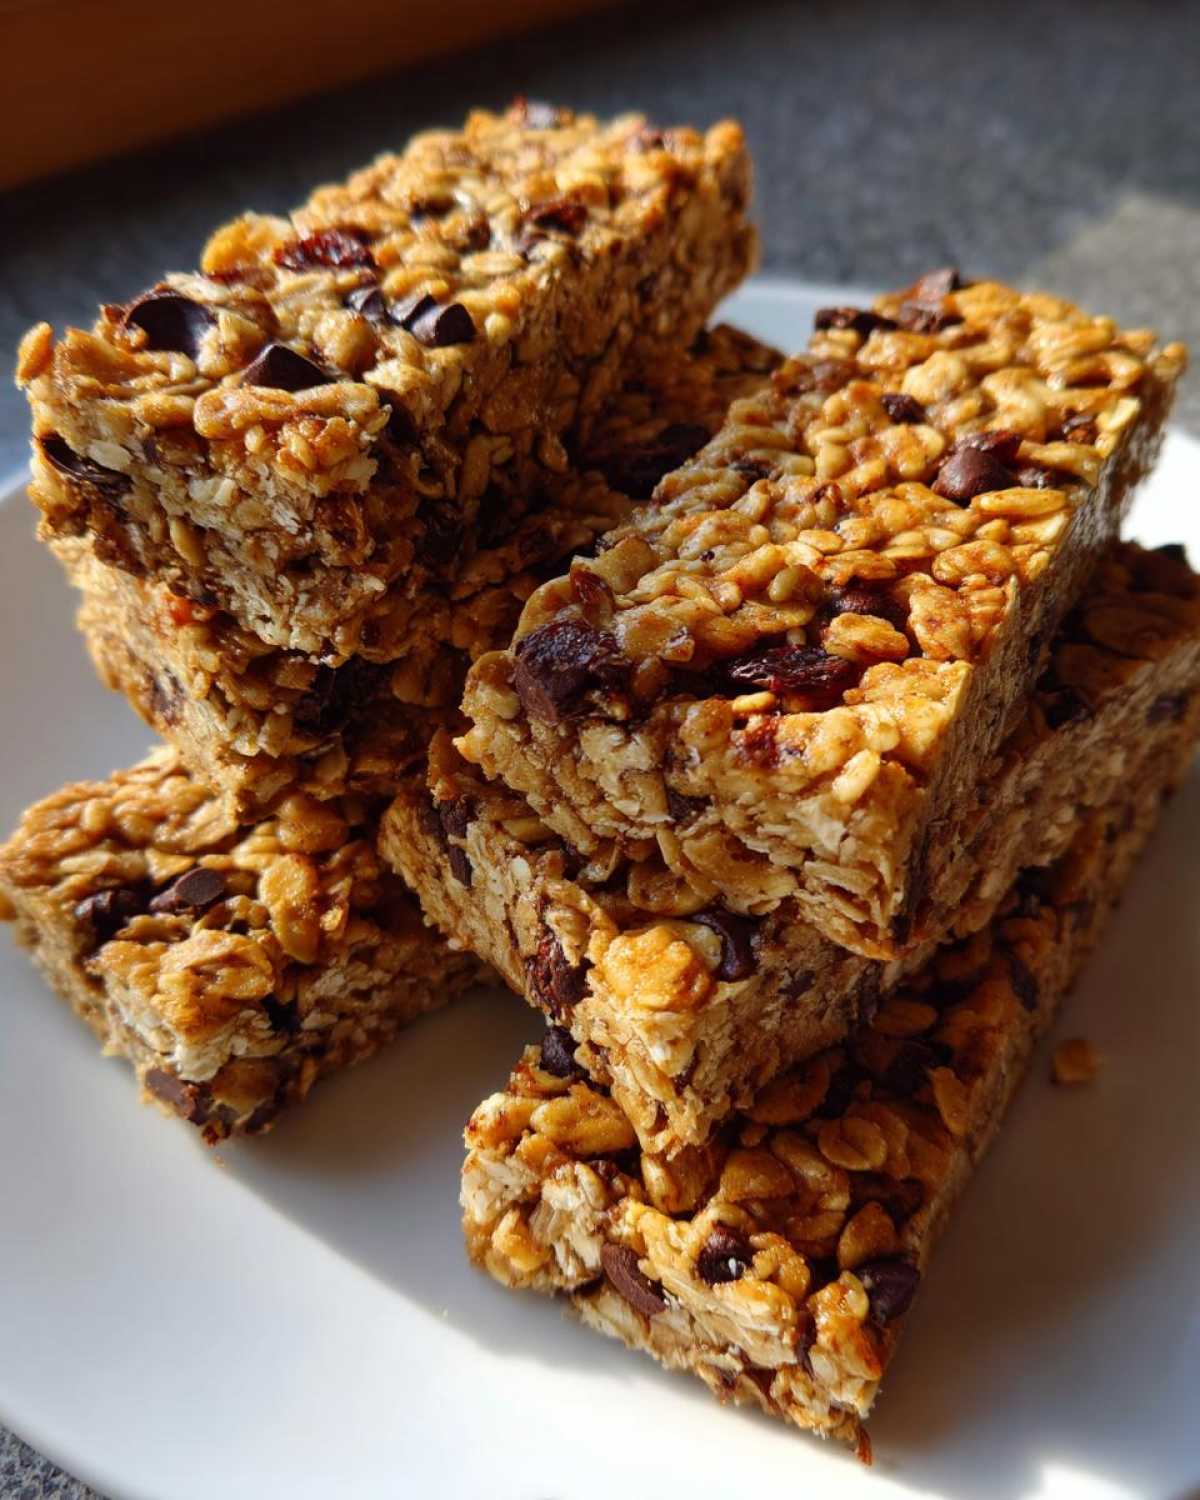
When I say these are easy homemade granola bars, I mean it. The active mixing time is maybe 15 minutes, tops. You whisk the wet stuff, you dump the dry stuff in, you stir, and you press. That’s it! While the total time is just under two hours, remember that most of that is just waiting for them to cool enough to cut without falling apart. But hey, that means you’re only truly working for less than half an hour!
Ingredients for Perfect Chewy Homemade Granola Bars
Putting together these homemade granola bars is almost easier than opening a box, I swear. The list looks long, but half of it is just your favorite mix-ins, which is where you get creative! Getting the base right is what guarantees that perfect chewiness we talked about. You need basic pantry stuff, but pay attention to the specifics—like making sure your nut butter is smooth, not one of those chunky ones where the oil separates.
Here’s exactly what I pull out of the pantry every time to make about 12 perfect bars:
- 2 cups rolled oats (don’t use instant, please!)
- 1 cup mixed nuts and seeds—I usually do almonds and pumpkin seeds
- 1/2 cup unsweetened shredded coconut
- 1/2 teaspoon ground cinnamon
- 1/4 teaspoon salt, just to balance the sweetness
- 1/2 cup smooth nut butter (almond or peanut works great)
- 1/3 cup pure maple syrup for that gorgeous natural sweetness
- 1/4 cup coconut oil, melted down until it’s like water
- 1 teaspoon vanilla extract
- 1/2 cup mix-ins—this is where you decide if you want dried fruit or those amazing sweet date pieces or chocolate chips!
Having these measured out makes the mixing process super fast. It’s all about getting the dry ingredients perfectly coated by the wet binders!
Step-by-Step Instructions for Baked Homemade Granola Bars
Okay, time to bring this magic mixture together! Making these baked homemade granola bars is straightforward, but follow these steps closely, especially when it comes to baking and cooling. If you rush the cooling, you’ll end up with granola crumble instead of perfect bars, and trust me, I learned that the hard way!
- First things first, grab that 8×8 pan and line it with parchment paper. Make sure you leave a good overhang on two sides—that’s your handle later! Get your oven preheated to 350\u00b0F (175\u00b0C) while you mix.
- In your biggest bowl, toss together all the dry stuff: the oats, your nuts and seeds, the coconut, cinnamon, and that little bit of salt. Give it a good stir so everything is evenly distributed.
- In a smaller bowl, whisk up your wet ingredients—the nut butter, the melted coconut oil, the maple syrup, and vanilla. You want this to be really smooth before it hits the oats.
- Now, pour all that glorious wet binder over your dry ingredients. Grab a sturdy spatula; you need to mix like you mean it until every single oat flake is coated. Don’t leave any dusty dry spots hiding at the bottom!
- Stir in any of your chosen extras now, whether it’s dried cherries or those irresistible chocolate chips.
- Time for the crucial step for great texture! Dump the mixture into your lined pan. Then, you have to press it down—and I mean *press* it firmly and evenly across the entire pan. Use the bottom of a glass or another piece of parchment paper to really compact those homemade granola bars. This is what keeps them chewy!
- Bake for about 20 to 25 minutes. You’re looking for the edges to just start turning a light golden brown.
- This is the hardest part: Walk away! You must let these cool completely in the pan on a wire rack. Seriously, wait at least an hour. If you try to cut them warm, they will fall apart under the knife. Once they are totally cool, use the parchment handles to lift the whole slab out and slice them up. You can check out how I make my easy apple crisp topping for an idea on how to perfectly press down oat toppings!
Follow those steps, and you’re golden for the best chewy batch ever!
Customizing Your Homemade Granola Bars: Mix-In Ideas
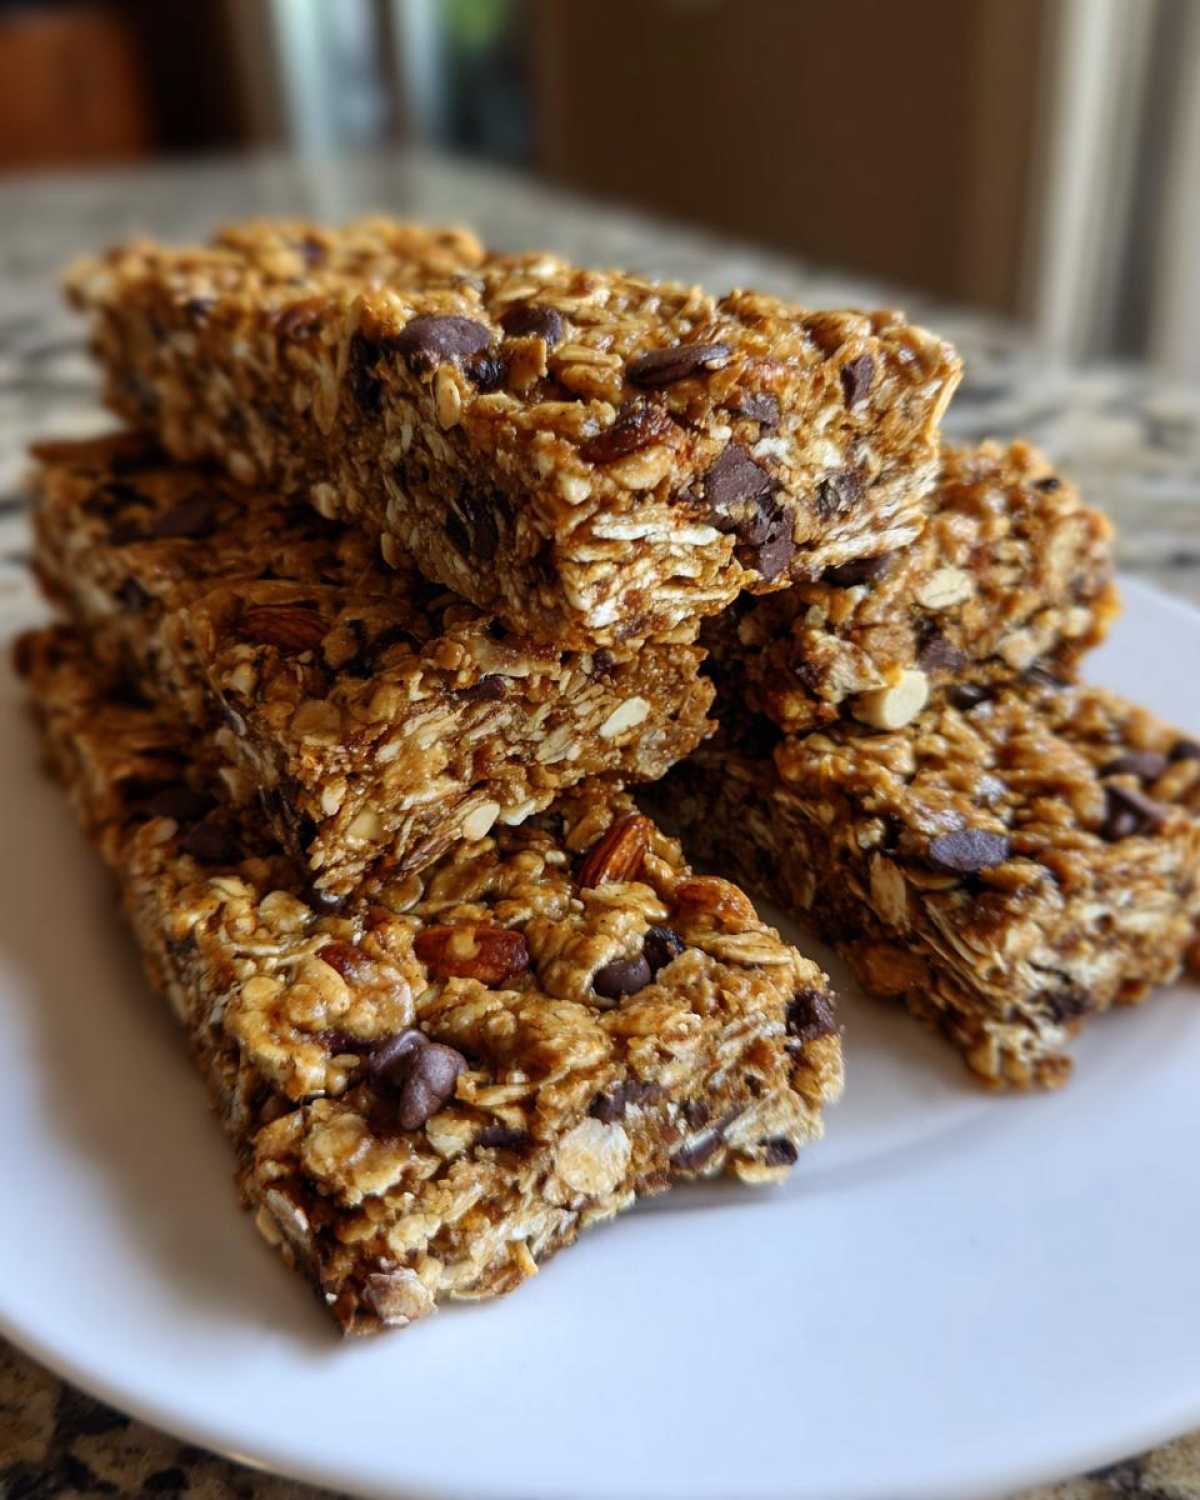
This base recipe for homemade granola bars is fantastic because it leaves you so much room to play! Seriously, you get to decide what goes into your perfect version. Since the maple syrup and fruit do most of the sweetening heavy lifting, we focus on adding texture and flavor bumps with that final 1/2 cup of mix-ins. I find that sticking to things that complement the natural sweetness really elevates these into truly wholesome granola bars.
If you are looking for ideas, think about what you have in your pantry. Keep the total to about a half cup so you don’t mess up the binding ratio too much. A mix of chewy dried fruit and a little crunch is always my go-to combination!
Making Naturally Sweetened Bars with Fruit and Chocolate Chips
When adding dried fruit, like chopped apricots or raisins, they soak up a little bit of the binder, which actually makes the bar itself even chewier—win-win! If you want those irresistible intense bursts of flavor, toss in a few mini chocolate chips. Just know that if you’re making the no-bake version, the chips might get a little melty during the setting stage. For baked bars, they hold up great! Add them in at the very last minute with everything else.
Alternative Method: No Bake Granola Bars Instructions
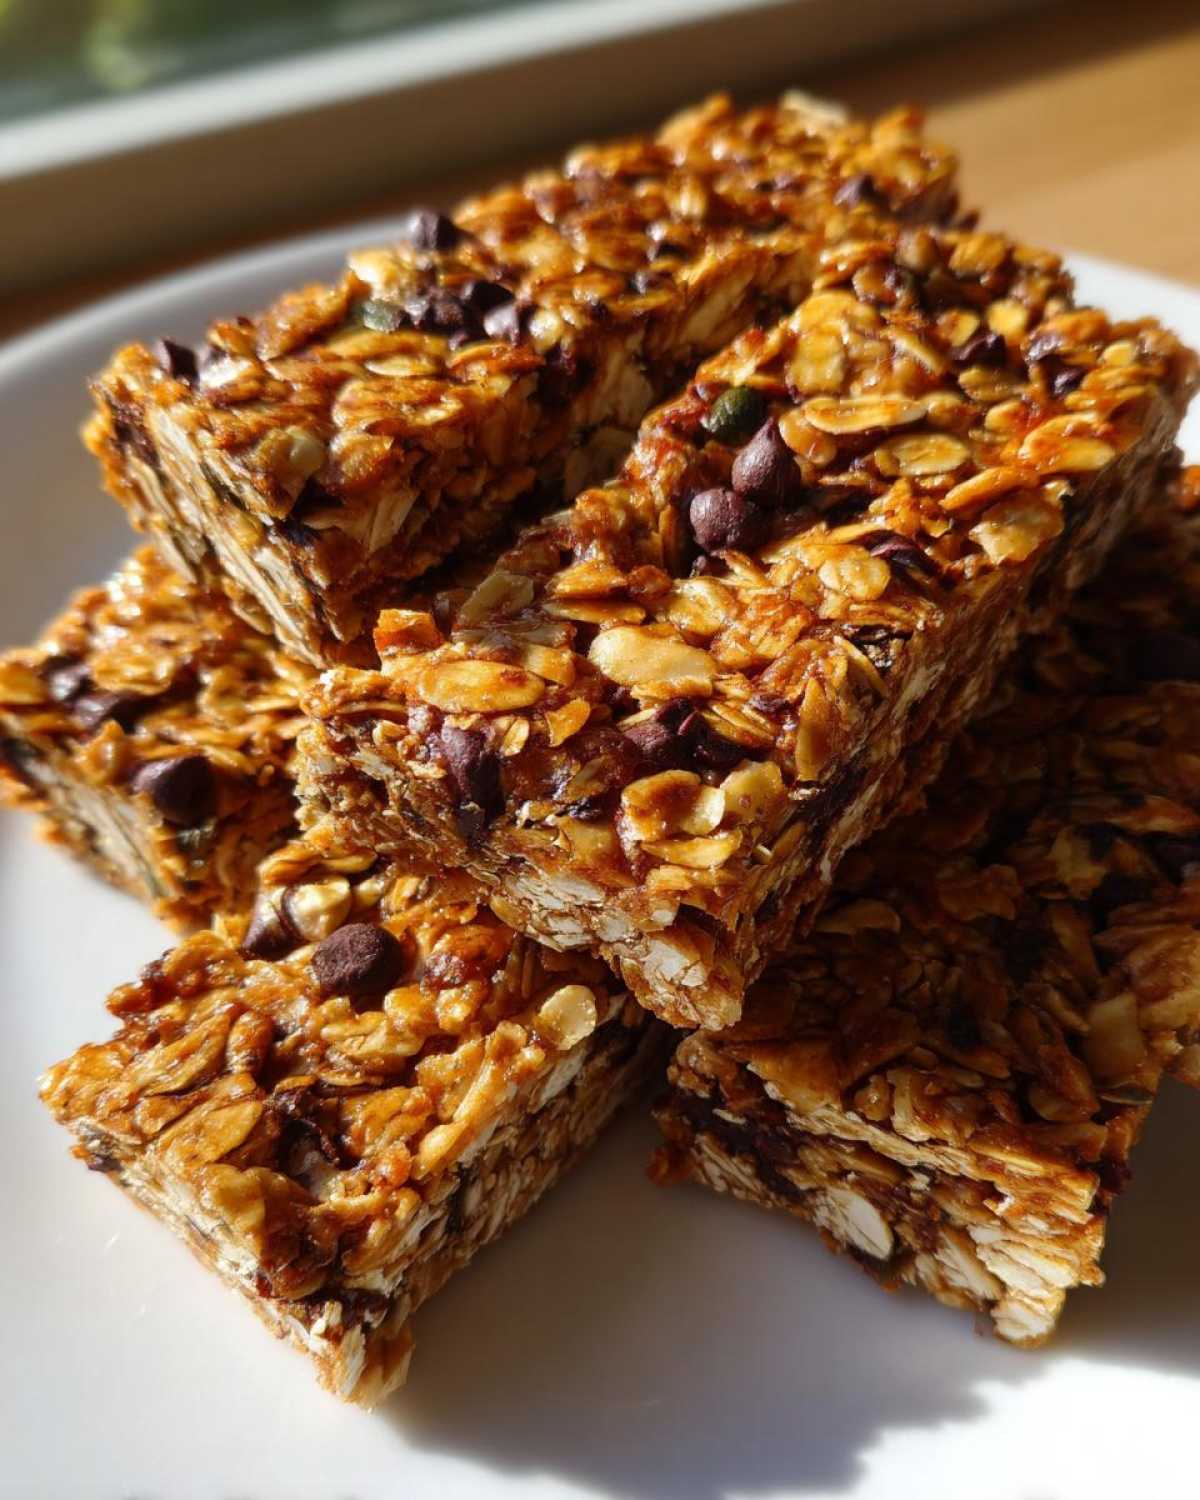
Look, sometimes it’s 95 degrees outside, and the last thing I want is to turn on the oven! Good news: you absolutely can make these fantastic homemade granola bars without ever turning on the heat. This is perfect for anyone hunting for truly quick energy bars. You skip steps 1, 4, and 7 from the baking method entirely. The basic concept for these no bake granola bars is to gently warm the liquid binders just enough so they mix into the oats smoothly.
You combine your wet ingredients and warm them slightly—just until they’re easy to stir. Then, you mix that into your dry ingredients just like before. The real trick here is compression and chilling. You still need to press that granola mixture into the pan incredibly firmly, just like when baking. Then, instead of an oven, you chill it. Sticking them in the fridge for at least two hours lets that coconut oil and nut butter firm up totally, locking everything in place so you can cut clean squares. It takes longer overall, but zero heat required!
If you want more ideas on fast snacks, check out my recipe for easy no-bake protein bars—they use a similar principle!
Tips for Success When Making Homemade Granola Bars
I’ve baked hundreds of batches of these homemade granola bars now, and I’ve learned a few crucial things that take them from ‘pretty good’ to ‘absolutely perfect.’ If you want that superior texture from the start, try toasting your oats and nuts slightly before you even start mixing! Just pop them on a baking sheet for about 8 minutes at 350°F until they smell fragrant, then let them cool before you mix in the wet stuff. This brings out such a deeper, nuttier flavor.
And please, listen to me about the cooling! I once got impatient because I needed snacks for a road trip, and I cut them after only 30 minutes of cooling on the counter. Big mistake! They basically melted and crumbled into a bag of expensive, delicious oat clusters. You absolutely must wait until they are completely cold and firm. You can even pop them in the fridge for 20 minutes if you’re in a rush, rather than cutting them warm! For more easy ideas using oats, you should look at my recipe for creamy rice pudding—it’s another pantry staple!
Storage and Make Ahead Tips for Homemade Granola Bars
One of the best parts about these homemade granola bars is that they are total champions for meal prep! They truly shine as the ultimate make ahead breakfast bars. Since they are baked and use natural binders that hold up well, you don’t need to babysit them.
You can keep them in an airtight container right on the counter at room temperature for up to a week, and they should stay perfectly chewy. If your kitchen gets really warm or you just want them to last longer—say, two weeks—tuck them into the fridge. They firm up a tiny bit, but they’re still great cold. For long-term storage, wrap individual bars tightly in plastic wrap and toss them in the freezer! They taste great straight from the freezer or after a five-minute thaw. Easy peasy!
Frequently Asked Questions About Homemade Granola Bars
I get tons of mail about this recipe, and I’m happy to clear up anything that might trip you up when making your batch of homemade granola bars. Most of the issues people run into are totally fixable once you know the trick!
Can I make these gluten free granola bars recipe friendly?
Oh yes, you totally can! The recipe is already so wholesome with all those nuts and seeds, so swapping the oats is easy. Just make sure you purchase rolled oats that are specifically certified gluten-free. Regular oats often get cross-contaminated during processing, so if that’s a concern for someone eating them, definitely grab the GF kind. Everything else in the binder mixture is naturally gluten-free, so you’re good to go!
How do I ensure my homemade granola bars stay soft for kids?
This is where we talk about avoiding over-baking! For those soft, kid friendly granola bars that aren’t too hard on little teeth, you want to pull them out right when the edges *just* start to look golden. I mentioned it before, but the maple syrup and nut butter ratio is your friend here; it keeps everything moist. If you bake them till they are dark brown, they will definitely harden up too much!
What sweetener can I use instead of maple syrup in these homemade granola bars?
Maple syrup is my absolute favorite because it controls the moisture so well, but if you need a substitute, honey is the closest 1:1 swap for making these naturally sweetened bars. Just know that honey is a bit wetter than maple syrup, so your bars might come out slightly softer and chewier, which is great if that’s what you prefer! Brown rice syrup is another option if you want a texture closer to store-bought bars, but it tends to be harder to find.
For any other quick questions about perfecting your snacks, feel free to browse the rest of the recipes right here on the blog!
Nutritional Snapshot of These Wholesome Snack Bars
I always feel better knowing what’s inside my snacks, but remember these numbers are just estimates based on the standard recipe I provided—your mix-ins will change things!
- Serving Size: 1 bar
- Calories: 240
- Fat: 13g
- Protein: 7g
- Sugar: 10g
These are genuinely wholesome snack bars, packed with energy from the oats, fat from the nuts, and just enough natural sweetness to beat those afternoon cravings!
PrintBest Chewy, Naturally Sweetened Homemade Granola Bars
Make chewy, wholesome granola bars at home using natural sweeteners. This base recipe is easy to customize with your favorite mix-ins.
- Prep Time: 15 min
- Cook Time: 25 min
- Total Time: 1 hour 40 min
- Yield: 12 bars
- Category: Snack
- Method: Baking
- Cuisine: American
- Diet: Vegetarian
Ingredients
- 2 cups rolled oats
- 1 cup mixed nuts and seeds (almonds, pumpkin seeds, sunflower seeds)
- 1/2 cup unsweetened shredded coconut
- 1/2 teaspoon ground cinnamon
- 1/4 teaspoon salt
- 1/2 cup smooth nut butter (almond or peanut)
- 1/3 cup pure maple syrup
- 1/4 cup coconut oil, melted
- 1 teaspoon vanilla extract
- 1/2 cup mix-ins (dried fruit, chocolate chips, or extra seeds)
Instructions
- Preheat your oven to 350°F (175°C). Line an 8×8 inch baking pan with parchment paper, leaving an overhang for easy removal.
- In a large bowl, combine the rolled oats, nuts and seeds, shredded coconut, cinnamon, and salt. Mix well.
- In a separate, smaller bowl, whisk together the nut butter, maple syrup, melted coconut oil, and vanilla extract until smooth.
- Pour the wet mixture over the dry ingredients. Use a sturdy spatula to mix everything thoroughly until all the oats are evenly coated.
- Stir in your chosen mix-ins.
- Transfer the mixture to the prepared baking pan. Press the mixture down firmly and evenly into the pan using the back of a spatula or a second piece of parchment paper. Pressing firmly is key for chewy bars.
- Bake for 20 to 25 minutes, or until the edges are lightly golden brown.
- Remove from the oven and let the bars cool completely in the pan on a wire rack. This cooling time is essential for them to set properly.
- Once completely cool (about 1 hour), lift the parchment paper overhang to remove the block of granola from the pan. Cut into 12 or 16 bars.
Notes
- For a no-bake version, skip step 4 and 5. Heat the wet ingredients gently until combined, then mix with dry ingredients. Press firmly into the pan and chill in the refrigerator for at least 2 hours before cutting.
- If you prefer a richer flavor, toast the oats and nuts lightly in the oven for 8 minutes before mixing them with the other dry ingredients.
- Store the finished bars in an airtight container at room temperature for up to one week, or refrigerate for longer storage.
Nutrition
- Serving Size: 1 bar
- Calories: 240
- Sugar: 10
- Sodium: 95
- Fat: 13
- Saturated Fat: 4
- Unsaturated Fat: 9
- Trans Fat: 0
- Carbohydrates: 28
- Fiber: 4
- Protein: 7
- Cholesterol: 0