

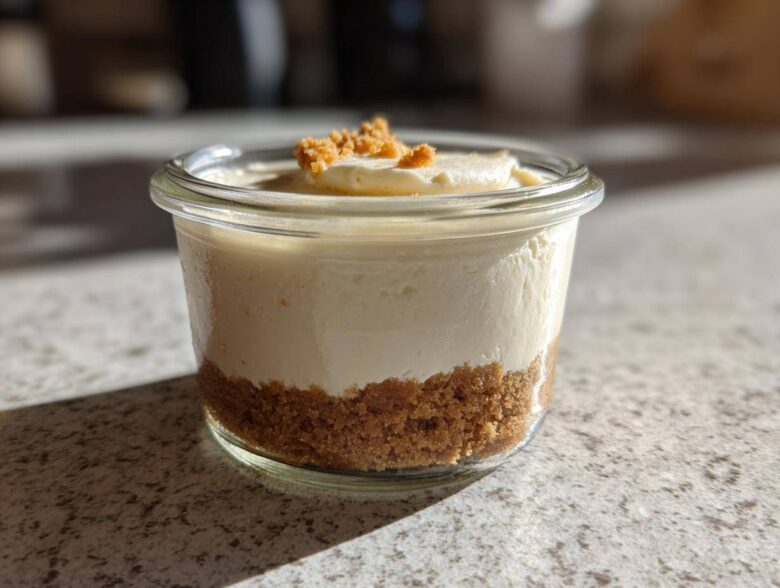
Oh, my goodness, friends, does anyone else get that deep, undeniable craving for something sweet after dinner? I know Kenji and I do, but eating things heavy in sugar used to make me feel sluggish—which is no way to enjoy life! That’s why I get so genuinely excited when I find a recipe that satisfies that sweet tooth while helping us stick to our goals. And let me tell you, this **Protein Cheesecake** recipe is my current obsession. It is everything you want in a cheesecake: creamy, tangy, and just perfect. We don’t even have to turn on the oven! I’ve tweaked this to be made right in little jars, making it the ultimate **No-Bake Protein Cheesecake Jars** dessert, perfect for fitness goals or when you just need a quick protein snack ready to go. It truly makes eating healthy feel like such a treat! For more of our favorite healthy dishes, please browse our full collection over at the blog.
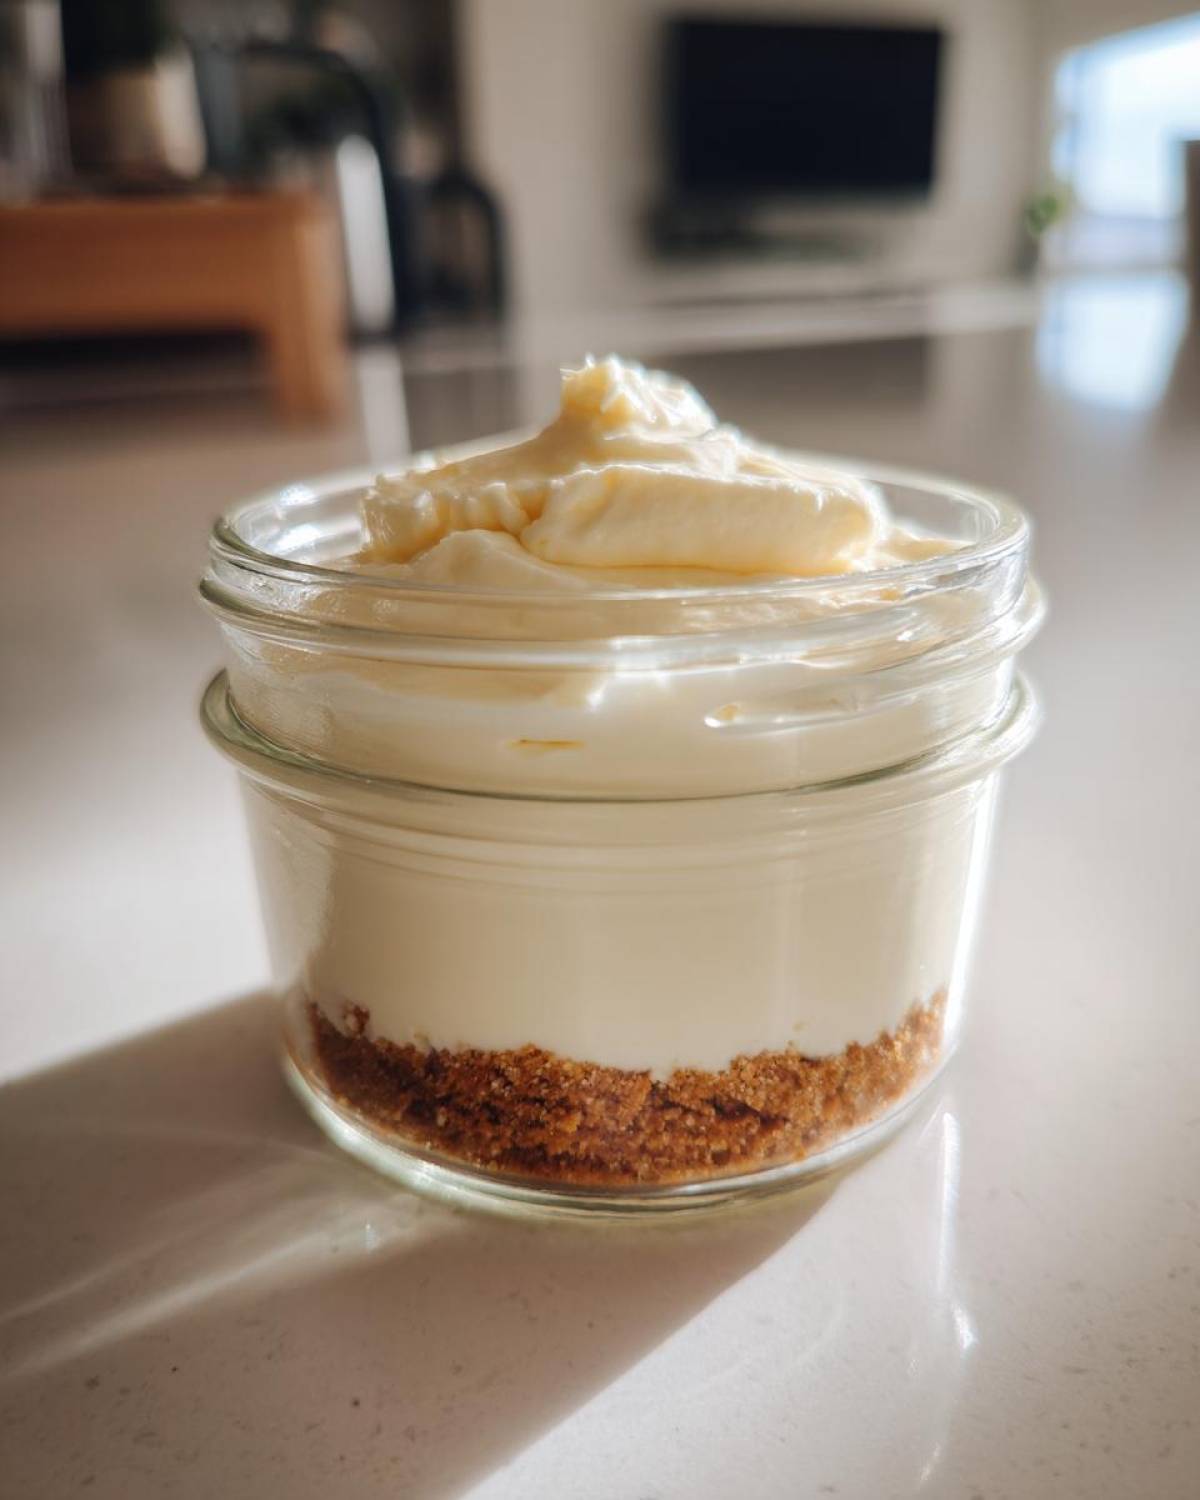
Why This No-Bake Protein Cheesecake is Your New Favorite Macro Friendly Dessert
Honestly, I love a recipe that sounds fancy but is secretly super simple. This creamy **Protein Cheesecake** checks every box for me, especially because it requires zero time standing over a hot oven. Imagine getting that rich, satisfying dessert flavor without sabotaging your day! It’s truly the best way to enjoy something decadent while staying on track. We packed so much goodness into these jars, meaning you get real flavor and real fuel.
Key Benefits of Our Protein Cheesecake Jars
- It is truly ready in minutes—the prep time is laughably short!
- It’s incredibly high in protein, giving you around 30 grams in every serving. That is fantastic fuel!
- It uses simple, whole ingredients you probably already have tucked away.
- Perfect doesn’t even begin to cover how well these keep for meal prep dessert later in the week.
- We don’t need an oven, so there’s no risk of cracks or burning. Amazing!
If you love quick, delicious, high-protein treats that keep you feeling satisfied, you must also check out my recipe for easy no-bake protein bars. Once you realize the power of no-bake goodness, you’ll never look back!
Gathering Ingredients for Your Creamy Protein Cheesecake Treat
Okay, now for the fun part—gathering what we need to make this magic happen! It’s really a short list, which is another reason I adore this **Protein Cheesecake**. The beauty of this recipe is that it relies on two major players for that creamy texture and major protein boost: cottage cheese and Greek yogurt. Don’t worry about the cottage cheese; when we blend it right, you won’t taste it at all, just pure, luscious sweetness!
We are keeping things incredibly simple here, but the quality of the ingredients really shines through, especially when you look at the macros. I’ve listed everything below so you can grab your measuring cups and get ready to blend!
Crust Components
Every good cheesecake needs a sturdy base to hug the creamy filling, right? We aren’t using a whole sleeve of cookies here, just enough for a perfect layer.
- 1/4 cup crushed graham crackers OR almond flour if you happen to be avoiding gluten.
- 1 tablespoon melted light butter or coconut oil—just enough to bind it together.
- A tiny pinch of salt to bring out the sweetness!
High-Protein Filling Ingredients
This is where the real power of this dessert comes from. You want to make sure your protein powder is one you actually enjoy the flavor of, because that truly dictates the outcome here!
- 1 cup low-fat cottage cheese—this is non-negotiable for great texture!
- 1 cup plain non-fat Greek yogurt—make sure it’s not the thin kind; we want it thick!
- 1/2 cup vanilla or unflavored protein powder. (If you use a sweeter brand, you might add less sweetener later!)
- 1/4 cup erythritol or your preferred sugar substitute.
- 1 teaspoon vanilla extract for warmth.
If you’re looking for other ways to use cottage cheese in guilt-free baking, be sure to check out my cottage cheese microwave brownie recipe. It’s decadent!
Step-by-Step Instructions for No-Bake Protein Cheesecake
Now that we have all our magnificent components ready, let’s talk assembly! This is where the anticipation builds, but trust me, the hands-on time is short! Since this is a no-bake recipe, all the hard work is done by the refrigerator, which is my favorite kind of assistant. We are layering things up beautifully to create the perfect texture for our **Protein Cheesecake**.
Creating the Base Layer
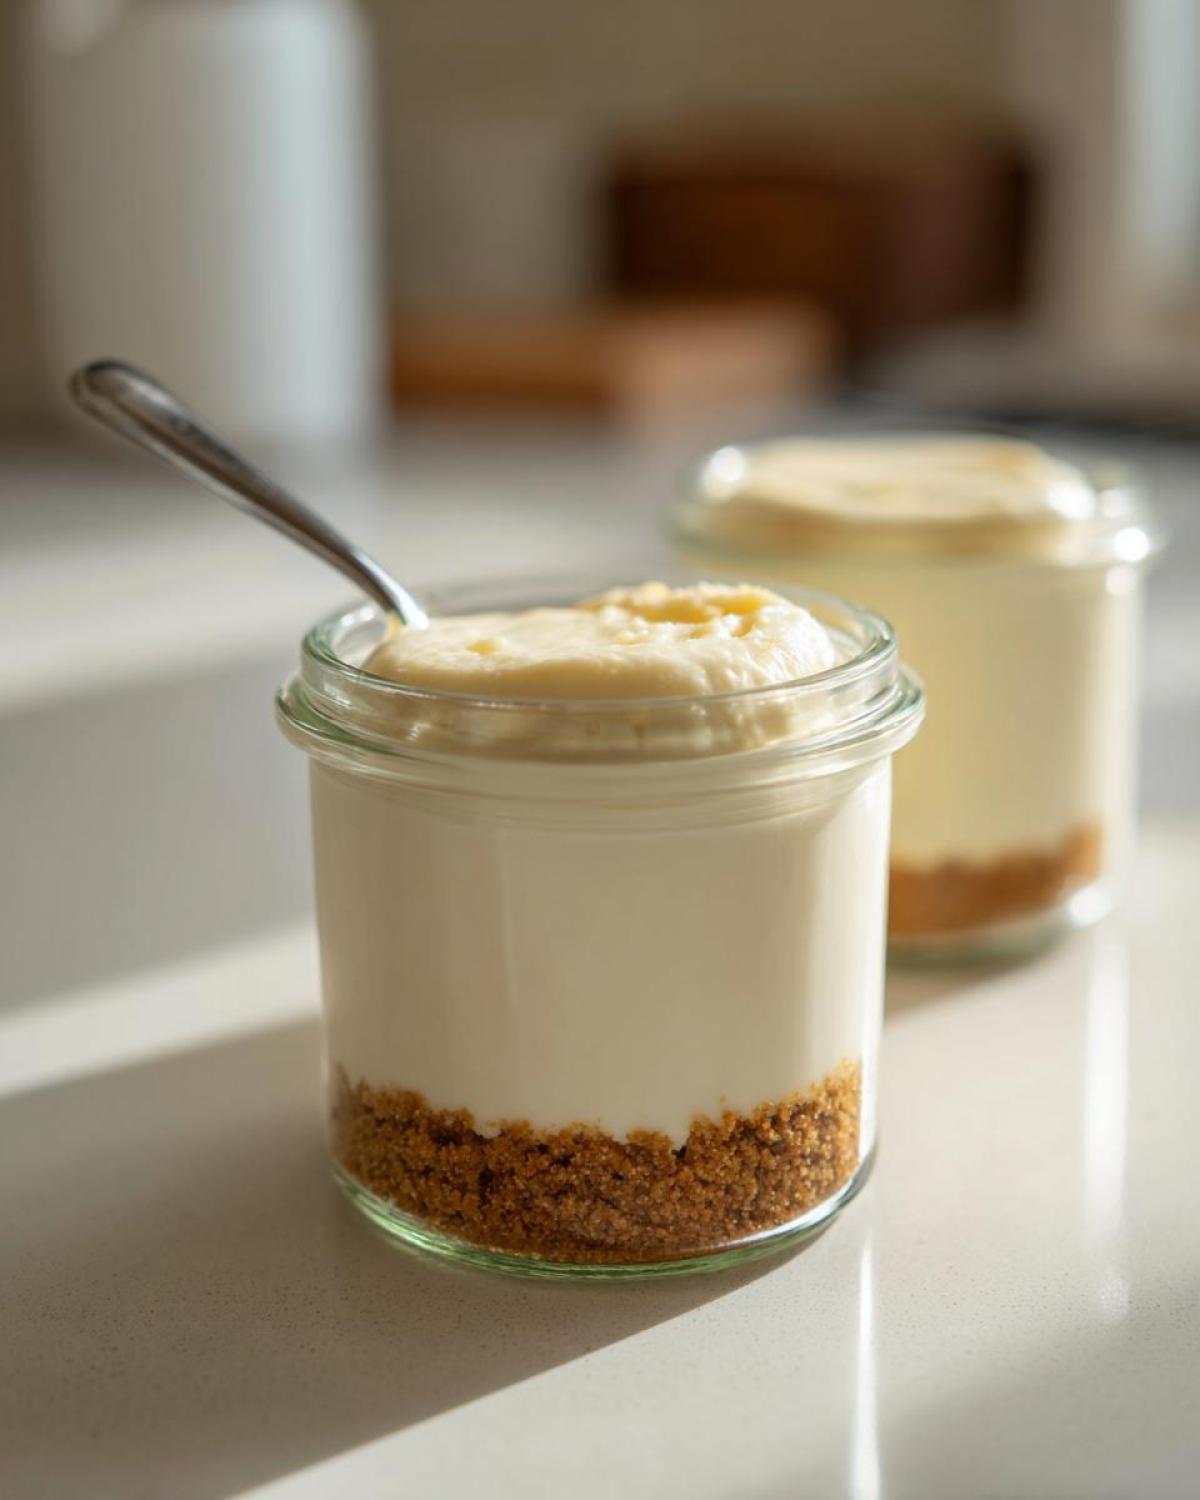
First things first, we tackle that crust! Take your crushed graham crackers (or almond flour, remember?) and mix them thoroughly with your melted butter or coconut oil, plus that little pinch of salt. You want it to look like wet sand—just sticky enough to hold together. Then, just divide that mix evenly among your four little jars or ramekins. Tap them gently on the counter to help them settle, and pop those right into the chilly air of the fridge for about 10 minutes while you focus on the filling. That quick chill firms them up nicely!
Blending the Creamy Protein Cheesecake Filling
This is the critical part for achieving that smooth, restaurant-quality texture. Put that cottage cheese, the Greek yogurt, your protein powder, your sweetener, and the vanilla extract all into your food processor or a good, strong blender. You’ll need to blend this until it is unbelievably smooth—no graininess allowed! Stop the machine every minute or so to scrape down the sides, making sure the thick yogurt near the edges gets fully incorporated. Once it’s silky, give it a little taste! If you prefer a sweeter **Protein Cheesecake**, now is the time to sprinkle in a bit more sweetener and pulse it one last time.
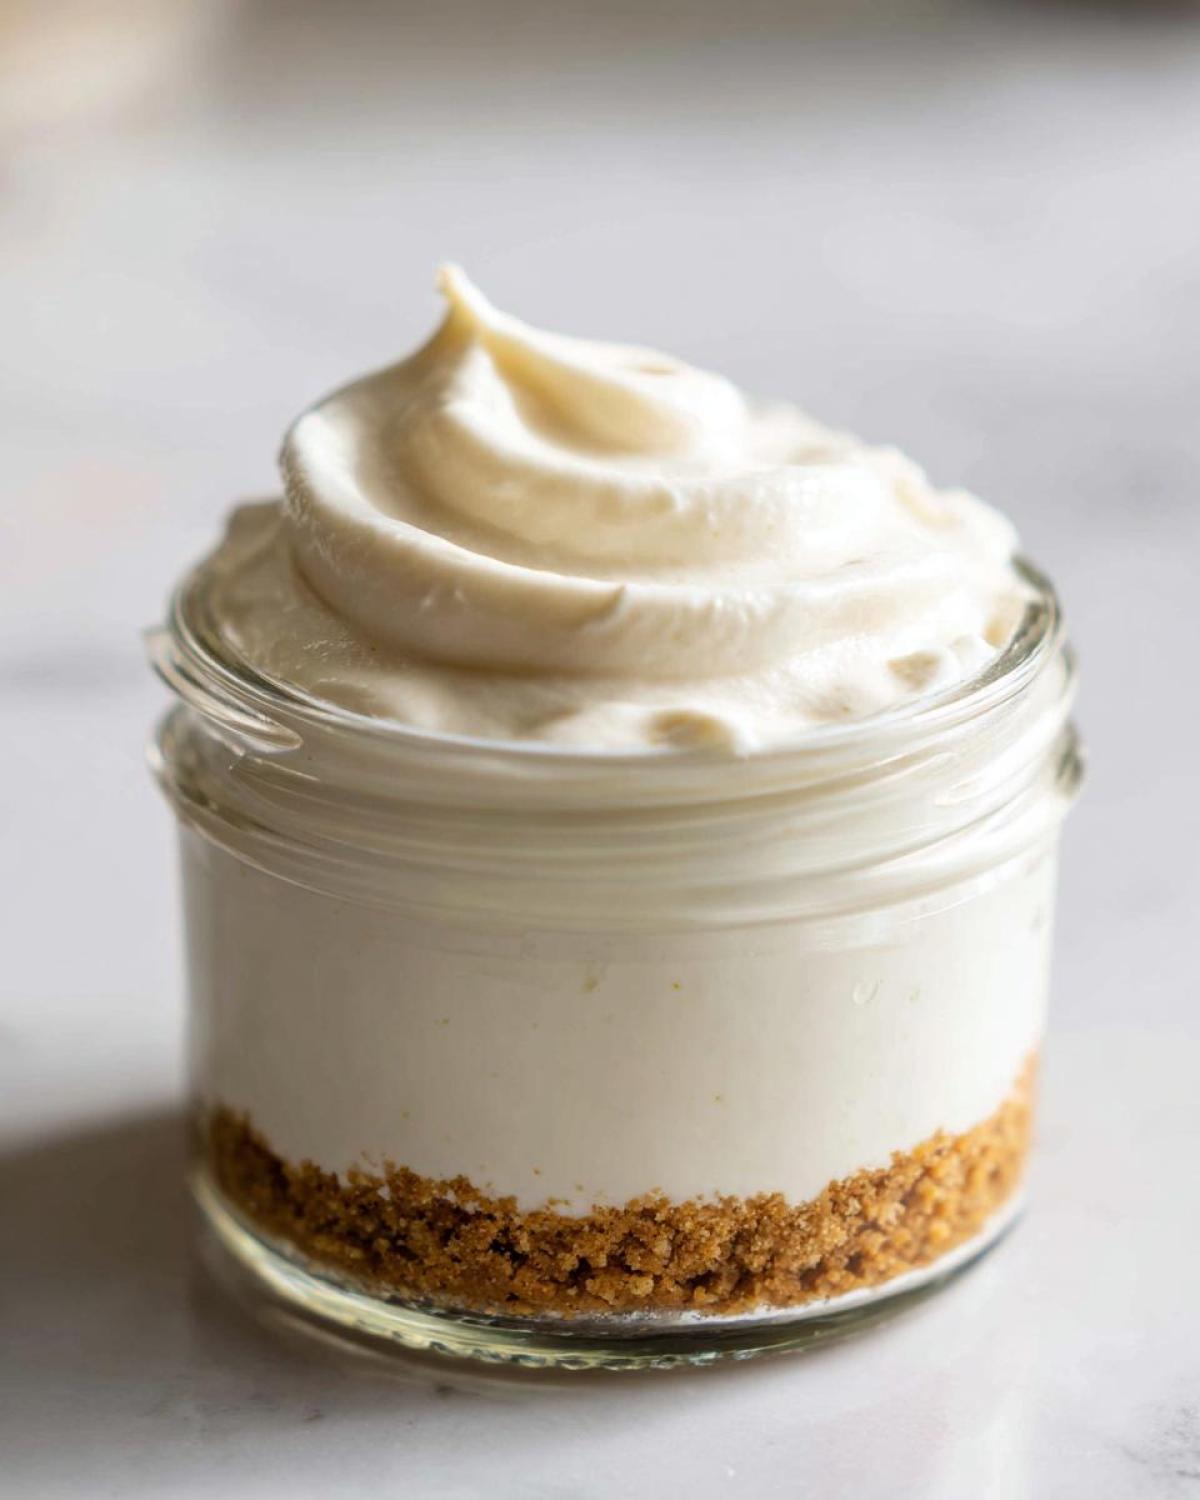
Assembly and Setting the Protein Cheesecake
Once the bases are set and the filling is smooth, we just layer! Carefully spoon that gorgeous filling right on top of the pre-chilled crusts. Smooth the tops with the back of a spoon so they look tidy. Cover your jars—plastic wrap works perfectly—and this is where patience comes in. You absolutely MUST let them chill in the refrigerator for a minimum of 4 hours. But, and listen closely because this is my secret for the best texture, leaving them overnight is truly the winner. That long chill time allows the protein powder to fully hydrate and firms up the whole structure for the best **Protein Cheesecake** consistency!
When you are watching recipes online, like those great tips I saw on Galley Bites about protein cheesecake jars, they always harp on chilling time. It really makes all the difference!
For simple batch preparation, don’t forget to check out my guide on easy no-bake classic tiramisu for more tips on setting desserts perfectly!
Expert Tips for the Perfect Protein Cheesecake in a Jar
I have made this recipe so many times now, and I’ve learned a few little tricks to make sure your **Protein Cheesecake** is truly unbeatable. Nobody wants a grainy dessert, especially when they are looking for something macro friendly!
Adjusting Texture with Yogurt and Cottage Cheese
Remember how I mentioned the texture might change if you substitute ingredients? If you don’t have cottage cheese on hand, you *can* use an equal amount of extra Greek yogurt. But I have to warn you: the result will be noticeably softer, almost like a thick pudding instead of a firm cheesecake. The cottage cheese provides that slight density we really want when aiming for a traditional texture. Make sure your Greek yogurt is the thick, even the full-fat kind if you have it, as that helps bind everything beautifully!
Flavor Variations for Your Protein Cheesecake
Because we started with such a neutral, perfect base, this jar recipe is screaming for variations! If you’re into chocolate like I sometimes am, simply throw in about two tablespoons of unsweetened cocoa powder when you blend the filling. That gives you a gorgeous chocolate **Protein Cheesecake**! If berries are your thing, wait until the assembly stage. A thin layer of mashed strawberries right on top of the crust before adding the filling works wonders. You’ll find so many ways to adjust this!
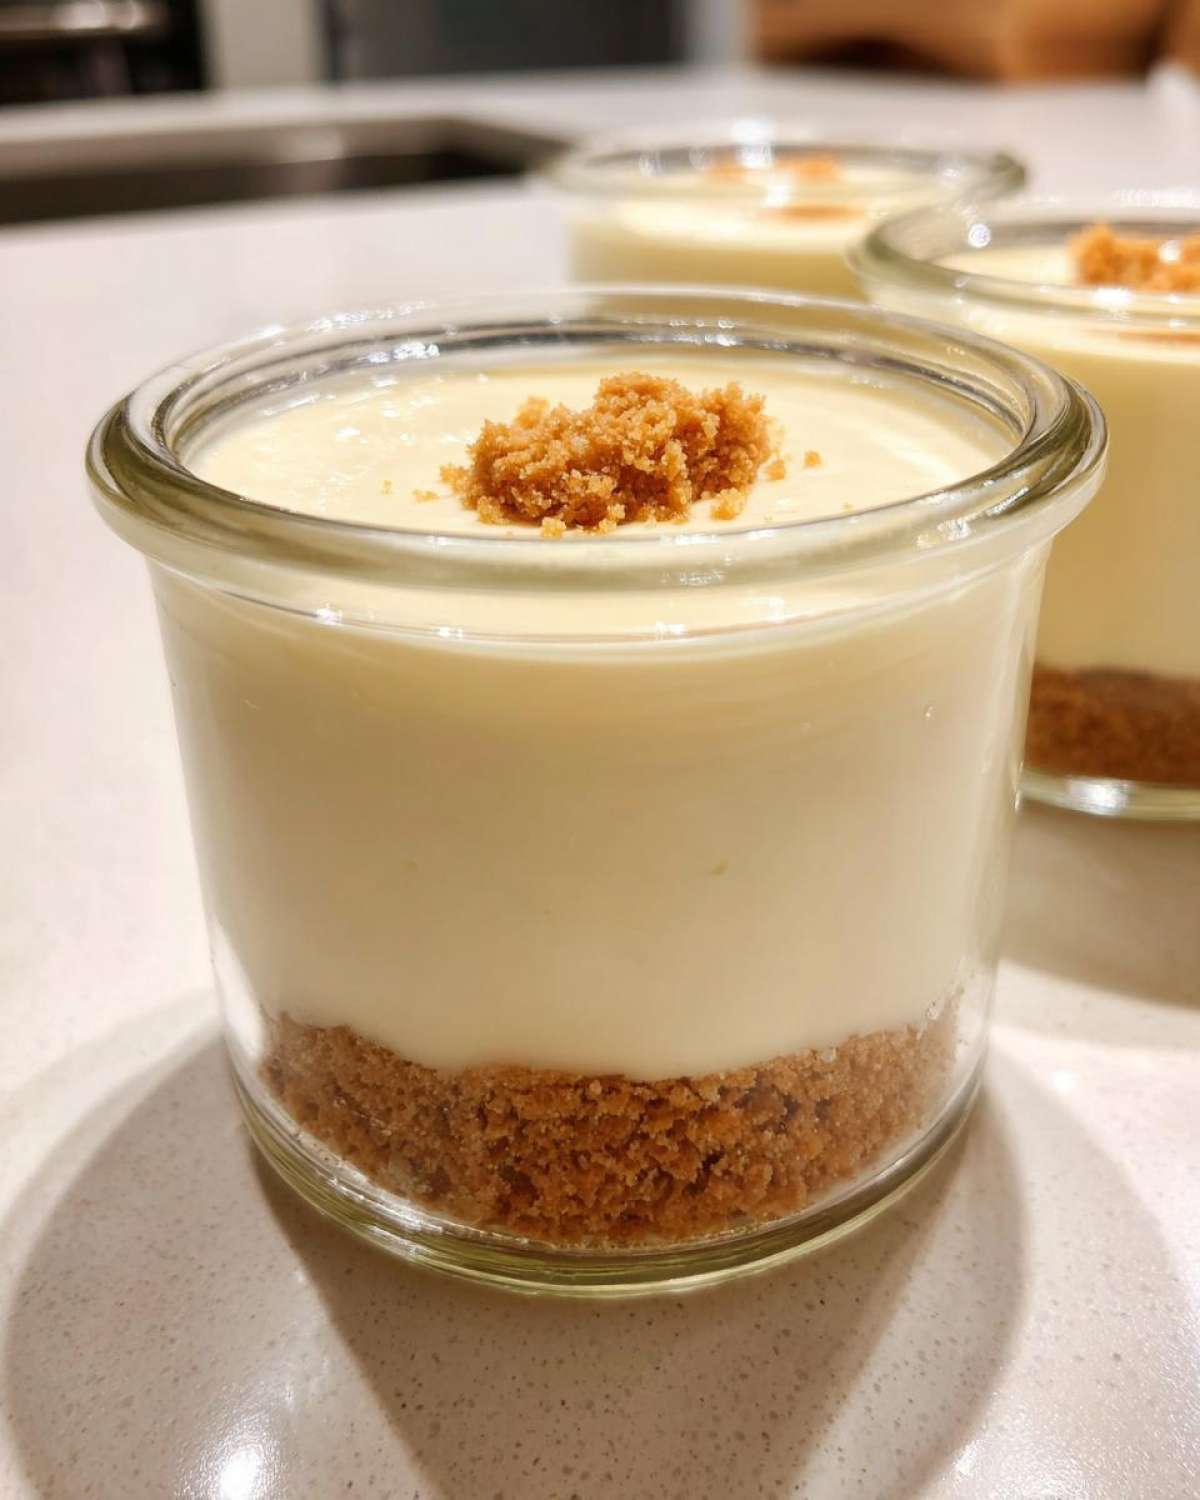
For more great ways to use cottage cheese in surprisingly tasty dishes, you should really look at my cottage cheese egg cup recipe. It’s such a versatile ingredient!
If you’re looking for more advanced tips on keeping your recipes tasting amazing, I always peek over at sites like The Big Man’s World to see how they tackle their protein cheesecake variations for inspiration.
Storage and Keeping Your Protein Cheesecake Fresh
This **Protein Cheesecake** recipe is truly a champion for meal prep, which is such a relief when life gets busy! Since these are no-bake and sit beautifully in sealed jars, they last quite well. You can safely keep them covered in the refrigerator for up to four full days. That means you can make them Sunday night and have a perfect, macro friendly dessert ready for most of your work week!
Because they set up so nicely, you don’t need to worry about reheating them at all—they are best served chilled, straight from the fridge. They stay incredibly creamy and satisfying! For more ways to plan ahead beautifully, you can check out my tips on meal prep desserts.
Frequently Asked Questions About Healthy Cheesecake
I know you might have questions when you try a new recipe, especially one designed to fit into specific fitness goals! That’s perfectly normal. Since we are looking for results that are both delicious and help us keep track of our macros, it makes sense to ask for clarification. Here are the things I get asked most often about this creamy treat.
How much protein is truly in one serving of this Protein Cheesecake?
This is the best part! Based on the ingredients listed here, each jar packs a whopping 30 grams of protein. Thirty! Can you believe that? It transforms what feels like a purely indulgent moment into a wonderfully satisfying and genuinely macro friendly dessert. It’s hard to find a comparable sugar free dessert that gives you that kind of muscle fuel.
Can I bake this No Bake Protein Dessert?
Oh, dear heart, please don’t try to bake this one! Because we are relying heavily on Greek yogurt and cottage cheese—which have a higher water content than traditional cream cheese—baking this specific blend would likely result in something watery or grainy. The magic of this specific recipe is that it relies on chilling time to firm up. If you really want a baked texture, you’ll need a different recipe designed for oven reliability, but for a quick, easy no bake dessert, chilling is your best friend!
If you’re interested in baked treats that are still higher in protein, I’ve had great success with my blueberry protein muffins. They hold up much better to heat if you’re trying to stay within a low calorie cheesecake lifestyle!
For more inspiration on jar desserts, I always look at what others are doing. Did you see that great post on Medium about the original high protein cheesecake jars recipe? It gives you so many good ideas for topping options!
Nutritional Snapshot of This Guilt Free Cheesecake
Now, I know many of you are tracking your macros, just like we are! Remember, since we are using a sugar substitute and low-fat dairy products, these numbers are estimates based on the ingredients listed above, so they might shift a tiny bit depending on your specific protein powder. But generally speaking, this is truly a guilt free cheesecake moment!
For one serving (one jar), expect approximately:
- Calories: 240
- Protein: 30g (Isn’t that wonderful?)
- Fat: 7g
- Carbohydrates: 15g
Knowing you get 30 grams of protein in a dessert that tastes this rich is just fantastic for meal planning. If you want to see more brilliant ways to use these low-calorie concepts, check out the tips on Eva Whisks for high-protein cheesecake jars. They always have such useful guidelines!
Share Your Delicious Protein Cheesecake Creations
Well, that’s it! We have made the most glorious, macro friendly **Protein Cheesecake** jars. I truly hope you feel as thrilled making these as I am eating them! Kenji is already eyeing the leftovers for his afternoon snack, so you know it’s a winner.
Now, I absolutely adore seeing what you all do in your own kitchens! Did you add blueberries? Did you try Kenji’s idea of dusting the top with a touch of cinnamon? Please, please leave a comment below telling me how your **Protein Cheesecake** came out and what flavor combinations you tried. Hearing from you all makes this whole process so much more joyful.
If you snapped a picture of your creamy treat—maybe sitting next to your workout gear or ready in your meal prep containers—I would love to see it! You can always connect directly with us if you have questions or just want to say hello via our contact page. Happy blending, everyone!
PrintNo-Bake High-Protein Cheesecake Jars (Macro Friendly Dessert)
Make these simple, no-bake protein cheesecake jars for a satisfying, macro friendly dessert that fits your fitness goals. These creamy treats use Greek yogurt for a high protein boost.
- Prep Time: 15 min
- Cook Time: 0 min
- Total Time: 4 hr 15 min
- Yield: 4 servings
- Category: Dessert
- Method: No Bake
- Cuisine: American
- Diet: Low Fat
Ingredients
- 1 cup low-fat cottage cheese
- 1 cup plain non-fat Greek yogurt
- 1/2 cup vanilla or unflavored protein powder
- 1/4 cup erythritol or preferred sugar substitute
- 1 teaspoon vanilla extract
- 1/4 cup crushed graham crackers or almond flour (for crust)
- 1 tablespoon melted light butter or coconut oil
- Pinch of salt
Instructions
- Prepare the crust: Mix the crushed graham crackers or almond flour with the melted butter or coconut oil and a pinch of salt. Press this mixture evenly into the bottom of four small jars or ramekins. Chill for 10 minutes.
- Make the filling: Combine the cottage cheese, Greek yogurt, protein powder, sugar substitute, and vanilla extract in a food processor or high-speed blender. Blend until completely smooth and creamy. Scrape down the sides as needed.
- Taste the filling and add more sweetener if you prefer it sweeter.
- Spoon the protein cheesecake filling over the chilled crusts in the jars. Smooth the tops with a spoon.
- Cover the jars and refrigerate for at least 4 hours, or until firm. For best results, chill overnight.
- Serve cold. Top with fresh berries or a sprinkle of cinnamon before eating.
Notes
- For a chocolate protein cheesecake, add 2 tablespoons of unsweetened cocoa powder to the filling mixture.
- If you do not have cottage cheese, you can substitute it with an equal amount of additional Greek yogurt, though the texture will be slightly softer.
- This recipe is easily adaptable for meal prep; the jars keep well in the refrigerator for up to 4 days.
Nutrition
- Serving Size: 1 jar
- Calories: 240
- Sugar: 4
- Sodium: 250
- Fat: 7
- Saturated Fat: 3
- Unsaturated Fat: 4
- Trans Fat: 0
- Carbohydrates: 15
- Fiber: 1
- Protein: 30
- Cholesterol: 15