

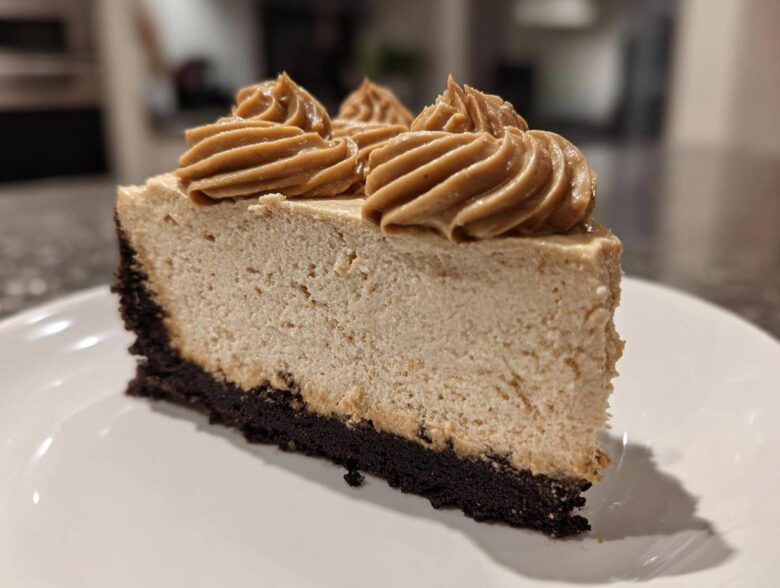
Oh my gosh, are you ready for the dessert that everyone asks me for? I swear, ever since cookie butter exploded onto the baking scene, people have been obsessed! And rightly so—that unique caramelized, spiced flavor is just addictive. If you’ve been scrolling endlessly looking for a showstopper that doesn’t require turning on the oven even once, you’ve hit the jackpot. This recipe for my ultimate **biscoff cheesecake** is what I pull out whenever I need a guaranteed crowd-pleaser.
The first time I whipped this up, I was worried it wouldn’t set right because, you know, no baking involved. But I followed the chilling steps exactly, and when I finally served it after dinner, my brother actually asked if I bought it from a fancy bakery! I had to laugh. It’s just so ridiculously creamy and rich. Forget complicated layers; this recipe keeps things beautifully simple while delivering 100% decadent flavor. Trust me, you’re going to want to bookmark this **No Bake Biscoff Cheesecake** right now!
If you’re looking to dive deeper into my favorite easy recipes, you can always check out my general blog index right here: my favorite easy recipes. But stick around, because this cheesecake recipe is definitely taking the top spot!
Why This No Bake Biscoff Cheesecake is Your Next Favorite Dessert
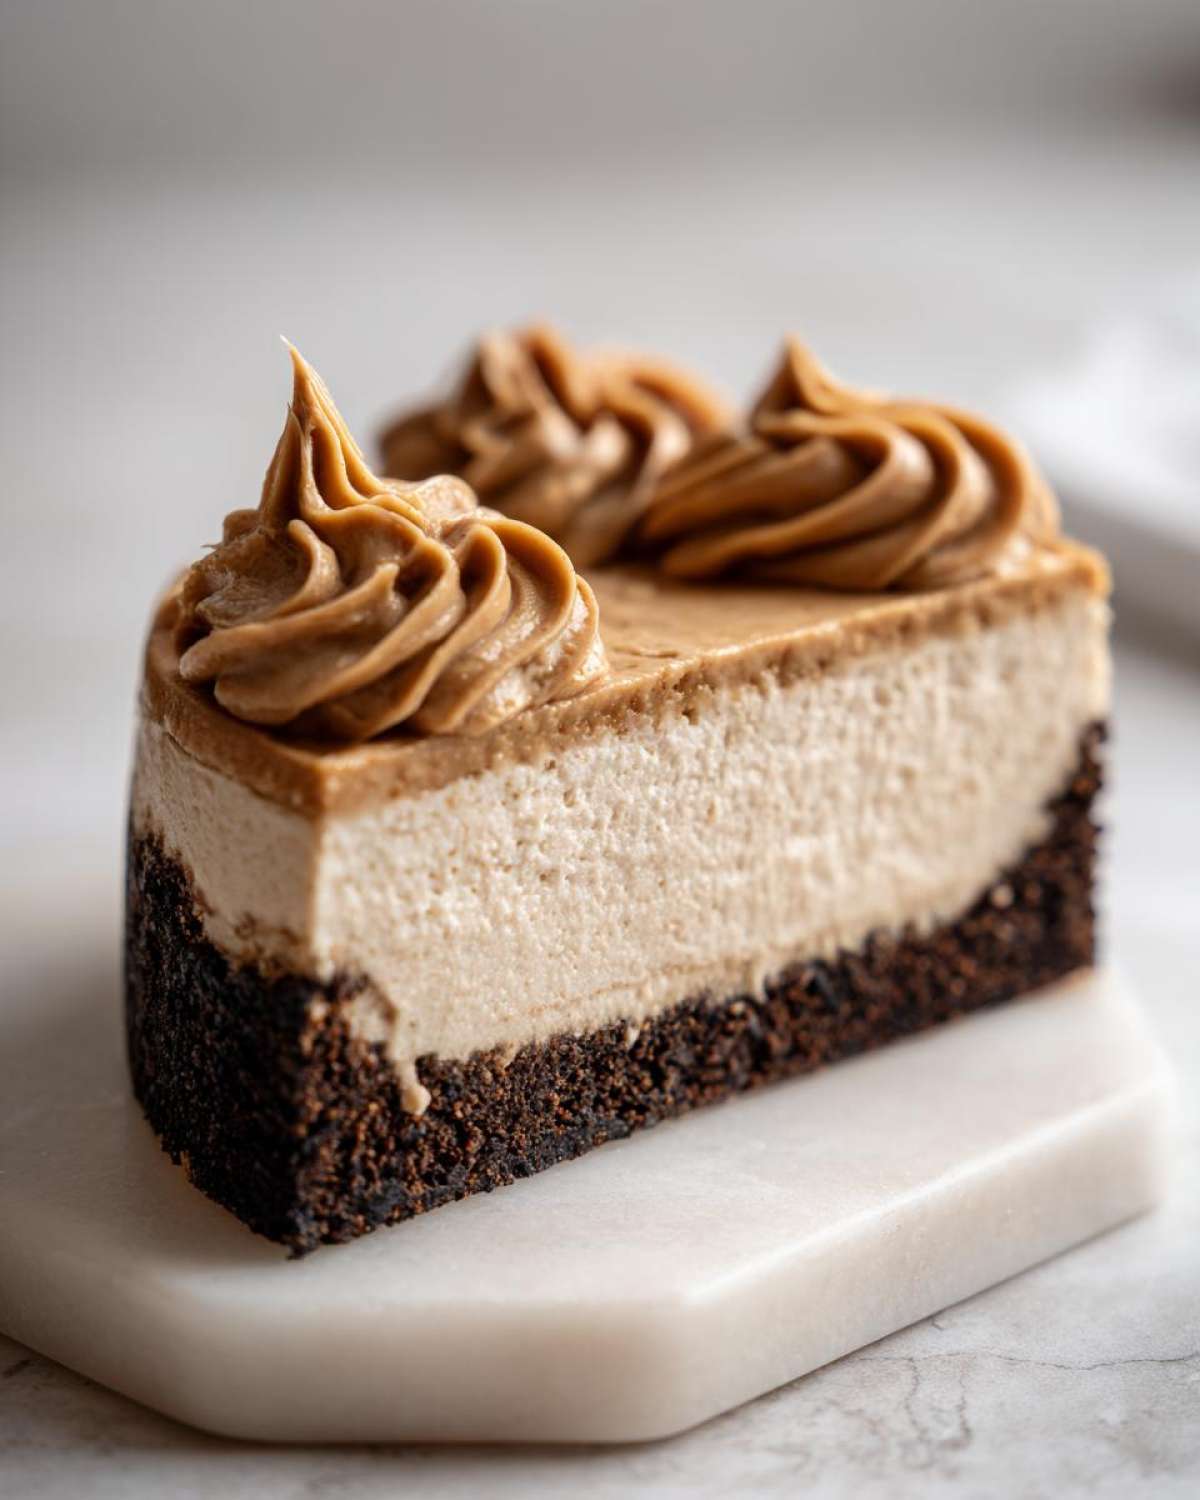
I’m telling you, this isn’t just another dessert; it’s an event! What makes this **biscoff cheesecake** so special is how it ticks every single box you could possibly have. It’s simple, requires zero oven time, and tastes like pure, spiced indulgence.
- It uses real Lotus Biscoff cookie butter—no artificial flavors here!
- It sets up beautifully thanks to the heavy cream, giving you that perfect decadent texture.
- It’s practically foolproof because we aren’t relying on baking times!
If you’re looking for great inspiration on other fuss-free sweets, you have to check out my recipe for No-Bake Oreo Dirt Cake. But back to this queen of cheesecakes!
The Ultimate Creamy Biscoff Dessert Texture
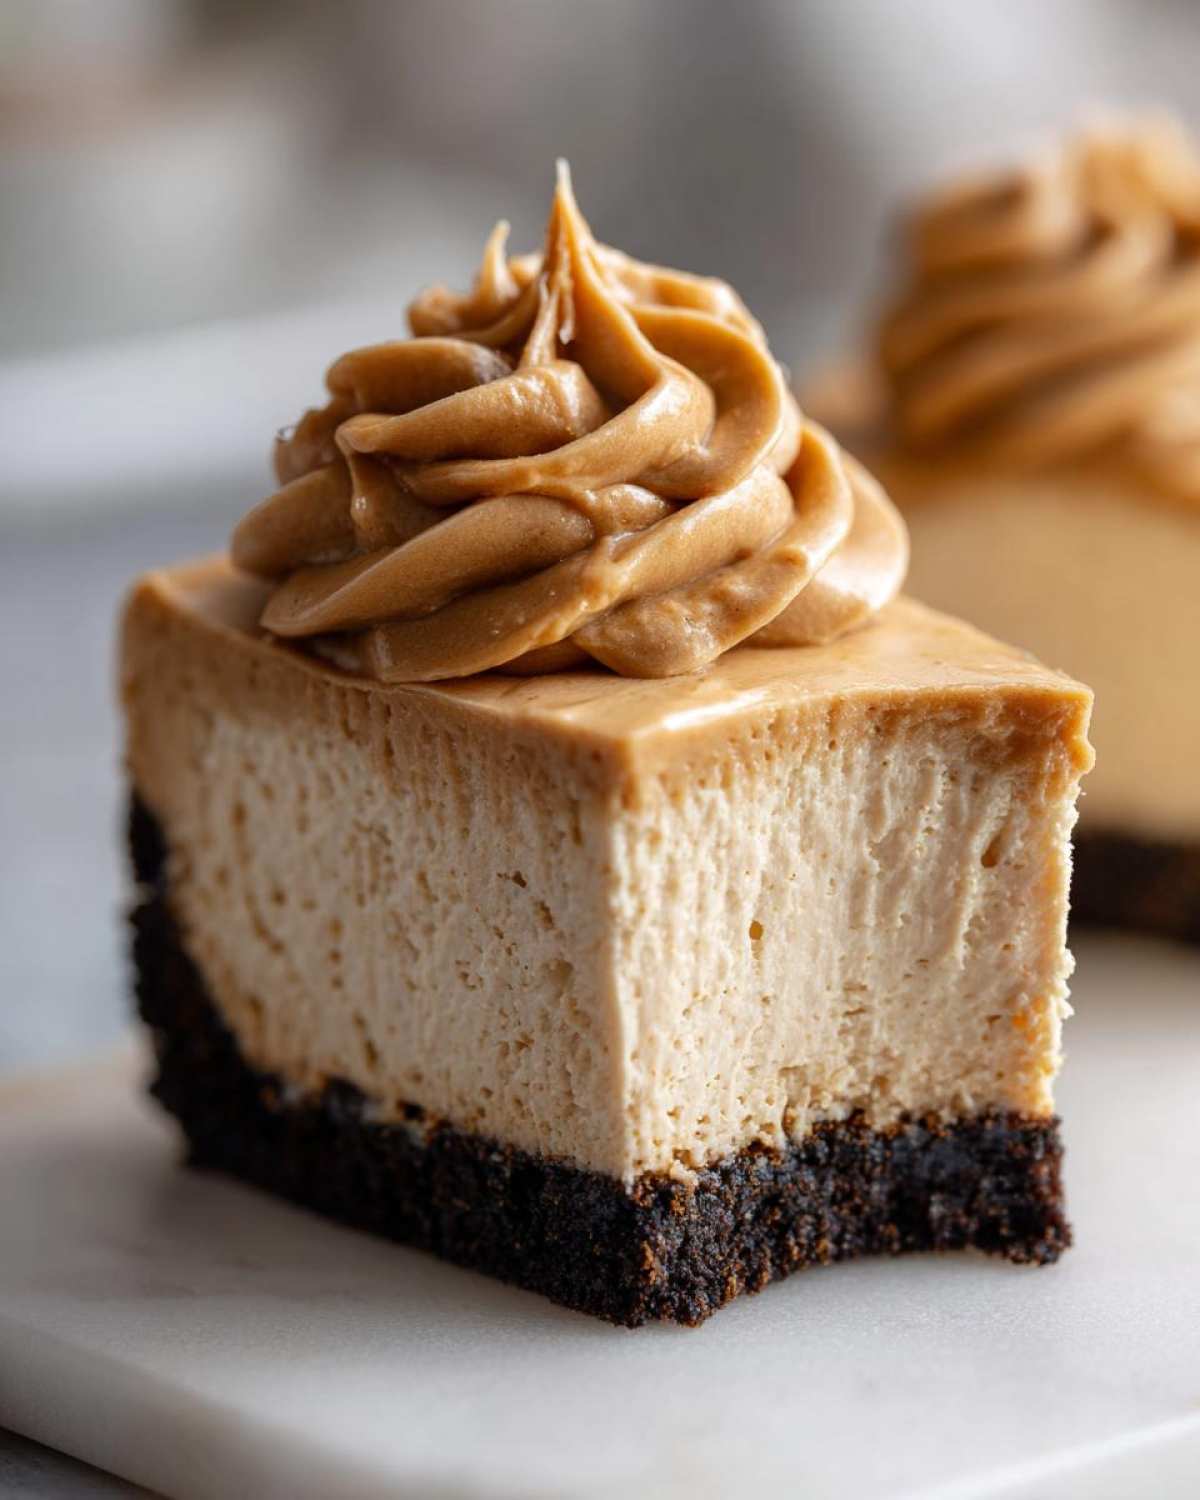
When you cut into this, it should feel substantial yet yield instantly. We’re talking silky smooth, dense, and incredibly rich. The combination of softened cream cheese whipped with perfectly stiffened cream gives it that melt-in-your-mouth quality that makes cheesecake so famous.
Ease of Preparation for Your Easy Cheesecake
The absolute best part? It’s one of the greatest Easy Dessert Recipes I have ever created. Seriously, mixing bowls and a mixer are all you need! If you can crush a cookie, you can make this **Easy Cheesecake**. It’s the perfect solution when you need something stunning but you’re already warming up the oven for dinner!
Gathering Ingredients for Your Biscoff Cheesecake Recipe
Okay, let’s talk about the supporting cast! For this **Cookie Butter Cheesecake**, the quality of the ingredients really shines through because there’s nowhere for weak flavors to hide. Since this is a **No Bake Biscoff Cheesecake**, chilling time is what does the heavy lifting, so make sure you have everything measured out neatly.
My biggest tip here is planning: make sure your cream cheese has been out long enough to truly soften. Cold cream cheese equals lumpy filling, and we absolutely don’t want that! If you want to see how I stock my pantry for other great bakes, check out my list of favorite baking staples. Here’s what you need to grab:
Crust Ingredients: The Crunchy Cookie Base
This crust is pure magic—it’s sweet, crunchy, and sets up perfectly in the freezer. We’re using about 25 cookies here, which is roughly a standard package if you buy the full sleeves!
- 1 1/2 cups crushed Lotus Biscoff cookies (about 25 cookies)
- 6 tablespoons unsalted butter, melted
Filling Ingredients for the Rich Creamy Dessert
This is where the complexity comes in. Notice that we need Biscoff in two places—one for the main volume of flavor and the rest for that gorgeous swirl on top! And those heavy cream measurements? They are crucial for that light, airy cloud floating on top of your **Spiced Cookie Cheesecake**.
- 16 ounces cream cheese, softened
- 1 cup powdered sugar
- 1 teaspoon vanilla extract
- 1/2 cup Biscoff cookie butter, plus 2 tablespoons for topping
- 1 1/2 cups heavy whipping cream, cold
- Optional: 1/4 cup melted semi-sweet chocolate for drizzling
Step-by-Step Instructions for No Bake Biscoff Cheesecake
Alright, this is where we bring it all together! Since this is a **No Oven Cheesecake**, your main tools are your mixer and your freezer, but patience during the chilling phase is key to your success. We need that satisfyingly firm texture, so pay close attention to the chilling times. If you’ve ever made my No-Bake Oreo Pie, the initial steps are similar, but the flavor payoff here is just richer!
Preparing the Cheesecake Base and Chilling
First things first: let’s tackle that amazing crust. Grab your bowl with the Biscoff crumbs and pour in that melted butter. Mix it up until everything looks like wet sand—you should be able to squeeze a bit and have it hold its shape. Press this down firmly into the bottom of your 9-inch springform pan. I use the bottom of a measuring cup to really pack it in tight. Once it’s nice and solid, pop that pan into the freezer. It needs to chill hard while we work on the filling, so give it at least 15 minutes.
Creating the Smooth Biscoff Cheesecake Filling
Time for that luscious filling! Start with your softened cream cheese in a big bowl. Beat it until it’s totally smooth—no lumps allowed! Then slowly stream in that powdered sugar and the vanilla extract. Once that’s incorporated, now’s the moment for the star flavor: beat in that half-cup of **Cookie Butter Cheesecake** spread until the mixture looks totally uniform. Now, for the light structure: In a separate, clean bowl, get your cold heavy whipping cream whipped until you can stand a stiff peak up—you know, when you pull the mixer out and the peak doesn’t droop over. That’s crucial for that light texture!
Assembling and Setting the Ultimate Cheesecake
This is the stage that builds our **Rich Creamy Dessert** texture, so go gently! You need to fold that whipped cream into the cookie butter base. Do it in two batches, folding tenderly until there are no white streaks left. Overmixing here knocks out all the air we just beat in! Pour that smooth filling right over your frozen crust and smooth the top nicely. Now, it has to chill—at least six hours, but honestly, plan for overnight. True results come from sleeping on it! Right before serving, make sure you run a thin knife around the edge before releasing the springform collar. Then, melt that extra Biscoff spread (and the chocolate, if you’re feeling extra decadent!) and make a fancy drizzle on top.
Expert Tips for Success with Your Biscoff Cheesecake
You know, even with a simple **No Bake Biscoff Cheesecake**, a few little tricks can take it from good to absolutely legendary. I’ve learned these from my own kitchen disasters—and successes, of course! These aren’t mandatory, but they are what separates a dessert that sets from a dessert that makes everyone say, “Wow, that’s amazing!”
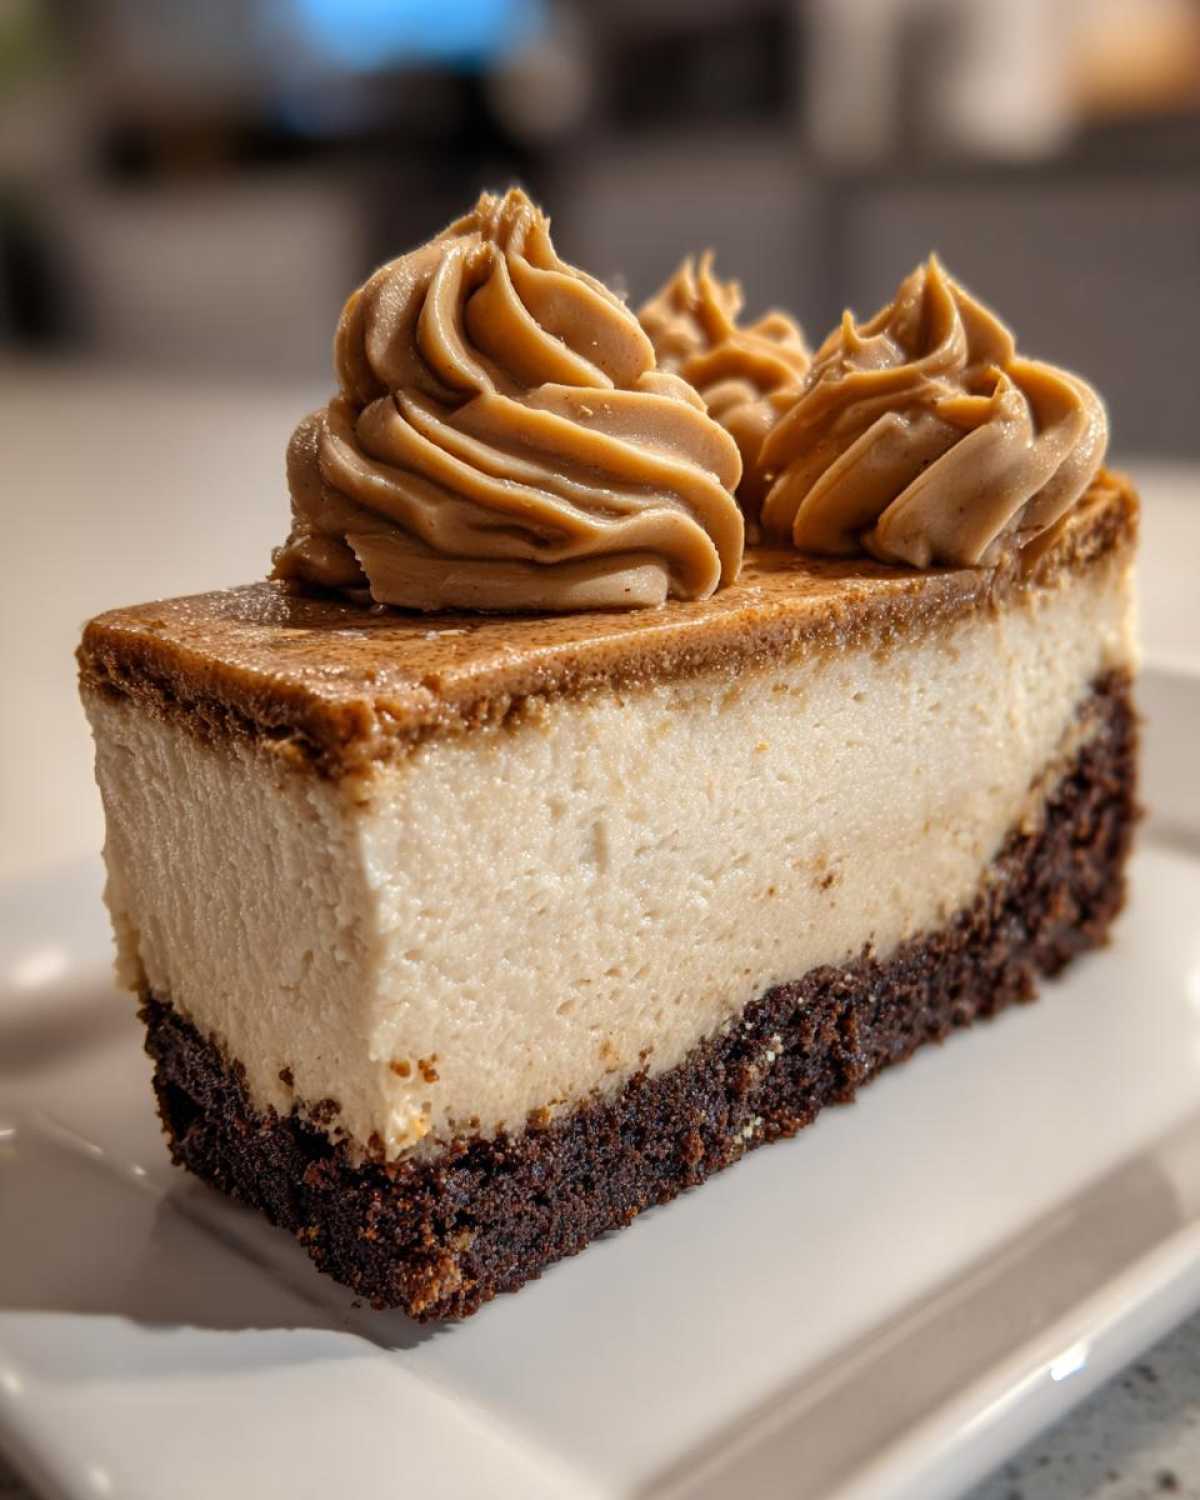
When you pull this **biscoff cheesecake** out of the fridge, resist the urge to immediately slice it! Let it temper on the counter for about 10 minutes. This gentle warming slightly softens the texture, making it easier to cut perfect slices and really letting that creamy, rich flavor bloom on your tongue. It makes all the difference, trust me.
Crust Variations and Ingredient Notes
If you’re worried that your crust isn’t setting up quite as hard as you’d like—maybe you didn’t get enough butter mixed in, or your freezer isn’t the coldest—we have a backup plan! You can absolutely bake the crust for about 8 minutes at 350°F (175°C). Just let it cool completely before you pour in that lovely filling. This gives you a super sturdy, almost shortbread-like base.
Now, addressing the pan situation! Most of us have springform pans, but what if you don’t? Don’t stress. If you only have a deep 9-inch pie dish, just line it really well with plastic wrap first, leaving some overhang on the sides. That overhang is your handle when it’s time to lift the whole **Cookie Butter Cheesecake** out. It works like a charm! For more great baking tips, especially when dealing with delicate items, you might find my post on moist date nut bread helpful for ideas on safe handling.
Serving Suggestions for Your Crowd Pleasing Dessert
Isn’t the best part of making a beautiful dessert getting to decorate it? Even though this **Biscoff Cheesecake** is amazing just standing on its own, a little extra touch makes it feel truly special for any gathering, whether it’s a big holiday or just a Tuesday night craving!
Since the cheesecake base already has that intense, spiced sweetness from the cookie butter, we want toppings that give a little contrasting freshness or maybe an extra layer of creamy indulgence. If you serve this right after it’s set, it’s great, but if you let it sit out for that small tempering time I mentioned, the textures become even more luxurious.
For a gorgeous contrast, I love adding a handful of fresh raspberries or sliced strawberries right around the edges. The slight tartness cuts right through the richness of the cream cheese filling perfectly. You get color, texture, and a fantastic flavor balance!
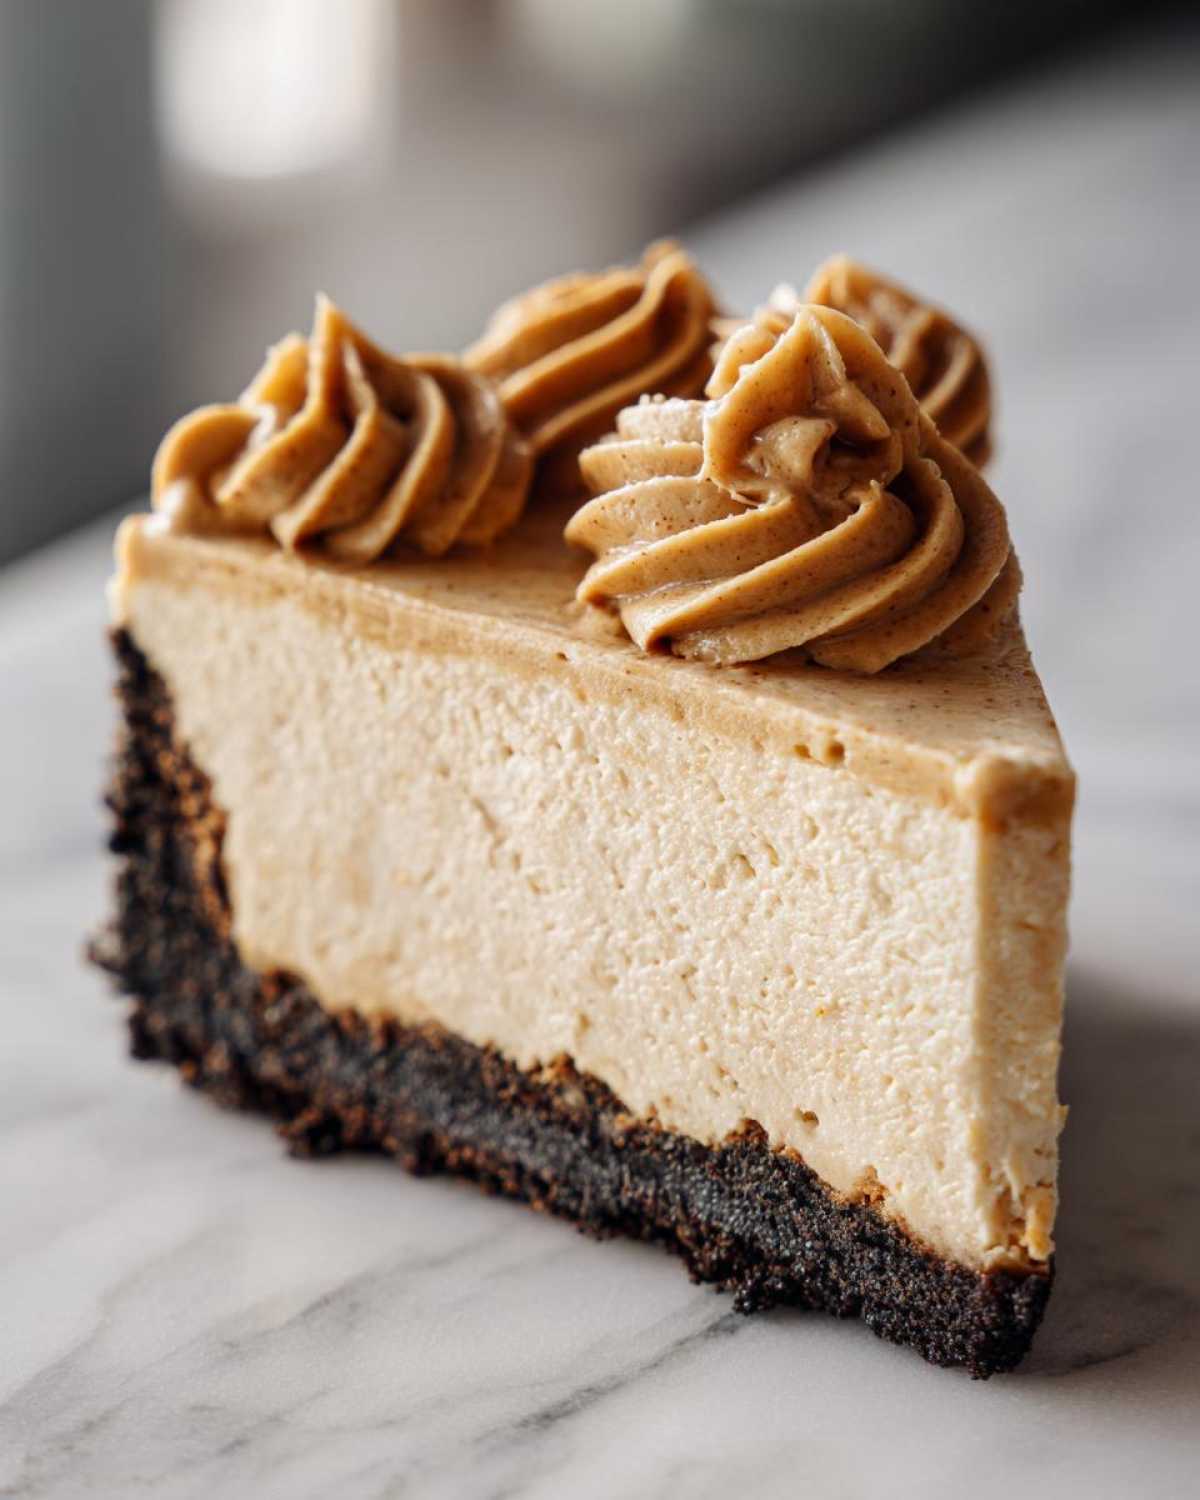
If you prefer sticking to the brown/caramel theme, which is always a winner, a very light dusting of ground cinnamon or even a tiny sprinkle of extra crushed Biscoff cookies right on top (before you drizzle the melted butter) looks fantastic. Honestly, sometimes I just serve mine alongside a small cup of strong, black coffee because the flavor pairing with the spiced cookies is just breathtaking. For other recipes that feel just as comforting and special, take a peek at my creamy old-fashioned rice pudding—another winner for special nights!
Storage and Make Ahead Dessert Options
This is truly one of the best things about making a **No Bake Biscoff Cheesecake**: it forces you to plan ahead, which is a blessing when you’re busy! This dessert is built to be a **Make Ahead Dessert**. In fact, I promise you it tastes even better on day two when all those beautiful spiced cookie flavors have really had time to meld into the creamy filling.
You absolutely must chill this for a minimum of six hours. I usually cover my **Cookie Butter Cheesecake** loosely with plastic wrap—make sure the wrap isn’t touching the top so you don’t ruin your beautiful drizzle!—and stick it in the fridge. Seriously, overnight is the magic number if you can swing it. It ensures total firmness and the cleanest slices.
If you’re making this for a party, you can easily assemble the whole thing up to two days in advance. Keep it covered in the fridge the whole time. If you’ve already added your melted Biscoff drizzle or the optional chocolate on top, that’s fine; just keep it well covered! If you want to prep even further ahead, you can make and freeze the plain crust layer! I usually store leftovers right in the springform pan with a good layer of foil over the top. It lasts wonderfully in the fridge for four to five days. If you are looking for other great recipes that save well, check out my recipe for easy homemade protein bars—those are excellent for grabbing a quick snack during the week!
Frequently Asked Questions About Biscoff Cheesecake
You know what? Even when you give people the simplest **No Oven Cheesecake** recipe, questions always pop up! That’s totally normal. I’ve gathered the ones I get most often about texture and ingredients. It’s my goal that anyone can look at this and feel confident to make this **Cookie Butter Cheesecake** happen!
Can I use a regular springform pan for this biscoff cheesecake?
Absolutely, you can! The springform pan is just my favorite because of how easy it is to release the sides for a truly picture-perfect presentation. If you don’t have one, don’t panic! Just grab a sturdy 9-inch pie dish. The key then is prep: you must line that dish with plastic wrap, leaving plenty of overhang drooping over the edges. When it’s set, you use those plastic handles to lift the entire cheesecake right out, crust and all. It works like a charm, though you won’t get those classic fluted edges.
How do I ensure my No Bake Biscoff Cheesecake sets firmly?
Firmness is the foundation of a great no-bake, so this is super important! You need to focus on two things: the temperature of your heavy cream and the chilling time. First, make sure that heavy whipping cream is ice cold straight from the fridge when you whip it; warm cream just won’t hold stiff peaks, and that gives your filling structure. Second, don’t cheat on the chilling time! Six hours is the bare minimum, but aim for that overnight chill. When it’s fully chilled, it will cut cleanly like a dream. If you’re interested in creamy sauces that also need chilling time, you might want to try my creamy lemon chicken inspiration for ideas on handling thicker sauces!
I always get asked about swapping out ingredients, too. Can you use regular butter instead of melted? Can you skip the powdered sugar? Short answer: please don’t! The powdered sugar dissolves beautifully without any heat, keeping that smooth texture, and the melted butter is necessary to bind the cookie crumbs tightly! Stick to the recipe, and your **Biscoff Cheesecake** will be perfect every time!
Nutritional Estimates for Your Decadent Cheesecake Ideas
Okay, so let’s be real—when you’re eating something this amazing, you probably aren’t thinking about the macros, right? This **Decadent Cheesecake Idea** is definitely an indulgence, and that’s okay! But because I get asked about this all the time, especially when people are planning an event, I wanted to list out the general estimates for a single slice. Remember, this is for one serving of that rich, creamy dessert, so portion control might be required if you’re worried about calories!
Before you calculate your weekly intake based on this, please take this with a grain of salt—literally! These figures come from standard ingredient calculations and don’t account for slight variations in your brand of cream cheese or exactly how thick your chocolate drizzle ends up. Think of this as a helpful guideline, not a strict diet plan, because honestly, this **Crowd Pleasing Dessert** deserves to be guilt-free!
For a fun recipe that keeps things lighter but still super satisfying, you should take a look at my Cowboy Caviar dip—it’s fresh, flavor-packed, and great for parties too!
- Serving Size: 1 slice
- Calories: 450
- Sugar: 35g
- Sodium: 250mg
- Total Fat: 30g
- Saturated Fat: 18g
- Unsaturated Fat: 12g
- Trans Fat: 0g (Hooray!)
- Carbohydrates: 40g
- Fiber: 1g
- Protein: 5g
- Cholesterol: 95mg
See? Worth every single bite! We use real butter and quality ingredients, so while it’s rich, it’s packed with flavor that processed desserts just can’t match. Enjoy your slice of heaven!
Share Your Ultimate Cheesecake Creation
Whew! We’ve made it to the end of the best **Biscoff Cheesecake** recipe ever created, haven’t we? Seriously, I hope you feel inspired, and more importantly, I hope you’ve got your own gorgeous, shimmering chilled cheesecake sitting in the fridge right now!
Now the best part begins: sharing the joy! I absolutely *love* seeing your creations pop up in my comments section. Did you add extra chocolate drizzle? Did you manage to make a perfectly neat swirl with the reserved cookie butter? Tell me everything!
Don’t be shy! When you try this **Indulgent No Bake Dessert**, please leave a detailed rating below. Knowing how it performed for you—did the crust stay put? Was the texture perfectly creamy?—helps future bakers feel confident, and it lets me know which recipes to keep perfecting for you all!
If you snap a photo of your finished **Lotus Biscoff Dessert**, tag me on social media! I always try to shout out some of my favorites. It’s so inspiring to see this recipe traveling from my kitchen to yours. And hey, if you are already looking for another comfort food classic to try after tackling this cheesecake, you should definitely check out my post on creamy old-fashioned rice pudding—it’s another winner that always travels well!
Happy baking (well, happy chilling!), and I can’t wait to hear all about your ultimate cheesecake success!
PrintNo-Bake Biscoff Cheesecake
Make a rich, creamy, and decadent no-bake cheesecake featuring a crunchy Lotus Biscoff cookie crust and a smooth cookie butter filling. This recipe is easy to prepare and perfect for making ahead.
- Prep Time: 20 min
- Cook Time: 0 min
- Total Time: 6 hr 20 min
- Yield: 10 servings
- Category: Dessert
- Method: No-Bake
- Cuisine: American
- Diet: Vegetarian
Ingredients
- 1 1/2 cups crushed Lotus Biscoff cookies (about 25 cookies)
- 6 tablespoons unsalted butter, melted
- 16 ounces cream cheese, softened
- 1 cup powdered sugar
- 1 teaspoon vanilla extract
- 1/2 cup Biscoff cookie butter, plus 2 tablespoons for topping
- 1 1/2 cups heavy whipping cream, cold
- Optional: 1/4 cup melted semi-sweet chocolate for drizzling
Instructions
- Prepare the crust: Mix the crushed Biscoff cookies and melted butter in a bowl until combined. Press the mixture firmly into the bottom of a 9-inch springform pan. Place the crust in the freezer while you prepare the filling.
- Make the filling: In a large bowl, beat the softened cream cheese with an electric mixer until smooth. Gradually add the powdered sugar and vanilla extract, mixing until fully incorporated.
- Beat in the 1/2 cup of Biscoff cookie butter until the mixture is uniform and creamy.
- In a separate, clean bowl, whip the cold heavy whipping cream until stiff peaks form.
- Gently fold the whipped cream into the cream cheese mixture in two additions until just combined. Do not overmix.
- Pour the filling over the chilled crust and smooth the top with a spatula.
- Chill the cheesecake in the refrigerator for at least 6 hours, or preferably overnight, until firm.
- Before serving, gently run a thin knife around the edge before releasing the springform side. Top with the remaining 2 tablespoons of melted Biscoff spread and optional melted chocolate drizzle.
Notes
- For a firmer crust, you can bake the crust at 350°F (175°C) for 8 minutes, then let it cool completely before adding the filling.
- If you do not have a springform pan, line a regular 9-inch pie dish with plastic wrap before pressing in the crust.
- Allow the cheesecake to sit at room temperature for 10 minutes before slicing for the best texture.
Nutrition
- Serving Size: 1 slice
- Calories: 450
- Sugar: 35g
- Sodium: 250mg
- Fat: 30g
- Saturated Fat: 18g
- Unsaturated Fat: 12g
- Trans Fat: 0g
- Carbohydrates: 40g
- Fiber: 1g
- Protein: 5g
- Cholesterol: 95mg