

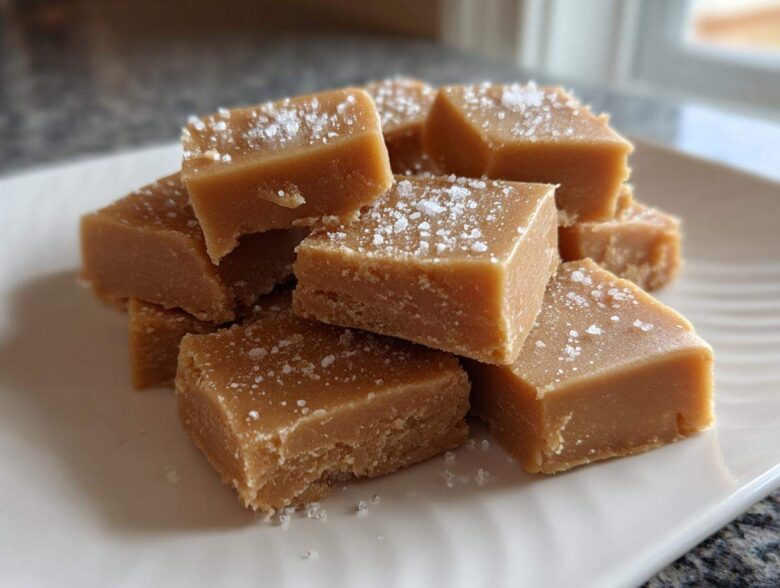
Oh my goodness, there is nothing quite like the smell of real maple drifting through your kitchen, is there? Forget those waxy bars you used to buy; when you make your own candy, you enter a whole new world of deliciousness! I absolutely swear by this recipe for classic homemade maple fudge. Seriously, this stuff is the dream—it’s outrageously creamy, velvety smooth, and truly melts away the second it hits your tongue.
I spent years being terrified of candy making because I thought it required a chemistry degree. But trust me, mastering that ‘soft-ball stage’ temperature is the secret key, and once you get it right once, you’ll be making this easy stovetop treat for every single holiday. This recipe turns simple ingredients into the best maple fudge you’ve ever tasted, and it takes less than twenty minutes of active cooking time!
Why This Creamy Maple Fudge Recipe Works So Well
People think homemade fudge has to be complicated, but that’s just not true with this masterpiece! The reason this particular recipe always comes out perfectly creamy has everything to do with hitting that perfect candy temperature. It’s all about the science, really, but don’t let that scare you off!
We rely on the combination of sugar, milk solids from the condensed milk, and the beautiful flavor of 100% real maple syrup fudge. This particular balance ensures a melt-in-your-mouth quality that you just can’t replicate with quick microwave methods. Since we’re cooking it gently on the stovetop, we guarantee that unbelievably silky-smooth texture we all crave in a good, creamy fudge recipe.
It’s faster and much more reliable than older, more involved methods where you had to beat the candy for ages by hand. Trust me, this method keeps the effort low and the maple flavor high! You can check out the easy, no-fail version some folks prefer over here: easy no-fail maple fudge recipe.
Gathering Ingredients for the Best Maple Fudge
Getting started on this glorious homemade maple fudge means gathering a small but powerful list of items. Remember, when the ingredient list is short, quality really matters!
- One 14-ounce can of sweetened condensed milk—this is the creamy backbone!
- One and a half cups of regular granulated sugar.
- Three-quarters of a cup of real maple syrup. I mean the thick stuff you use on pancakes, not the thin pancake topping!
- One tablespoon of unsalted butter.
- One teaspoon of vanilla extract.
- A tiny pinch of salt—just 1/4 teaspoon.
- And one cup of chopped walnuts, if you’re feeling extra nutty!
If you skip the walnuts, you still get incredible maple fudge, but they add such a fantastic crunch, don’t they? If you’re adding them, I sometimes toss mine in a dry pan over medium heat for about three minutes until they smell fragrant—that little step just wakes up their flavor. Speaking of nuts, if you want ideas on using maple in other ways, this maple pecan granola is killer!
Ingredient Notes and Substitutions for Maple Fudge
Let’s talk about that maple syrup. You absolutely, positively have to use 100% pure maple syrup here. Artificial flavoring just tastes wrong in candy; it loses that depth. I find Grade A Dark (formerly Grade B) gives you the punchiest flavor, especially after cooking!
Now, the condensed milk—please don’t substitute evaporated milk or regular milk. Sweetened condensed milk has the perfect sugar ratio and consistency needed to stabilize our fudge at that soft-ball stage. If you try to swap it out, your fudge will likely end up runny or sugary, and that’s just heartbreak we don’t need in the candy kitchen!
Step-by-Step Instructions for Smooth Maple Fudge
Okay, here is where the magic really happens for this easy maple candy! First things first—prep your pan! Line an 8×8 inch dish with parchment paper, making sure there’s some overhang on the sides. That parchment is your best friend later when you need to lift the whole gorgeous slab out for cutting. Give that paper a tiny light grease, just in case.
Next, grab a medium, heavy-bottomed saucepan. Why heavy-bottomed? Because we have to manage that heat, sweetie! Toss in your condensed milk, the regular sugar, and that amazing real maple syrup. Place it over medium heat. Now, this is the absolute most crucial part of the entire recipe for that smooth candy recipe success: You must stir constantly. I mean it—don’t walk away to check your phone! Constant stirring prevents the sugar from crystallizing or scorching on the bottom.
We are cooking this until it hits exactly 234 degrees Fahrenheit. If you own a candy thermometer, clip it on and aim right for that soft-ball stage. This usually takes maybe 8 to 10 minutes if your heat is steady. Get that thermometer! If you trust your instincts more, you cook until it thickens up beautifully but still flows slowly when you tilt the pan. If you’re looking for other quick and simple ideas, check out this 3-ingredient maple pecan fudge for inspiration!
Once it hits the mark, yank it immediately off the burner. Don’t let it sit there cooking, or it will keep going up! Now stir in your tablespoon of butter until it utterly melts, quickly followed by the vanilla and salt. If you decided to use those walnuts, this is your moment to fold them in gently.
Pour the hot mixture straight into your waiting pan. Here’s another big rule for that super smooth fudge texture: Do not scrape the sides of the pan! You want the mixture from the bottom, but scraping the sides can introduce those tiny sugar crystals that cause graininess elsewhere. Just let the main bulk pour out, and leave the bits stuck to the side behind. Let it cool completely, totally undisturbed, at room temperature for at least three hours. Patience pays off here!
Achieving the Perfect Soft-Ball Stage for Maple Fudge
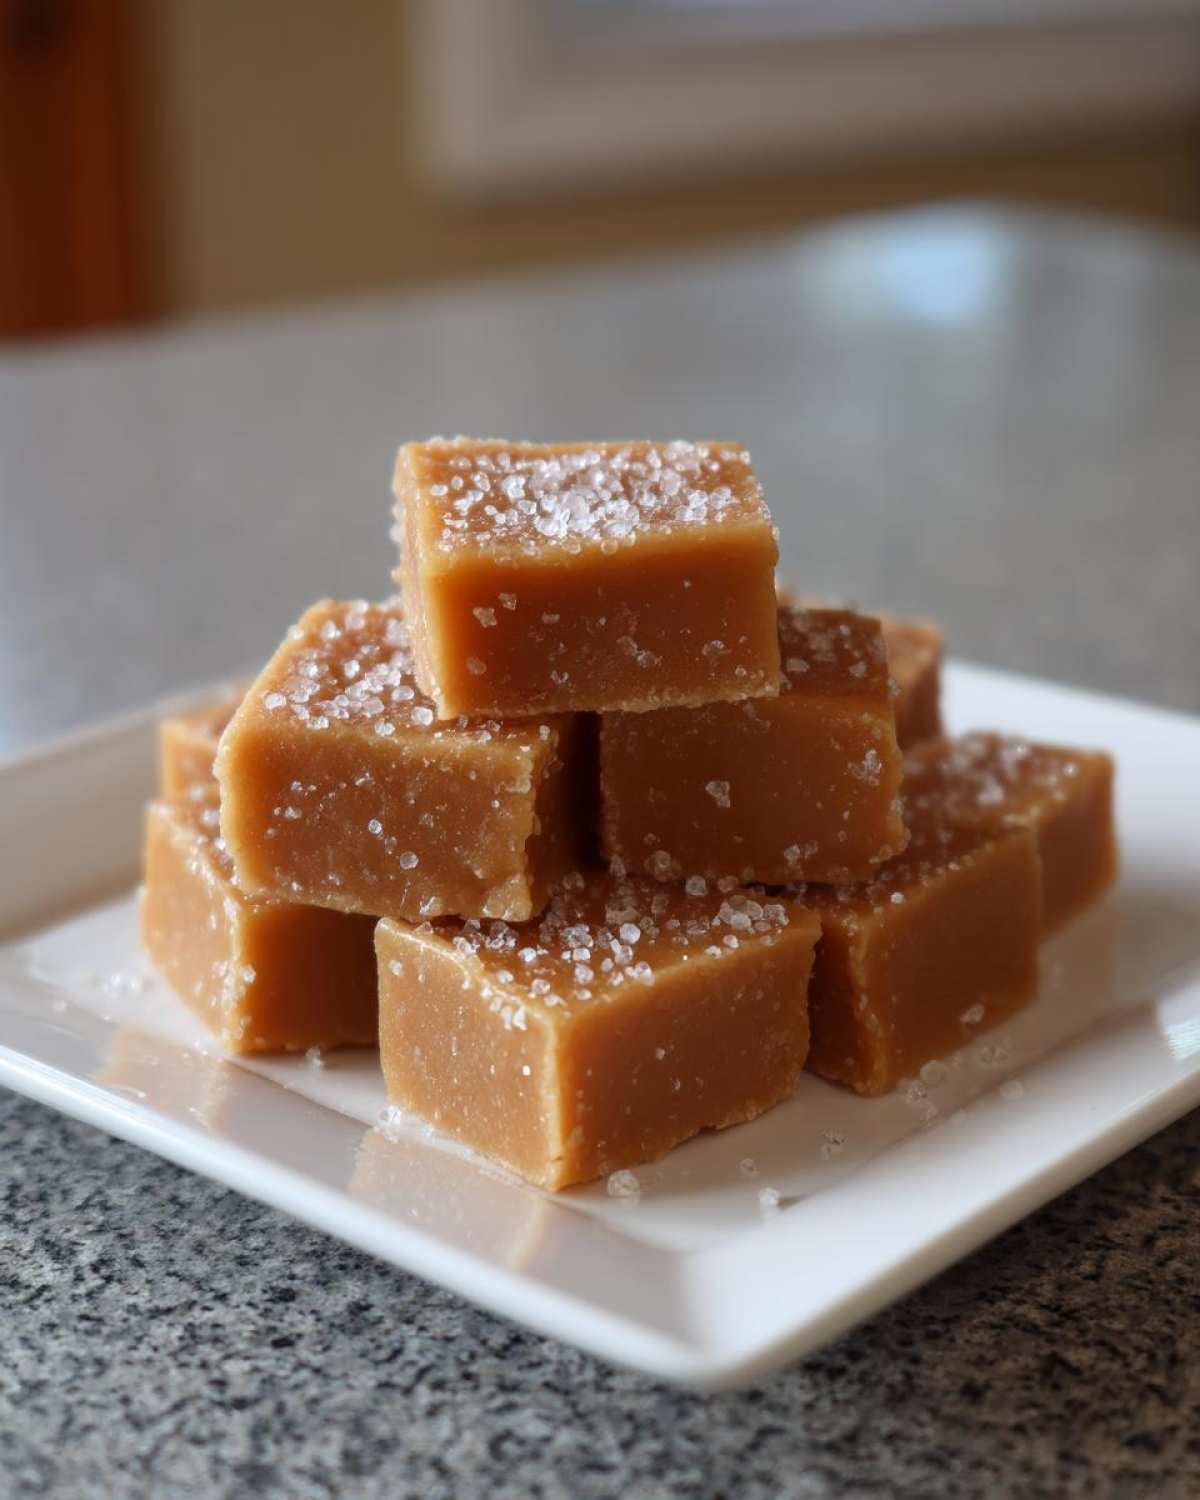
If your candy thermometer decided to go on vacation, don’t panic! We can still nail this. The goal temperature, 234°F, tells us the mixture is cooked long enough to thicken properly but still needs a little help setting up that velvety texture after cooling.
If you don’t have a thermometer, test it by dropping a tiny bit of the hot syrup into a small bowl of ice water. If it forms a soft, pliable ball that squishes a little when you press it between your fingers—that’s your soft ball! If it instantly gets hard and brittle, you’ve gone too far (that’s hard-ball stage, better for lollipops!). If it just dissolves immediately, cook it five more minutes and try again. Getting this stage right is the difference between creamy perfection and a sticky mess!
Tips for Success When Making Traditional Fudge
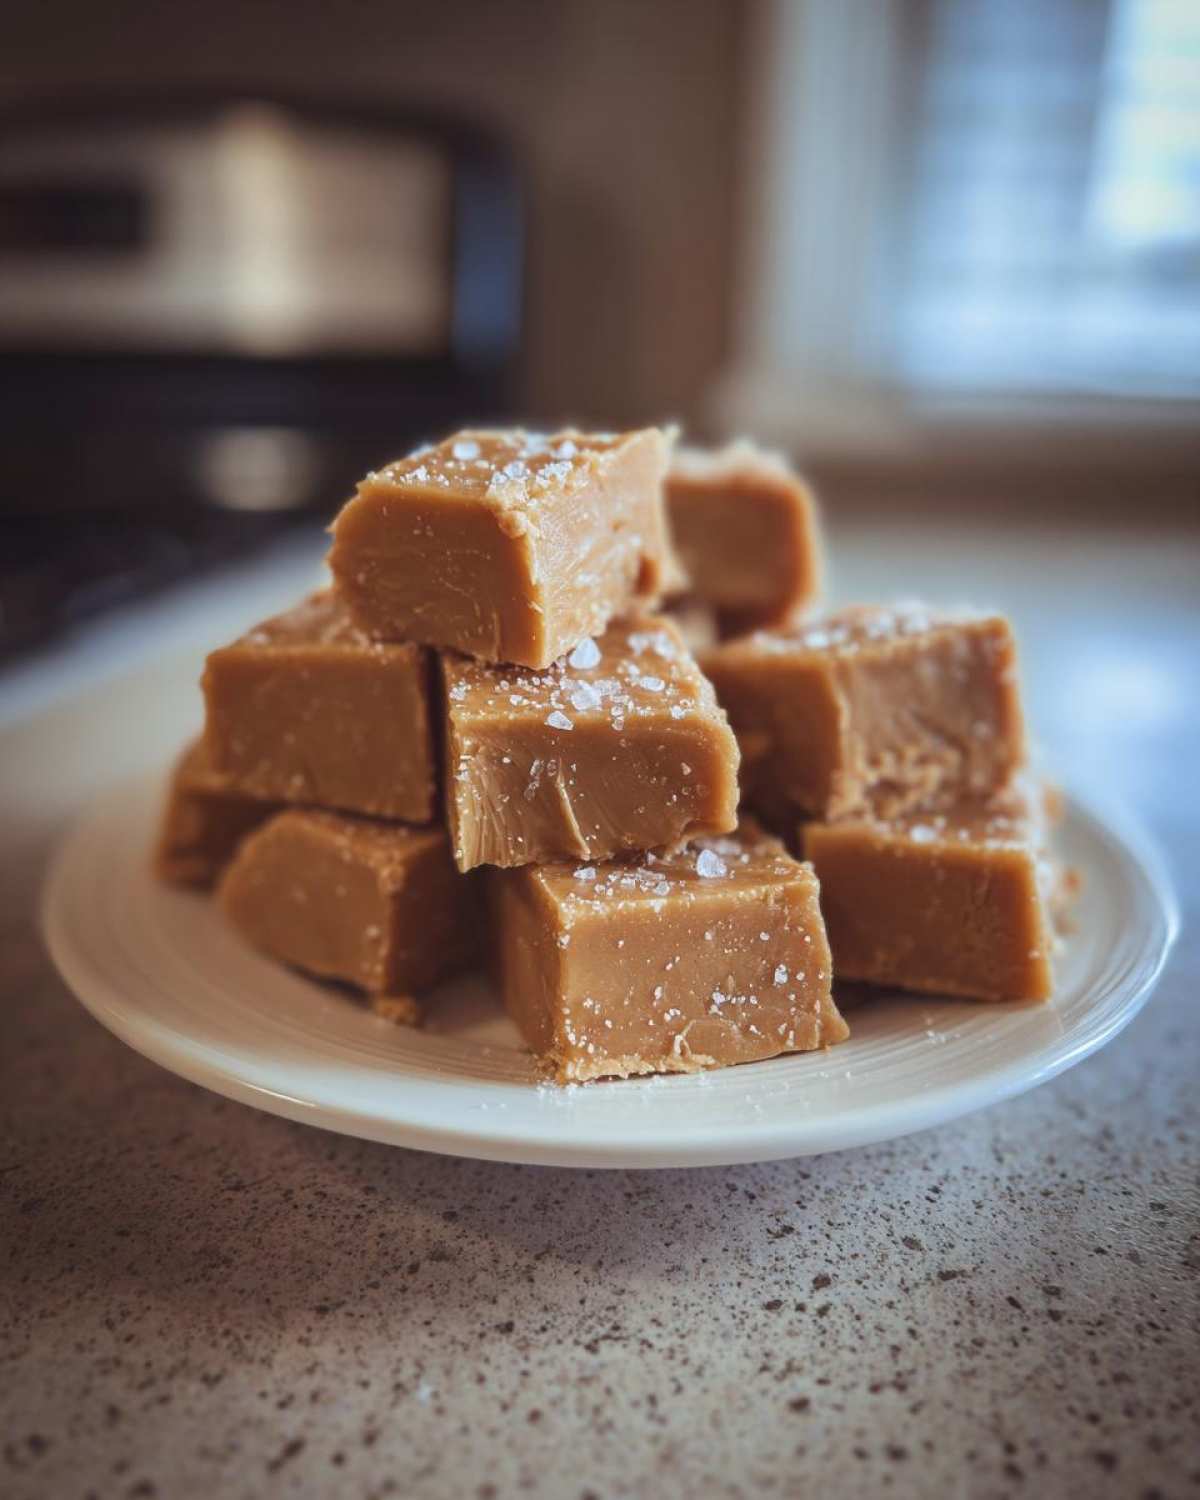
You’ve cooked it perfectly, now we just have to treat it right during its cooldown phase! Making traditional fudge successfully is less about the mixing and more about being patient during this final stage. I have three must-follow rules for guaranteed velvety results.
First, remember what I said earlier: Do NOT refrigerate it to speed up setting! If you chill fudge too quickly, it shocks the sugar structure, and guess what you get? Grainy, sandy fudge—the absolute worst! It needs to cool slowly and naturally on the counter for at least three hours. Let that patience soak in!
Second, when you get ready to cut your magnificent slab of maple goodness, use a very sharp, thin knife dipped in hot water between slices. Wiping the blade clean each time ensures you get clean-cut squares instead of dragging and tearing the soft middle. It makes for beautiful gifting pieces!
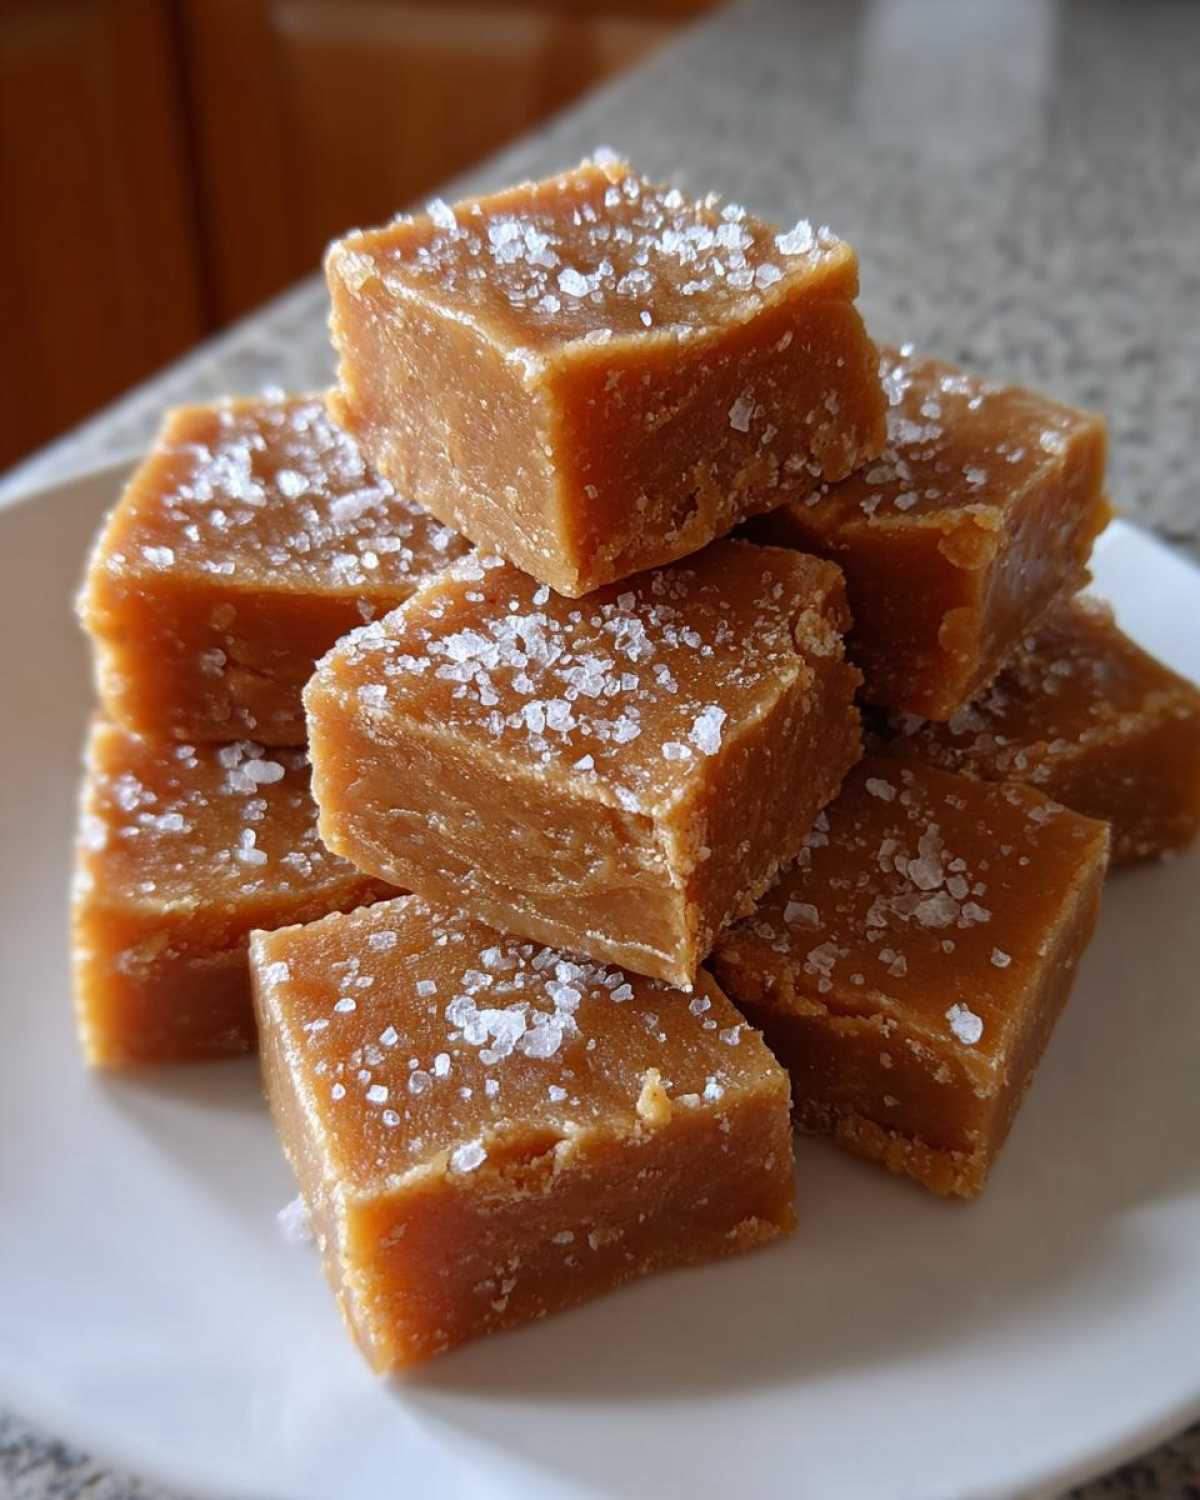
Finally, if you plan on gifting this homemade maple fudge, consider wrapping individual squares tightly in wax paper before storing them in an airtight container. This seals in that fresh, moist texture. For a fantastic party appetizer pairing, you should totally check out this maple pecan cheese ball recipe. It uses similar flavors but in a totally different format!
Serving Suggestions for Your Decadent Maple Treat
Now that you have this magnificent, decadent maple treat, you get to decide how to show it off! Truthfully, a piece of this rich maple fudge is perfect all by itself with a cup of strong, hot coffee. The bitterness of the coffee just perfectly cuts through the deep sweetness of the maple, right?
But let’s talk presentation, especially since this makes such amazing homemade gifts. Wrap individual squares tightly in those little cellophane bags tied with twine—they look so rustic and charming! It also looks fantastic nestled right on a holiday dessert platter next to some spiced shortbread or chocolate bark. If you’re making a big dessert spread, you absolutely have to try making some fudgy hot chocolate brownies to complement the maple flavor!
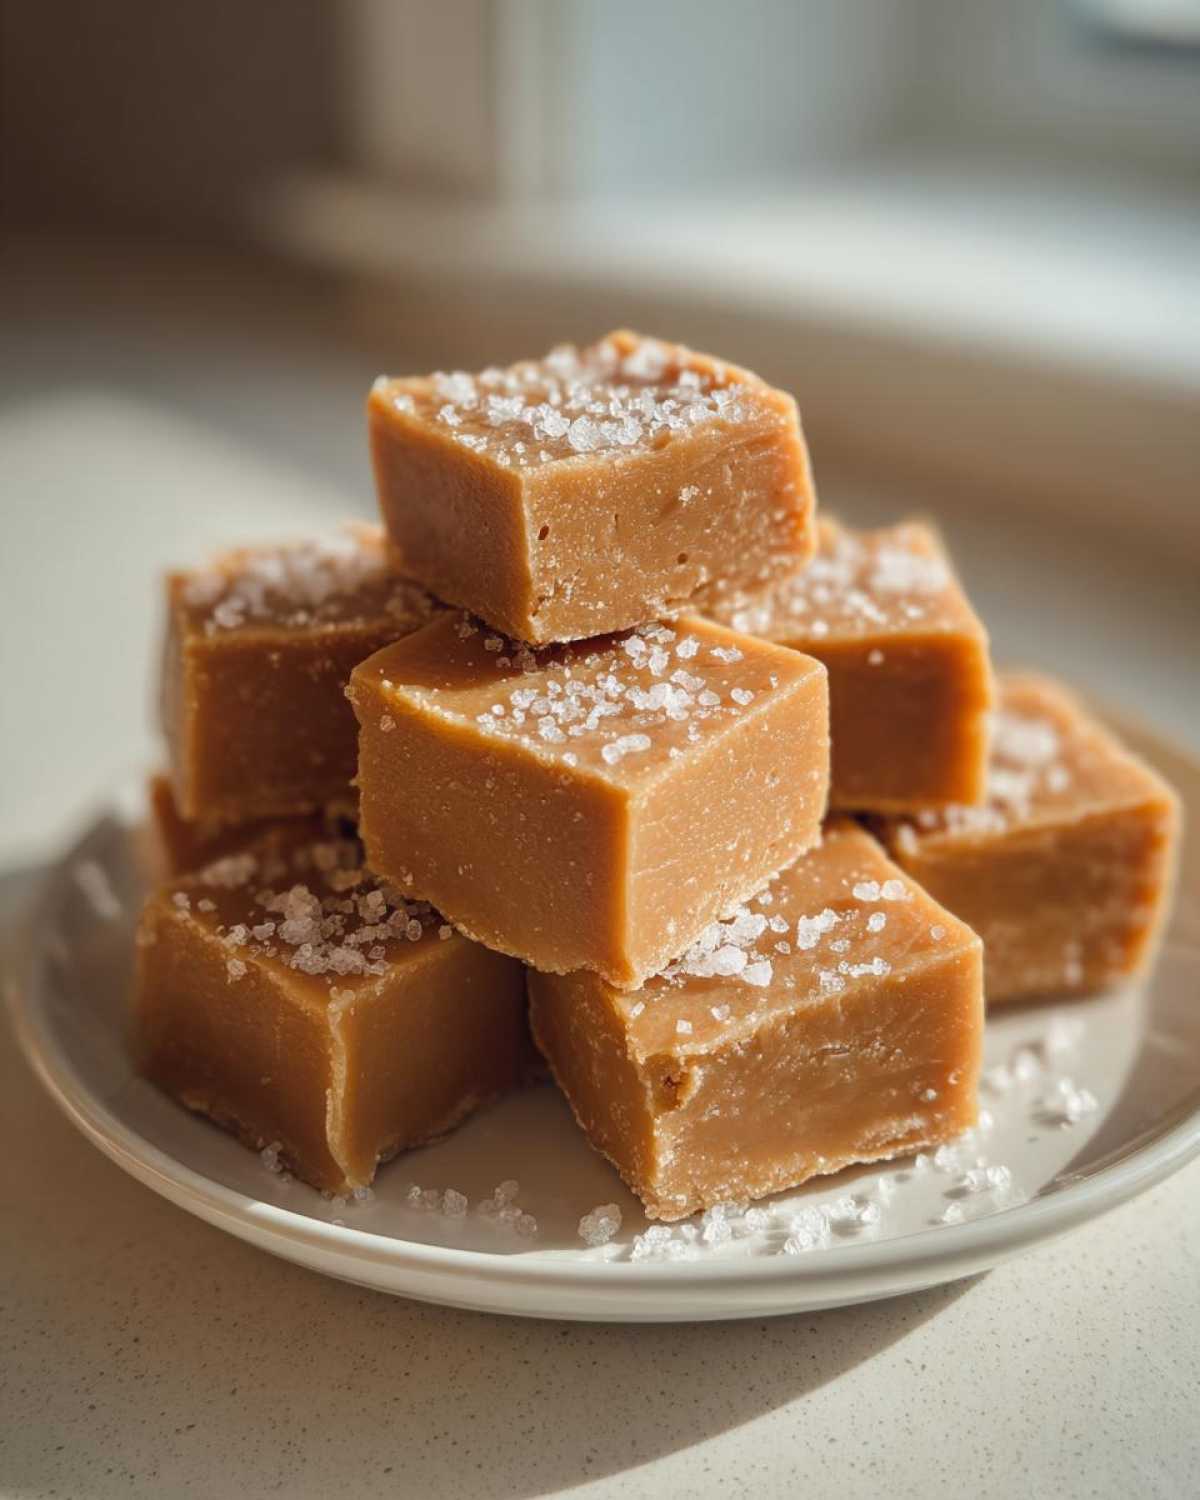
This fudge is a total crowd-pleaser for any fall or winter gathering. Honestly, I sometimes just leave a plate of it out on the counter because who can resist grabbing a bite of homemade maple fudge when they walk by?
Storage and Make-Ahead Options for Maple Fudge
The best part about making a batch of this incredible fudge is that you don’t have to eat it all right away! While it’s tempting to keep sneaking pieces, this maple fudge actually stores beautifully, making it one of my favorite quick homemade sweets to prepare ahead of time for parties.
The number one place for storage is right on your counter, stored loosely wrapped in wax paper and then tucked inside an airtight container. This keeps it tasting fresh and prevents that dry-out that happens if it’s exposed to air too long. Honestly, at room temperature, it lasts about a week, and the flavor is just as good on day seven as it was on day one!
Now, if you’ve made a HUGE batch for gifting or just because you can’t stop yourself (I totally get it!), you can absolutely freeze it. You need to be a little more diligent about the wrapping here to avoid freezer burn. Wrap the squares tightly first in plastic wrap—like mummy wrapping them—and then place those tightly wrapped pieces into a freezer bag or an airtight container.
It freezes really well for up to about three months. When you decide you need a sweet fix, just pull out how many squares you want and let them thaw slowly in the refrigerator overnight, or just leave them on the counter for about an hour before serving. You have to resist the urge to microwave them, though! Warming fudge too fast messes up that perfect velvety texture we worked so hard to achieve at the correct soft-ball temperature.
If you want to see some other recipes that are great for making way ahead of time, check out how easy it is to have fluffy rice pilaf ready to go!
Variations: Maple Walnut Fudge and Other Add-Ins
We’ve established that this is the best base recipe for creamy maple fudge, but once you get the hang of it, you can start playing around! The most requested version around here, hands down, is the maple walnut fudge. Walnuts add that wonderful earthy flavor and crunch that plays so nicely against the sweetness of the maple. I already mentioned tossing them in towards the end, but seriously, don’t skip lightly toasting them first—it changes everything!
If walnuts aren’t your thing, pecans are an absolutely stunning substitute. They’re a little sweeter and smoother than walnuts, so they pair beautifully with the rich syrup.
Want to amp up the warmth? Try adding just a tiny pinch—maybe 1/8th of a teaspoon—of ground cinnamon right in with the vanilla and salt at the very end. Cinnamon is sneaky; you want just enough to make people wonder what that sweet, warm background note is, but not enough for them to say, “Hey, this tastes like dessert bread frosting!”
You could also sneak in some mini marshmallows or even a few drops of bourbon for an adult treat. But honestly, the beauty of this recipe is how it lets the real maple syrup shine. For savory maple inspiration that uses similar flavors, you should take a peek at how I make maple dijon roasted parsnips. It’s a total game-changer for fall veggies!
Keep any additions minimal—we don’t want anything overwhelming that glorious, smooth texture we worked so hard to achieve by watching that thermometer like a hawk!
Frequently Asked Questions About Making Maple Fudge
I know candy making can feel a little intimidating, so it makes sense that you might have a few lingering questions about this creamy fudge recipe! Here are the things I get asked most often about nailing this decadent maple treat.
Can I make this maple fudge recipe without a candy thermometer?
Yes, you totally can! But you absolutely must know the texture test—that’s the absolute key to getting that perfect smooth candy recipe result. If you don’t have a thermometer, you need to rely on the soft-ball stage test. That means taking a tiny bit of the hot mixture and dropping it into ice water. If it forms a soft, pliable ball that gently squishes when you poke it, you’re done cooking!
If it forms a hard, brittle sphere immediately, you cooked it too long. And if it just dissolves in the water, keep cooking another couple of minutes. It takes a little practice, but you can absolutely achieve smooth, creamy fudge this way! If you need other appetizer ideas, try this easy rotel dip recipe!
Is this considered a no bake maple dessert?
That’s a tricky one! Technically, since we use the stovetop to cook the sugar mixture to a specific temperature, it isn’t 100% no-bake like a cookie dough fudge might be. However, once it comes off the heat and goes into the pan to cool, no oven time is required whatsoever! So, for all practical purposes when people search for a no bake maple dessert, this is usually what they are looking for because there’s zero oven time required, making it super quick homemade sweets!
Why did my fudge turn out grainy instead of velvety?
Ugh, this is the worst heartbreak! Grainy fudge almost always comes down to sugar crystallization. This happens if you either stir the mixture too aggressively *after* it reaches temperature, or if you let the mixture cool down in the pot before you pour it. Remember my rule: do not scrape the sides of the pan when you pour! Those crystals clinging to the edge can jump into your fudge and ruin the whole batch. Make sure you’re using that constant, steady stirring while boiling!
Can I use imitation maple flavoring instead of real maple syrup?
Please, please don’t! If you want the absolute best maple fudge flavor, you have to use pure maple syrup. Imitation flavoring is mostly corn syrup and chemical compounds, and it just won’t give you that authentic, deep, caramelized maple taste that we’re aiming for. Real maple syrup is the star here; don’t cheap out on it for such a simple recipe!
How long does this homemade maple fudge take to set up?
It takes its sweet time, but it’s worth the wait! You need to let it cool completely, undisturbed, at room temperature for a minimum of three hours. Honestly, if your kitchen is warm, I recommend giving it four hours. It needs that slow, steady setting time to lock in that melt-in-your-mouth texture. Don’t rush it by popping it into the fridge, or you risk the graininess we talked about!
Nutritional Estimate for Homemade Maple Fudge
Since we all care about what goes into our bodies—even when we are enjoying the best maple fudge ever made—I wanted to share a general estimate of what’s in a serving of this sweet treat. Remember, this calculation is based *strictly* on the ingredients list above, assuming a yield of 64 tiny squares, and it does not include those optional walnuts we talked about adding.
If you make batches bigger or smaller, the numbers will change, so view this as a helpful guide more than a strict rulebook! For comparison, if you made the best homemade chocolate chip cookies recipe, you probably have a whole different set of numbers to look at!
- Serving Size: 1 square
- Calories: 110
- Sugar: 18g
- Sodium: 30mg
- Fat: 3g
- Saturated Fat: 2g
- Carbohydrates: 20g
- Protein: 2g
Please keep in mind that if you add that cup of chopped walnuts, your fat and calorie count will go up, but you also get added healthy fats and fiber! That’s the simple trade-off of adding those tasty nuts to your smooth candy.
PrintCreamy Homemade Maple Fudge
Make rich, smooth maple fudge using real maple syrup. This easy recipe results in a velvety, melt-in-your-mouth candy perfect for holidays or gifts.
- Prep Time: 10 min
- Cook Time: 10 min
- Total Time: 3 hours 20 min
- Yield: About 64 one-inch squares
- Category: Dessert
- Method: Stovetop Cooking
- Cuisine: American
- Diet: Vegetarian
Ingredients
- 1 (14 ounce) can sweetened condensed milk
- 1 1/2 cups granulated sugar
- 3/4 cup real maple syrup
- 1 tablespoon unsalted butter
- 1 teaspoon vanilla extract
- 1/4 teaspoon salt
- 1 cup chopped walnuts (optional)
Instructions
- Line an 8×8 inch baking pan with parchment paper, leaving an overhang on the sides for easy removal. Lightly grease the paper.
- Combine the sweetened condensed milk, sugar, and maple syrup in a medium, heavy-bottomed saucepan.
- Cook over medium heat, stirring constantly, until the sugar dissolves and the mixture reaches 234 degrees Fahrenheit (soft-ball stage) on a candy thermometer. This usually takes about 8 to 10 minutes.
- Remove the pan from the heat. Stir in the butter, vanilla extract, and salt until the butter melts completely.
- If using, stir in the chopped walnuts.
- Pour the fudge mixture into the prepared pan. Do not scrape the sides of the pan.
- Let the fudge cool completely at room temperature for at least 3 hours, or until firm. Do not refrigerate during this time.
- Once firm, use the parchment overhang to lift the fudge from the pan. Cut into 1-inch squares.
Notes
- For the smoothest texture, stir the mixture constantly while cooking to prevent scorching.
- If you do not have a candy thermometer, cook until the mixture thickens significantly and pulls away from the bottom of the pan when tilted.
- Store the finished fudge in an airtight container at room temperature for up to one week.
Nutrition
- Serving Size: 1 square
- Calories: 110
- Sugar: 18
- Sodium: 30
- Fat: 3
- Saturated Fat: 2
- Unsaturated Fat: 1
- Trans Fat: 0
- Carbohydrates: 20
- Fiber: 0
- Protein: 2
- Cholesterol: 5