

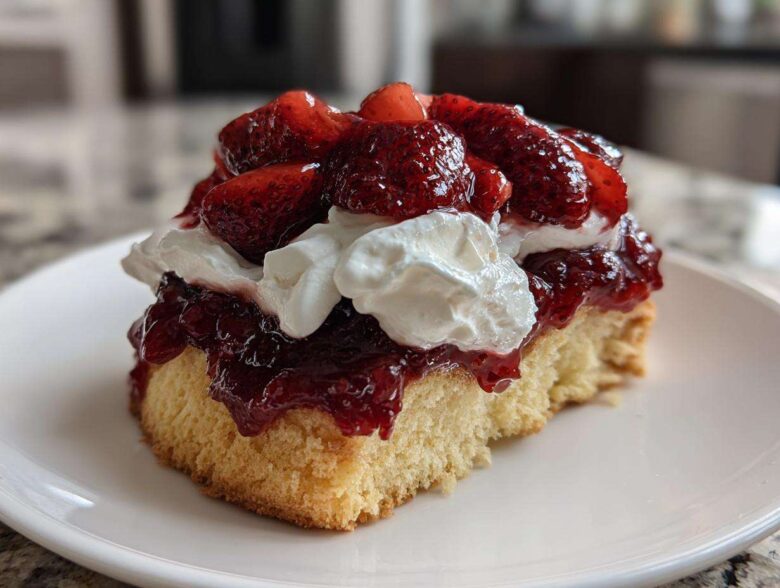
Oh, summer desserts! They just hit different, don’t they? Forget those dry, packaged sponge cakes you see everywhere; when I think about the absolute perfect celebration of peak-season strawberries, I’m thinking about deep biscuit flavor. This recipe seals the deal on what a true **shortcake** should be: tender, flaky, slightly sweet, and buttery. Trust me, getting that biscuit base right took me years of testing. I remember one disastrous batch where the dough felt sticky, and the result was dense—but now, I’ve cracked the cold-ingredient code, and these turn out fluffy every single time! This is the foundational recipe for the best summer memories we make around the table.
We’re making everything from scratch today: the crisp, golden shortcakes, the sweet, juicy strawberry topping, and a cloud of homemade whipped cream. If you’ve been waiting for an authentic, melt-in-your-mouth experience, stop searching; you just found your Classic Strawberry Shortcake Recipe.
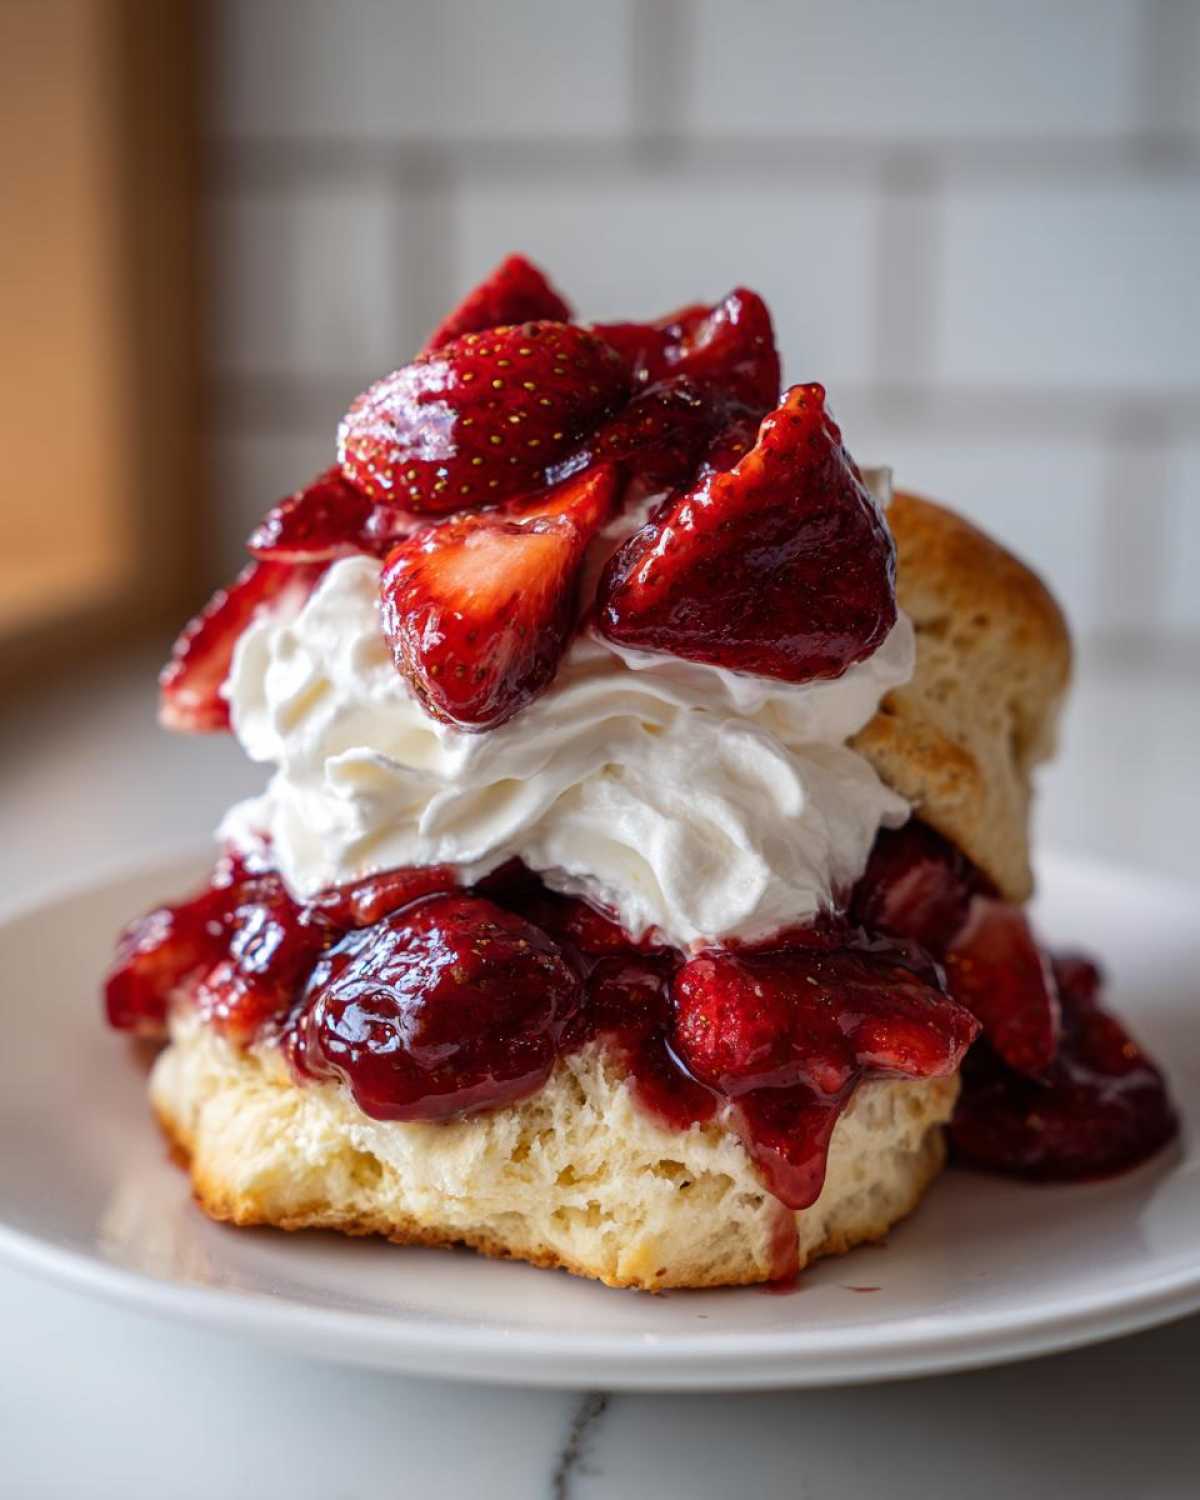
Why This Homemade Shortcake Recipe Works So Well
There’s a reason people chase this specific crumb. This isn’t just another sweet biscuit; it’s the ideal vehicle for summer fruit. It’s truly the **shortcake** that sets the standard! I love explaining why this method blows the store-bought stuff out of the water:
- Tender Biscuit Texture: We use very cold butter and barely mix the dough, which guarantees those gorgeous, flaky layers rather than a tough crumb.
- Flavor Burst: By macerating fresh strawberries, we create a built-in, naturally sweet syrup—way better than watery canned pie filling!
- Easy Assembly: Everything comes together fast. You get a showstopper dessert with less fuss than a layered cake, making it perfect for impromptu gatherings. I’ve even adapted this technique for my favorites!
Ingredients for the Perfect Strawberry Shortcake Biscuit
When you’re working toward that famously tender biscuit base, the temperature of your ingredients is everything, I mean it! You can’t cheat this step. If your butter melts or your cream warms up, you end up with cakey hockey pucks instead of fluffy shortcakes for your berries. That’s why I always schedule my butter prep ahead of time.
For the biscuits themselves, gather these items. If you want a peek at how I manage my dough temperatures for my other favorite flaky recipes, check that out, but the principles are the same here!
- 2 cups all-purpose flour (Sift it if you’re feeling fancy, but just whisking works!)
- 1 tablespoon baking powder (Make sure this is fresh, or your rise will be sad!)
- 1/2 teaspoon salt
- 1/4 cup granulated sugar plus 2 tablespoons reserved for the topping
- 1/2 cup cold unsalted butter, cut into small pieces (Seriously, cube it right before you use it!)
- 3/4 cup cold heavy cream, plus 1 cup reserved separately for whipping later
And for the stars of the show, the topping:
- 1 quart fresh strawberries, hulled and sliced
- 1/4 cup granulated sugar for macerating the strawberries
Keep that cream tucked away in the fridge until the very last second. Cold equals flaky, and flaky equals the best shortcake you’ll ever serve!
Mastering the Homemade Shortcake Biscuit Recipe
Alright, this is where the real magic happens for our fantastic fruit topping. Forget those crumbly, dry cakes—we are making biscuits that are sturdy enough to hold all those juicy strawberries but tender enough to practically melt in your mouth. This is the core technique for developing the best homemade **shortcake** possible, so pay close attention!
First, grab your largest bowl. Whisk together the dry stuff: flour, baking powder, salt, and that initial bit of sugar. Now, the butter! You must work quickly here. Toss in those cold, cubed pieces of butter. You need to cut that butter into the flour until it looks like coarse cornmeal or tiny peas. I use my pastry blender because my fingers heat up too fast, but if you use your hands, just be quick! Those cold butter pockets are critical—they steam in the oven, creating those famous flaky layers you want in a real shortcake.
Next, drizzle in the 3/4 cup of cold heavy cream. Stir it with a fork until *just* combined. I mean it: stop stirring when you still see some dry bits hanging around. If you mix this until it looks smooth, you’ve overdeveloped the gluten, and that leads to tough biscuits. This is the number one reason biscuits turn out chewy instead of tender! Turn the shaggy dough out onto a lightly floured counter. Gently pat or roll it to about 3/4 inch thick. Then, use a 3-inch cutter and press straight down—don’t twist! Twist seals the edges and stops the shortcakes from rising evenly.
Place those beauties on the parchment-lined sheet. Give the tops a little brush with any leftover cream you have and sprinkle them with the reserved topping sugar. Into the 425-degree oven they go for about 12 to 15 minutes until they are gorgeously golden brown. They smell incredible baking, like pure summertime comfort! For more insights on achieving delicate textures, check out my guide for fluffy scones, which uses similar principles.
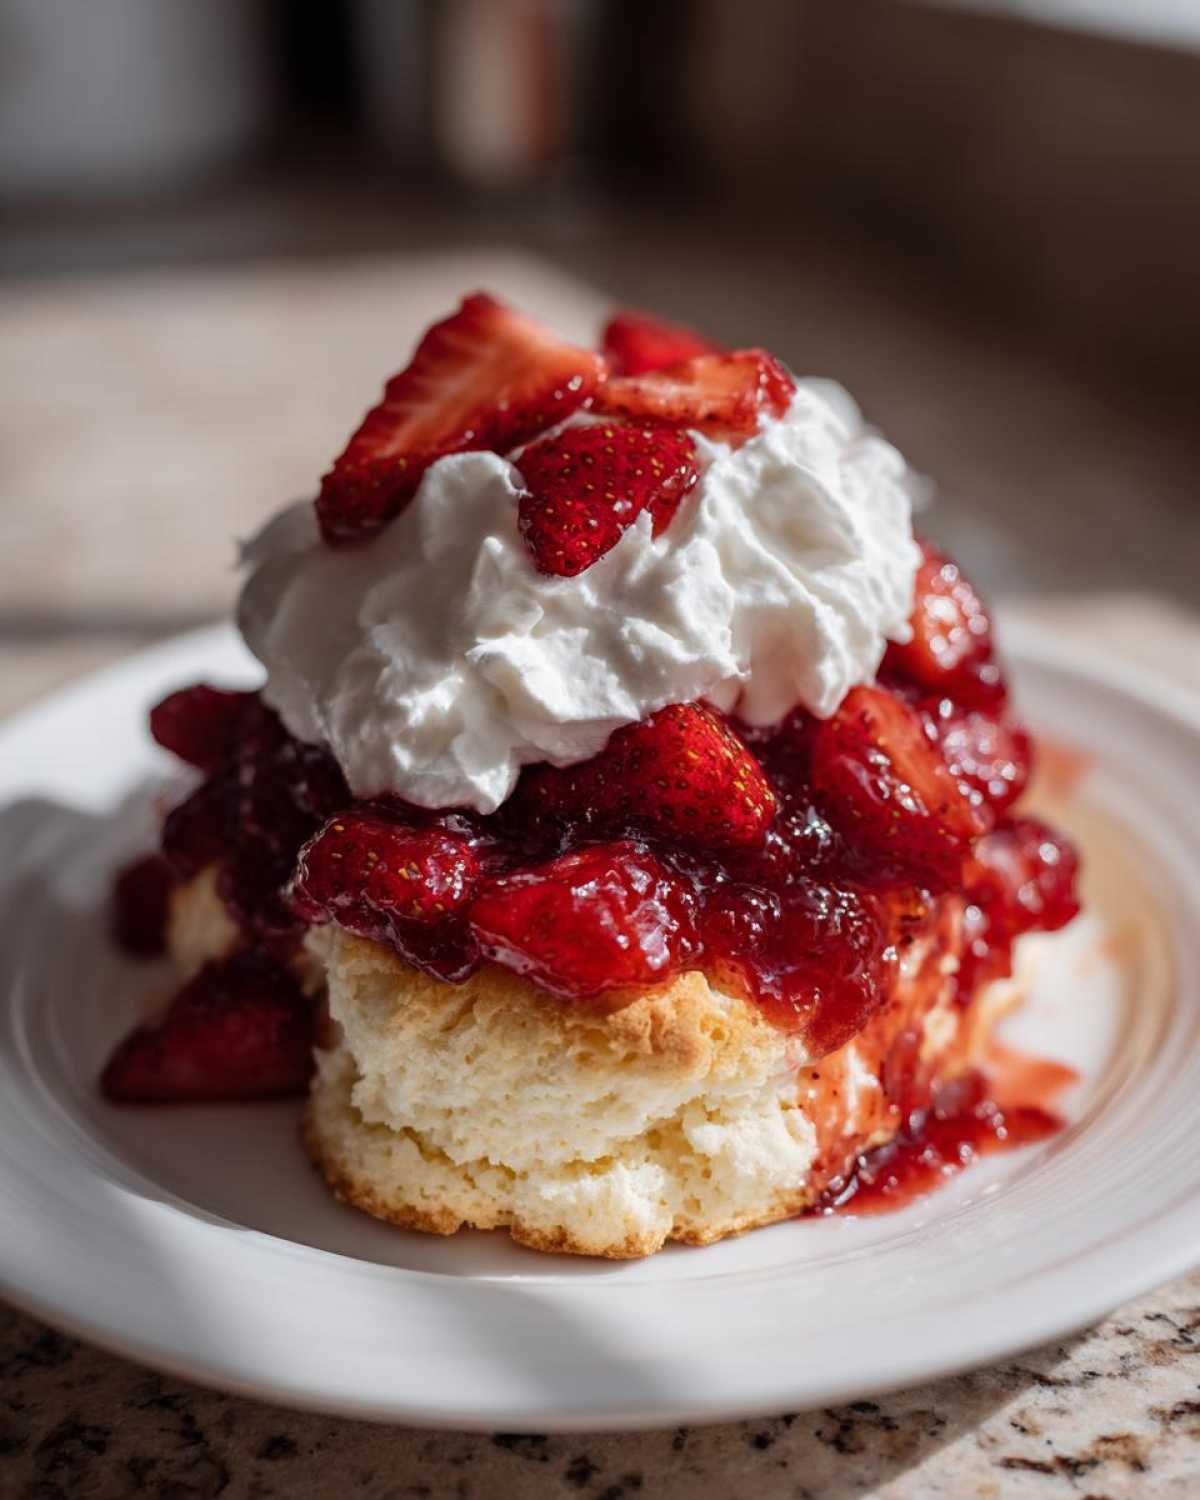
Preparing the Fresh Strawberry Dessert Topping
While those shortcakes are getting happy in the oven, we get the strawberries ready. This step is non-negotiable for a decadent final treat. Just slice up your strawberries—one quart should be plenty—and toss them with that reserved 1/4 cup of sugar. You need to let them sit on the counter for at least 20 minutes. As they sit, the sugar draws out the natural moisture, creating a sweet, glorious syrup that coats the fruit. This makes the perfect natural sauce for your **Simple Berry Treats**!
Whipping Up the Homemade Whipped Cream Recipe
You certainly *could* use canned whipped topping, but honestly, why sabotage your beautiful homemade shortcakes? We reserved 1 cup of heavy cream specifically for this! Pour that remaining cream into a chilled bowl. Start whipping until you see soft peaks starting to form—that means the cream holds its shape a little, but the tip flops over gently. If you keep going to stiff peaks, it gets too dense. Keep it chilled until assembly time so it stays light and airy. This **Homemade Whipped Cream Recipe** is just begging to sit atop those warm biscuits.
Assembling Your Classic Strawberry Shortcake
Okay, the fun part! This is where everything comes together into that iconic dessert. Remember, you want layers of texture—warm, slightly crisp biscuit against cool, soft cream and juicy berries. If you wait too long, the biscuits will get soggy, so get these beautiful **shortcake** creations plated right away!
Once your biscuits have cooled just enough so they won’t instantly melt the cream, grab a knife and slice each one right in half horizontally, like you’re making a sandwich. Place the bottom half on your serving plate. This is your foundation!
Now, spoon a generous amount of those macerated strawberries and all that gorgeous juice you created right over the bottom half. Don’t be shy with the juices; that’s pure flavor soaking into the biscuit!
Next, pile on a cloud of that amazing homemade whipped cream. I try to make a big, fluffy dollop right in the center. Then, place the top half of the shortcake on top of the cream. If you want extra visual appeal (and trust me, you do), spoon a little more fruit and another dollop of cream right on the very top. A tiny mint leaf would be extra beautiful, but honestly, a little extra strawberry juice dribbling down the side is perfect imperfection.
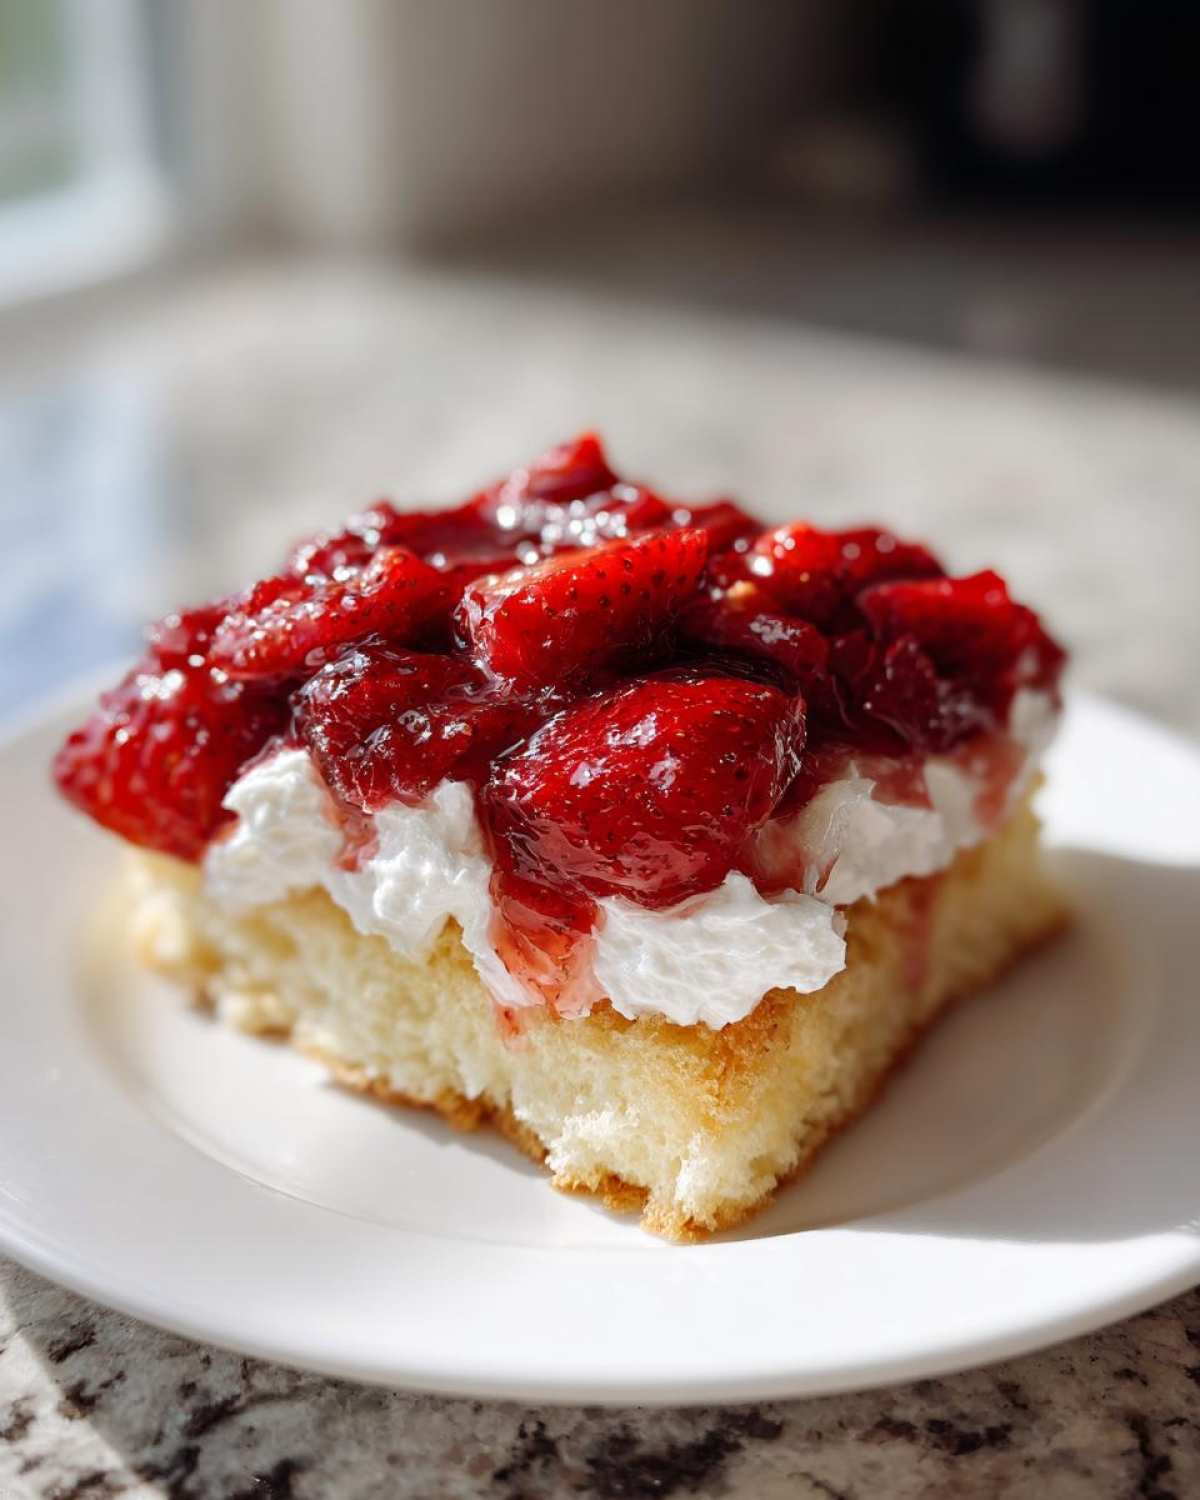
Serve immediately! That contrast between the crumbly biscuit and the soft filling is what makes this dessert legendary. If you check out my guide for strawberry cupcakes, you’ll see how much I love building fantastic layers!
Tips for Success When Making Shortcake
Even though these biscuits are simple, a few tiny details can take them from great to truly unforgettable. You want that perfect blend of gentle bake and tender interior for these summer treats. Here are the few things I always double-check before I slide my trays into the oven.
First, refrigeration is your best friend! Seriously, I cannot stress enough how crucial it is to keep the butter and cream bone-chillingly cold before you mix the dough. If you think your kitchen is too warm, pop your dry ingredients bowl into the freezer for about ten minutes before you add the butter. Trust me, the extra three minutes of chill time results in a much flakier biscuit. This is the same technique I use when I’m aiming for a perfect crust on my savory bakes, too!
Second, don’t obsess over the cut. When you use your biscuit cutter, press straight down and pull straight up. Do not, under any circumstances, twist the cutter! Twisting drags the edges of the dough together, effectively sealing it shut. This prevents the biscuit from puffing up vertically, resulting in squat, dense little cakes instead of fluffy layers.
Third, use a light hand when you score the biscuit tops (if you don’t want to use sugar, you can just brush on a little cream). You want to tap them gently, not press them hard. Overhandling the dough at any stage is the enemy of a tender texture, so be gentle during the cutting and arranging phase.
Finally, let those strawberries do their work! Macerating for at least 20 minutes is key. If you try to assemble them immediately after slicing, the fruit is too firm and the juices haven’t formed that natural syrup yet. Patience pays off when it comes to the fruit!
Make Ahead and Storage Tips for Your Shortcake
I totally get it—sometimes you’re hosting a big gathering, and the last thing you want to do is be fussing with dough right when your guests arrive. The beauty of this **shortcake** recipe is that you can absolutely prep components ahead of time! Just remember the golden rule: Never assemble until serving time. Once the strawberries meet the whipped cream and the biscuit starts soaking up the juice, that perfect textural contrast goes away fast.
The biscuits themselves are wonderful keepers. You can bake the shortcakes up to a full day ahead. Once they are completely cooled, store them in a single layer inside an airtight container at room temperature. They stay fresh, tender, and ready to split open when you need them. Seriously, they taste great the next day, too!
For the fruit, you can slice and macerate those strawberries a few hours ahead of time. Keep them covered in the fridge. They’ll keep releasing juices as they chill, which is totally fine. Give them a quick stir right before you’re ready to assemble.
The whipped cream, however, is the trickiest part. Cream really hates waiting. I recommend whipping your cream no more than an hour before you plan to serve dessert. If you try storing it longer, it can start to weep or deflate. If you want a *super* make-ahead item, check out my full guide on make-ahead recipes for tips on stabilizing the cream a bit longer, though for this classic dessert, fresh is always best.
When you’re ready to serve your incredible homemade shortcake, just pull out the three components—biscuits, strawberries, and cream—and build your towering treats assembly line style!
Shortcake Variations and Fruity Dessert Ideas
While the strawberry version is my all-time favorite—it’s the benchmark for a reason!—these biscuit **shortcake** layers are just so versatile. Once you master the cold-butter technique, you can seriously transform this basic recipe for any season or mood. This base travels exceptionally well to other fruity concepts, which is why I love having it in my back pocket for easy entertaining.
Don’t feel obligated to stick just to the red berries, either. You can easily swap out the strawberries for any beautiful, seasonal fruit you find at the farmer’s market. Think about using blueberries tossed with a drizzle of maple syrup, or beautiful warm slices of peaches—especially when grilled slightly first! If you’re looking for more inspiration on using what’s in season, I keep a running list of seasonal fruit dessert ideas over here.
You can also totally play around with the biscuit dough itself before you even decide on the topping. Since the dough is so simple, it takes kindly to little flavor boosts:
- Citrus Zest: A teaspoon of fresh lemon or orange zest added right in with the dry ingredients gives the shortcakes a beautiful, bright fragrance that balances sweet berries perfectly.
- Vanilla Kick: Mix about a teaspoon of good quality vanilla extract in with the cold heavy cream before you add it to the flour mixture. It makes the biscuit itself taste richer.
- Herb Infusions: This sounds wild, but a tiny bit of finely chopped fresh basil or mint mixed into the strawberries or even the dough itself is fantastic with stone fruit like apricots or plums!
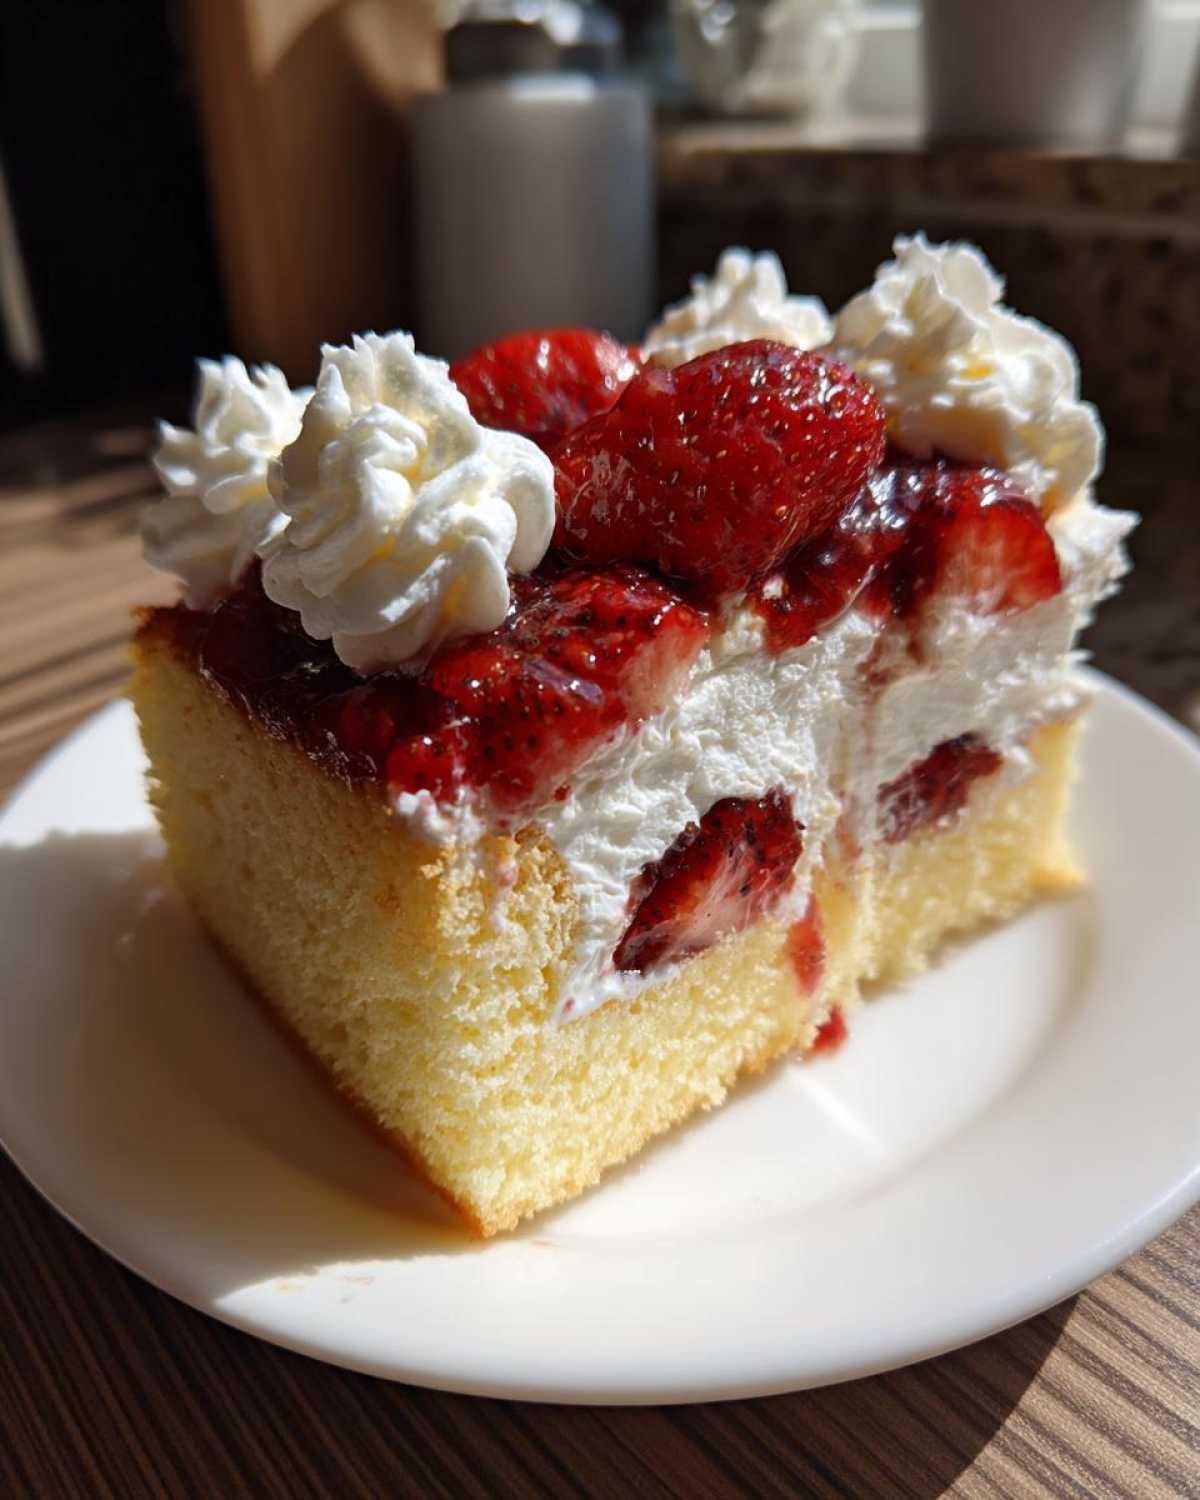
If you’re hosting a big crowd and want to save time, you can absolutely use this same biscuit dough to make a **Sheet Pan Shortcake Recipe**. Just roll the dough out into a large rectangle, bake it, and slice it into squares after it cools a bit. It’s faster than cutting individual rounds, and everyone can stack their own dessert from a central, delicious base!
Frequently Asked Questions About This Shortcake Recipe
I always get a ton of questions when I post this recipe, mostly because people are so used to those soft, spongy cake versions! These are honest, old-fashioned biscuits, and they have a few quirks that are worth discussing. Here are the things I get asked most often about making the perfect **shortcake** assembly.
Can I use frozen strawberries instead of fresh?
Oh, I wish I could say yes, but for this specific recipe, I really advise against it. Frozen berries tend to release way too much water when they thaw, and it breaks down the sugary sauce we want to create during maceration. Plus, the texture when you bite into a fresh, cold berry atop a warm biscuit is just unmatched! For the best results, grab fresh strawberries. If you must use frozen, thaw them *gently* and do not stir in any extra sugar or juice—just use the soft, slightly thawed fruit on its own.
What if I don’t have a 3-inch round biscuit cutter?
Don’t panic! You don’t need a fancy tool for this. If you have an empty jar—like a clean tuna can or a small jam jar—that works perfectly fine for cutting out your rounds. The key is pressing straight down. If you don’t have anything round, you can be wonderfully rustic! Just gently pat the dough into a rough rectangle and cut it into squares with a sharp knife. They won’t be perfectly round, but trust me, they will taste just as divine. Sometimes the square ones fit better in the pan, too!
Can I make this a sheet pan shortcake recipe for a big crowd?
Absolutely, this is one of my favorite ways to serve dessert at a big summer barbecue because it cuts down on assembly time! You can definitely make this into a **Sheet Pan Shortcake Recipe**. Just roll the dough out evenly to about half-inch thickness, spread it across a parchment-lined baking sheet, and score it lightly where you intend to cut your squares after baking. They will bake a little faster than the rounds, so keep a close eye on them around the 10-minute mark. It’s a wonderful hack for feeding a lot of people! We can talk more about making that adaptation over at my sheet pan shortcake guide.
How far ahead can I prep these components?
As I mentioned before, the biscuits keep beautifully for a day in an airtight container, and the strawberries macerate well in the fridge for a few hours. The only thing that demands last-minute attention is the whipped cream. If you want to make that ahead, use this tip: whip the cream until medium-stiff peaks form (stiffer than usual) and add a teaspoon of cornstarch to the sugar before beating. This helps stabilize it, and you can store it in the fridge for up to 12 hours before gently fluffing it again before assembly.
Do I need to use heavy cream for the biscuits?
For the absolute fluffiest, most tender biscuit dough that defines a great **shortcake**, yes, you really need the high fat content of heavy cream, or at least very high-fat whipping cream (36% fat minimum). It acts as the fat and the liquid all in one and cuts down on the work you needed to do when cutting in the butter. Using milk will almost certainly result in a dough that’s too wet and results in a tougher, less flaky final product.
Estimated Nutritional Data for This Dessert
I always feel a little goofy listing out the nutrition facts because, let’s be honest, when we’re pulling out fresh berries and making **from scratch baking** for a special summer treat, we aren’t exactly counting every gram! But for those who need the info, here are the general estimates for one full assembly serving of this dessert.
Keep in mind these numbers are just estimates, based on the ingredients I listed and standard measurement conversions. If you use fancy organic sugar or substitute a different kind of cream, your final counts will shift slightly. Use this information as a guideline—enjoy the dessert!
- Serving Size: 1 shortcake assembly
- Calories: 450
- Sugar: 28g
- Sodium: 350mg
- Fat: 25g
- Saturated Fat: 15g
- Carbohydrates: 52g
- Fiber: 2g
- Protein: 6g
- Cholesterol: 75mg
Classic Strawberry Shortcake with Biscuit Base
Make a traditional strawberry shortcake using tender, homemade biscuit shortcakes, fresh macerated strawberries, and light whipped cream.
- Prep Time: 20 min
- Cook Time: 15 min
- Total Time: 35 min
- Yield: 6 servings
- Category: Dessert
- Method: Baking
- Cuisine: American
- Diet: Vegetarian
Ingredients
- 2 cups all-purpose flour
- 1 tablespoon baking powder
- 1/2 teaspoon salt
- 1/4 cup granulated sugar plus 2 tablespoons for topping
- 1/2 cup cold unsalted butter, cut into small pieces
- 3/4 cup cold heavy cream plus 1 cup for whipping
- 1 quart fresh strawberries, hulled and sliced
- 1/4 cup granulated sugar for strawberries
Instructions
- Preheat your oven to 425 degrees Fahrenheit. Line a baking sheet with parchment paper.
- In a large bowl, whisk together the flour, baking powder, salt, and 1/4 cup sugar for the shortcakes.
- Cut in the cold butter using a pastry blender or your fingers until the mixture resembles coarse crumbs.
- Stir in the 3/4 cup cold heavy cream until just combined. Do not overmix the dough.
- Turn the dough out onto a lightly floured surface. Gently pat or roll the dough to about 3/4 inch thickness.
- Use a 3-inch round biscuit cutter to cut out 6 to 8 shortcakes. Place them on the prepared baking sheet.
- Brush the tops lightly with a little extra heavy cream and sprinkle with the 2 tablespoons of sugar reserved for topping.
- Bake for 12 to 15 minutes, or until the tops are golden brown. Let the shortcakes cool slightly on a wire rack.
- While the shortcakes bake, prepare the strawberries: In a medium bowl, toss the sliced strawberries with the 1/4 cup sugar. Let them sit at room temperature for at least 20 minutes to macerate.
- Prepare the whipped cream: Beat the 1 cup of heavy cream until soft peaks form.
- To assemble, split each warm or cooled shortcake in half horizontally. Place the bottom half on a plate. Spoon a generous amount of strawberries and their juices over the bottom layer. Top with whipped cream. Place the top half of the shortcake on the cream and add more strawberries and cream on top. Serve immediately.
Notes
- For the best texture, keep the butter and cream very cold before mixing the dough.
- Macerating the strawberries allows them to release their sweet juices, creating a natural syrup.
- You can make the shortcakes up to one day ahead and store them in an airtight container at room temperature.
Nutrition
- Serving Size: 1 shortcake assembly
- Calories: 450
- Sugar: 28
- Sodium: 350
- Fat: 25
- Saturated Fat: 15
- Unsaturated Fat: 10
- Trans Fat: 0
- Carbohydrates: 52
- Fiber: 2
- Protein: 6
- Cholesterol: 75