

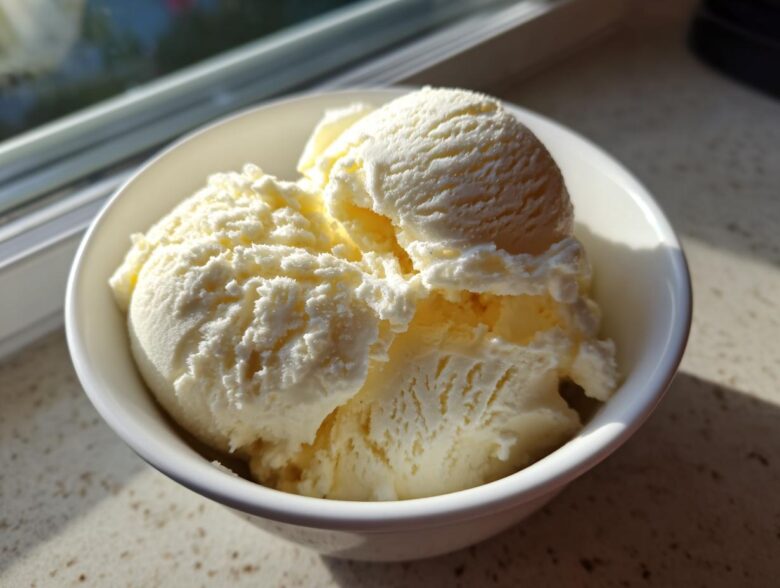
Listen, I know you’ve seen the cottage cheese videos floating around, and maybe you were skeptical, right? I was too! But I finally cracked the code on the ultimate cottage cheese ice cream that is absolutely blowing up online, and let me tell you, it’s your new secret weapon against those afternoon sugar cravings. Forget those chalky protein bars; this is a game-changer for anyone trying to eat healthier but still wanting that dreamy, rich dessert experience.
It’s honestly unbelievable how easy this is. We’re talking three ingredients total, and nope, you sure don’t need an ice cream maker! The goal here is pure, unadulterated soft-serve texture, and I’ve figured out the blending trick to make it happen every single time without any weird stabilizers or gums. If you want more tasty hacks and tips just like this one, check out the main blog home. Trust me, this recipe is going straight into your weekly rotation.
Why This Viral Cottage Cheese Ice Cream Recipe Works (High Protein Ice Cream Recipe)
The reason this cottage cheese ice cream works so well is all down to that powerhouse ingredient. Cottage cheese brings serious protein to the table, making this a genuinely satisfying treat that keeps you full. We are talking about a true High Protein Ice Cream Recipe here, folks!
But here’s the big secret, and this is where most people mess up: you have to completely obliterate those curds. If you just stir it up, you get… well, cold cheese. Not dessert! When you run it in a high-speed blender—and I mean *really* run it—the protein structure breaks down beautifully. It emulsifies into something shockingly similar to a custard base.
The result is honestly mind-blowing. It turns into one of those creamy blended dessert ideas that looks and feels just like soft serve right out of the machine, but you made it in five minutes flat. Plus, because cottage cheese itself has a relatively neutral flavor, it’s the perfect canvas for sweetness without needing tons of sugar. It’s such a smart swap, and I’ve used similar tricks when making my cottage cheese microwave brownies and even my high-protein waffles. It’s an easy way to boost your macros!
Essential Ingredients for Perfect Cottage Cheese Ice Cream
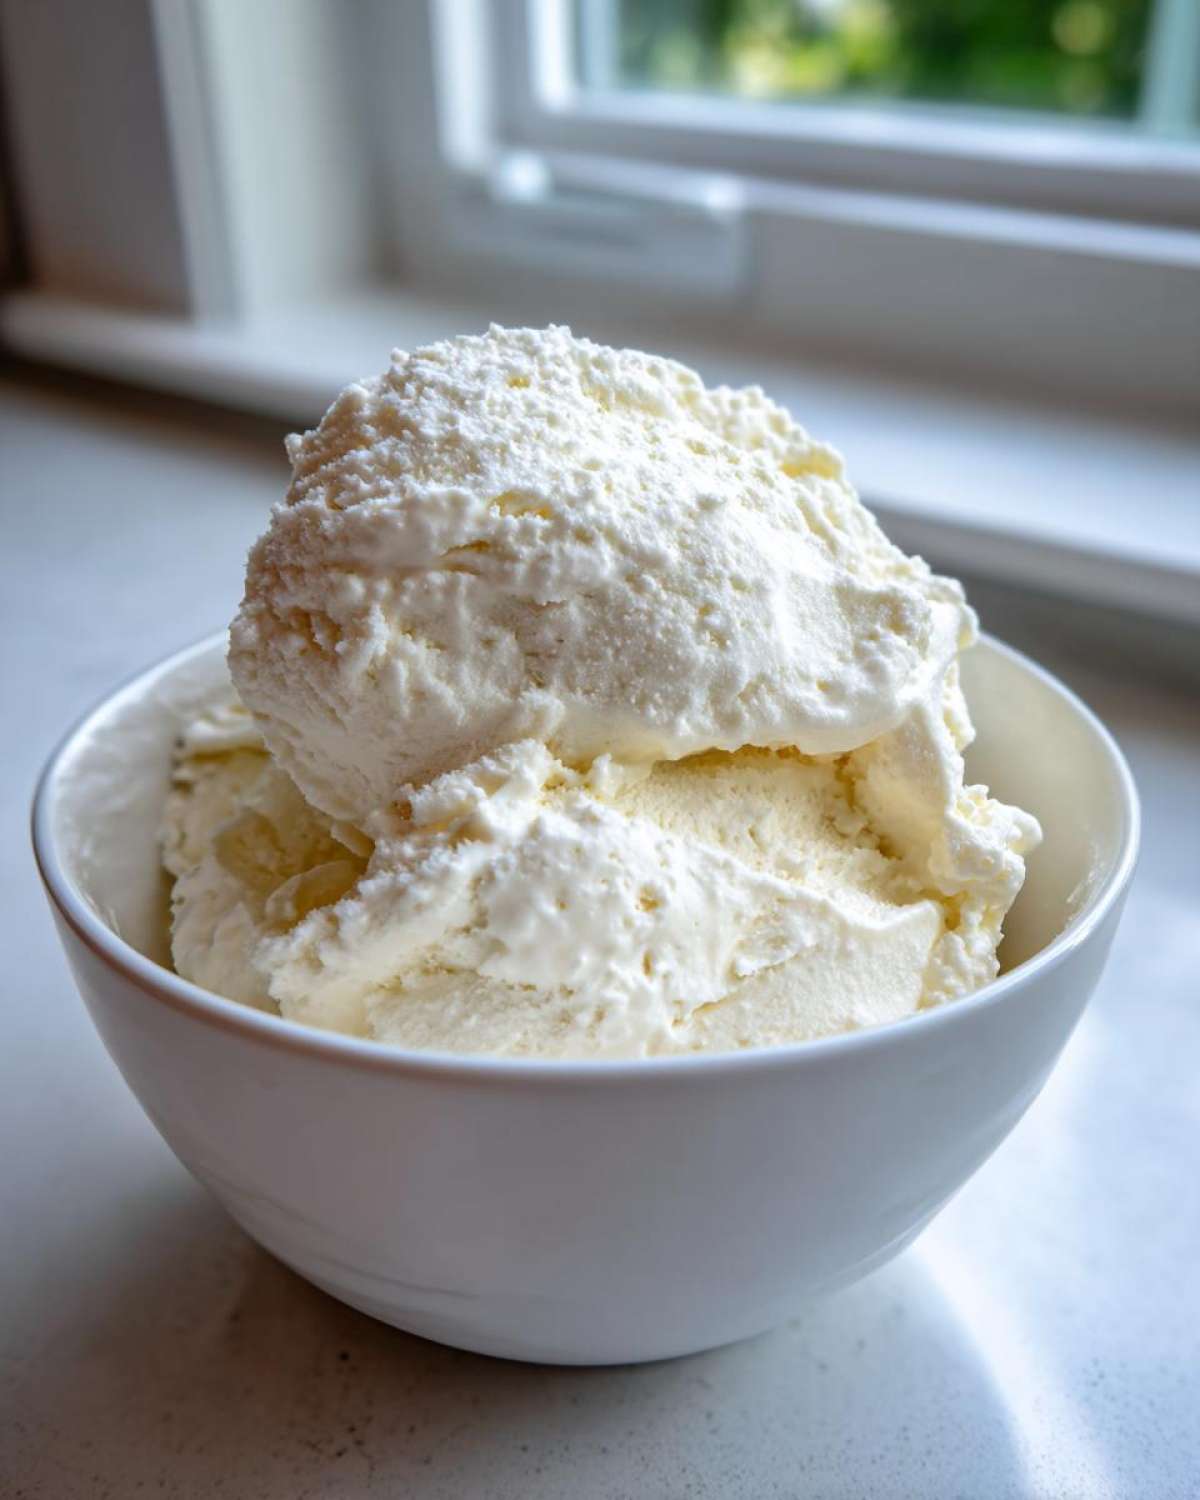
Okay, now that we know this magic works, let’s talk details. For the absolute best results, you only need three things, which is why I call this my Simple 4 Ingredient Dessert base (the fourth is just time in the freezer!). You have to stick closely to these measurements for the texture to work correctly.
First up, the star: 1 cup of full-fat cottage cheese. Listen, I know you might reach for the low-fat because you’re trying to be healthy, but trust me, the fat content in the full-fat version makes the final texture decadent and dreamy, not icy. Second, you need your sweetness—I used 1/4 cup of sweetener. And finally, 1 teaspoon of vanilla extract to just round out the flavor profile.
Getting these core items right is key to avoiding grittiness. If you’re looking for other ways to sneak in extra protein into your routine, you should definitely check out my recipe for cottage cheese egg cups!
Choosing Your Sweetener for Low Sugar Ice Cream Alternative
This is where you get to tailor the treat to your goals. If you are strictly watching carbs, go for erythritol or monk fruit blend. They dissolve well and keep the sugar count near zero. If you’re fine with natural sugars and want a richer flavor, 1/4 cup of real maple syrup is heavenly!
Maple syrup will make the final product slightly softer, though. Sugar alcohols tend to freeze a little harder, which is something to keep in mind when you go to scoop it later. Either way, 1/4 cup hits the sweet spot for this quantity of base!
Simple 4 Ingredient Dessert: How to Make Cottage Cheese Ice Cream (No Churn Cottage Cheese Ice Cream)
This is where the magic happens, and honestly, it’s so fast you’ll wonder why you haven’t been making this cottage cheese ice cream forever. We’re looking at about 5 minutes of actual work here, with the bulk of the time being downtime while it freezes. Remember, this fantastic No Churn Cottage Cheese Ice Cream relies entirely on your blender to do the heavy lifting!
Here’s the game plan, step-by-step, for this truly Easy Homemade Ice Cream:
- First, just toss your full-fat cottage cheese, your chosen sweetener (be it maple syrup or powder), and that vanilla extract right into your high-speed blender or food processor.
- Next, power it up! You need to blend this mixture until it is baby smooth. Stop every 30 seconds or so to scrape down the sides—you absolutely must make sure no tiny little curd escapes the blending process.
- When it looks like smooth yogurt, pour the whole beautiful batch into a freezer-safe container. A loaf pan works perfectly, just make sure you cover it tightly!
- Now, we wait. Pop it in the freezer for a minimum of 4 to 6 hours. This freezing step is what replaces the churning you’d normally have to do.
- When you’re ready to eat—and this is important!—let it sit out on the counter for about 5 to 10 minutes. It can get pretty hard, but that slight softening gives you the perfect scoopable texture.
Total prep is maybe 5 minutes, and then you just let science do the next 4 hours of work. If you love easy blender recipes, you absolutely have to look at how I make my other blender ice cream recipes!
Achieving the Creamy Blended Dessert Ideas Texture
I can’t stress this enough: blending is non-negotiable. You aren’t just mixing; you are emulsifying. If you have a fancy high-speed machine, use it on medium-high until it looks like thick cream. If you have to stop and scrape the sides three or four times, do it! We need that texture to be consistent throughout so it mimics the air incorporation that a machine does.
Because this is no churn, the smoothness you create *before* freezing is the texture you get *after* freezing. Churning pushes air in; blending breaks down the solids so beautifully that you don’t really need the extra air. That’s why these Creamy Blended Dessert Ideas work so well—it’s all down to that powerful initial blend before it turns into a solid Healthy Frozen Dessert.
Expert Tips for the Best Cottage Cheese Ice Cream
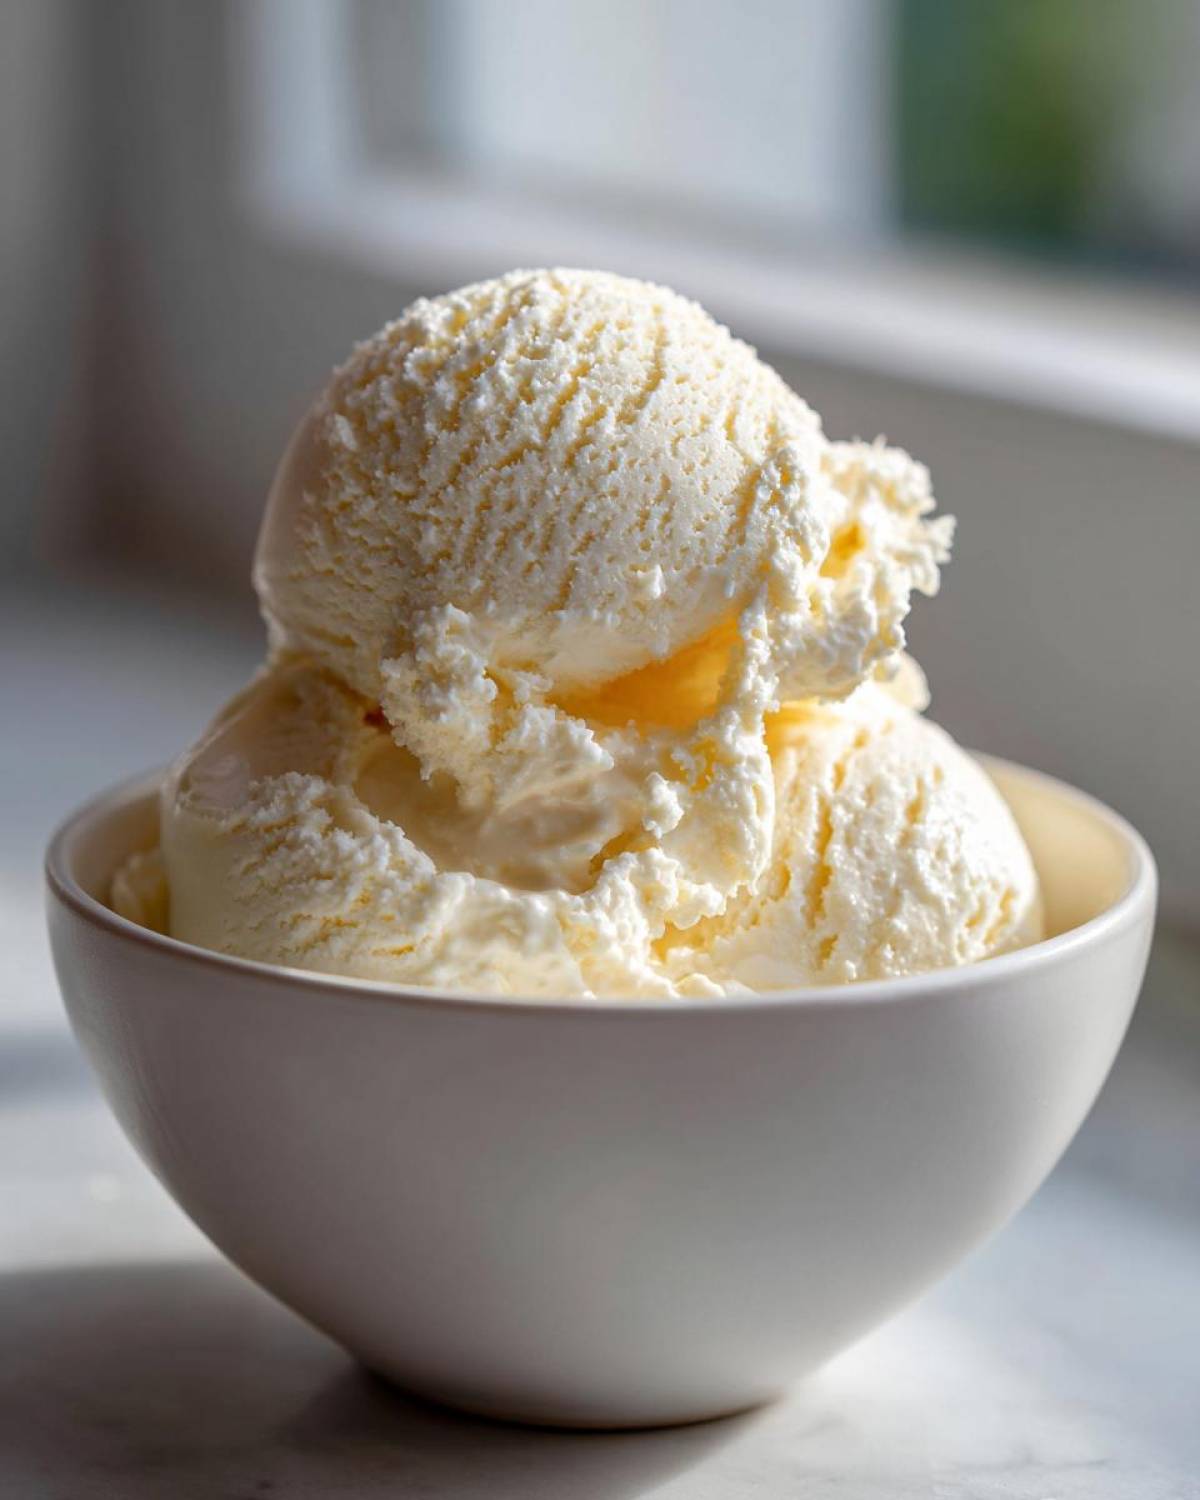
I’ve made this cottage cheese ice cream more times than I can count trying to tweak it for perfection. The base recipe is fantastic, but sometimes you need a little secret nudge to make it completely unforgettable. Treat these little adjustments like secret handshake moves for getting the best result!
First off, if you want to lean into the chocolate flavor, don’t just use cocoa powder plain—that can absorb too much moisture. Follow one of the notes from my original test batches: add about 2 tablespoons of unsweetened cocoa powder *during* the initial blend. It mixes right in and gives you a rich, decadent Chocolate Protein Ice Cream vibe.
If you find your mixture seems a little too thick right before freezing—maybe your cottage cheese was just chunkier than mine—don’t panic! A great trick is to blend in about 1/4 cup of unsweetened almond milk. It keeps the calories low but gives the mixture a little extra liquid freedom, which results in a slightly softer product when it’s frozen solid. It’s a brilliant way to make sure you get that perfect scoopable texture.
Also, here’s a little something I learned about ingredient temperature! Make sure your cottage cheese is cold, but not ice cold, when you blend it. If it’s straight out of the deep freeze, the blender struggles more. If it’s room temperature, you risk making it warmer than you want before it even hits the freezer. Cold, but relaxed—that’s the spot. For more amazing protein-packed snacks, you have to see my guide on making protein ice cream using a 4-ingredient hack!
Flavor Variations for Your Protein Packed Sweet Snack
Now that you have your smooth, creamy vanilla base—the absolute best starting point for any Low Sugar Ice Cream Alternative—it’s time to get creative! Why stick to one flavor when you can have them all? This base is so versatile, it begs for mix-ins. And hey, if you want an easy dessert idea when you’re craving chocolate but don’t want to wait for ice cream to freeze, you should totally bookmark my easy chocolate overnight oats for later!
We already talked about the glorious chocolate version—just blend in that cocoa powder! But who is stopping you from swirling in other favorites? Say we want a peanut butter moment. Once your smooth batter is in the loaf pan, just drizzle a couple of tablespoons of creamy peanut butter right on top. Don’t mix it in fully; you want those lovely ribbons!
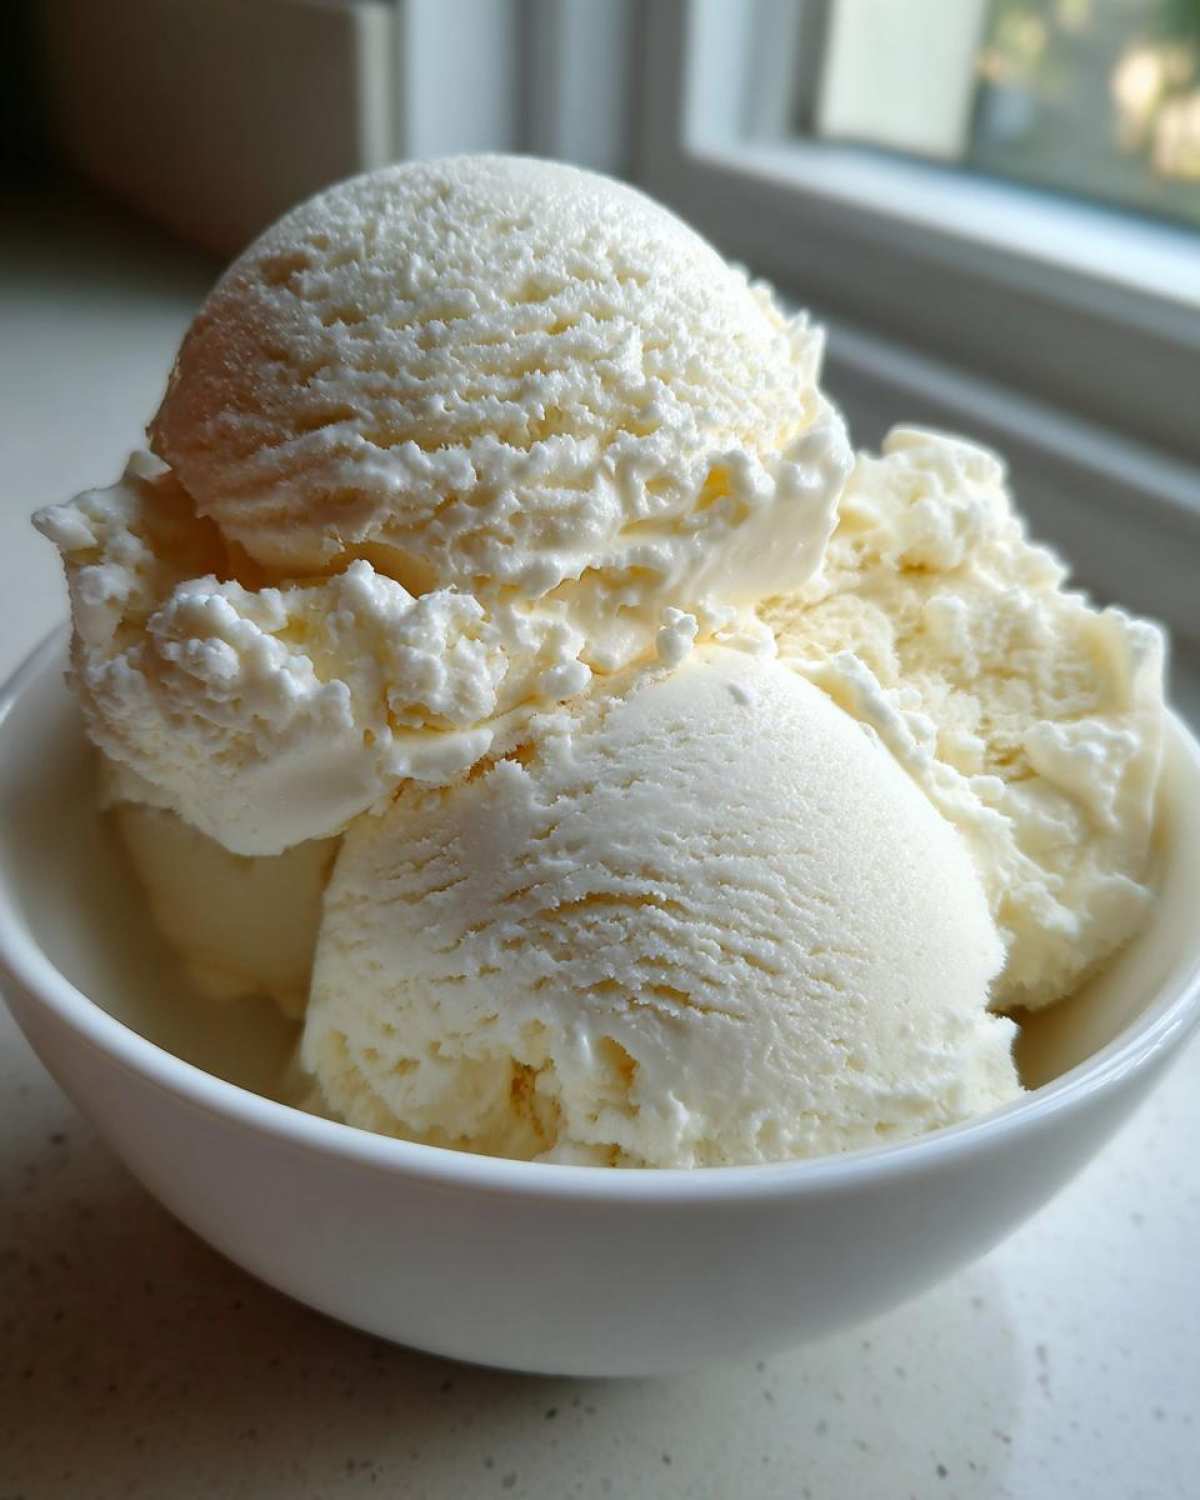
For something fruity, try this: take about half a cup of sliced strawberries, mash them down slightly with a tiny bit of powdered sweetener, and layer that right in with your peanut butter swirl. When you freeze it all together, you get layers of pure flavor in your Protein Packed Sweet Snack. It hits all the right notes when you’re trying to keep things healthy but still want that decadent summer dessert!
Storage and Serving Suggestions for Guilt Free Frozen Treat
Alright, you’ve blended your heart out, and now you have that beautiful, smooth batter ready for its nap in the freezer. Don’t rush this part, though! For this cottage cheese ice cream to set properly without turning into an ice block, it needs a solid chill. I insist that you let it freeze for a minimum of 4 to 6 hours.
When you finally decide it’s time to dig in, you must remember the magic word: temper! This Guilt Free Frozen Treat freezes quite firmly because it lacks stabilizers. Take your container out and let it sit on the counter for about 5 to 10 minutes before you even attempt to scoop. That little bit of warming time is the difference between a satisfying spoon and fighting with your dessert!
If you have leftovers—which is rare in my house, honestly—storage is easy. Make sure whatever container you use is airtight. I always press a piece of plastic wrap directly onto the surface of the remaining ice cream before sealing the lid. That stops air from getting in there and causing those annoying little ice crystals that lead to freezer burn by the time the weekend rolls around.
Frequently Asked Questions About Cottage Cheese Ice Cream
I get so many questions once people see how amazing this cottage cheese ice cream is! It feels like cheating because it’s so good for you, but I swear by it. Here are the main things folks ask when they’re ready to make their first batch of this Protein Packed Sweet Snack.
Do I need an ice cream maker to make cottage cheese ice cream?
Absolutely not! That’s the biggest selling point here. This entire recipe is designed around the No Churn Cottage Cheese Ice Cream method. We don’t need the churning mechanism because we rely on your high-powered blender to do all the hard work of smoothing out the texture *before* it even touches the freezer. It’s all about prep work!
Will this taste like cottage cheese?
This is my favorite question! If you blend it properly—and I mean *completely* smooth, like silk—you won’t taste the curds at all. The flavor base is very mild and neutral. Once you add vanilla, or especially if you add cocoa powder or peanut butter, the cottage cheese just acts as a carrier for the flavor and keeps the protein high. It tastes wonderfully creamy, not cheesy, I promise!
Can I use low-fat or non-fat cottage cheese for this Healthy Frozen Dessert?
You can, but I really, really nudge everyone toward using the full-fat version when making this Healthy Frozen Dessert. The extra milk fat is what gives you that scoopable, rich mouthfeel we’re aiming for. If you use non-fat, you risk ending up with a texture that’s a bit icier or harder to scoop nicely, even after tempering it for those 10 minutes. It’s worth grabbing the container with a little more fat for the best reward!
If you’re experimenting with high-protein baking, I have a great recipe for cottage cheese chicken salad that works wonderfully if you’re incorporating more of this staple into your diet!
Estimated Nutritional Snapshot for This Cottage Cheese Ice Cream
I track my macros pretty closely, so I always run the numbers for you folks! Keep in mind this is just an estimate for one serving—half the batch—since we’re cutting sugar way down in this cottage cheese ice cream. Look at that protein! At 22 grams per serving, this is such a sneaky way to get your gains in while enjoying dessert.
Here’s the quick rundown of what you’re looking at:
- Calories: About 180
- Protein: 22g (Yes, twenty-two!)
- Sugar: Only 5g
- Fat: 7g
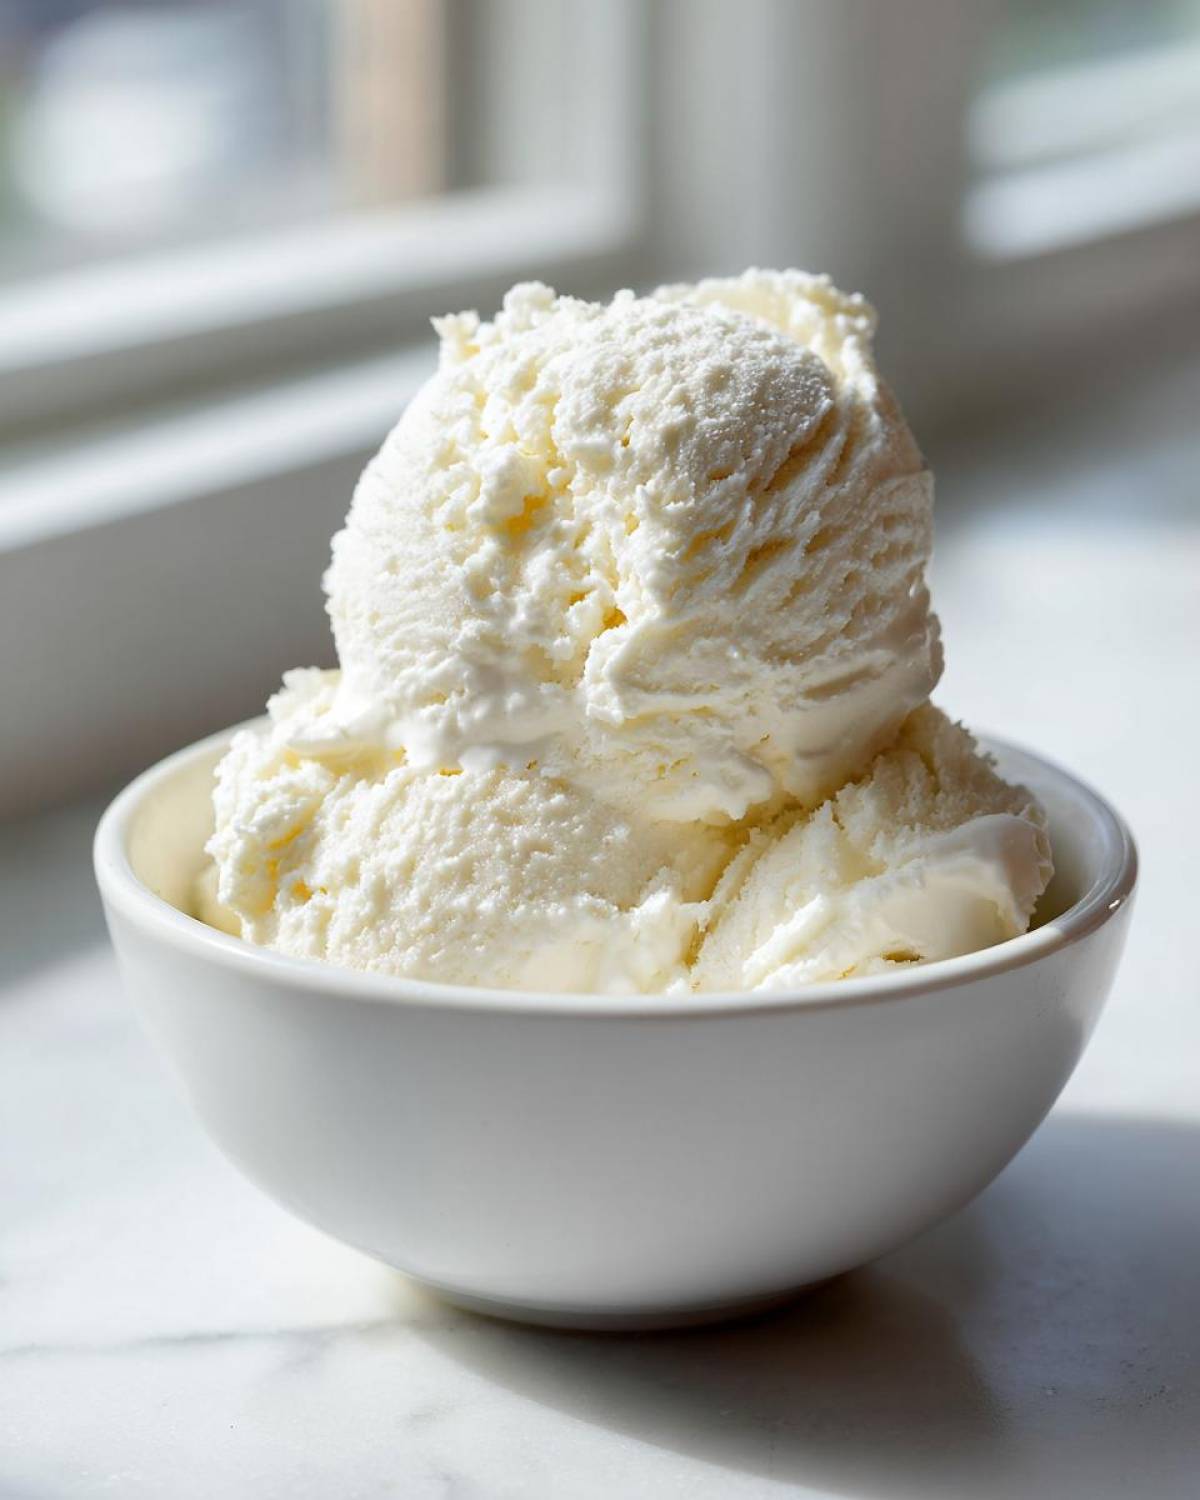
It’s just so satisfying to enjoy something this creamy and look at those numbers! If you’re looking for other easy ways to pack in protein without the fuss, you should take a peek at my recipe for easy no-bake protein bars!
Share Your Guilt Free Frozen Treat Creations
Okay, now it’s your turn to be the star! I put all my secrets out there for this Guilt Free Frozen Treat, and I just love seeing what you all do with it. Did you stick with the vanilla base, or did you try mixing in peanut butter?
Please, please, please leave a comment below and let me know how yours turned out! Rate this cottage cheese ice cream recipe so others can find the magic too. And if you snap a photo of your creamy scoop, tag me on social media—I always love seeing your incredible results!
If you run into any issues or have general baking questions, the best way to reach me is through the contact page. Happy scooping!
PrintViral 3-Ingredient Creamy Cottage Cheese Ice Cream

Make a high-protein, low-sugar frozen dessert using cottage cheese as the base. This recipe is simple, requires no churning, and yields a creamy, soft-serve texture.
- Prep Time: 5 min
- Cook Time: 0 min
- Total Time: 4 hours 5 min
- Yield: 2 servings
- Category: Dessert
- Method: No-Churn Blending
- Cuisine: American
- Diet: Low Fat
Ingredients
- 1 cup full-fat cottage cheese
- 1/4 cup sweetener (e.g., erythritol, monk fruit, or maple syrup)
- 1 teaspoon vanilla extract
Instructions
- Place the cottage cheese, sweetener, and vanilla extract into a high-speed blender or food processor.
- Blend the mixture until it becomes completely smooth and creamy. Stop and scrape down the sides as needed to ensure no curds remain.
- Transfer the smooth mixture to a freezer-safe container, like a loaf pan or airtight container.
- Cover the container and freeze for at least 4 to 6 hours, or until firm enough to scoop.
- If the ice cream is too hard after freezing, let it sit on the counter for 5 to 10 minutes before scooping for a softer texture.
Notes
- For a chocolate version, add 2 tablespoons of unsweetened cocoa powder during blending.
- If you prefer a thicker, softer texture immediately, blend in 1/4 cup of unsweetened almond milk before freezing.
- This base works well with mix-ins like sugar-free chocolate chips or a swirl of peanut butter added just before the final freeze.
Nutrition
- Serving Size: 1/2 of recipe
- Calories: 180
- Sugar: 5
- Sodium: 350
- Fat: 7
- Saturated Fat: 4
- Unsaturated Fat: 3
- Trans Fat: 0
- Carbohydrates: 10
- Fiber: 0
- Protein: 22
- Cholesterol: 25