

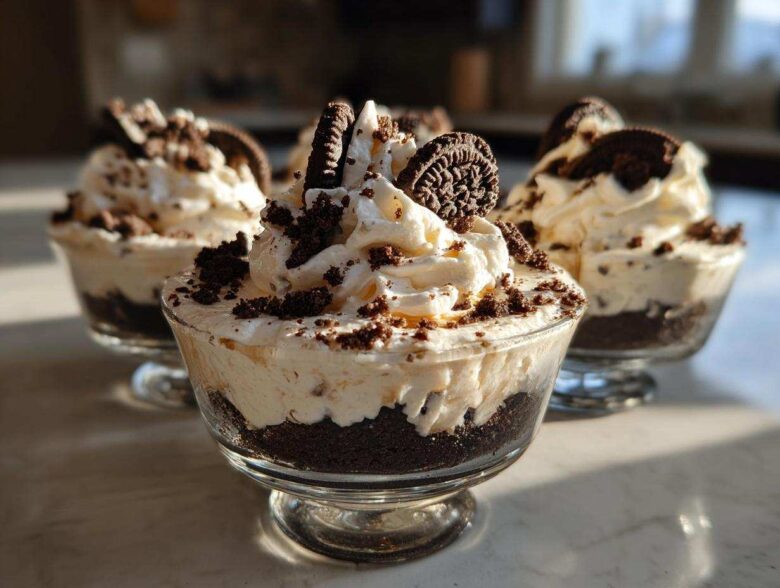
When company is coming over in an hour and you forgot to thaw anything, what do you do? Panic? Absolutely not! I’ve learned that the best desserts are often the ones that skip the oven entirely. Seriously, you can whip up something stunningly impressive in under twenty minutes of active work, and trust me, your guests will think you spent the whole afternoon slaving away. That’s the magic behind these No-Bake Cookies and Cream Pie Cups. They give you that decadent, creamy texture of a classic pie but in perfect single-serving portions. I’ve messed these up plenty of times when I was first learning—we all end up with a soupy disaster sometimes!—but I finally nailed the ratio of pudding to cream cheese. Now I make these all the time!
Why You Will Love These No-Bake Cookies and Cream Pie Cups
Honestly, these little cups solve every last-minute dessert dilemma I have. They are the secret weapon in my summer entertaining arsenal. Why are they so great?
- They require absolutely NO oven time. Hello, cool kitchen!
- Portion control? Done! Everyone gets their own perfect little dessert.
- The texture is ridiculously creamy thanks to that perfect pudding/cheese blend.
- You can make them way ahead of time—I call that a win!
If you need impressive flavor without the commitment, try these. You won’t regret having this easy no-bake Oreo dessert in your back pocket!
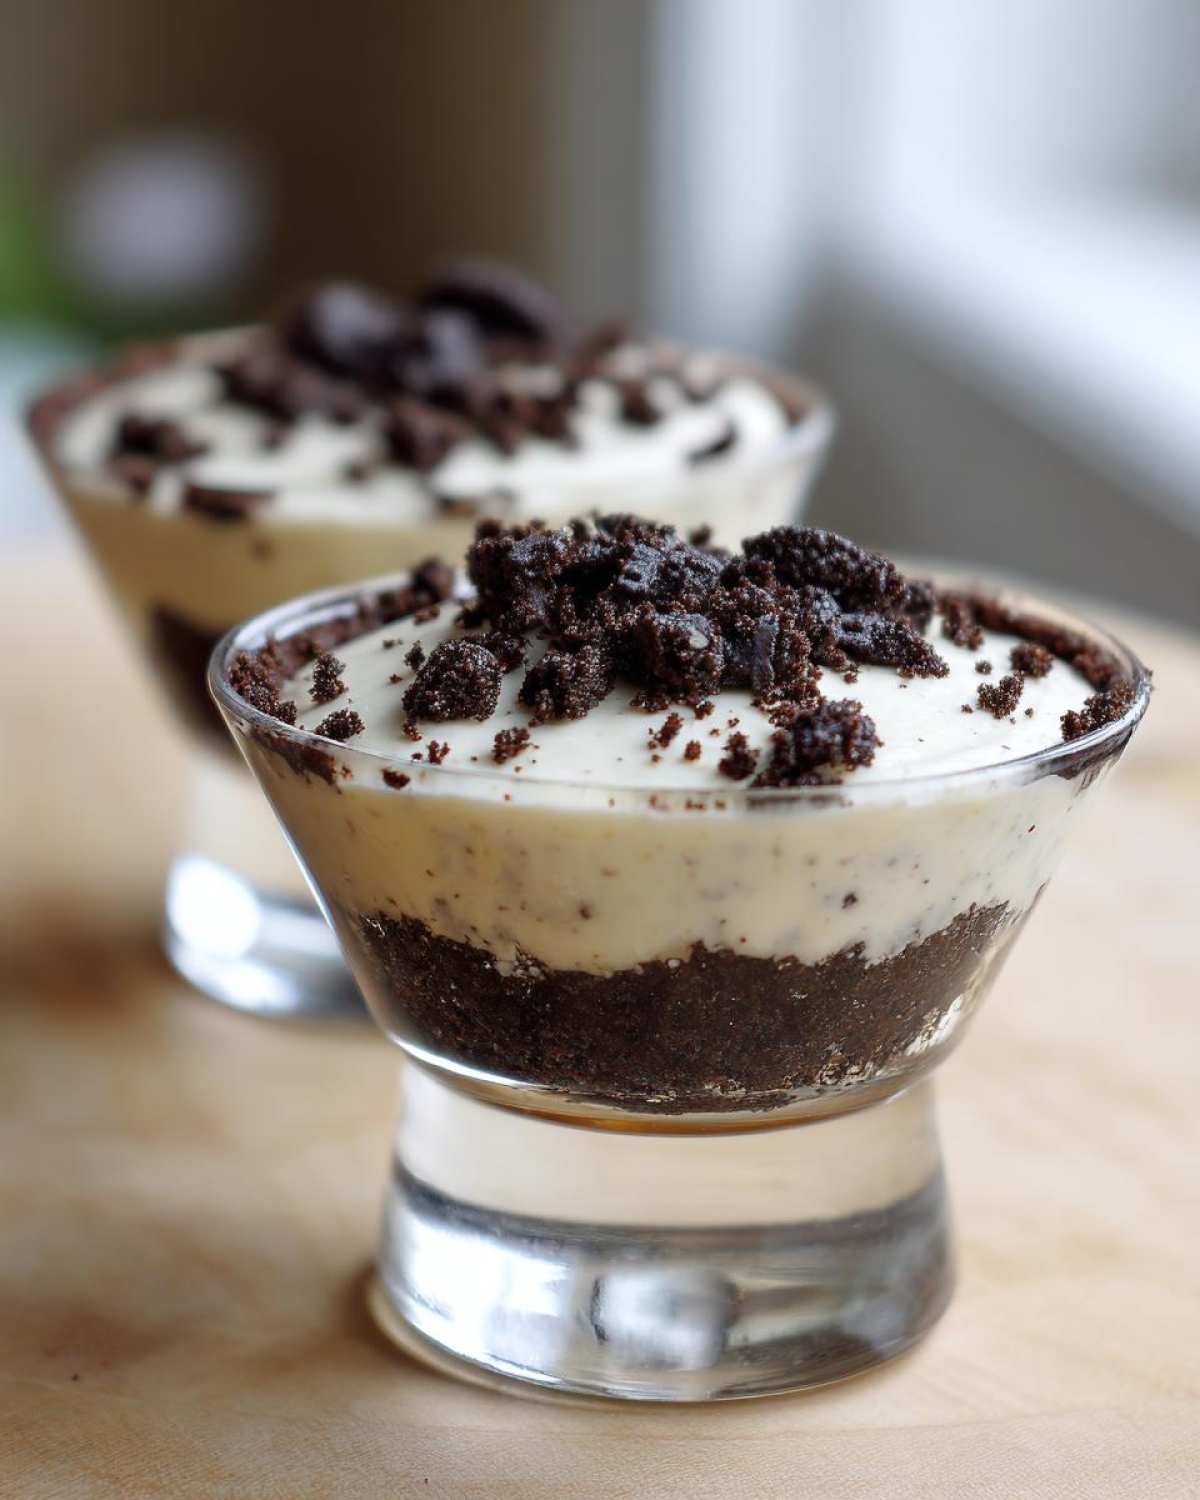
Ingredients for Your Creamy Oreo Dessert Cups Recipe
Okay, let’s talk about what goes into these beauties. The ingredients list is short, which I totally appreciate when I’m in a hurry. Remember, we want that signature cookies and cream flavor, so hitting the right textures here is everything. I always make sure my cream cheese is actually soft—using it straight from the fridge ends up chunky, and we don’t want that!
The cookies—chocolate sandwich cookies are the standard winner, but honestly, whatever chocolate wafer cookie you have lying around will work for the crust and topping. Just crush ‘em nicely! I know some people substitute the whipped topping, but trust me, using a good, thawed brand makes these so light. You can check out my thoughts on the no-bake Oreo pie for more general ingredient tips.
- 1 1/2 cups chocolate sandwich cookie crumbs (that’s about 25 cookies!)
- 1/4 cup unsalted butter, melted
- 8 ounces cream cheese, softened—this is key!
- 1 cup powdered sugar
- 1 teaspoon vanilla extract
- 1 1/2 cups frozen whipped topping, thawed completely
- 1/2 cup cold milk
- 1 small package (3.4 ounces) instant vanilla or white chocolate pudding mix
- 1/2 cup extra chocolate sandwich cookie crumbs for sprinkling on top
Step-by-Step Instructions for No-Bake Cookies and Cream Pie Cups
See? I told you this recipe was fast! Most of this time is just waiting for everything to chill out because we aren’t using the oven. Pay attention to how you mix the fillings, though—that’s where the real skill comes in for these **individual no bake cheesecakes**.
Prepare the Chocolate Sandwich Cookie Crust
First up, grab those crumbs and that melted butter. Mix them together really well until you have dense, moist sand. Then, take your little dessert cups—I use small jars or ramekins for mine—and press about two tablespoons of that crumb mixture firmly into the bottom of each one. You need to pack it down tight so it doesn’t fall apart when you scoop the filling in! Pop these into the freezer immediately. They need to firm up while you tackle that creamy filling. Dirt cake lovers know presentation matters!
Mix the Cream Cheese Base for No-Bake Cookies and Cream Pie Cups
This is the most important step for smoothness, so don’t rush it! Get that softened cream cheese into a big bowl. If it’s still cold, you’ll end up with lumps, and nobody wants a lumpy filling in their **creamy Oreo dessert cups recipe**. Beat the cream cheese with your powdered sugar until it looks like fluffy white clouds. Then, stir in that vanilla extract. Make sure that bowl is perfectly smooth before moving on.
Create the Pudding Component
Grab a separate bowl for this part. Whisk your cold milk right into that instant pudding mix. You only need to whisk it for about two minutes, just until the whole mixture starts getting thick and holding its shape. Don’t go crazy mixing it, though! It’s pudding, so it keeps setting up even once you take the whisk away. We just want it mostly thickened here.
Combine Filling Layers and Assemble the No-Bake Cookies and Cream Pie Cups
Now we marry the two great loves: the cream cheese base and the pudding! Gently fold the pudding mixture right into the cream cheese mixture. Once that’s mostly combined, carefully fold in that cup of thawed whipped topping. I mean *gently* fold! We want to keep all that air so these end up light, not heavy. Once it’s just combined, spoon or pipe that gorgeous filling evenly over your now-chilled crusts.
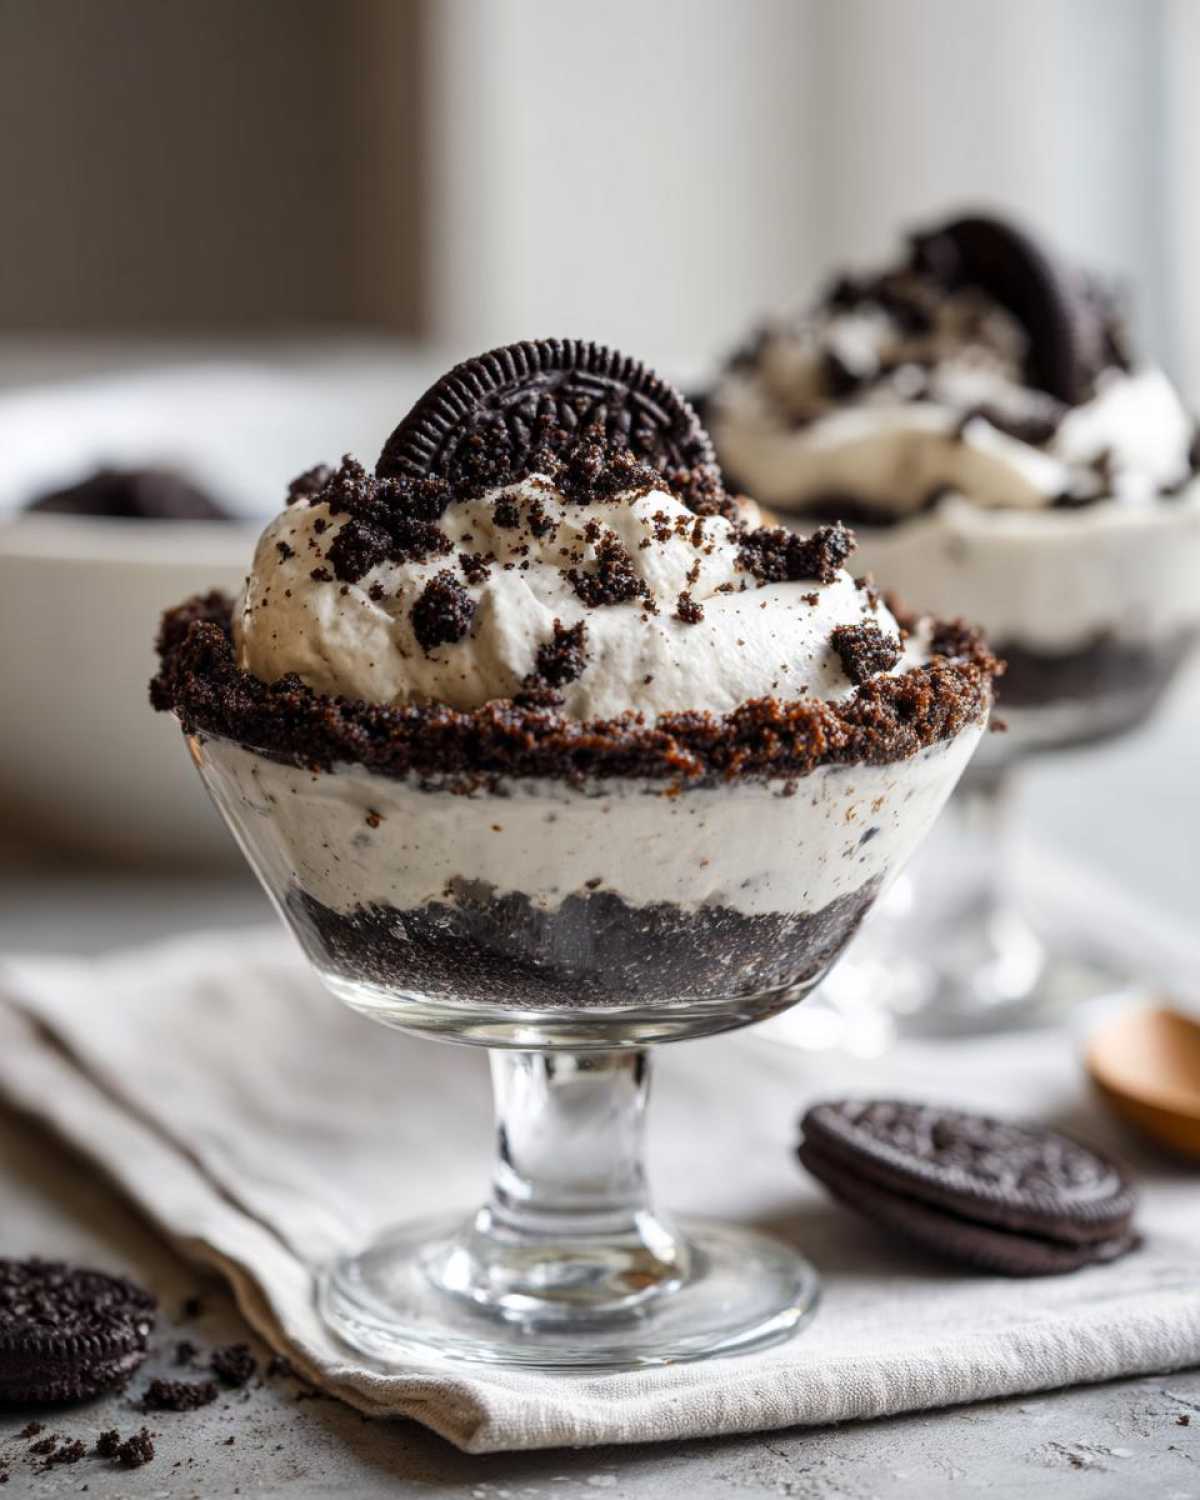
Chill and Finish Your Individual No Bake Cheesecakes
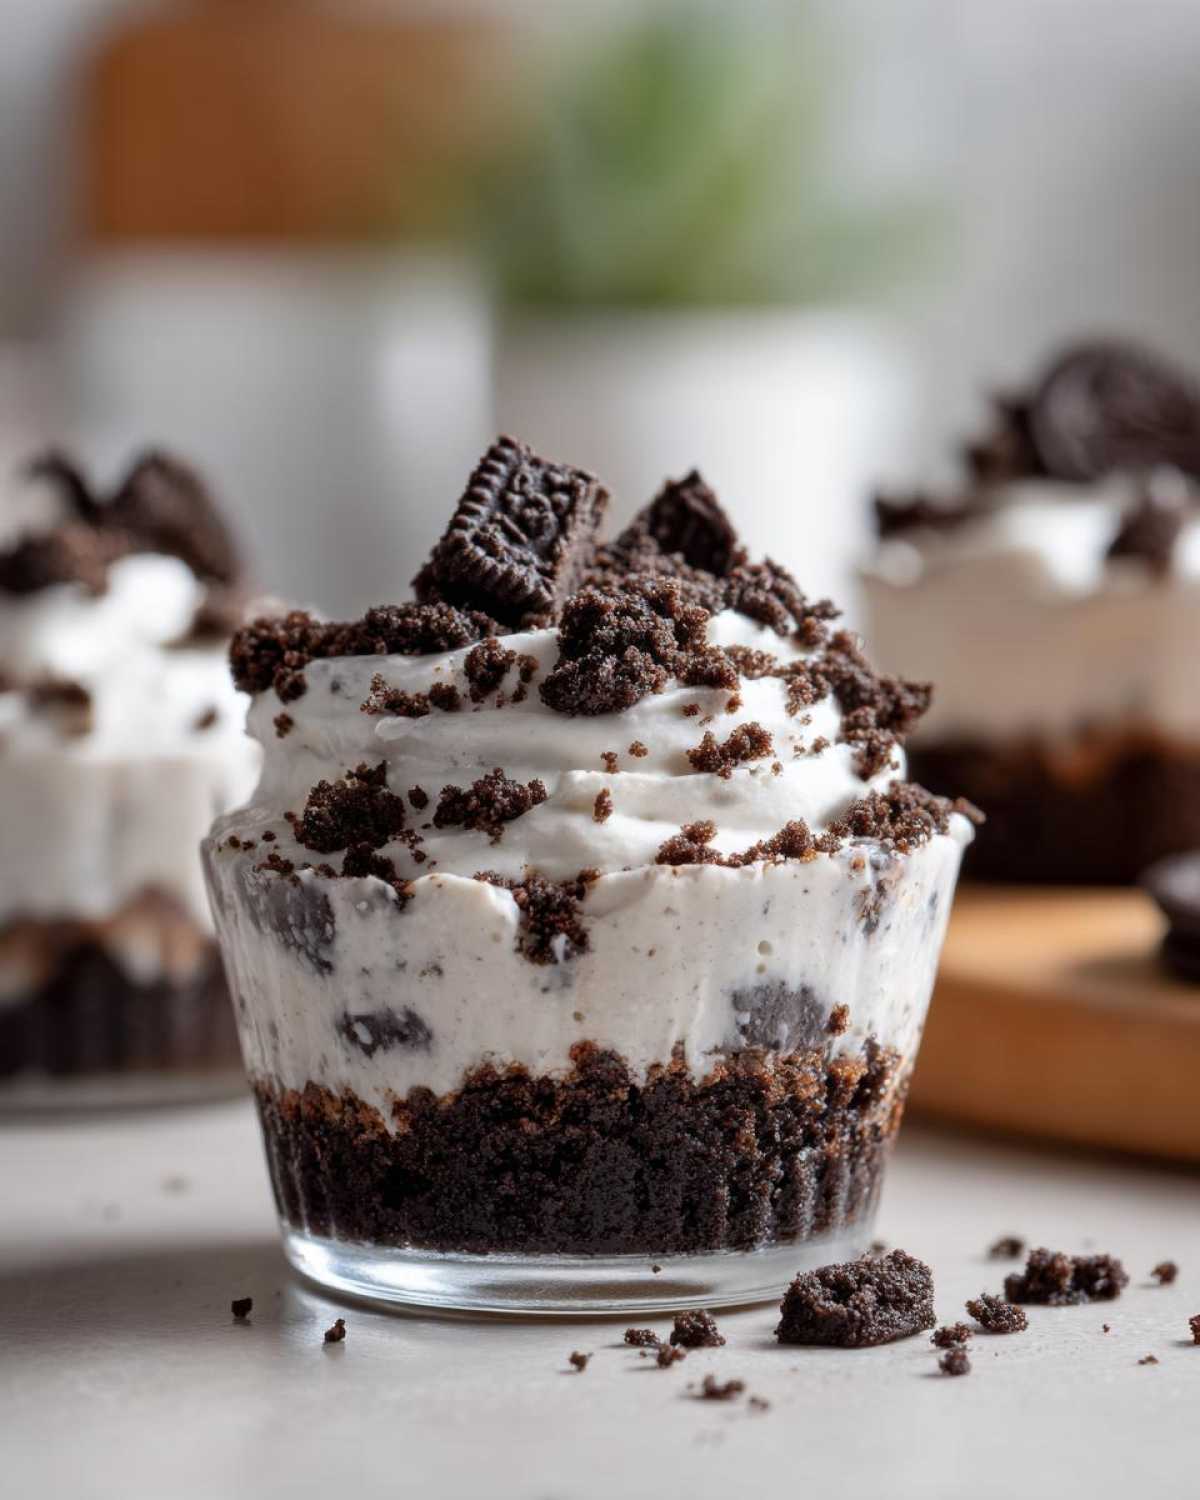
These cups have to set up properly, otherwise, they are just sweet soup! Cover them lightly and stick them in the fridge for at least four solid hours, though overnight is always better if you can wait. Right before you serve your **mini no bake desserts**, top each one with the last of your whipped topping and sprinkle those reserved cookie crumbs over the top for that perfect crunch! They look so impressive, but it was all waiting time!
Tips for Perfect No-Bake Cookies and Cream Pie Cups
Listen, no-bake means easy, but it doesn’t mean foolproof if you cut corners, especially if you’re trying to make these **fast dessert cups with whipped topping** in a rush. I’ve learned a few tricks the hard way, so pay attention!
First tip: Use *instant* pudding mix, not regular cook-and-serve. The instant version has starches that grab onto the cold milk and set up rapidly, giving you that crucial structure needed for these cups. If you use regular, you’re going to be waiting until next Tuesday for them to firm up!
My personal favorite tip—and this is pure experience speaking—is to use a piping bag or even just a good Ziploc bag with the corner snipped for the filling. Spooning it in always looks messy, and those cups deserve to look pretty, even if they are just dessert shooters! Making beautiful desserts is half the fun, right?
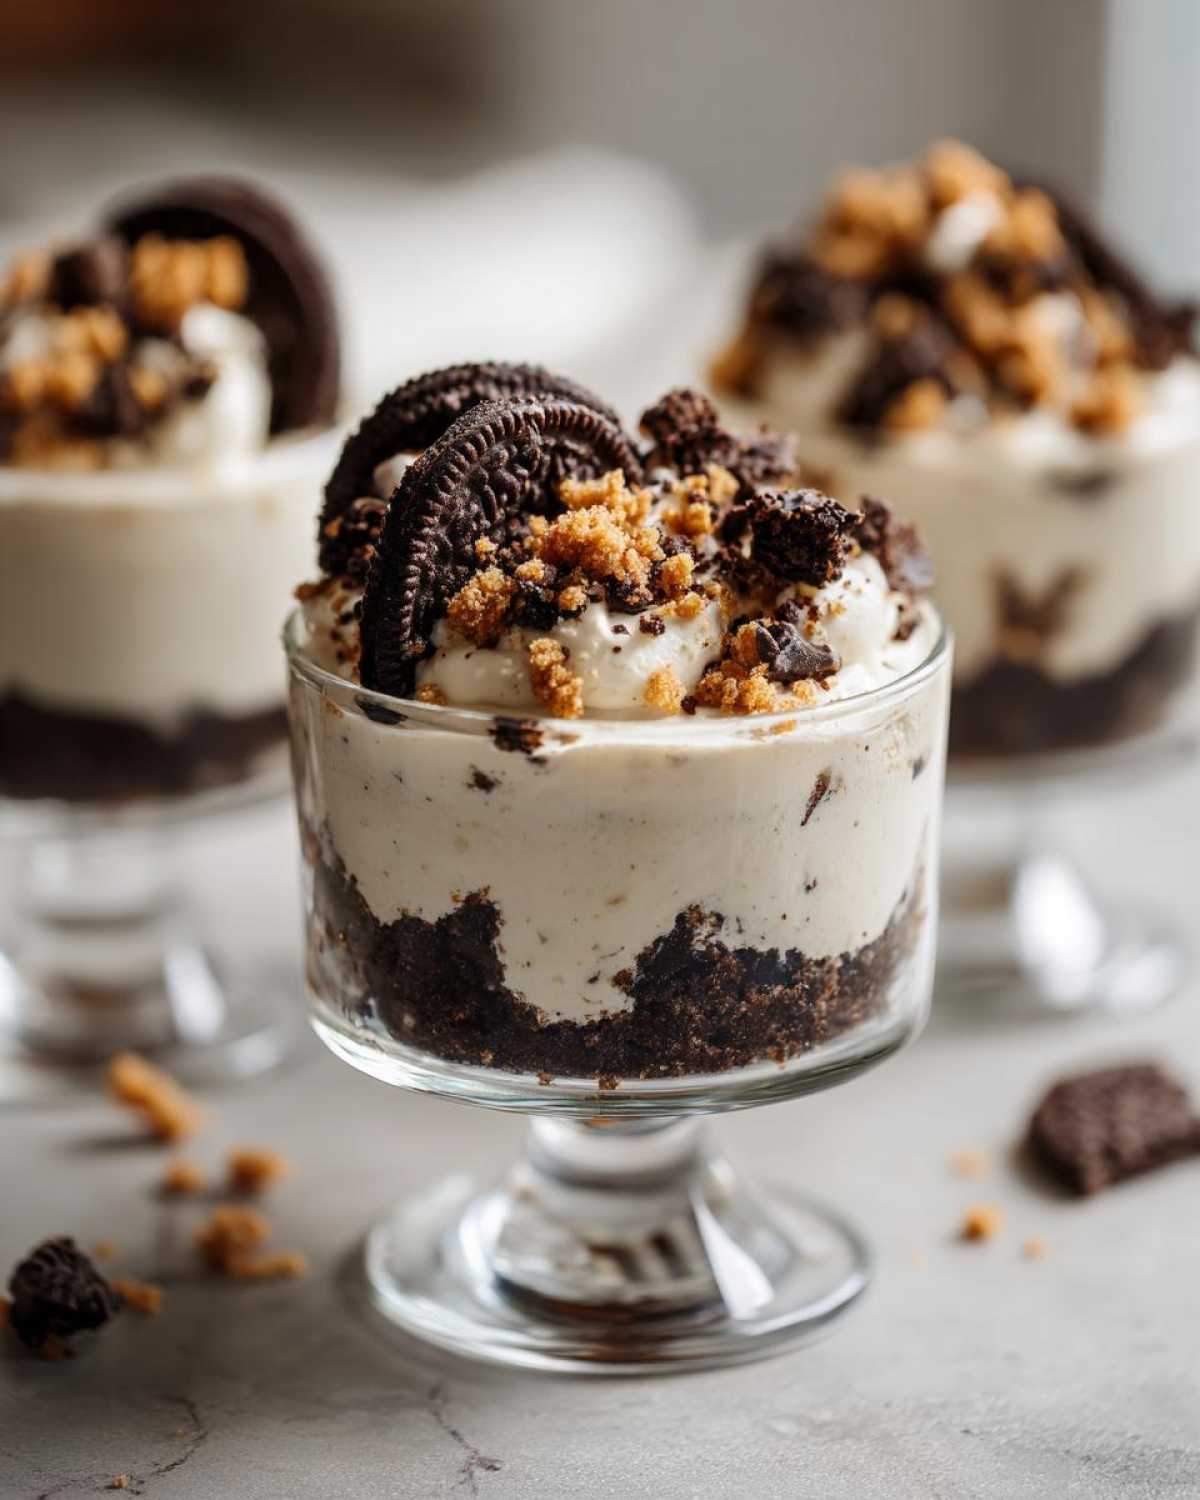
Finally, don’t under-chill! I know waiting is the worst part, but rushing the 4-hour chill time means you’ll end up with a sloppy mess when you try to top them. Patience rewards you with perfect layers.
Ingredient Notes and Substitutions for No-Bake Cookies and Cream Pie Cups
I always get questions about what happens if you don’t have the exact things I listed, so let’s clear up some of those common swaps for these **No-Bake Cookies and Cream Pie Cups**. If you’re short on individual cups, just use a standard 9-inch pie plate! The recipe notes explain it; you just have to press the crust into that, and you’ll slice it later. Easy fix!
The absolute must-have ingredient, though, is that instant pudding mix. If you try to use the cook-and-serve kind, I promise you, these **mini no bake desserts** will never firm up right because they need that speed-setting starch to counteract the richness of the cream cheese and whipped topping. That’s what gives us structure!
Also, if you want a slightly richer flavor, you can swap out half of the whipped topping for homemade stabilized whipped cream. But honestly, the store-bought kind is tried and true for keeping these **easy cookies and cream parfaits** stable. I actually prefer the flavor of the store-bought topping here, alongside a nice vanilla buttercream frosting, if I were ever to make the full-sized pie!
Make Ahead Cookies and Cream Cups Storage Instructions
I always get asked if these **No-Bake Cookies and Cream Pie Cups** are good for making way ahead of time, and the answer is a big YES! They are fantastic for parties because you can totally make them the day before. Here’s the trick for storage:
If you’re storing them overnight, only put the crust and the filling together. Seal them tightly with plastic wrap—make sure that wrap isn’t touching the filling directly! Keep them in the fridge. You should add that final dollop of whipped topping and the cookie crumbles right before serving. If you top them too early, the whipped topping starts looking a little sad and weepy.
Can you freeze them? You sure can! But only freeze them *before* you add the final whipped topping layer. They hold up really well in the freezer for about a month. If you need them, just thaw them in the fridge overnight. Then, top and serve! You can explore more make-ahead tips when you look at my no-bake recipes.
Variations on No Bake Oreo Dessert Cups
Sometimes you want to mix it up a little bit so that everyone doesn’t expect the same thing every time you serve dessert! These **No Bake Cookies and Cream Pie Cups** are so adaptable, which is why I love them. You can keep the structure exactly the same, but switch out a few flavors for fun.
For a little extra chocolate punch, try mixing in about a half cup of mini semi-sweet chocolate chips right into that creamy filling mixture before you spoon it into the crusts. It adds a nice little surprise when you bite into it. Alternatively, if you’re looking for something a bit brighter and maybe want to make **easy cookies and cream parfaits**, stir in a teaspoon of peppermint extract with the vanilla. That makes them magical around the holidays!
Also, don’t feel stuck on the chocolate cookies for the crust. You could swap those out for vanilla wafers or even those Nutter Butter cookies if you want a peanut-butter twist! Just crush ’em up small and mix with the butter just the same. Check out how I use similar layering techniques in my creamy Oreo pie recipe for more inspiration!
Serving Suggestions for Your No-Bake Cookies and Cream Pie Cups
Part of the fun with these **No-Bake Cookies and Cream Pie Cups** is getting them ready to present! Since they are already individual, you’ve done most of the heavy lifting. You can keep them casual, just served straight from the little jars, or you can dress them up!
I love adding just one perfect maraschino cherry right on top of the final dollop of whipped cream. It’s such a classic touch! For an extra drizzle, warm up a square of semi-sweet chocolate and let it zigzag across the top before serving. These always go perfectly with a strong, cool glass of milk or maybe a fresh cup of hot coffee on a slightly warmer evening. Enjoy showing off your easy frosting skills with that final swirl!
Frequently Asked Questions About No-Bake Cookies and Cream Pie Cups
I get so many questions about these little cups because everyone wants them to turn out just right! Since they are no-bake, timing and ingredients are everything. Don’t sweat it; I’ve figured out the few tricky spots you need to watch out for so you get success every time you make these **No Bake Oreo Dessert Cups**.
Can I make these No Bake Oreo Dessert Cups ahead of time?
Oh, yes, please do! These are truly a make-ahead dream. That’s one reason they are perfect **mini no bake desserts**. Get them assembled (crust and filling) the day before you plan to serve them. Just skip adding the whipped topping layer until about an hour before folks arrive. That keeps the topping looking super fluffy and fresh.
What is the best way to get a firm filling in the Single Serving No Bake Pie?
The secret weapon for firmness here is the instant pudding mix! You have to whisk it with the cold milk until it really starts to thicken up before you fold it into the cream cheese. Then, the chilling time is non-negotiable. You must give those cups at least four hours in the fridge. That cold time is what turns our filling from slightly soft to perfectly scoopable for your **Single Serving No Bake Pie**.
Can I use a different cookie besides chocolate sandwich cookies?
You absolutely can, though the flavor profile changes, of course. If you use vanilla wafers or shortbread cookies for the crust, you won’t get that nice dark color contrast against the white filling. If you use gingersnaps, you’ll get a surprisingly delicious spicy kick! Just remember, you’ll probably need to add an extra tablespoon of melted butter to the crust mixture if you use a non-chocolate cookie, as they tend to be a bit drier overall.
Estimated Nutritional Data for Creamy Oreo Dessert Cups Recipe
You know I always believe in enjoying life—and dessert—guilt-free, but when people ask, I like to have the numbers ready for my **Creamy Oreo Dessert Cups Recipe**! Keep in mind that since we aren’t using an oven, the structure holds up well, but these are still rich treats.
Here is the estimated breakdown based on the full recipe divided into 6 servings. Because we all use different brands of cream cheese or cookies, these values are just a general guideline:
- Calories: 450
- Fat: 28g
- Carbohydrates: 45g
- Protein: 5g
- Sugar: 35g
Don’t let the sugar content scare you; a lot of that comes from the powdered sugar and the cookies themselves! This is a richer **mini no bake dessert**, so savor every bite!
PrintNo-Bake Cookies and Cream Pie Cups
Make individual servings of creamy, no-bake cookies and cream pie using a simple crushed cookie crust and a rich filling.
- Prep Time: 20 min
- Cook Time: 0 min
- Total Time: 4 hr 20 min
- Yield: 6 servings
- Category: Dessert
- Method: Chilling
- Cuisine: American
- Diet: Vegetarian
Ingredients
- 1 1/2 cups chocolate sandwich cookie crumbs (about 25 cookies)
- 1/4 cup unsalted butter, melted
- 8 ounces cream cheese, softened
- 1 cup powdered sugar
- 1 teaspoon vanilla extract
- 1 1/2 cups frozen whipped topping, thawed
- 1/2 cup cold milk
- 1 small package (3.4 ounces) instant vanilla or white chocolate pudding mix
- 1/2 cup additional chocolate sandwich cookie crumbs for topping
Instructions
- Combine the 1 1/2 cups of cookie crumbs and melted butter in a bowl. Mix until the crumbs are evenly moistened.
- Press about 2 tablespoons of the crumb mixture firmly into the bottom of 6 small dessert cups or ramekins to form the crust. Place the cups in the freezer while you prepare the filling.
- In a large bowl, beat the softened cream cheese and powdered sugar together until smooth. Beat in the vanilla extract.
- In a separate medium bowl, whisk together the cold milk and instant pudding mix for 2 minutes until it begins to thicken.
- Gently fold the thickened pudding mixture into the cream cheese mixture.
- Fold in 1 cup of the thawed whipped topping until just combined. Do not overmix.
- Spoon or pipe the filling evenly over the chilled crusts in the 6 cups.
- Refrigerate the cups for at least 4 hours, or until the filling is firm.
- Before serving, top each cup with the remaining whipped topping and sprinkle with the reserved 1/2 cup of cookie crumbs.
Notes
- You can use any brand of chocolate sandwich cookies for the crust and mix-ins.
- For a firmer filling, use an extra 1/2 cup of whipped topping.
- If you do not have individual cups, you can press the crust into a 9-inch pie plate and slice after chilling.
Nutrition
- Serving Size: 1 cup
- Calories: 450
- Sugar: 35
- Sodium: 320
- Fat: 28
- Saturated Fat: 15
- Unsaturated Fat: 13
- Trans Fat: 0
- Carbohydrates: 45
- Fiber: 1
- Protein: 5
- Cholesterol: 60